How to Build a Removable Cargo Divider for Trailers (Plan)
I still remember the first time I built a structural frame for a utility trailer. I had spent four hours measuring, marking, and double-checking my cuts. Every piece of square tubing sat perfectly flush on my workbench. But as soon as I finished the final weld and the metal cooled, I realized the entire frame had pulled nearly an inch out of square. That was my first real lesson in the physics of metal: it is a living, breathing material that reacts to every bit of heat you apply.
In my thirteen years as a prototype technician, I have learned that successful custom fabrication projects are not just about the welding. They are about the preparation, the layout fixtures, and the understanding of how heat moves through steel. Whether you are building a simple workbench or a modular trailer partition, the principles of controlling distortion remain the same. This guide focuses on the technical steps needed to build a durable, removable internal barrier for your trailer while keeping your assembly straight and functional.
Designing the Layout and Material Cut List
Planning a project involves creating a detailed roadmap of every piece of metal required, including the exact dimensions and how they will fit together. This phase is where you account for the physical thickness of your tools and the gaps needed for strong weld penetration.
Before I ever strike an arc, I spend time at the drafting table or with a simple notebook. For a removable trailer barrier, you need to account for the internal width of your trailer bed and the height of the side rails. I prefer using 1″ or 1.5″ square tubing with a 1/8″ wall thickness. It provides a great balance between structural rigidity and weight.
One of the most common mistakes I see is failing to account for “kerf.” Kerf is the width of the material that the saw blade turns into dust. If you use a standard abrasive chop saw, your kerf might be 1/8″ or more. If you have ten cuts in a single length of steel, you could lose over an inch of material. I always include these allowances in my initial material layout tips to ensure I don’t end up with a final piece that is too short.
- Standard Kerf Allowances:
- Abrasive Chop Saw: 0.125″ (1/8″)
- Cold Saw: 0.090″ to 0.120″
- Portable Band Saw: 0.025″ to 0.035″
- Plasma Cutter: 0.040″ to 0.060″ (depending on tip size)
Why Accurate Square Cuts are the Foundation of Strength
An accurate square cut ensures that the ends of your metal tubing meet with minimal gaps, which allows for consistent weld beads and reduces the risk of the joint pulling during cooling. If a cut is even slightly angled, the weld will be thicker on one side, leading to uneven shrinkage.
In my workshop, I treat the cutting stage as the most critical part of the build. If your cuts are off by even a degree, that error multiplies over the length of the divider. I use a high-quality square to mark all four sides of the tubing before cutting. This gives me a visual guide to follow, even if the saw blade starts to wander.
When building a modular trailer divider, you are often dealing with vertical uprights and horizontal cross-members. If these are not cut to a tolerance of +/- 1/16th of an inch, the finished unit will likely bind when you try to slide it into its mounting brackets. I always deburr the edges with a flap disc after cutting. This removes the sharp “burr” left by the saw, which can interfere with your measurements and your weld quality.
Building Workshop Jigs for Alignment
A workshop jig is a temporary or permanent fixture used to hold workpieces in a fixed position during the assembly process. Jigs act as an extra set of hands that do not move, ensuring that your project stays square while you apply heat.
I never rely on my eyes alone to hold a frame square. For a trailer partition, I build a simple jig on my welding table using scrap angle iron and C-clamps. By clamping your square tubing against a known straight edge, you physically prevent the metal from moving as the weld pool cools and contracts.
- Essential Fixturing Tools:
- F-Clamps and C-Clamps: These provide the primary force to hold parts against the jig.
- Magnetic Squares: Good for initial positioning, but never trust them for final welding as they can be bumped out of alignment.
- Angle Plates: These help ensure that vertical components stay at exactly 90 degrees to the base.
- Copper Heat Sinks: I often place copper blocks behind thin sheet metal sections to soak up excess heat and prevent burn-through.
Structural Tacking Strategies to Prevent Movement
Tack welding involves placing small, temporary welds at the corners or joints of a project to hold the pieces together before the final beads are laid. These tacks must be strong enough to resist the initial pull of the metal but small enough to be easily ground away if an adjustment is needed.
In my custom fabrication projects, I use a specific tacking sequence. For a square joint, I place a tack on the top corner, then check for square. If it is still aligned, I place a second tack on the opposite corner. I never weld a full seam until the entire frame is “tacked out” and I have verified the diagonal measurements.
If the diagonals of your rectangular frame are equal, the frame is square. If one diagonal is 1/4″ longer than the other, your frame is “racked.” I use a dead-blow hammer to tap the frame into position while only the tacks are holding it. This is the last chance to fix errors before the permanent weld sequencing begins.
Recommended Tack Weld Spacing and Sizes
| Component Type | Tack Size (Length) | Tack Spacing |
|---|---|---|
| 1″ Square Tubing | 1/8″ to 1/4″ | Every corner |
| 1/8″ Flat Bar | 1/4″ | Every 4 inches |
| 14-Gauge Sheet Metal | 1/16″ (small dots) | Every 2 inches |
| Heavy Angle Iron | 1/2″ | Corners and mid-points |
Managing Heat Warp with a Weld Sequencing Layout
Weld sequencing is the practice of strategically choosing the order and direction of your welds to balance the internal stresses caused by heating and cooling. By alternating sides and directions, you can use the “pull” of one weld to counteract the “pull” of another.
When I am welding the cross-members of a trailer divider, I never weld all four sides of a joint at once. If I weld the front face of the left joint, I immediately move to the front face of the right joint. This distributes the heat across the entire structure. Interestingly, metal always pulls toward the side that is being welded. This is called angular distortion.
If you weld the entire inner seam of a frame first, the heat will pull the corners inward. To combat this, I follow a “back-stepping” or “staggered” sequence. I might weld two inches on the top, move to the bottom, then do the sides. This keeps the average temperature of the steel lower and more consistent, which is a key metal warping solution.
Integrating Removable Pins and Tool-Free Extraction
A removable divider requires a mounting system that allows it to be locked into place and removed without specialized tools. This usually involves a “sleeve and pin” design where a bracket is permanently attached to the trailer, and the divider slides into or over it.
I design these mounts using flat bar or slightly larger square tubing that can act as a sleeve. For example, if my divider is made of 1.5″ tubing, I might use 2″ tubing with a 1/8″ wall for the brackets. The 1.5″ tube will slide inside with enough clearance to prevent sticking.
The hole for the removable pin is a critical layout point. I use a drill press to ensure the holes are perfectly perpendicular. If the holes in the sleeve and the divider are even slightly misaligned, the pin will bind. I usually drill the holes 1/16″ larger than the pin diameter (e.g., a 9/16″ hole for a 1/2″ hitch pin) to allow for minor thermal expansion or debris.
- Steps for Pin Alignment:
- Slide the divider into the mounting brackets.
- Clamp the divider in its final “locked” position.
- Drill through both the bracket and the divider tubing at the same time.
- Deburr the inside of the holes to ensure the pin slides smoothly.
- Test the fit with the pin to ensure tool-free extraction.
Correcting Distortion After Final Welding
Despite your best efforts with jigs and sequencing, some metal warping is almost inevitable in custom fabrication. Post-weld correction is the process of using controlled heat or mechanical force to bring a project back into its intended shape.
If I find that a vertical upright has pulled slightly to the left, I can sometimes use “flame straightening.” This involves heating a small triangular area on the side opposite the pull. As that spot cools, it shrinks and pulls the metal back toward the center. However, this takes a lot of practice and can easily make the problem worse if overdone.
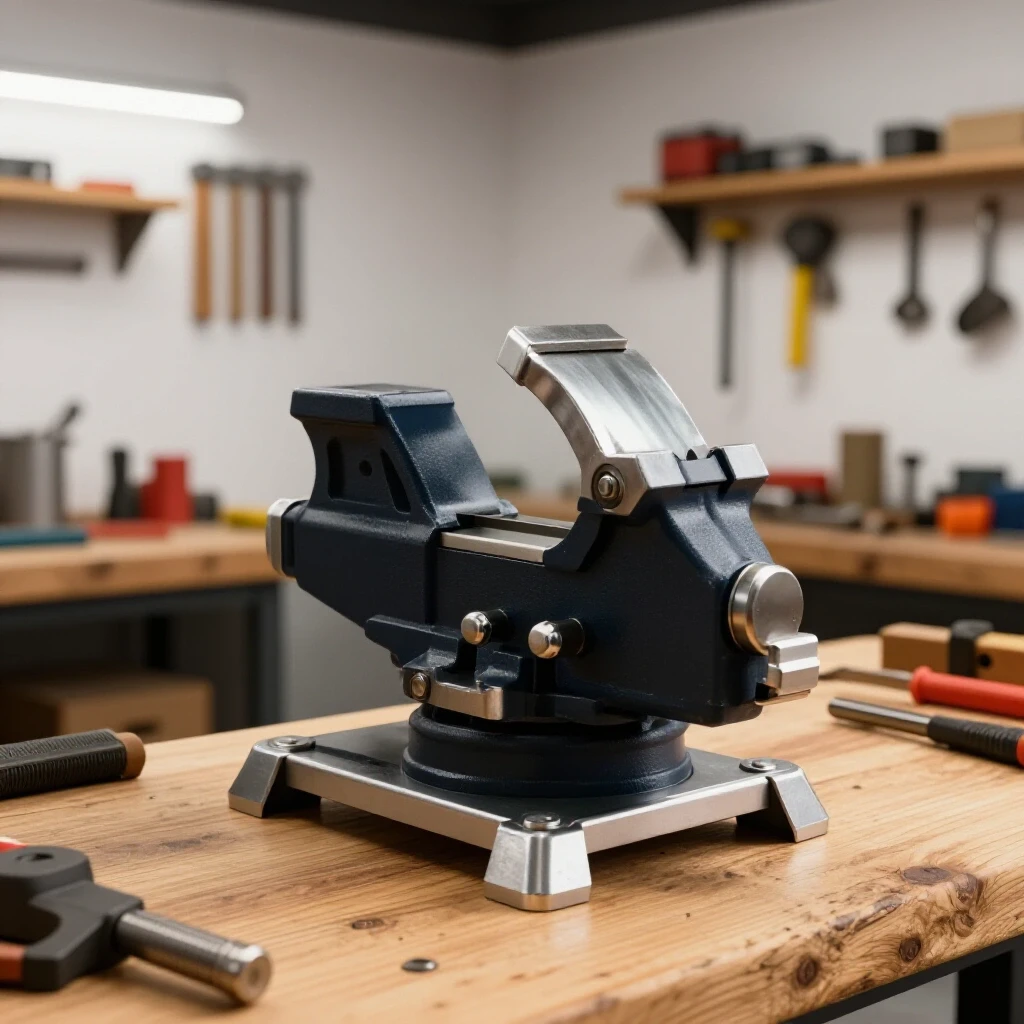
A more common approach for the DIY builder is the use of a heavy-duty bench vise or a hydraulic press. I often use a “three-point bend” setup where I support the workpiece at two points and apply pressure in the middle to nudge it back into alignment. Always move in small increments; it is much easier to bend it a little more than it is to fix a piece you have over-corrected.
Finishing and Surface Preparation
The final stage of any metal project is preparing the surface for a protective coating. This involves removing weld spatter, smoothing out sharp edges, and cleaning the metal of oils and mill scale.
I use a 40-grit flap disc on an angle grinder to clean up my welds. I don’t grind them completely flush unless the design requires it, as removing too much material can weaken the joint. For a trailer divider, which will be exposed to the elements, I prefer a high-quality primer and a hammered-finish paint. This type of paint hides minor surface imperfections and provides a durable barrier against rust.
Before painting, I wipe the entire project down with acetone or a wax and grease remover. Even the oils from your skin can prevent paint from adhering properly. Once the paint is dry, I apply a small amount of lithium grease to the removable pins and the inside of the mounting sleeves to ensure they remain easy to operate for years to come.
Checklist for Final Inspection
- Check for Square: Measure the diagonals one last time.
- Test the Pins: Ensure all removable pins slide in and out without a hammer.
- Inspect Welds: Look for pinholes (porosity) or undercut that might need a quick repair.
- Deburr: Run a gloved hand over all edges to check for snags or sharp spots.
- Clearance Check: Ensure the divider clears the trailer’s tailgate or other accessories.
Practical Next Steps for Your Build
Building a modular partition is a rewarding project that teaches you a lot about material behavior and layout precision. If you are just starting out, I recommend beginning with a small test joint. Practice your tacking and sequencing on two pieces of scrap tubing to see how much they pull when they cool.
Once you feel comfortable, move on to the full-scale project. Focus on your layout and your jigs first; the actual welding is only about 20% of the total work time. By taking the time to plan your cuts and control your heat, you will end up with a professional-grade trailer accessory that fits perfectly and lasts for a lifetime of hauling.
FAQ: Common Questions About Custom Trailer Dividers
What is the best material for a removable trailer barrier? For most light to medium-duty utility trailers, 1″ to 1.5″ square steel tubing with a 1/8″ wall thickness is ideal. It is strong enough to hold cargo in place but light enough to be removed by one person. Aluminum is an option if weight is a major concern, but it requires specialized TIG or MIG setups and has a higher rate of thermal expansion.
How do I stop my frame from warping during welding? You cannot stop it entirely, but you can control it. Use a weld sequencing layout where you alternate sides of the joint. Always use a workshop jig or heavy-duty clamps to hold the pieces in place until they have cooled completely. Tacking the entire project before doing any final welds is also essential.
What size holes should I drill for the hitch pins? I recommend drilling the holes 1/16″ larger than the diameter of the pin. For a standard 1/2″ hitch pin, use a 9/16″ drill bit. This extra clearance prevents the pin from seizing if the metal expands in the sun or if a small amount of rust or road grime builds up in the sleeve.
Can I use a flux-core welder for this project? Yes, flux-core welding is great for trailer projects, especially if you are working outdoors where wind might blow away shielding gas. However, flux-core creates more heat and spatter than MIG. You will need to be even more diligent with your weld sequencing and post-weld cleanup.
How do I ensure the divider is easy to remove? The key is to leave a small amount of “slop” or clearance in the mounting brackets. If your divider is 1.5″ wide, your mounting sleeve should have an internal dimension of at least 1-5/8″. This allows the divider to slide in and out easily, even if the trailer bed isn’t perfectly level.
What is the best way to cut square tubing at home? A portable band saw (often called a “Portaband”) or a cold saw is best for accurate square cuts. If you only have an angle grinder, use a “wrap-around” (a straight piece of paper or a dedicated tool) to mark a line all the way around the tube. Follow this line carefully to ensure the cut stays square on all four sides.
Should I weld the divider while it is attached to the trailer? I don’t recommend it. The heat from welding can damage the trailer’s paint, wiring, or wood decking. It is much better to build the divider on a dedicated welding table using jigs, then test-fit it on the trailer. Only weld the mounting brackets to the trailer frame once the divider itself is finished and square.
How do I calculate the amount of steel I need? Measure the internal width and height of your trailer. Add up all the lengths of the frame, cross-members, and mounting sleeves. Then, add 10% to that total to account for kerf losses and mistakes. Most steel suppliers sell tubing in 20-foot or 24-foot lengths, so plan your cuts to minimize waste from those standard sizes.
(This article was written by one of our staff writers, Robert Kline. Visit our Meet the Team page to learn more about the author and their expertise.)