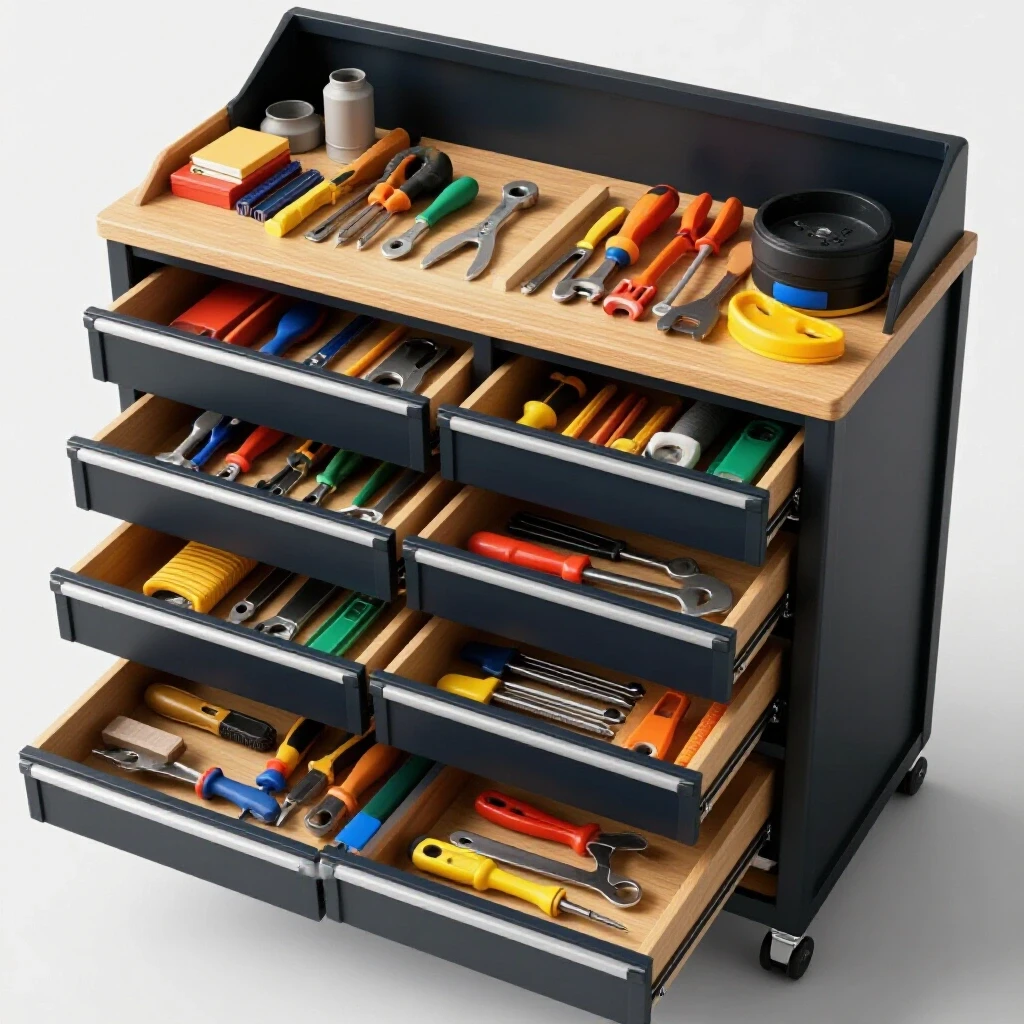
Multi-Purpose Metalworking Tools That Save Shop Space (Tips)
When I started my first garage shop in 2013, I had exactly $1,850 in my pocket and a 200-square-foot space that I shared with a lawnmower and a water heater. The anxiety was real. I spent weeks looking at glossy tool catalogs, feeling like I needed ten different machines just to build a simple steel frame. My background in industrial maintenance told me one thing: “Buy the best version of the machine you need.” But my bank account told me another: “You can only afford three things.”
The solution wasn’t buying cheaper, low-quality gear. Instead, I had to find versatile metalworking equipment that could perform the work of two or three stationary units. This approach didn’t just save me money; it saved my floor space. In a small shop, every square foot is a monthly rent payment to yourself. If a tool only does one thing once a year, it is a liability, not an asset.
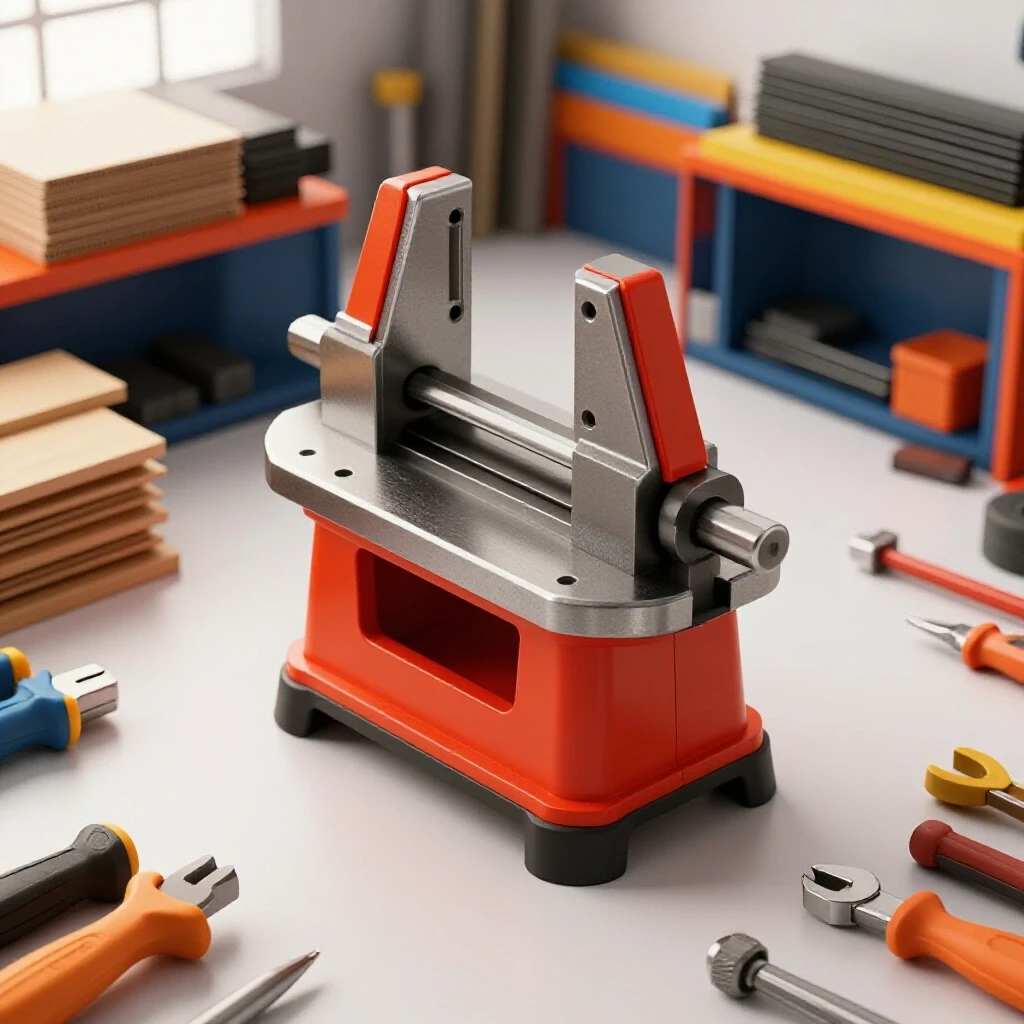
In this guide, I will share the data-driven methods I used to select equipment that maximizes utility. We will look at how to evaluate power limits, prioritize tool purchases, and ensure your workflow stays safe and efficient without overcrowding your garage.
Assessing the Foundation: Power and Floor Space Constraints
Evaluating the physical and electrical limits of a residential garage is the first step in determining which versatile machines can operate safely. You must know your “breaker ceiling” before you buy a single piece of equipment to avoid expensive electrical upgrades or fire hazards.
Before you look at tools, look at your breaker panel. Most standard garages have one 15-amp or 20-amp circuit shared with the lights and the garage door opener. If you plug in a high-draw machine like a welder and a compressor at the same time, you will trip the breaker. I learned this the hard way during my first week when I blew a fuse mid-weld, leaving me in total darkness with a hot piece of metal.
A key metric to remember is the 80% rule. For a continuous load, you should only use 80% of a circuit’s rated capacity. On a 20-amp circuit, that means you have 16 amps of usable power. Many versatile metalworking machines are designed to run on 110v power, but they perform significantly better on a dedicated 220v line. If you are serious about fabrication, the best investment you can make is a dedicated 50-amp sub-panel for the shop.
Tool Footprint and the “Working Envelope”
When planning your starter metal workshop layout, you have to account for more than just the size of the machine. You must account for the “working envelope”—the space needed to move long pieces of steel around the tool. A bandsaw might only be two feet wide, but if you want to cut a ten-foot stick of tubing, you need five feet of clearance on both sides.
- Fixed Footprint: The actual dimensions of the tool.
- Dynamic Footprint: The space required for the operator and the material during use.
- Storage Footprint: The space the tool occupies when tucked away.
By choosing equipment that can be moved on heavy-duty casters or tools that combine functions, you reduce the number of fixed footprints in your shop. This allows you to keep the center of your floor open for assembly.
The Multi-Process Welder: Consolidating Joining Methods
A multi-process welder is a single power source capable of MIG, TIG, and Stick welding. This prevents the need for multiple heavy cabinets and gas cylinders, which is essential for maintaining a highly functional starter workshop in a confined area.
In the industrial world, we often have separate stations for every welding type. In a home shop, that is a luxury few can afford. A multi-process machine allows you to switch from MIG welding a thin sheet metal project to Stick welding a heavy-duty workbench frame in minutes. This versatility is the cornerstone of budget metalworking tools because it covers 90% of the tasks a beginner will encounter.
When vetting these machines, pay close attention to the “Duty Cycle.” This is a measurement of how many minutes out of a ten-minute period the machine can weld at a specific amperage before it needs to cool down. For example, a 30% duty cycle at 100 amps means you can weld for three minutes and then the machine must rest for seven. For a hobbyist, a 20% to 30% duty cycle is usually sufficient, but professional-grade versatile equipment will often push 40% to 60%.
Understanding Welding Processes in One Machine
- MIG (Metal Inert Gas): Uses a wire spool and gas. It is fast and easy to learn for beginners.
- Stick (SMAW): Uses an electrode rod. It is great for thick, rusty metal and works well outdoors.
- TIG (Tungsten Inert Gas): Offers the most control and the cleanest welds, ideal for precision work and thin materials.
By having all three in one box, you save roughly 60% of the floor space compared to owning three separate machines. You also only need one cart and, in some cases, one type of shielding gas depending on your specific projects.
Versatile Cutting Solutions: From Horizontal to Vertical
Space-saving fabrication tools often involve equipment designed to perform both precision cross-cuts and intricate contour work. Transitioning between these orientations allows you to handle structural cutting and artistic shaping with a single investment.
The most common mistake I see beginners make is buying a standard abrasive chop saw. While they are cheap, they are loud, messy, and limited. A better choice for a small shop is a portable bandsaw paired with a specialized docking stand. When the saw is locked in the stand, it acts like a vertical bandsaw for cutting shapes out of flat plate. When you release it, it becomes a horizontal saw for cutting tubing or angle iron.
This setup is a game-changer for affordable fabrication tools. A portable bandsaw produces almost no sparks and very little noise compared to a chop saw. This is critical if you are working in a residential neighborhood where noise complaints can shut down your hobby.
Comparing Cutting Methods for Small Shops
| Tool Type | Space Used | Noise Level | Cleanliness | Versatility |
|---|---|---|---|---|
| Abrasive Chop Saw | Low | Very High | Very Dirty | Low |
| Cold Saw | Medium | Low | Very Clean | Medium |
| Portable Bandsaw + Stand | Very Low | Low | Clean | High |
| Horizontal/Vertical Bandsaw | High | Low | Clean | High |
Building on this, the “cost per cut” is much lower with a bandsaw. Abrasive wheels wear down and need frequent replacement, whereas a high-quality bi-metal blade can last for months if you manage your blade speed and use cutting wax.
Finishing and Shaping: Combination Grinding and Sanding Stations
Integrated units that pair abrasive belts with grinding wheels or disc sanders allow for rapid material removal and fine edge refinement. These units are essential for preparing metal for welding and cleaning up edges after a cut.
In my maintenance days, I used 12-inch industrial grinders that weighed 200 pounds. In a home shop, a 2-inch by 42-inch belt sander combined with a 6-inch grinding wheel is often the better choice. The belt sander is far more versatile than a standard bench grinder. It allows you to flatten surfaces, sharpen tools, and contour edges with much more control.
Safety is paramount here. When using these machines, you must respect the “Surface Feet Per Minute” (SFPM) rating. If you use a wheel or belt not rated for your machine’s speed, it can shatter. According to ANSI standards, always wear a full face shield in addition to safety glasses when using high-speed abrasives.
Why Multi-Purpose Grinders Save Time
- Prep Work: Use the coarse grinding wheel to bevel thick plate before welding.
- Refinement: Use the belt sander to remove burrs and smooth out the cut edges.
- Maintenance: Use the side of the disc to sharpen your drill bits and lathes.
By combining these into one unit, you reduce the number of power cords and the amount of dust collection ducting required. This keeps your beginner welder power requirements manageable and your workspace cleaner.
The Modular Fabrication Table: A Multi-Functional Core
A heavy-duty, perforated surface serves as a welding platform, assembly bench, and clamping jig. This eliminates the need for multiple specialized work surfaces, which is a key strategy for any starter metal workshop layout.
I spent years welding on a wooden bench covered in a thin sheet of galvanized steel. It was a disaster. It wasn’t flat, and I couldn’t clamp anything to it. When I finally switched to a modular “fixturing” table, my work quality improved overnight. These tables have a grid of holes (usually 16mm or 28mm) that allow you to drop in clamps and stops anywhere on the surface.
A modular table is more than just a place to put things; it is a precision tool. It ensures your projects are square and flat. For a beginner, this prevents the frustration of building a table or cart only to find out it wobbles because the frame was welded out of alignment.
Essential Features of a Multi-Use Table
- Flatness: Look for a surface within +/- 0.005 inches over the entire length.
- Conductivity: A steel top provides a built-in ground for your welder.
- Mobility: High-quality locking casters allow you to roll the table to the center of the shop for big projects and back to the wall for storage.
- Integrated Storage: Use the space under the table for your multi-process welder and scrap bin.
Managing the Environment: Multi-Stage Ventilation and Dust Collection
Filtration systems designed to handle both welding fumes and grinding particulates ensure a safe breathing zone. This is perhaps the most overlooked aspect of setting up a functional fabrication space on a modest budget.
When you weld or grind, you are releasing microscopic metal particles and toxic gases into the air. In a small garage, these concentrations can reach dangerous levels quickly. OSHA guidelines for indoor air quality are strict for a reason. You need a system that offers “Source Capture”—meaning it sucks the fumes away right where they are created.
A versatile solution is a mobile fume extractor with a HEPA filter and a spark arrestor. Some modern units are designed to handle both the fine smoke from TIG welding and the heavier dust from grinding. If a dedicated extractor is too expensive, a high-CFM (Cubic Feet per Minute) exhaust fan mounted in a window can work, provided you have a “make-up air” source like an open garage door.
Ventilation Metrics for Small Shops
- Target Air Changes: Aim for 6 to 10 full air exchanges per hour.
- Minimum CFM: For a standard two-car garage, you generally need an exhaust fan rated for at least 800 to 1,200 CFM.
- Filter Ratings: Use MERV 13 or higher for fine particulates, but remember that filters do not remove gases like Argon or Carbon Dioxide.
Interestingly, many beginners focus on the tools but forget that 30% of their budget should go toward safety gear and environmental controls. Breathing clean air isn’t just a safety issue; it prevents fatigue, allowing you to work longer and more accurately.
Strategic Budget Allocation for Beginners
Setting up a shop is a marathon, not a sprint. I recommend a phased approach to buying equipment. This prevents you from spending your entire budget on one “hero” machine while forgetting the small things like clamps, squares, and PPE (Personal Protective Equipment).
Essential Starter Tool Sequencing
- Phase 1 (The Safety Core): Auto-darkening helmet, leather gloves, fire extinguisher, and eye protection. (Cost: ~15% of budget)
- Phase 2 (The Multi-Tool): Multi-process welder and a basic angle grinder. (Cost: ~40% of budget)
- Phase 3 (The Precision Core): Portable bandsaw with stand and a modular welding table. (Cost: ~30% of budget)
- Phase 4 (The Finishing Touch): Belt/disc sander combo and ventilation. (Cost: ~15% of budget)
By following this sequence, you ensure that you can actually use the tools you buy. There is nothing more frustrating than having a high-end welder but no way to cut the steel or a way to keep the project square.
Tooling-to-Machine Cost Ratios
One metric I track religiously is the “Tooling Ratio.” For every $100 you spend on a machine, expect to spend $30 on the consumables and accessories needed to run it.
- Welder: Needs gas, wire, tips, and nozzles.
- Bandsaw: Needs blades and cutting fluid.
- Grinder: Needs flap discs, grinding wheels, and wire brushes.
If you ignore these costs, you will find yourself with a shop full of “paperweights” that you can’t afford to operate.
Layout Execution: Maximizing a Small Footprint
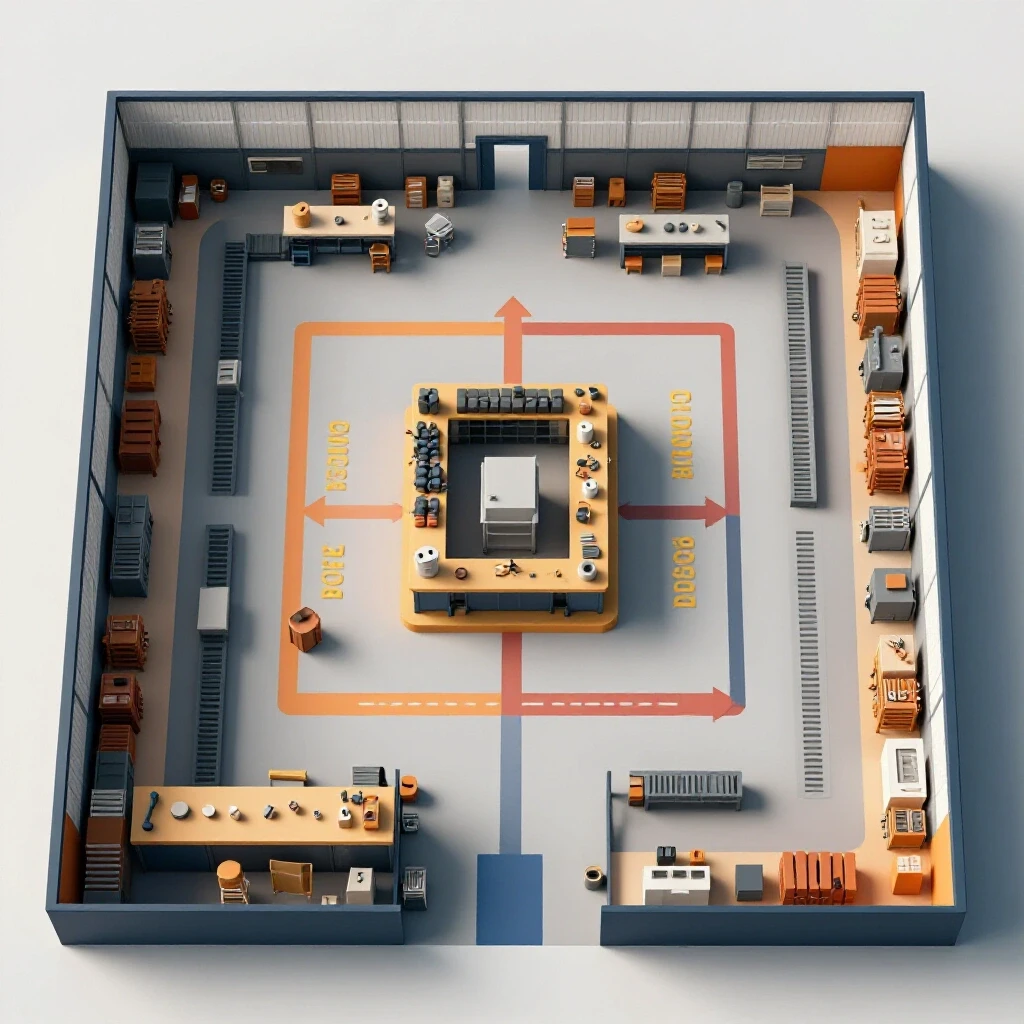
Once you have selected your versatile metalworking equipment, the way you arrange them determines your efficiency. In a maintenance shop, we call this “Workflow Optimization.” You want the material to move in a logical path: Storage -> Cutting -> Cleaning -> Welding -> Finishing.
In a small garage, this path usually follows a “U” shape or a “Linear” path along one wall. Keep your heavy cutting tools near the garage door. This makes it easier to bring in long sticks of steel and keeps the majority of the metal dust near the exit. Your welding station should be in the cleanest, driest corner of the shop, away from the sparks of the grinder.
Workshop Electrical Setup Checklist
- Label everything: Mark which outlets are on which breakers.
- Use heavy-gauge cords: If you must use an extension cord for your welder, it must be 10-gauge or 12-gauge to prevent voltage drop.
- Lighting: Install LED shop lights. You cannot weld or cut safely if you cannot see your layout lines. Aim for 50-100 foot-candles of light at the work surface.
- Fire Safety: Keep a Class ABC fire extinguisher within ten feet of your welding station.
Building a shop is about making compromises that don’t sacrifice safety or quality. By choosing tools that serve multiple purposes, you are not just saving space; you are investing in a smarter way to work. You don’t need a factory to build great things; you just need a well-planned corner and the right few machines.
Frequently Asked Questions
What is the single most important multi-purpose tool for a beginner?
The multi-process welder is usually the best first investment. It allows you to explore MIG, Stick, and sometimes TIG welding without buying three separate power sources. This saves significant floor space and simplifies your electrical setup. It also allows you to grow your skills as you move from basic repairs to more complex fabrication.
Can I run a multi-process welder on a standard 110v household outlet?
Yes, many entry-level multi-process machines are “dual voltage,” meaning they can run on 110v or 220v. However, on 110v, your power will be limited, usually to 1/8-inch or 3/16-inch thick steel. For thicker structural work, you will eventually need a 220v outlet to avoid overheating the machine or tripping your home breakers.
Are combination belt and disc sanders actually better than bench grinders?
For most fabrication tasks, yes. A belt sander provides a flat surface for squaring up ends and removes material faster without generating as much heat. A bench grinder is great for rough shaping and sharpening, but it is much harder to get a perfectly flat edge on a round wheel. A combination unit gives you the best of both worlds in one footprint.
How much should I realistically budget for my first set of versatile tools?
A functional starter setup usually costs between $1,500 and $2,500. This includes a multi-process welder, a portable bandsaw with a stand, an angle grinder, a basic welding table, and essential safety gear. Remember to set aside about 20-30% of that budget for consumables like welding gas, wire, and abrasives.
Why is a portable bandsaw stand considered a space-saver?
A dedicated horizontal bandsaw is a large, heavy machine that takes up a lot of floor space. A portable bandsaw is small enough to fit in a drawer. By using a stand, you give that small tool the capability of a large stationary machine. When you are done, you can tuck the whole setup under a workbench.
Do I really need a dedicated welding table, or can I use a wooden bench?
You should avoid welding on wood due to the fire risk. A dedicated metal table also acts as your electrical ground, which makes welding much easier and safer. Modular tables with holes for clamping are especially useful because they allow you to hold parts perfectly still and square, which is the hardest part of fabrication for beginners.
How do I handle ventilation in a garage without a professional system?
At a minimum, use a high-CFM exhaust fan in a window and keep the garage door open at least a few inches. Position yourself so the air pulls the fumes away from your face, not through it. For grinding, a simple shop vac with a HEPA filter attached to your tool can capture a large amount of dust at the source.
What are the risks of buying cheap, non-versatile tools?
The biggest risk is “outgrowing” the tool quickly. A cheap, single-purpose tool often lacks the precision or power for advanced projects, meaning you’ll have to buy a better version later. This results in “buying twice,” which is the opposite of being budget-conscious. It also clutters your shop with low-value machines that are hard to resell.
Is it safe to use multi-purpose tools for professional work?
Many multi-process machines and versatile cutting tools are built to high standards and are used by professionals every day. The key is checking the duty cycle and build quality. If a tool is rated for the thickness of material you are working with and you follow safety standards like those from the American Welding Society (AWS), these tools are perfectly capable of professional-grade results.
How can I track my shop costs effectively?
I recommend keeping a simple spreadsheet. Track the initial cost of the machine, the cost of the electrical setup for that machine, and the ongoing cost of consumables. This helps you see the “true cost of ownership” and allows you to plan your next upgrade based on what you actually use most in the shop.
(This article was written by one of our staff writers, Michael Thompson. Visit our Meet the Team page to learn more about the author and their expertise.)