Choose the Right Tool Storage Chest for Your Garage (Review)
Transitioning from a hobbyist metalworker to a professional fabricator is a major financial shift. I remember sitting at my workbench ten years ago, looking at a pile of unpaid invoices and a cluttered floor, wondering where my profit went. I had the skills to weld and machine, but I lacked the systems to track my time and protect my investments. Most side-hustlers fail not because they are bad at their craft, but because they treat their workshop like a storage unit rather than a revenue-generating asset.
When you start charging for your time, every square inch of your garage needs to justify its existence. This is especially true for your equipment housing. A flimsy cabinet might hold your wrenches, but it won’t support a hundred-pound milling vise or protect a $3,000 TIG welder from grinding dust. To run a profitable business, you must view your workshop infrastructure through the lens of capital depreciation and operational efficiency. If you spend fifteen minutes looking for a specific specialty clamp, you just lost fifteen dollars of billable time.
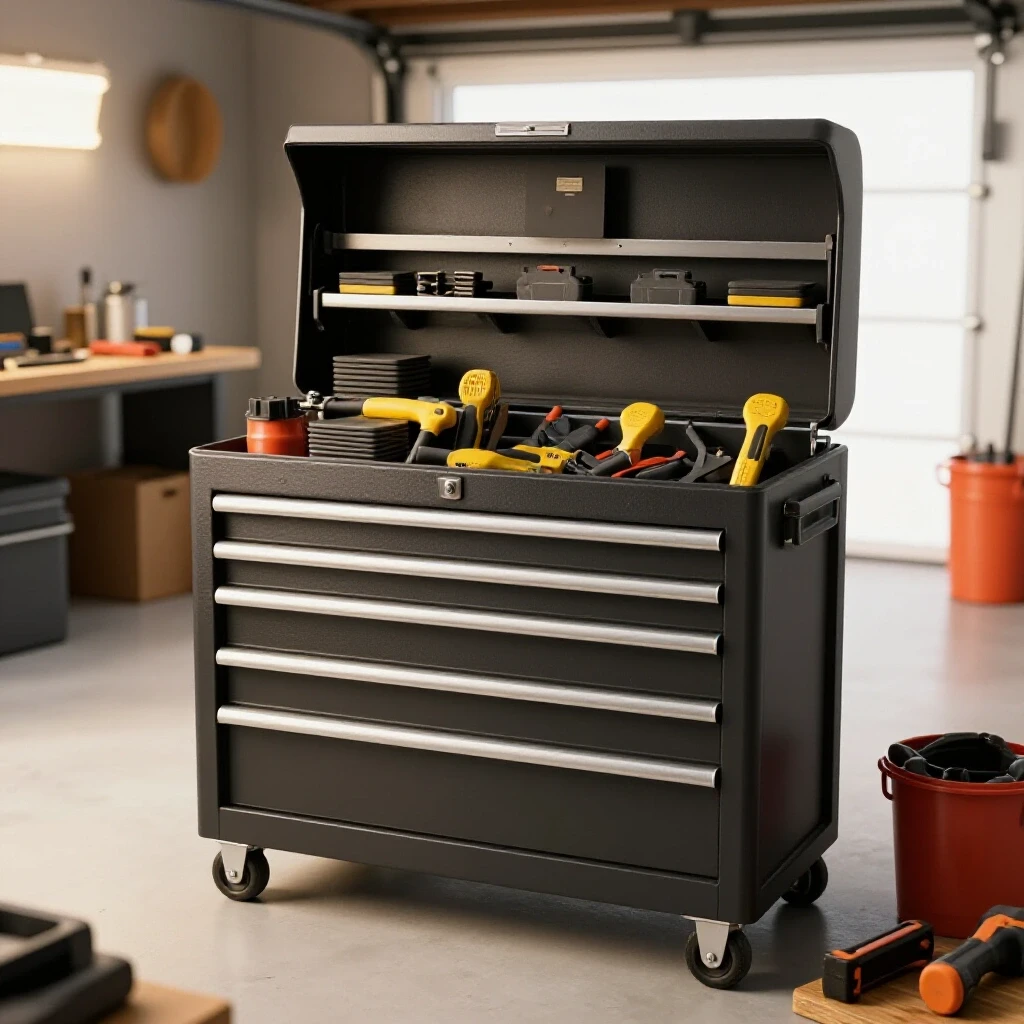
In this guide, I will break down the financial mechanics of running a small fabrication shop. We will look at how to calculate a real shop rate, how to factor in the cost of high-capacity tool housing, and how to ensure your side-hustle actually puts money in your pocket.
Establishing a Professional Shop Rate for Small-Scale Fabrication
A shop rate is the total hourly cost of running your business plus your desired profit. Many beginners pick a number like $40 an hour because it sounds higher than their day job, but they often forget that this must cover rent, electricity, insurance, and equipment wear.
If you don’t account for every light bulb and every square foot of floor space, your “profit” is actually just an uncalculated expense. In the metalworking world, a realistic shop rate for a well-equipped garage side-hustle typically ranges between $65 and $120 per hour. This varies based on your local market and the complexity of your machinery.
| Expense Category | Annual Estimated Cost | Monthly Impact |
|---|---|---|
| Workshop Rent/Mortgage (Pro-rated) | $4,800 | $400 |
| Utilities (Power, Gas, Internet) | $2,400 | $200 |
| Insurance (Liability and Equipment) | $1,200 | $100 |
| Consumables (Gas, Wire, Abrasives) | $3,000 | $250 |
| Equipment Depreciation (Amortization) | $3,600 | $300 |
| Total Fixed Overhead | $15,000 | $1,250 |
To find your hourly burden, divide your total monthly overhead by your billable hours. If you work 20 hours a week on side projects (80 hours a month), your overhead burden is $15.62 per hour before you even pay yourself a dime.
Why High-Capacity Workshop Storage Impacts Your Bottom Line
Professional-grade tool housing is a capital investment, not a household purchase. In a metalworking environment, your storage must handle extreme weight loads and harsh conditions. Heavy-duty steel construction is mandatory because a single drawer might hold fifty pounds of solid steel stock or heavy pneumatic tools.
When you evaluate storage for a commercial-grade garage, focus on the load rating of the drawer slides. A drawer that sags under the weight of a set of heavy-duty sockets will eventually fail, leading to downtime and potential tool damage. Furthermore, in a shop where grinders are constantly throwing sparks and metallic dust, your storage needs to act as a sealed vault. Dust infiltration can ruin the electronics in digital calipers or foul the lubricants in precision measuring tools.
Investing in high-quality, reinforced steel units allows you to: – Maintain a smaller footprint by stacking tools vertically. – Protect expensive precision instruments from impact and shop grit. – Reduce “search time,” which is the silent killer of fabrication profitability. – Increase the resale value of your shop assets if you ever decide to scale up or exit.
Calculating ROI and Amortization for Workshop Infrastructure
Amortization is the process of spreading the cost of an expensive item over its useful life. If you spend $2,500 on a professional-grade steel storage system, you shouldn’t view that as a $2,500 loss in month one. Instead, you should calculate how long that equipment will serve your business.
I typically use a 10-year depreciation cycle for heavy steel workshop furniture. This means a $2,500 investment costs the business $250 per year, or about $21 per month. When you look at it this way, the “high cost” of quality equipment becomes a very manageable line item in your monthly budget.
| Investment Item | Initial Cost | Useful Life | Monthly Amortization |
|---|---|---|---|
| Heavy-Duty Tool Cabinet | $2,500 | 10 Years | $20.83 |
| Multi-Process Welder | $4,000 | 5 Years | $66.67 |
| Industrial Air Compressor | $1,500 | 7 Years | $17.85 |
| Precision Measuring Set | $800 | 10 Years | $6.67 |
If this equipment saves you just one hour of labor per month by keeping your workflow organized, it has already paid for itself. In my experience, a disorganized shop loses at least 3 to 5 hours a week to “clutter friction.” At a $80/hour shop rate, that is $400 a week in lost revenue.
Tracking Consumable Burdens and Hidden Material Costs
Consumables are the items you “use up” during a job, such as welding wire, shielding gas, sanding discs, and drill bits. Many side-hustlers fail to track these, leading to a “consumable bleed” where their profit margin evaporates. I’ve seen shops lose 10% of their annual revenue simply because they didn’t charge for the “small stuff.”
The best way to manage this is through a structured storage system where consumables are organized by type and size. This allows for a quick visual inventory check before you start a bid. You should apply a consumable burden factor to every quote. For general fabrication, this is often 10% to 15% of the total material cost.
- Welding Gas: Track your tank levels. A standard 80cf tank of 75/25 Argon/CO2 might cost $60 to exchange. If you use half a tank on a project, that’s $30 you must bill.
- Abrasives: Flap discs and cut-off wheels are expensive. If a project requires five $6 discs, you need to add $30 to your quote.
- Hardware: Nuts, bolts, and washers should be marked up by 50% to 100% to cover the time spent sourcing and organizing them.
Building a Profitable Fabrication Job Quote
A professional quote is more than just a price tag; it’s a breakdown of your labor, materials, and overhead. When I consult with small shops, I recommend a “three-tier” bidding model. This ensures you aren’t just guessing based on what you think the customer wants to pay.
- Material Cost: The actual price of the metal, including tax and shipping.
- Material Markup: Usually 20% to 35%. This covers your time spent driving to the steel yard, unloading the truck, and the risk of a mistake.
- Labor Hours: An honest estimate of how long the job will take, multiplied by your shop rate.
Interestingly, many beginners underestimate “prep and finish” time. They calculate how long it takes to weld the joints but forget about the two hours spent cleaning the steel, deburring edges, and painting the final product. Always add a 10% “buffer” to your labor estimates for unforeseen complications.
The Financial Impact of Workshop Organization on Efficiency
Efficiency is the ratio of billable work to total time spent in the shop. If you are in the shop for 8 hours but only finish 4 hours of billable work, your efficiency is 50%. A professional-grade garage setup aims to push that number toward 80% or 90%.
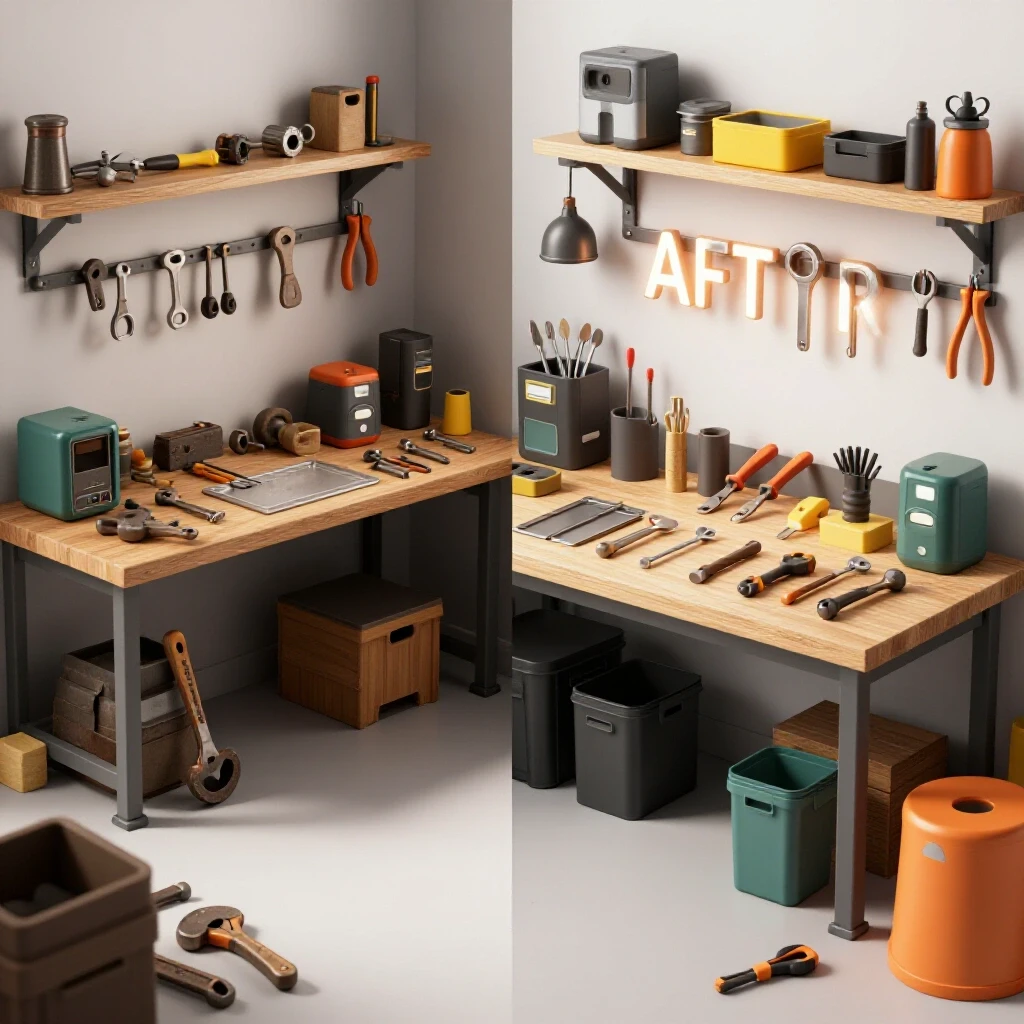
High-capacity storage with reinforced drawers plays a vital role here. By grouping tools by task—such as a “grinding drawer” containing all wheels, guards, and wrenches—you eliminate the need to move around the shop. In lean manufacturing, this is called “reducing motion waste.”
Consider the weight of your tools. A heavy-duty steel chest can hold a 60-pound magnetic drill on a lower drawer, allowing you to roll the entire unit to the workpiece rather than carrying the drill across the floor. This protects your back and your equipment.
Analyzing Post-Job Profits and Equipment Longevity
The most important part of the business cycle happens after the customer pays. You must perform a “post-job reconciliation.” Look at your estimated hours versus your actual hours. Did you use more consumables than expected? Did a tool break because it wasn’t stored properly?
If you find that you are consistently over your time estimates, it may be time to invest in better organization or more specialized machinery. For example, if you spend three hours a week hand-filing parts, a $1,200 belt grinder might have a payback period of only three months.
Protecting your tools in a dust-sealed, impact-resistant steel cabinet also extends their lifespan. A set of precision micrometers kept in a lined drawer will stay in calibration much longer than a set left on a vibrating workbench. Longevity equals profit because it delays the need for replacement capital.
Essential Tools for Shop Management and Estimating
To run a data-driven side-hustle, you need more than just a welder and a toolbox. You need digital tools to track the “boring” side of the business.
- QuickBooks or FreshBooks: Essential for tracking expenses, sending professional invoices, and monitoring your tax liability.
- Excel or Google Sheets: Build a custom “Job Estimator” where you can plug in material lengths and labor hours to generate a consistent price.
- Inventory Apps: Simple apps like Sortly can help you track your stock of welding wire and fasteners so you never run out mid-job.
- Digital Calipers with Data Export: For high-precision shops, these can speed up quality control and documentation.
Conclusion: Taking the Next Steps Toward Shop Profitability
Moving from a hobby to a business requires a mental shift. You are no longer just “making things”; you are managing a micro-factory. Your workshop organization, your tool storage choices, and your pricing models are all interconnected parts of a financial machine.
Start by calculating your true overhead tonight. Look at your current tool storage and ask if it is protecting your assets or slowing you down. If your drawers are sticking or your precision tools are covered in grit, that is a sign that your infrastructure is costing you money.
The goal isn’t to have the most expensive shop in the neighborhood. The goal is to have the most efficient one. By focusing on heavy-duty equipment housing, accurate consumable tracking, and a realistic shop rate, you can turn your garage into a professional fabrication space that actually pays for itself.
FAQ: Managing Workshop Economics and Tool Infrastructure
How do I determine if a storage unit is “heavy-duty” enough for metalworking?
Look for the gauge of the steel and the weight rating of the drawer slides. For a professional shop, you want at least 18-gauge steel construction and slides rated for at least 100 pounds per drawer. If you plan to store heavy items like steel plate or lead weights, look for units with double-slide drawers rated for 200 pounds.
What is the difference between “overhead” and “consumables”?
Overhead includes fixed costs that exist whether you have a job or not, such as rent, insurance, and the depreciation of your tool chests. Consumables are variable costs that change based on the specific project, like welding gas, sandpaper, and drill bits. You must account for both to be profitable.
How much should I mark up the metal I buy for a client?
A standard markup is 20% to 35%. This covers the “hidden costs” of procurement, such as the time spent ordering, the fuel to pick it up, and the floor space used to store it. For very small orders, some shops use a minimum material charge to ensure they don’t lose money on the trip to the supplier.
Why is dust sealing important for tool storage in a garage?
Metalworking produces fine metallic dust that is both abrasive and conductive. If this dust gets into the internal components of power tools or the delicate mechanisms of precision measuring tools, it can cause premature failure. A cabinet with good seals keeps your high-value investments clean and functional.
Is it better to buy one large tool chest or several smaller ones?
For a growing side-hustle, modularity is often better. Several smaller, heavy-duty units allow you to reorganize your shop layout as you add new machinery. However, ensure they are high-quality steel; several cheap units will cost more in the long run than one professional-grade system.
How do I factor “shop cleanup” into my pricing?
Cleanup is a billable activity. If a job takes four hours to weld and one hour to clean the shop afterward, the client should be billed for five hours. Professional shops include a “shop prep and teardown” fee or simply build it into their hourly labor estimate.
What is “machine amortization” and why does it matter?
It is the practice of spreading the cost of a machine over its expected lifespan. It matters because it tells you the true cost of owning that tool per month. If you don’t account for amortization, you won’t have the cash saved up to replace the machine when it eventually wears out.
Can I use a lower shop rate for “easy” jobs?
I advise against this. Your overhead (rent, electricity, insurance) doesn’t get cheaper just because a job is easy. A consistent shop rate ensures you cover your costs and maintain a predictable profit margin. If you want to give a discount, do it as a line item, but keep your base rate the same.
How often should I update my shop rate?
You should review your financials every six months. If your utility bills go up or you invest in expensive new storage systems, your overhead burden has increased. Adjust your rate accordingly to ensure you aren’t accidentally working for less than you were a year ago.
What is the biggest mistake side-hustlers make when buying equipment?
Buying for the “now” instead of the “future.” Many buy lightweight storage or entry-level tools that they outgrow in six months. It is almost always cheaper to wait and buy the heavy-duty, professional-grade version once than to buy the hobbyist version three times.
(This article was written by one of our staff writers, Michael Hargrove. Visit our Meet the Team page to learn more about the author and their expertise.)