How to Build a Rotating Welding Positioner on a Budget (Plan)
When I first transitioned from a hobbyist metalworker to a full-time shop owner, I made a classic mistake. I looked at my bank account at the end of the month and realized that while I was busy, I wasn’t actually making money. I was “buying my own job.” After sixteen years in the manufacturing sector, I’ve learned that the difference between a struggling side-hustle and a profitable fabrication business isn’t the quality of your beads—it’s the accuracy of your math. One of the most effective ways to increase your margins is by improving your shop’s throughput. Often, this means creating specialized equipment to handle repetitive tasks more efficiently.
Establishing Your Real Hourly Shop Rate
A shop rate is the total dollar amount your business must charge for every hour of billable labor to cover all operating costs, taxes, and a fair profit. It is the foundation of every quote you send to a client.
Many small shop owners pick a number out of thin air, often around $40 or $50 an hour, because it “feels right.” In reality, a sustainable rate for a small fabrication shop usually lands between $65 and $120 per hour. To find your number, you must calculate your “burdened” labor rate. This includes your desired take-home pay, plus the cost of your shop’s overhead. Overhead consists of the “invisible” costs like rent, utilities, insurance, and software subscriptions. If your monthly overhead is $1,000 and you work 80 billable hours a month, your overhead burden is $12.50 per hour. If you want to earn $40 per hour, your base rate is already $52.50 before you even consider profit or taxes.
Building your own shop fixtures, such as a motorized stand for rotating workpieces, is a strategic move to lower these costs. By spending a few hours of “non-billable” time to create a tool that speeds up future “billable” work, you are essentially investing in your own productivity. However, you must track the time spent on these internal projects. If you spend 20 hours building a tool that only saves you 5 minutes a month, the ROI (Return on Investment) isn’t there.
| Expense Category | Monthly Cost (Est.) | Hourly Burden (80 hrs/mo) |
|---|---|---|
| Shop Rent/Mortgage | $600 | $7.50 |
| Utilities (Power/Heat) | $150 | $1.88 |
| Insurance (Liability) | $80 | $1.00 |
| Consumables (Gas/Wire) | $120 | $1.50 |
| Equipment Depreciation | $100 | $1.25 |
| Total Overhead Burden | $1,050 | $13.13 |
The Economics of Shop-Built Fabrication Aids
This concept involves analyzing the financial benefit of constructing a custom tool versus the cost of manual labor or purchasing a pre-made solution. For a side-hustler, the goal is to maximize shop efficiency with minimal capital outlay.
When you are fabricating circular parts or cylindrical assemblies, the time spent repositioning the workpiece is “dead time.” It is non-value-added labor. If a motorized turning fixture allows you to complete a circular seam in one continuous motion rather than four separate segments, you reduce your labor time and the risk of defects. In a professional shop, a defect is a profit killer. It requires grinding, re-fabricating, and extra consumables.
Interestingly, the cost of building a basic rotation device can be kept under $150 if you are smart about sourcing. Compare this to the hundreds or even thousands of dollars for a commercial unit, and the payback period becomes very short. If the tool saves you just 15 minutes of labor on a $75/hour job, it pays for itself after 13 or 14 projects. This is the kind of math that separates the hobbyist from the business owner.
Sourcing Strategy for an Economical Motorized Fixture
Effective sourcing means finding functional components from non-traditional outlets to minimize the initial cash investment in shop equipment. This requires a shift from “buying new” to “repurposing and salvaging.”
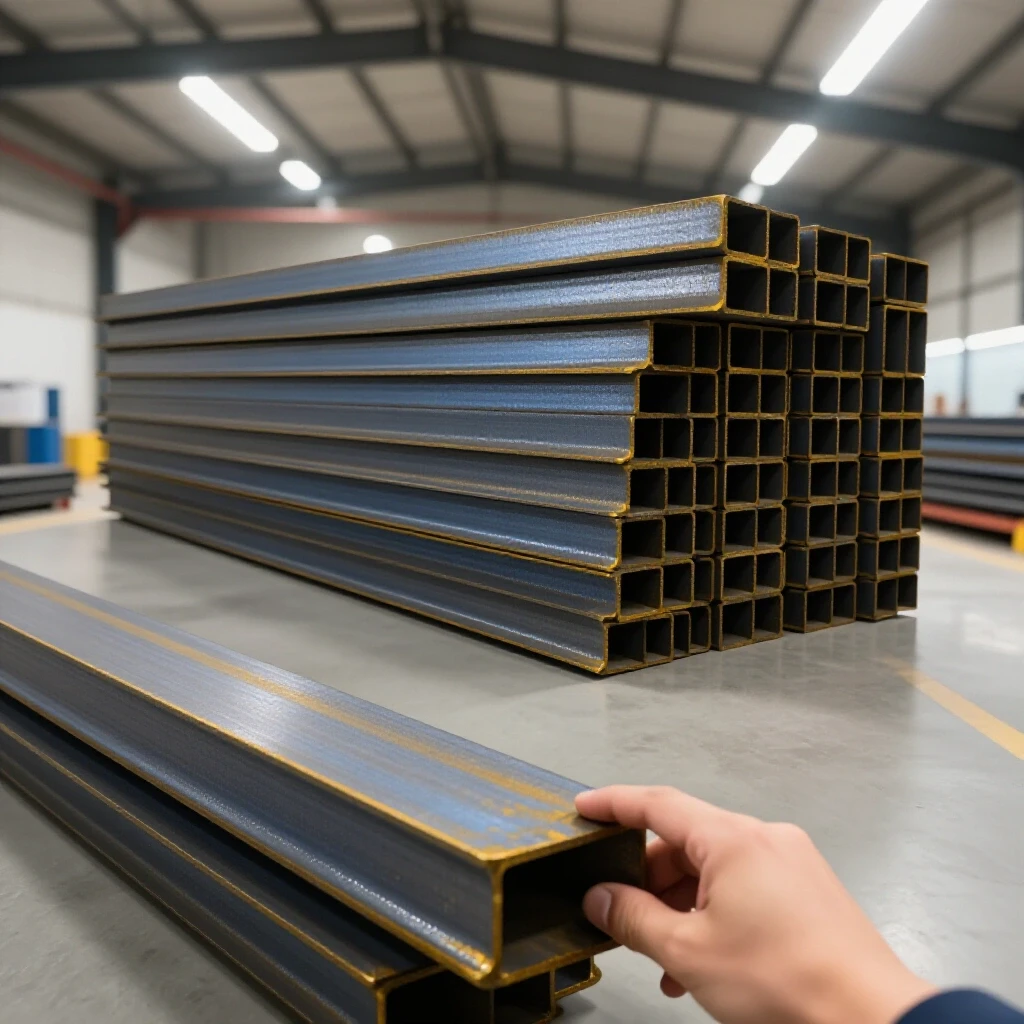
To keep a build under $150, you have to look at scrap and salvage. For the frame, structural steel remnants or “drops” from a local steel yard are your best friend. Many yards sell these by the pound at a fraction of the cost of full sticks. For the rotational heart of the device, look for salvaged automotive parts. An old wheel hub or a large heavy-duty bearing from a piece of farm equipment provides a stable, low-friction base that can handle the weight of heavy weldments.
The drive system is where most people overspend. Instead of expensive industrial motors, I often recommend 12V or 24V DC gear motors found in power tools or small electric vehicles. These are affordable and easy to control. A basic Pulse Width Modulation (PWM) speed controller can be purchased for less than $20, allowing you to dial in the exact rotation speed needed for different diameters of work.
- Scrap Steel: $20 – $40 (Check local scrap yards for plate and tube).
- Salvaged Bearings/Hub: $10 – $30 (Auto salvage or eBay).
- DC Gear Motor: $30 – $50 (Surplus centers or online marketplaces).
- PWM Speed Controller: $15 – $25 (Electronic hobbyist sites).
- Power Supply: $10 – $20 (Old laptop chargers or 12V batteries).
Calculating ROI for Custom Tooling Projects
Return on Investment (ROI) is a measure of the profitability of an investment, calculated by dividing the net profit by the total cost of the investment. In a workshop, this is usually measured in time saved.
Let’s look at a real-world scenario. Suppose you take on a contract for 50 small circular flanges. Without a rotating fixture, each flange takes 10 minutes to set up and weld due to constant repositioning. With a motorized turntable, that time drops to 6 minutes. You’ve saved 4 minutes per part. Over 50 parts, that is 200 minutes, or 3.3 hours.
If your shop rate is $80/hour, you’ve just “earned” $264 in saved labor. If the tool cost you $120 to build, you’ve already cleared the cost and made a $144 profit on the very first job. This is why I focus on “tool ROI” rather than just “tool cost.” Building a low-cost rotation device isn’t just about making the work easier; it’s about increasing your hourly earnings by reducing the time required for each task.
Why Hidden Consumables Bleed Small Shop Profits
Consumables are items used up during the fabrication process, such as shielding gas, welding wire, grinding discs, and electricity. Because these are used in small increments, they are often overlooked in job quotes.
When you use a motorized fixture, you might find that you use slightly more shielding gas because you are running longer, continuous beads. However, you likely use fewer grinding discs because the welds are more consistent and require less cleanup. I recommend adding a “Consumable Burden Factor” to every quote. This is typically a 10% to 15% markup on the total material cost, or a flat hourly fee added to your shop rate.
Tracking these costs is vital. I suggest keeping a log of how many tanks of gas and spools of wire you go through over a three-month period. Divide that total cost by the number of billable hours worked in that same period. This gives you a “consumable cost per hour” that you can confidently add to your shop rate. If you don’t track this, you are essentially paying the client to work for them.
Building a Custom Job Quote with Precision
A job quote is a formal document provided to a client that outlines the expected costs for a project, including materials, labor, and overhead. Accuracy here prevents “scope creep” and ensures profitability.
When quoting a job that utilizes your new motorized fixture, don’t lower your price just because you are faster. This is a common pitfall. If the market rate for a specific part is $50, and your new tool allows you to make it in half the time, your hourly profit doubles. You are being paid for your efficiency and your investment in equipment.
A professional quote should be broken down into three main categories: 1. Materials: The actual cost of the metal, plus a 20-30% markup for sourcing and handling. 2. Labor: The estimated hours multiplied by your shop rate. 3. Specialty Fees: Any costs for outside services like powder coating or specialized hardware.
Analyzing Post-Job Profits and Cost Variance
Post-job analysis is the process of comparing your original quote to the actual costs incurred to see where you made—or lost—money. This is the most important step for long-term growth.
After you finish a project using your shop-built rotation stand, sit down with your notes. Did the job take as long as you estimated? Did you use more material than expected? If you estimated 5 hours but it took 7, you need to know why. Was it a setup issue? Did the motor speed need adjustment?
This “cost variance” is your teacher. If you consistently underestimate labor, you need to raise your shop rate or improve your tools. If your material costs are always higher than quoted, you need to account for waste and the “tax” of driving to the steel yard. By treating every project as a data point, you turn your side-hustle into a finely tuned financial machine.
Practical Steps for Building Your Rotation Fixture
Building a functional, motor-driven stand requires a logical progression from mechanical assembly to electrical integration. The goal is a stable platform that provides consistent, slow-speed rotation.
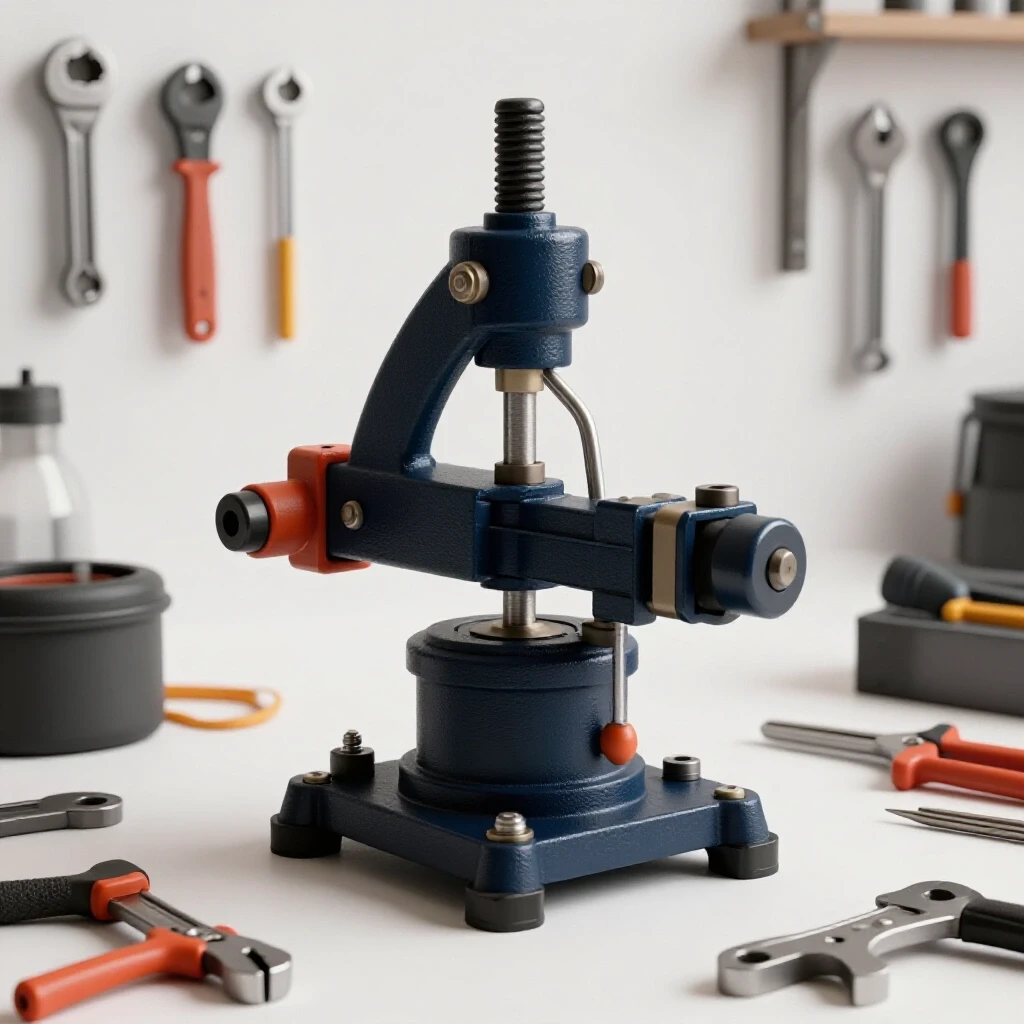
Start with the base. A heavy, wide base is necessary to prevent tipping when you mount off-center workpieces. Use scrap plate steel, at least 3/8″ thick, to provide a low center of gravity. Weld a vertical riser to the base, which will hold your bearing assembly. I prefer using a salvaged automotive spindle because it is designed to handle high radial and axial loads, and it usually comes with a bolt pattern that makes mounting a “faceplate” or “table” easy.
For the drive mechanism, mount your DC gear motor so that it can engage the spindle. You can use a simple friction drive (a rubber wheel against the edge of the table) or a chain and sprocket system. The friction drive is easier to build and acts as a “clutch” if something jams. Connect the motor to your PWM controller and a power source. Ensure you have a foot pedal or a hand switch that allows you to start and stop the rotation without taking your hands off your torch.
- Frame Construction: Weld the base and vertical support.
- Spindle Mounting: Secure the bearing or hub to the riser.
- Table Attachment: Bolt a circular plate (the work surface) to the hub.
- Motor Integration: Mount the motor and align the drive system.
- Electrical Wiring: Connect the PWM controller and foot switch.
- Testing: Run the system under load to check for speed consistency.
Managing Shop Depreciation and Tool Maintenance
Depreciation is the gradual decrease in the economic value of your tools and equipment over time. Maintenance is the ongoing cost of keeping those tools in working order.
Even a $150 shop-built tool won’t last forever. The motor might burn out, or the bearings might need grease. In accounting terms, you should “depreciate” your equipment. If you expect your rotation stand to last three years, you should ideally set aside a small portion of your profits to replace or upgrade it when that time comes.
Maintenance is also a financial consideration. Five minutes of greasing a bearing every month can prevent a $50 motor failure. In my experience, small shop owners who ignore maintenance often face equipment failure at the exact moment they have a high-priority deadline. This leads to “emergency spending,” which is the enemy of a healthy budget.
Digital Tools for Small Shop Management
Modern software can simplify the complex task of tracking expenses, managing quotes, and monitoring project timelines.
You don’t need a massive ERP system. For a side-hustle, a few simple digital tools can make a huge difference. Using a dedicated app for invoicing ensures you look professional and get paid faster. Many of these apps allow you to track your time directly against a project, which provides the data you need for your post-job analysis.
- QuickBooks or FreshBooks: Excellent for invoicing and basic expense tracking.
- Excel or Google Sheets: The best tool for building custom quote calculators and tracking consumable usage.
- Clockify: A free time-tracking app that helps you see exactly where your hours go.
- Wave Accounting: A great free option for side-hustlers who need to manage basic bookkeeping.
Conclusion
The transition from a hobbyist to a successful side-hustler is paved with spreadsheets, not just sparks. By focusing on the financial reality of your workshop—calculating a true shop rate, understanding the ROI of your equipment, and tracking every consumable—you move away from guesswork and toward a profitable business. Building your own productivity aids, like a motorized rotation fixture, is a perfect example of this mindset. It represents a small capital investment that yields significant labor savings. Remember, your time is your most valuable asset. Every minute you save through better tooling is a minute you can either bill to a client or spend growing your business. Stay disciplined with your numbers, and the craftsmanship will follow.
FAQ
What is a realistic shop rate for a part-time metalworker? For most side-hustlers, a rate between $65 and $85 per hour is the “sweet spot.” This covers your overhead and consumables while allowing for a profit margin that can be reinvested into the shop. If you have specialized skills or unique equipment, you can push this toward $100-$120.
How do I calculate the ROI on a tool I build myself? Divide the total cost of the build (materials + your labor time) by the labor value saved per job. For example, if a tool costs $200 to build and saves you $20 in labor per project, the ROI is realized after 10 projects.
Should I include my own labor time when calculating the cost of a shop project? Yes. Even though you aren’t “paying” yourself cash, your time has an “opportunity cost.” If you spend 10 hours building a tool, that is 10 hours you couldn’t spend on a billable client project. Always track your internal hours to ensure the project is actually worth it.
How do I handle material markups without overcharging? A standard markup is 20% to 30%. This isn’t just “extra profit”; it covers the time you spend driving to the supplier, the fuel used, the wear and tear on your vehicle, and the cost of holding inventory. Most clients understand this as a “handling fee.”
What is the “Consumable Burden Factor”? This is a percentage added to a quote to cover “invisible” costs like welding gas, wire, and abrasives. I recommend a 10% to 15% markup on the material cost or a flat $5-$10 per billable hour to ensure these costs don’t eat your profit.
Can I really build a motorized rotation stand for under $150? Yes, if you use salvaged components. By using an old automotive wheel hub and a surplus DC gear motor, your primary costs will be the motor, the speed controller, and a bit of scrap steel. Buying these parts new or as a kit would easily triple the cost.
Why is a PWM controller better than a standard rheostat for motor speed? A Pulse Width Modulation (PWM) controller maintains the torque of the motor even at low speeds. A standard rheostat reduces voltage, which can cause the motor to stall under the weight of a heavy workpiece. For fabrication, you need consistent torque at very slow rotations.
How do I know if I should buy a tool or build it? Calculate the “Build vs. Buy” ratio. If a commercial tool costs $1,000 and you can build a functional version for $150 in 10 hours of work, your “internal labor rate” is $85/hour. If your shop rate is $75/hour, it might be cheaper to buy it. If your shop rate is $40/hour, building it is a huge win.
What is the biggest mistake side-hustlers make when pricing jobs? Underestimating the “setup and cleanup” time. A “one-hour weld job” often involves 30 minutes of prep, 20 minutes of welding, and 30 minutes of grinding and cleanup. If you only bill for the 20 minutes of welding, you are losing money on every job.
How often should I update my shop rate? I recommend reviewing your financials every six months. If your utility bills go up or the price of shielding gas increases, your shop rate should reflect that. Don’t be afraid to raise your rates as your skills and equipment improve.
(This article was written by one of our staff writers, Michael Hargrove. Visit our Meet the Team page to learn more about the author and their expertise.)