How to Increase Daily Weld Speed with Dual Shield Wire (Fix)
When I first moved from doing “favors” for neighbors to taking on legitimate fabrication contracts, I hit a wall that almost cost me my shop. I was bidding jobs based on a flat hourly rate I’d heard other guys mention, but at the end of the month, my bank account didn’t reflect the long hours I spent under the hood. I realized that my “hobbyist” mindset was ignoring the most critical metric in a commercial shop: throughput. In the world of structural fabrication, your ability to move metal quickly and reliably is the difference between a thriving business and a stressful, expensive hobby.
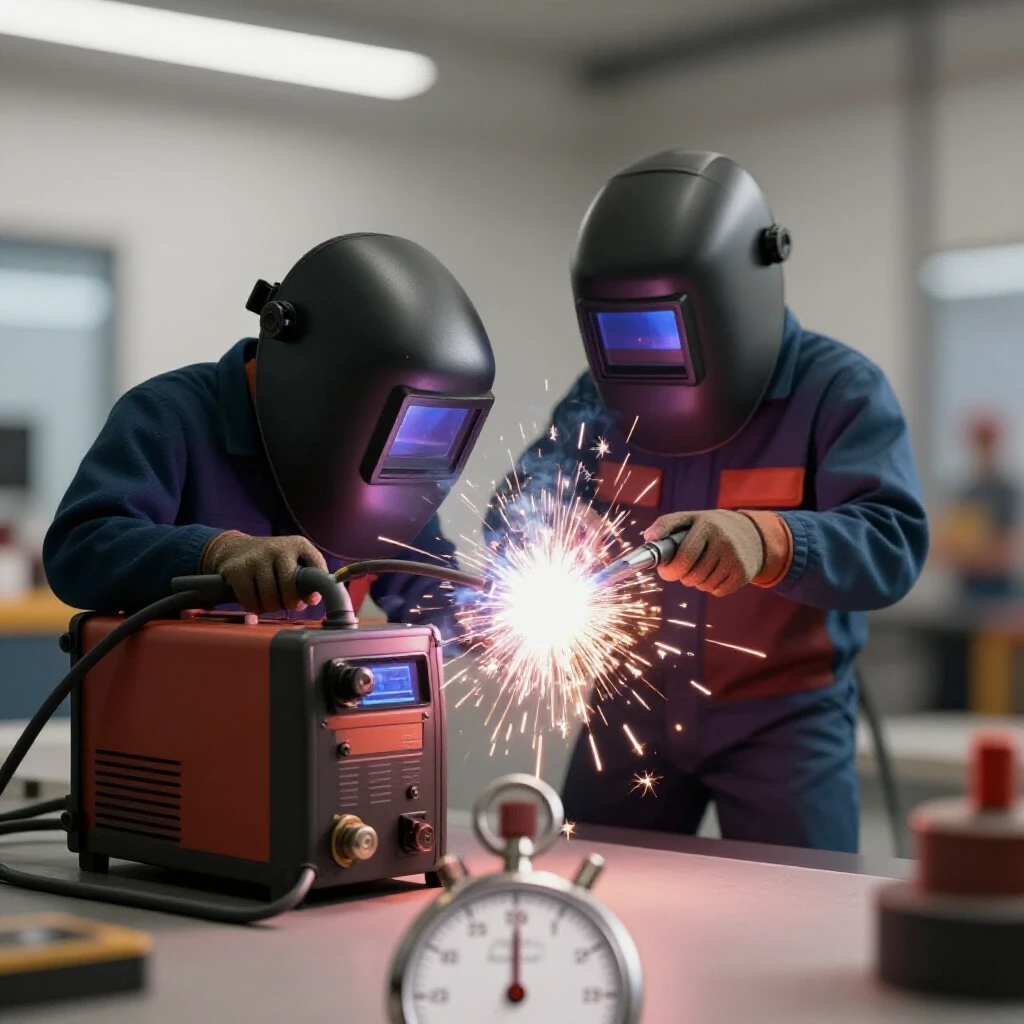
Transitioning to gas-shielded flux-cored welding was the turning point for my shop’s finances. This process, often called dual shield, allows for significantly higher deposition rates than other methods, but only if you know how to tune the variables for maximum travel speed. If you are a side-hustler or a small shop owner, your goal isn’t just to make a pretty bead; it is to maximize the amount of quality weld you can produce in a single billable hour. This guide focuses on the financial and technical “fixes” required to push your production speeds higher without sacrificing the structural integrity your clients pay for.
Establishing a Profitable Foundation with Accurate Shop Rates
A shop rate is the total hourly cost of keeping your doors open, plus your desired profit margin, divided by your actual billable hours. Many new owners guess this number, often landing between $65 and $120 per hour, but without tracking your specific overhead, you are essentially gambling with your mortgage.
When I started, I didn’t realize that my electricity bill, shop insurance, and even the heat for the building had to be paid for by the “arc-on” time. If you only spend four hours a day actually fabricating, those four hours must cover 24 hours of shop existence. To find your true rate, you must list every fixed cost—rent, utilities, software, and insurance—and every variable cost, like consumables and maintenance.
- Fixed Costs: These do not change based on how much you weld (e.g., shop rent or property taxes).
- Variable Costs: These fluctuate with your workload (e.g., welding wire, CO2/Argon mix, and electricity).
- Labor Rate: What you would have to pay a skilled welder to do your job, even if you are doing it yourself.
- Profit Margin: The “extra” money that stays in the business for future growth and equipment upgrades.
The Shop Rate Allocation Formula
To move from guessing to knowing, use a simple allocation formula. I recommend tracking your expenses for three months to get a solid average.
| Expense Category | Monthly Cost (Example) | Annual Total |
|---|---|---|
| Shop Rent/Mortgage | $1,200 | $14,400 |
| Utilities (Power/Heat) | $300 | $3,600 |
| Insurance & Licensing | $150 | $1,800 |
| Consumables (Base) | $200 | $2,400 |
| Total Overhead | $1,850 | $22,200 |
If you plan to work 20 hours a week (1,040 hours a year) as a side hustle, your overhead alone is $21.34 per hour. If you want to earn a $40/hour wage and keep a 20% profit margin for the shop, your rate needs to be at least $74/hour. Understanding this “floor” is the first step toward realizing why increasing your travel speed is so vital.
The Financial Case for High-Deposition Gas-Shielded Flux-Cored Processes
Deposition rate refers to how many pounds of filler metal you can successfully weld into a joint per hour of arc-on time. Gas-shielded flux-cored wire is the king of productivity for small shops because it combines the continuous feed of MIG with the deep penetration and high heat of stick welding.
In my experience, many shop owners shy away from dual shield because the wire is more expensive per pound than solid wire. However, this is a classic “penny wise, pound foolish” mistake. When you factor in the labor savings from moving faster and the reduced risk of cold-lap defects, the higher consumable cost is quickly neutralized. If you can weld a 10-foot seam in 20 minutes instead of 45 minutes, you’ve just doubled your shop’s earning potential for that hour.
- Time Savings: Higher travel speeds mean more jobs completed per week.
- Deep Fusion: The flux-cored chemistry allows for higher heat inputs, ensuring the weld “bites” into the base metal even at high speeds.
- Out-of-Position Efficiency: With the right settings, you can weld vertical-up much faster than with other processes.
Comparing Throughput: Solid Wire vs. Dual Shield
| Metric | Solid Wire (GMAW) | Dual Shield (FCAW-G) |
|---|---|---|
| Typical Deposition (lbs/hr) | 3 – 5 | 8 – 12 |
| Average Travel Speed (IPM) | 8 – 12 | 15 – 25 |
| Post-Weld Cleanup | Low | Moderate (Slag removal) |
| Total Job Time (10ft weld) | 60 mins | 35 mins |
The “fix” for slow production isn’t just working harder; it’s using a process designed for volume. By switching to a gas-shielded flux-cored setup, you are investing in your shop’s ability to take on larger, more profitable structural projects that would be too slow to complete with solid wire.
Tuning Machine Parameters to Maximize Linear Feet Per Hour
To increase your daily output, you must find the “sweet spot” where voltage and wire feed speed (WFS) allow the puddle to stay fluid enough to move quickly without losing control. If your voltage is too low, the wire will “stub” into the plate; if it’s too high, the arc becomes unstable and creates excessive spatter.
I spent years tweaking my 350-amp power source to find the perfect balance. For 1/4-inch to 1/2-inch carbon steel, I typically look for a spray-like transfer. This requires a higher voltage setting than you might be used to with standard MIG. When you get the settings right, the slag should practically peel itself off, which is another massive time-saver in the fabrication process.
- Voltage: Think of this as your puddle width and fluidity control. Higher voltage flattens the bead and allows for faster travel.
- Wire Feed Speed (Amperage): This controls your penetration and how much metal you are putting down.
- CTWD (Contact-Tip-to-Work Distance): In dual shield, a longer “stick-out” (usually 3/4″ to 1″) is necessary to pre-heat the wire, which actually helps increase the deposition rate.
The “Speed Fix” Parameter Guide
When you want to push your travel speed, start with these baseline settings for .045″ diameter E71T-1 wire and adjust based on your machine’s arc characteristics.
- Set Voltage: Aim for 24–27 volts for flat fillet welds.
- Set WFS: Start at 350–450 inches per minute (IPM).
- Adjust Gas Flow: Ensure your 75/25 Argon/CO2 mix is at 35–45 CFH (Cubic Feet per Hour).
- Listen for the “Roar”: Unlike the “sizzling bacon” sound of short-circuit MIG, a high-speed dual-shield arc should have a consistent, smooth roar.
By increasing your WFS and matching it with enough voltage to keep the puddle wet, you can move the torch much faster. This reduces the heat-affected zone (HAZ) and prevents the “humping” effect where the weld bead sits too high on the metal.
Managing the Hidden Burden of Shielding Gas and Wire Consumables
Consumable burden is the percentage of your total job cost that goes toward items that get used up, such as wire, gas, and contact tips. If you don’t track these specifically, they will quietly eat your profit margins, especially when you are running at high production speeds.
In my shop, I noticed that as I increased my travel speed, my gas consumption per hour stayed the same, but my gas consumption per foot of weld actually decreased. This is a crucial distinction for job costing. If you can weld faster, you spend less time with the gas flowing for the same amount of finished product. However, you are burning through wire faster, so your material markup must reflect this.
- Shielding Gas: Most small shops pay a premium for tank swaps. I recommend moving to the largest cylinders your supplier offers (typically 250 or 330 cubic feet) to lower the cost per cubic foot.
- Wire Waste: High-speed welding can lead to more spatter if the settings are off. Every ounce of spatter is money on the floor.
- Contact Tips: At high amperages, tips wear out faster. I always factor in one tip for every two 33lb spools of wire.
Consumable Tracking Table
Use a table like this to determine your “Consumable Burden Factor” for every project.
| Item | Unit Cost | Usage Rate (Estimated) | Cost Per Arc-Hour |
|---|---|---|---|
| .045 Dual Shield Wire | $3.50/lb | 10 lbs/hr | $35.00 |
| 75/25 Shielding Gas | $0.25/cf | 40 cf/hr | $10.00 |
| Contact Tips/Nozzles | $2.50/ea | 0.1 per hour | $0.25 |
| Total Hourly Burden | $45.25 |
If your shop rate is $100/hour and your consumables cost $45/hour, you only have $55 left to cover overhead and labor. This is why many fabricators fail—they forget that “arc time” is expensive. You must ensure your material markup (usually 20% to 50%) covers these hidden costs.
Calculating the Payback Period for High-Output Welding Equipment
Investing in a machine capable of high-speed gas-shielded flux-cored welding is a significant capital expense. For a side-hustle, spending $3,000 to $5,000 on a professional-grade power source can feel daunting. However, you should look at this through the lens of a “payback period”—the amount of time it takes for the tool to pay for itself through increased efficiency.
When I upgraded from a small 210-amp multi-process machine to a dedicated 350-amp industrial feeder, my productivity on heavy trailer frames doubled. I was able to bid on larger jobs and finish them in half the time. The machine paid for itself in exactly four months of part-time work.
- Determine the Cost Difference: How much more does the “fast” machine cost compared to your current setup?
- Estimate Time Savings: How many hours will you save per month by moving faster?
- Calculate Monthly Gain: (Hours Saved x Shop Rate) = Monthly ROI.
- Find the Break-Even Point: Total Investment / Monthly Gain = Months to Payback.
ROI Timeline: Upgrading to a High-Amperage Feeder
- Investment: $4,500 (New machine + large gas cylinder + initial wire).
- Time Saved: 10 hours per month on structural jobs.
- Shop Rate: $90/hour.
- Monthly Profit Increase: $900.
- Payback Period: 5 Months.
After five months, that $900 per month becomes pure profit (minus maintenance). This is how you grow a side-hustle into a sustainable business: by investing in tools that provide a documented return on investment through speed.
Optimizing Travel Angles and Torch Technique for Speed
To maintain quality while increasing travel speed, you must master the relationship between your torch angle and the weld puddle. With gas-shielded flux-cored wire, the old saying “if there’s slag, you drag” holds true. A drag angle of 10 to 15 degrees is standard, but as you increase your wire feed speed, you may need to sharpen that angle to prevent the slag from “running over” the arc.
I’ve seen many hobbyists struggle with “wormholes” or porosity when they try to speed up. This is usually caused by an inconsistent contact-tip-to-work distance (CTWD). If you pull the torch too far away, you lose gas coverage; if you get too close, you increase the current too much and can burn through thinner material.
- The Drag Angle: Helps keep the slag behind the puddle. If you move too fast with a push angle, you risk trapping slag inside the weld.
- Steady Hand: At high speeds, any “wobble” in your hand is magnified in the bead profile. I often use a steady-rest or a wooden block to guide my hand on long seams.
- Travel Speed Consistency: If you speed up and slow down, the heat input varies, leading to uneven penetration. Practice on scrap until you can move at a steady 20 inches per minute.
Key Takeaway: Speed is useless if it results in rework. Spend time “dialing in” your physical movements to match the higher wire feed speeds. The goal is a “one-pass” finish where the slag lifts off to reveal a perfect, ripple-free bead.
Post-Project Analysis: Measuring Real-World Productivity Gains
The final step in mastering shop economics is the “post-mortem.” After you finish a job using these high-speed techniques, you must sit down with your notes and see if the math actually worked. Did you finish under the estimated time? Did you use more wire than expected?
I keep a simple logbook for every project. I record the total linear feet of weld, the total arc-on time, and the weight of the wire spools before and after the job. This data is gold for your next bid. If you know you can weld 1/2-inch plate at 18 inches per minute reliably, your bids will be more competitive and more profitable than the guy who is just guessing.
- Actual vs. Estimated Time: Did the high-speed settings save as much time as planned?
- Consumable Variance: Did you go through more gas or wire than the estimate allowed?
- Profitability Check: (Total Payment – Material Costs – Overhead) / Total Hours Worked = Your Actual Hourly Wage.
If your actual hourly wage is higher than your target, you have successfully optimized your shop’s efficiency. If it’s lower, you need to look at where the “time leaks” are happening—usually in setup, prep, or cleanup.
Sample Project Cost Log
- Project: Heavy Duty Equipment Trailer Frame
- Estimated Time: 20 Hours (using solid wire)
- Actual Time: 12 Hours (using high-speed dual shield)
- Material Cost: $1,400
- Consumables: $180
- Total Bid: $3,200
- Gross Profit: $1,620
- Effective Hourly Rate: $135/hour
By focusing on increasing the daily weld speed, the effective hourly rate jumped significantly. This is the “secret” to small shop success: it’s not about charging more; it’s about producing more in the same amount of time.
Resources for Small Shop Financial Management
To stay on top of your shop’s numbers, you don’t need a degree in accounting, but you do need the right tools. I recommend using a combination of digital and physical tracking to ensure nothing slips through the cracks.
- QuickBooks or FreshBooks: Essential for tracking overhead, invoicing clients, and monitoring tax obligations.
- Excel/Google Sheets: I use custom spreadsheets for “What-If” scenarios, like calculating the ROI on a new welder or tracking wire usage per foot.
- Welding Parameter Apps: Many wire manufacturers offer apps that provide baseline settings for specific wire diameters and plate thicknesses.
- Digital Calipers and Gauges: To ensure your weld sizes are accurate. Over-welding (making a bead larger than specified) is a massive waste of time and money.
- Stopwatch/Timer: Use this during “arc-on” time to get an accurate measurement of your actual deposition rates.
The transition from a hobbyist to a professional fabricator is a journey of data. The more you measure, the more you can control. By mastering the technical “fixes” for faster welding and the financial “fixes” for accurate pricing, you build a business that is both sustainable and rewarding.
FAQ: Maximizing Efficiency and Profit in the Small Shop
Why is my dual shield weld leaving “wormholes” even when I move fast? Wormholes are usually caused by moisture in the flux or improper gas coverage. Ensure your wire is stored in a dry place and your gas flow is between 35-45 CFH. Also, check that your contact-tip-to-work distance is consistent; if it’s too long, the gas won’t protect the puddle.
Is it really worth the extra cost of 75/25 gas for a side hustle? Yes. While 100% CO2 is cheaper, it creates more spatter and a more turbulent arc. The 75/25 Argon mix allows for a smoother spray-like transfer, which is essential for the high travel speeds needed to maximize your hourly profit.
How do I factor in the time spent grinding and prepping? Your shop rate must cover all shop time, not just welding. If a job takes 5 hours of prep and 5 hours of welding, you must bill for 10 hours at your shop rate. High-speed welding reduces the “hood time,” but prep remains a fixed labor cost.
What is a “good” material markup for a small shop? Most small shops use a 20% to 50% markup on raw materials. This isn’t just “extra profit”; it covers the time you spent sourcing, picking up, and unloading the metal, as well as the consumables like saw blades and grinding discs.
Can I run high-speed dual shield on a 110v or 220v “hobby” welder? Most 110v machines lack the voltage and duty cycle required for gas-shielded flux-cored wire. You generally need a 220v machine with at least 200-250 amps of output to see the productivity benefits of this process.
How do I know if I’m welding too fast? If the bead looks “ropey” or narrow and doesn’t wash into the edges of the joint, you are likely outrunning your heat input. You either need to slow down slightly or increase your voltage to make the puddle more fluid.
Does high-speed welding affect the strength of the joint? If done correctly with proper fusion, no. In fact, the higher heat input of gas-shielded flux-cored welding often results in better penetration than standard short-circuit MIG, provided you maintain the correct parameters.
What is the best way to track my wire usage? Weigh your spool at the start of a large project and again at the end. Subtract the weight of the empty spool (usually 2-3 lbs for a 33lb plastic spool) to find exactly how many pounds of filler you’ve deposited.
Should I charge by the foot or by the hour? For repetitive structural work, charging by the foot is often more profitable once you’ve optimized your speed. However, for custom “one-off” fabrication, an hourly rate with a built-in “contingency” for surprises is safer.
How often should I re-evaluate my shop rate? At least once a year, or whenever a major expense changes (like a rent increase or a significant rise in the price of gas). Small increases in overhead can quickly turn a profitable shop into a losing one if they aren’t passed on to the client.
(This article was written by one of our staff writers, Michael Hargrove. Visit our Meet the Team page to learn more about the author and their expertise.)