How to Inspect Used Shop Machinery and Avoid Scams (Tips)
When I built my first shop in 2013, I had exactly $2,000 and a single-car garage that smelled like old lawnmower gas. I spent weeks scouring local listings for a lathe and a drill press, terrified that I would hand over my hard-earned savings for a pile of scrap metal. My background as an industrial maintenance technician helped me spot a few “lemons,” but the anxiety of making a mistake in a residential space was real. Most beginners face this same wall of analysis paralysis. You want to start fabricating, but the fear of buying a machine with a cracked casting or a burnt-out motor keeps you from pulling the trigger.

Setting up a functional fabrication space on a budget requires a shift in mindset. You aren’t just buying tools; you are investing in mechanical potential. To do this safely and effectively, you must learn to look past a fresh coat of paint and see the actual condition of the iron. This guide is built on the records I’ve kept over twelve years of shop evolution, focusing on the technical realities of vetting pre-owned metalworking machinery.
Evaluating Power Capacity for Pre-Owned Metalworking Equipment
Assessing your garage’s electrical limits ensures that used machinery won’t trip breakers or cause fires. It involves checking circuit ratings and motor nameplates to match available amperage with tool demand. Many beginners overlook this, only to find their new-to-them welder or lathe won’t run on a standard household outlet.
Before you even look at a machine, you need to know what your “starter metal workshop layout” can handle. Most modern homes have 15A or 20A circuits in the garage. However, older industrial machines often require 220V power or have high “inrush” currents that can pop a 15A breaker instantly. I always recommend a dedicated 20A circuit for any significant metalworking tool.
When inspecting a used machine, find the motor nameplate. It will list the voltage (V) and the full-load amps (FLA). If the motor says 230V and you only have 110V outlets, you will need a transformer or a phase converter, which adds significant cost. If the FLA is 18A, a standard 15A household circuit is insufficient and potentially dangerous.
- 15A Circuit: Suitable for small grinders, bench drills, and LED lighting.
- 20A Circuit: The minimum for most entry-level MIG welders and small lathes.
- 30A+ Circuit: Required for larger plasma cutters or heavy-duty industrial mills.
Power Consumption by Tool Class
| Tool Type | Typical Voltage | Amperage Draw (Running) | Recommended Circuit |
|---|---|---|---|
| Small Bench Grinder | 110V | 3-5A | 15A Standard |
| Entry-Level MIG Welder | 110V/220V | 15-20A | 20A Dedicated |
| Small Metal Lathe | 110V | 8-12A | 20A Dedicated |
| Industrial Drill Press | 220V | 10-15A | 20A (220V) |
Mechanical Inspection Protocols for Secondhand Lathes and Mills
A thorough physical exam of a machine’s moving parts reveals its true history and remaining lifespan. This process involves checking for backlash, bed wear, and spindle runout using basic measuring tools. You are looking for signs of “productive life” versus “terminal wear.”
When I inspect a lathe, the first thing I look at is the “ways.” These are the precision-ground tracks the carriage moves along. Run your fingernail across the top of the ways near the headstock. If you feel ridges or deep scoring, the machine has seen heavy use without proper lubrication. This wear makes it impossible to turn metal accurately over long distances.
Next, check the “backlash” in the handwheels. Backlash is the amount of “dead space” you can turn the handle before the machine part actually moves. While some backlash is normal in older machines, anything over half a rotation suggests the lead screws or nuts are worn out. These parts are expensive to replace and can blow your “budget metalworking tools” goal out of the water.
- Spindle Play: Use a dial indicator to check for “runout.” A spindle that wobbles even 0.005 inches will cause vibration and poor finishes.
- Gear Teeth: If the machine has a gearbox, open the cover. Look for chipped or missing teeth. A single broken tooth can make a machine unusable and is a common reason for a “cheap” listing.
- The “Pry Bar” Test: Gently use a small pry bar to see if there is vertical play in the bearings. If the spindle lifts, the bearings are shot.
Detecting Hidden Wear and Deceptive Refurbishments
Identifying superficial fixes designed to hide deep mechanical flaws is crucial for any budget-conscious buyer. “Lipstick on a pig” refers to fresh paint or heavy grease used to mask rust, cracks, or excessive play in gears. Sellers often use these tactics to inflate the perceived value of a worn-out machine.
Be wary of any machine that looks “too clean” for its age. A fresh coat of “machine grey” paint often covers up weld repairs on the cast iron frame. Cast iron is notoriously difficult to weld correctly; a cracked frame usually means the machine’s structural integrity is compromised. Bring a bright flashlight and look for mismatched textures under the paint.
Another common tactic is packing gearboxes with extra-thick grease to quiet down noisy, worn-out bearings. When you arrive for an inspection, ask the seller not to “warm up” the machine before you get there. You want to hear it start cold. Grinding or whining sounds that disappear as the machine warms up are a red flag for bearing failure.
- Check the Oil: If the machine has a sump, look at the oil. If it’s milky, water has gotten in. If it’s full of metal flakes, the internals are grinding themselves away.
- Smell the Motor: Run the machine for five minutes. If you smell a “sweet” or “burnt” odor, the motor windings are overheating.
- Inspect the Fasteners: Look for rounded-off bolts or “cheater bar” marks. This tells you a previous owner was aggressive and likely didn’t follow proper maintenance procedures.
Verifying Machine Accuracy Before Finalizing the Purchase
Accuracy verification involves using precision instruments to confirm that a machine can still hold the tolerances required for metalwork. This step prevents the frustration of owning a tool that produces inconsistent or unusable parts. Without this check, you are essentially gambling with your startup funds.
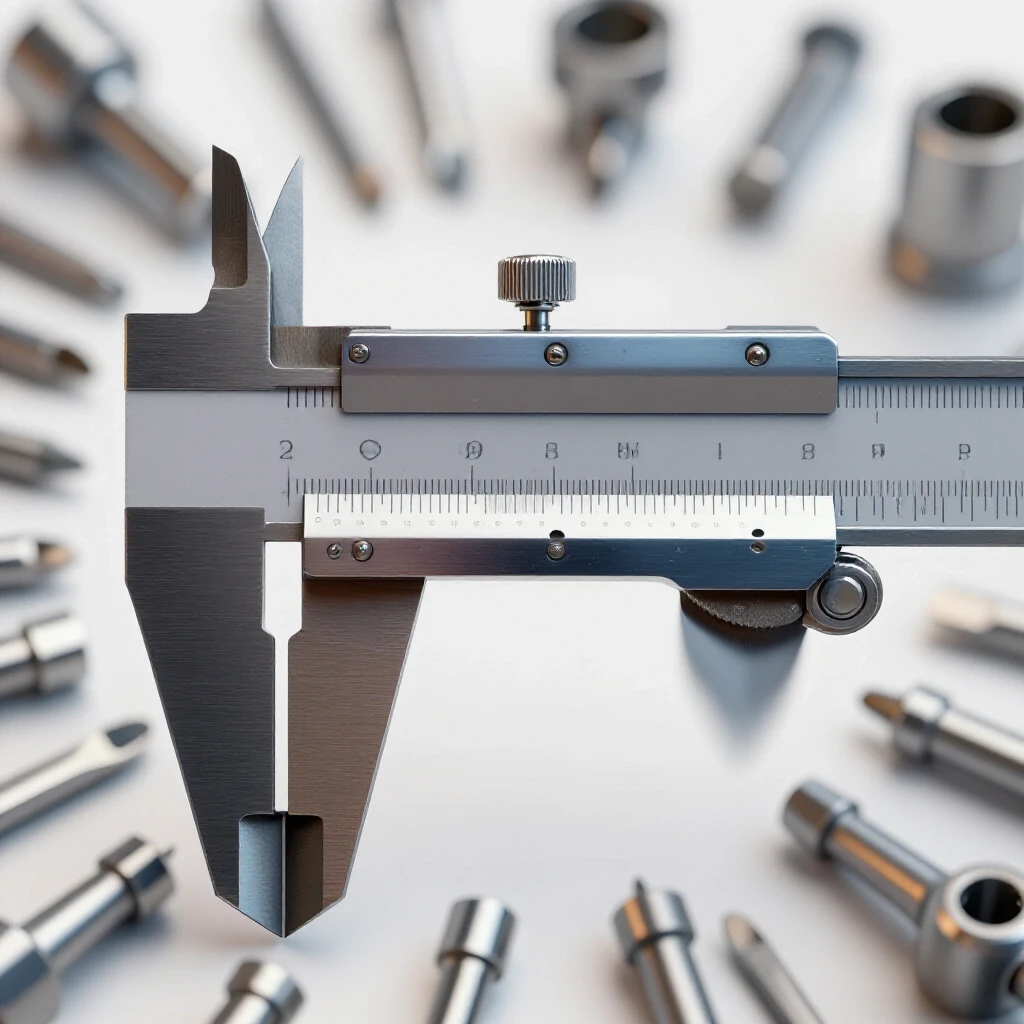
I always bring a “test kit” when I go to see a machine. This includes a dial indicator with a magnetic base, a precision ground rod, and a set of calipers. For a drill press, I insert the ground rod into the chuck and rotate it by hand while the indicator rests against the side. If the needle jumps significantly, the spindle is bent.
On a milling machine, move the table to its furthest extremes. Often, a machine is tight in the middle but loose at the ends because most work happens in the center. If the table “binds” at the ends, the ways are unevenly worn. This is a “common early pitfall” that can’t be fixed without expensive professional grinding.
Tooling-to-Machine Cost Ratios
| Machine Purchase Price | Expected Tooling Cost (30%) | Total Initial Investment |
|---|---|---|
| $500 (Used Drill Press) | $150 (Bits, Clamps, Vise) | $650 |
| $1,200 (Used Lathe) | $360 (Cutters, Centers, Chucks) | $1,560 |
| $2,000 (Used Mill) | $600 (End mills, Collets, Indicators) | $2,600 |
Allocating a Budget for Precision Tooling and Safety Gear
The price of a machine is only a portion of the total cost; high-quality measuring tools and personal protective equipment are non-negotiable. Allocating 30% of the budget to these items ensures both accuracy and operator safety. Buying a $1,000 lathe is useless if you don’t have the $300 worth of tooling required to actually cut metal.
When I tracked my costs in 2013, I realized I spent more on “consumables” and safety than I expected. For a “beginner welder power requirements” setup, you don’t just need the machine; you need a high-quality auto-darkening helmet (ANSI Z87.1 rated), leather gloves, and a fire extinguisher.
Safety gear is where you should never compromise. Cheap abrasives, for example, can shatter at high speeds. I follow OSHA-adjacent home shop safety tips, which mean checking the RPM rating on every grinding wheel to ensure it matches the tool’s speed. A wheel rated for 6,000 RPM on a 10,000 RPM grinder is a recipe for a trip to the emergency room.
- Measuring Tools: Buy a decent pair of 6-inch calipers and a 0-1 inch micrometer. These are the “eyes” of your workshop.
- Safety Gear: Invest in a respirator with P100 filters for grinding. Metal dust is not something you want in your lungs.
- Workholding: A used machine often comes without a vise or clamps. Factor these into your “affordable fabrication tools” list early.
Safety Standards and Layout Planning for Used Equipment
Proper workshop configuration involves more than just fitting tools into corners; it requires adhering to safety clearances and ventilation needs. This ensures that sparks, fumes, and moving parts do not pose a risk to the operator or the home. A cramped shop is a dangerous shop.
In my current “starter metal workshop layout,” I maintain a 36-inch “clearance zone” around any machine with rotating parts. This prevents you from being bumped into the machine by a family member or pet. Additionally, you must plan for “garage workshop ventilation.” Welding and grinding produce fumes and fine dust that can linger in a residential space.
I use a simple CFM (Cubic Feet per Minute) calculation for air exchange. For a standard two-car garage, you want an exhaust fan capable of at least 500-1,000 CFM to clear smoke quickly. I also designate “clean zones” for measuring and “dirty zones” for grinding to prevent grit from getting into the precision bearings of my used lathe.
- Fire Safety: Keep a Class ABC fire extinguisher within reach of the exit. Never weld near flammable liquids or cardboard.
- Lighting: Used machines often have broken work lights. Plan for overhead LED shop lights to reduce eye strain and prevent accidents.
- Floor Prep: Metal chips are sharp and track everywhere. I use a dedicated shop vacuum with a HEPA filter to keep the floor clear.
Identifying Scams and Misrepresented Specifications
Navigating the secondhand market requires a skeptical eye toward “too good to be true” deals. Scams often involve local listings for high-end machinery at fraction-of-the-cost prices, or sellers who refuse to let you see the machine under power. If a seller won’t let you test a tool, walk away immediately.
One common “scam” isn’t a fake listing, but a misrepresentation of the tool’s capability. For example, a seller might list a “heavy-duty” drill press that is actually a light-duty woodworking model. Metalworking requires much lower speeds and higher torque. A drill press that doesn’t go below 500 RPM will burn up your bits in stainless steel.
Always ask for a video of the machine running if you can’t visit in person immediately. Look for the “startup behavior.” Does the motor struggle? Is there a flash of blue light from the motor brushes? These are signs of electrical failure. I once drove two hours to see a “pristine” mill that turned out to have a cracked base hidden under a rubber mat.
- The “Cash Only” Rule: Never send money via apps before seeing the machine in person.
- Documentation: Ask if the seller has the original manual. Owners who keep manuals usually keep the machine maintained.
- Tooling “Thrust”: Some sellers will include a box of “free tooling” to distract you from a noisy bearing. Inspect the machine first, then the extras.
Actionable Tracking: The Pre-Purchase Checklist
To avoid analysis paralysis, I use a structured checklist for every machine inspection. This keeps me focused on the data rather than the excitement of a potential new tool. Record these findings in a dedicated “shop log” to track your startup costs and equipment history.
- Nameplate Data: Record Voltage, Phase (Single or Three), and Amperage.
- Visual Inspection: Note any cracks in castings, rust on precision surfaces, or missing guards.
- Operational Test: Run through all speeds and feeds. Listen for “clunking” in the gearbox.
- Accuracy Check: Measure spindle runout and table backlash.
- Safety Check: Ensure the “Emergency Stop” works and the wiring isn’t frayed.
- Total Cost Calculation: Machine price + transport + required electrical upgrades + missing tooling.
By following this methodical approach, you turn a risky purchase into a calculated investment. The goal isn’t to find a perfect machine—those don’t exist in the used market for beginners—but to find a machine whose flaws you can live with or repair within your budget. This transparency in your planning will save you hundreds of dollars and dozens of headaches as you build your first functional fabrication space.
Frequently Asked Questions
How much backlash is acceptable in a used metal lathe? In a hobbyist or starter lathe, backlash between 0.005″ and 0.015″ is generally manageable. Once you exceed 0.020″ (about 1/4 turn of the wheel), it becomes difficult to maintain precision without constant compensation. You can often adjust this by tightening the “gib” or replacing the brass lead screw nut.
Can I run an industrial 3-phase machine in my home garage? Yes, but it requires extra equipment. You will need a Variable Frequency Drive (VFD) or a Rotary Phase Converter to convert your home’s single-phase power to 3-phase. For beginners, a VFD is the most affordable and compact solution, often costing between $100 and $300 depending on the motor’s horsepower.
What is the most important tool to bring to a machine inspection? A high-quality flashlight is your best friend. It allows you to see into gearboxes, under the ways, and behind the motor where sellers often hide cracks, oil leaks, or “cobbled-together” repairs. A dial indicator is a close second for checking spindle accuracy.
How do I know if a motor is about to fail? Listen for a high-pitched whine (bearing failure) or a heavy “growl” (electrical imbalance). If the motor housing is too hot to touch after only five minutes of no-load running, the internal insulation is likely failing. Also, look for excessive sparking at the back of the motor.
Is rust on a used machine a dealbreaker? Surface rust (reddish-brown dust) is usually fine and can be cleaned with oil and a fine abrasive pad. “Pitting” (dark craters in the metal) is more serious. If pitting is on the ways or the spindle, it will affect accuracy and can’t be easily fixed.
How do I safely transport a heavy machine home? Never underestimate the weight of cast iron. A small lathe can weigh 400 lbs, while a mill can exceed 2,000 lbs. Use a drop-deck trailer if possible, and always secure the machine with heavy-duty ratcheting straps. Never strap over precision handles or lead screws; only strap through the heavy base or “lifting eyes.”
What is the 30% rule for shop budgeting? The 30% rule suggests that for every dollar you spend on a machine, you should budget at least 30 cents for the necessary accessories, safety gear, and measuring tools to use it. If you buy a $1,000 welder, expect to spend $300 on a helmet, tank, wire, and clamps.
How can I tell if a machine has been “crashed”? Look for “witness marks” on the chuck, table, or tool post. These are deep gouges or dents where a tool hit the machine under power. A major crash can bend spindles or crack internal gears, even if the machine looks fine on the outside.
Should I buy a machine that is currently disassembled? Unless you are experienced in machine restoration, avoid “basket cases.” It is nearly impossible to verify if all the parts are present or if the machine even runs when it’s in pieces. For a first shop, prioritize “plug and play” equipment.
What are the minimum ventilation requirements for a home shop? For grinding and light welding, you want to achieve 10-15 air changes per hour. In a standard 20×20 garage, this means a fan rated for at least 600-800 CFM. Always position the fan so it pulls the fumes away from your face and directly outside.
(This article was written by one of our staff writers, Michael Thompson. Visit our Meet the Team page to learn more about the author and their expertise.)