Build a DIY Air Compressor Water Separator (DIY Plans)
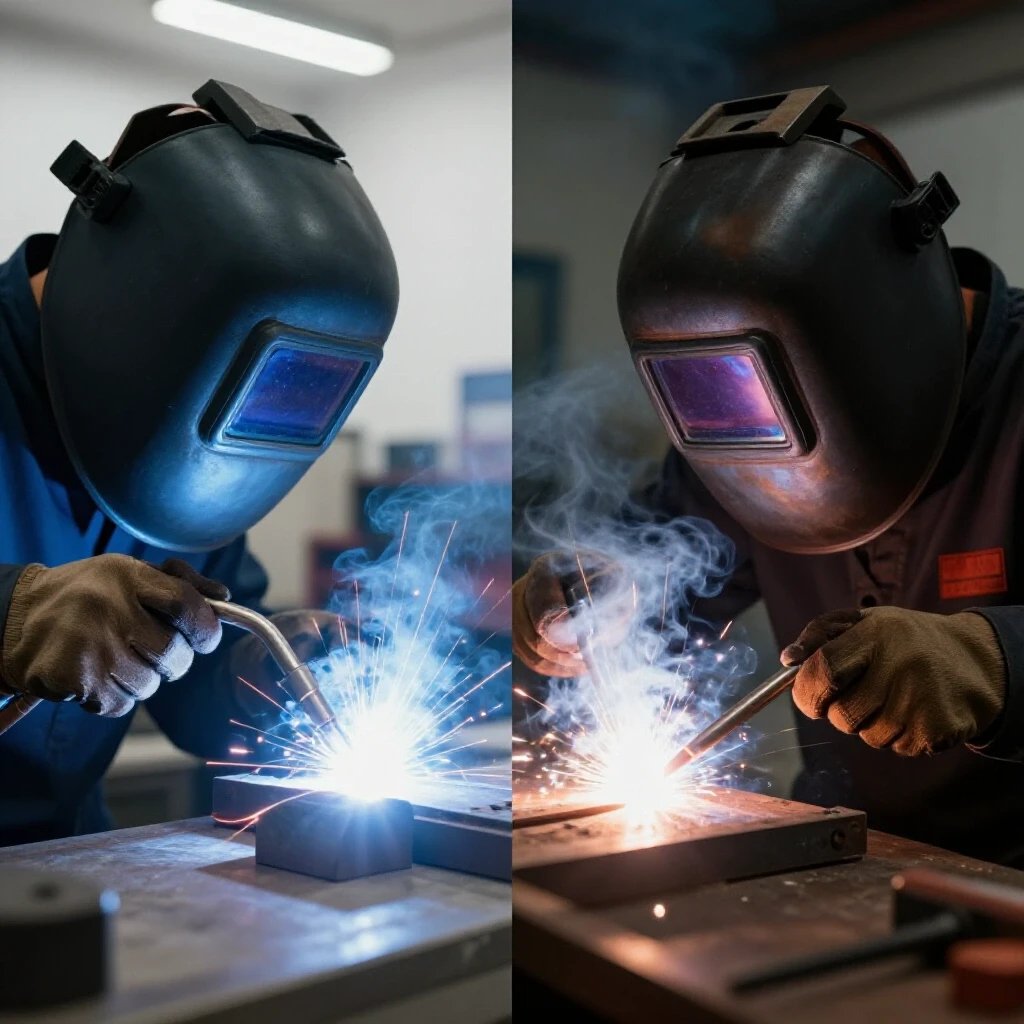
I have spent nearly two decades in fabrication shops, and I have learned that the most frustrating problems are often the ones you cannot see. One Tuesday morning, I was working on a critical structural weldment. Everything looked perfect. The machine settings were dialed in, the base metal was clean, and my gas flow was steady. Yet, I kept seeing tiny pinholes in my beads. This was not a machine fault. It was a hidden contaminant in my air lines.
When you are troubleshooting weld porosity or trying to figure out why your plasma cutter is eating consumables, you have to look at the entire system. Moisture in compressed air is a silent killer of productivity. It ruins finishes, causes tool chatter by slugging air motors, and introduces hydrogen into your welds. I found that the best way to solve this was not a fancy store-bought plastic filter, but a robust, shop-made cooling system that uses physics to drop water out of the line before it reaches the tool.
Identifying Moisture-Induced Fabrication Failures
Moisture in a pneumatic system is more than just a nuisance; it is a primary cause of mechanical and metallurgical defects in a professional shop. When water vapor remains in the air stream, it causes internal corrosion in tools, leading to erratic RPMs and surface finish issues. In welding, moisture breaks down into hydrogen and oxygen, creating gas pockets in the weld pool.
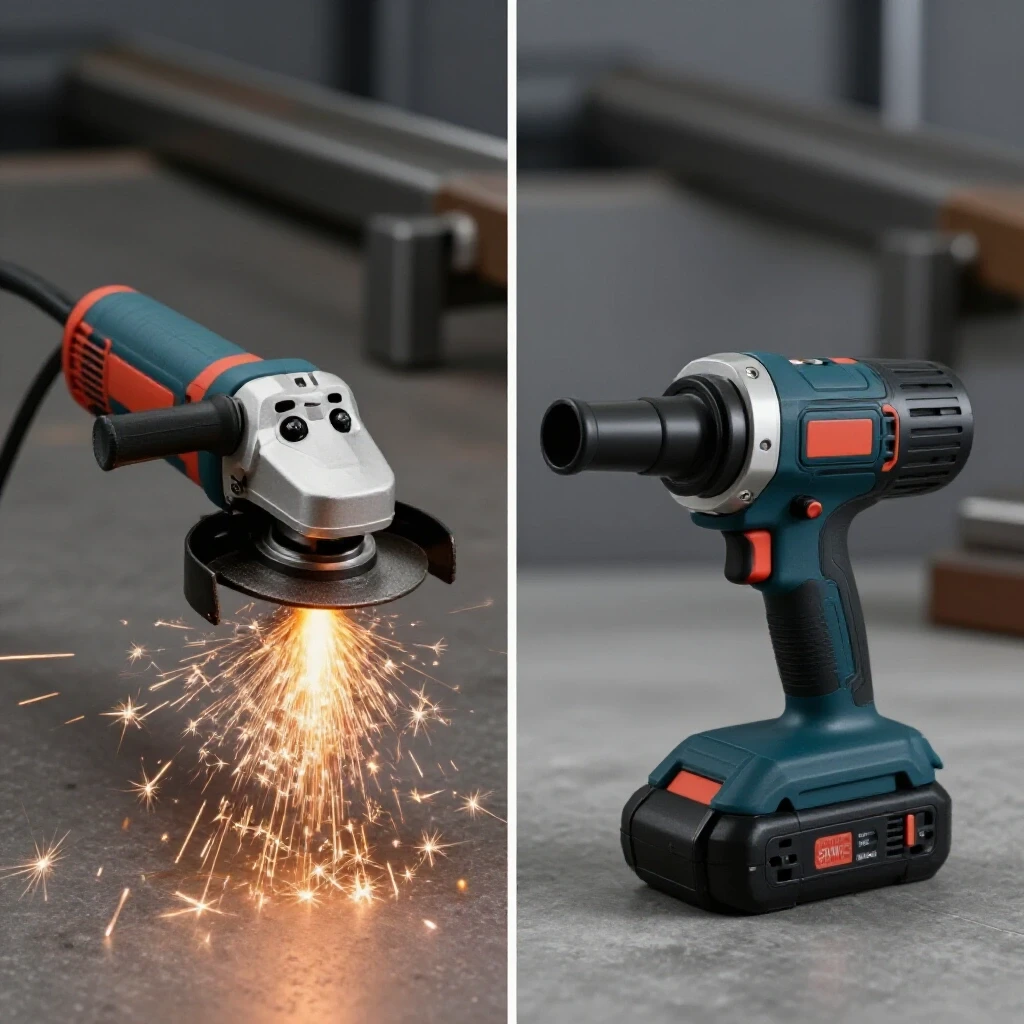
In my years as a millwright, I have seen fabricators spend hours adjusting their wire speed or shielding gas, only to realize the air-powered grinder they used to prep the joint was spitting water onto the metal. If you are seeing “fisheyes” in your paint or your sandblaster is clumping, you are dealing with a thermodynamic failure. The air coming out of your compressor is hot and can hold a lot of water. As it moves through your lines, it cools, and that water condenses.
To diagnose if your issues are moisture-related, look for these specific signs: * Weld Porosity: Small, round holes on the surface or inside the weld bead. * Plasma Dross: Excessive slag on the bottom of a cut caused by a wet arc. * Tool Vibration: “Spitting” sounds from air tools or a sudden drop in torque. * Surface Contamination: Discoloration of the metal after using an air blow-off gun.
Mapping the Diagnostic Path for Clean Air
Systematic troubleshooting requires isolating variables to find the root cause of a failure. In a compressed air system, we must determine where the dew point is being reached and where the water is collecting. By mapping the pressure and temperature drops across your shop, you can identify the best location for a custom-built moisture extraction unit.
Before building any hardware, I always recommend a “white cloth test.” Hold a clean white rag over your air nozzle and spray it for 30 seconds. If you see dampness or oil spots, your current filtration is failing. We use a process of elimination to solve this. If the air is wet at the tank but dry at the tool, your lines are doing the cooling for you. If it is wet at the tool, your cooling capacity is insufficient for the volume of air you are moving.
| Symptom | Potential Root Cause | Diagnostic Step |
|---|---|---|
| Porosity in TIG welds | Moisture in lines or gas | Swap to a bottled gas source to isolate air lines |
| Plasma cutter arc flutter | Water in the torch head | Check the internal filter for dampness |
| Air tool “freezing” | Rapid expansion of wet air | Measure temperature drop at the tool exhaust |
| Erratic sandblaster flow | Clumping due to humidity | Inspect the pressure pot for standing water |
Engineering a Shop-Made Condensation Manifold
A shop-made moisture trap works on the principle of thermal exchange and gravity. By forcing hot, wet air through a series of vertical pipes, we increase the surface area exposed to the cooler ambient air in the shop. This causes the water vapor to turn into liquid droplets, which then fall to the bottom of the manifold for easy draining.
The design I rely on is often called a “ladder” or “zigzag” manifold. It uses 3/4-inch or 1-inch black iron pipe arranged in vertical legs. Why iron? Because it has excellent thermal conductivity compared to PVC, and it is much safer under pressure. As the air travels up and down these legs, the velocity slows down, allowing the heavier water droplets to fall out of the air stream. I generally aim for at least 20 to 30 feet of pipe to ensure the air temperature drops significantly before reaching the outlet.
Material Selection and Pressure Safety Limits
When building any pressurized vessel or manifold, material choice is non-negotiable. You must use materials rated for the maximum pressure of your compressor, typically around 125 to 150 psi. Never use PVC or other plastics for compressed air, as they can fail catastrophically and send shrapnel across your shop. I have seen the aftermath of a PVC air line failure, and it is not something you want to experience.
For a reliable DIY moisture extractor, I recommend Schedule 40 black iron pipe. It is affordable, easy to thread, and handles shop pressures with a significant safety margin. You will need a variety of nipples, tees, and elbows. I prefer 1-inch pipe for the main vertical legs to reduce air velocity, which helps the water drop out of suspension. You should also include a manual ball valve at the lowest point of each leg to act as a drain.
- Main Vertical Legs: 3/4″ or 1″ Black Iron Pipe (48 inches long).
- Connecting Nipples: 2-inch to 4-inch lengths.
- Fittings: Tees at the bottom of each leg, 90-degree elbows at the top.
- Drain Valves: 1/4″ NPT ball valves.
- Inlet/Outlet: 1/2″ or 3/4″ NPT to match your existing hose fittings.
Systematic Assembly and Thread Sealing Procedures
Building this manifold requires precision in your threading and sealing. A small leak might not seem like much, but it makes your compressor run longer, which creates more heat and, ironically, more moisture. I use a “two-step” sealing method: a high-quality PTFE tape followed by a thin coat of pipe thread sealant (pipe dope). This ensures a leak-free joint even with the vibrations of a nearby compressor.
- Layout: Lay all your pipes and fittings on a clean workbench to verify the flow path.
- Cleaning: Use a degreaser to remove the protective oil from the black iron threads.
- Sealing: Apply three wraps of PTFE tape in the direction of the threads, then a light coat of sealant.
- Tightening: Use two pipe wrenches—one to hold the fitting and one to turn the pipe. Aim for “hand tight plus two full turns.”
- Alignment: Ensure all vertical legs are plumb. This allows gravity to pull the water straight down to the drain valves without getting trapped in horizontal sections.
Testing for Structural Integrity and Air Leaks
Once the assembly is complete, you must verify its integrity. I never suggest just “hooking it up and seeing what happens.” You need a controlled pressure test. Start by closing all the drain valves and the outlet valve. Slowly introduce air from the compressor until the system reaches about 20 psi. Listen for large leaks.
If the system holds 20 psi, slowly increase the pressure to your shop’s standard operating level, usually 90 to 120 psi. Use a spray bottle with soapy water on every joint. Even the smallest bubble indicates a path for air to escape. If you find a leak, you must depressurize the system completely before attempting to tighten the fitting. Trying to tighten a fitting under 100 psi of pressure is a recipe for stripped threads or a sudden mechanical failure.
Troubleshooting Persistent Air Quality Issues
If you have installed your condensation manifold and you are still seeing moisture in your tools, the issue is likely related to “re-entrainment” or insufficient cooling. Re-entrainment happens when the air is moving too fast through the pipes, picking the water back up and carrying it downstream. This is why using larger diameter pipe for the vertical legs is so critical.
Another factor is the placement of the manifold. If it is mounted directly next to a hot compressor, it cannot radiate heat effectively. I once diagnosed a shop where the water separator was only three feet from the pump. The air was still 140 degrees Fahrenheit when it hit the “separator,” so no condensation occurred. We moved the manifold to a cooler wall 15 feet away, and the water started pouring out of the drains immediately.
- Symptom: Manifold is hot to the touch, but no water is draining.
- Fix: Increase the distance from the compressor or add more vertical legs.
- Symptom: Water is found in the tool, but the manifold is dry.
- Fix: Check for “low spots” in your shop lines where water might be pooling past the separator.
- Symptom: Air pressure drops significantly when using high-flow tools.
- Fix: Ensure you are using 1-inch pipe for the manifold to maintain a “buffer” of air volume.
Maintaining Your Shop-Made Extraction System
A diagnostic specialist knows that a fix is only permanent if it is maintained. The most common failure point for these DIY systems is the human element—forgetting to drain the legs. In a humid environment, you might collect a cup of water for every hour of compressor run time. If the legs fill up, the water has nowhere to go but into your tools.
I recommend a daily startup routine. Before you strike your first arc or turn on your grinder, open each drain valve on the manifold. Let the air blow out the accumulated water until you see a dry mist. This simple habit will save you from “mystery” weld porosity and keep your plasma electrodes lasting three times longer. If you find yourself forgetting, you can eventually upgrade the manual valves to automatic “spit” drains, though manual valves are more reliable in the long run.
FAQ: Common Questions on DIY Air Drying Systems
Why shouldn’t I use a standard plastic filter from the hardware store? Standard “bowl” filters are designed to catch debris and small amounts of liquid, but they do not cool the air. If the air is still hot when it passes through a plastic filter, the water stays in vapor form and passes right through, only to condense later in your air hose or tool.
Can I build this manifold using copper pipe instead of iron? Yes, copper is an excellent heat conductor and will actually cool the air faster than iron. However, it is more expensive and requires high-quality soldering (sweating) skills to ensure the joints can handle 150 psi safely. Most fabricators stick with iron for its durability and ease of assembly.
How many vertical legs do I really need? For a standard 5 HP compressor, I recommend at least four vertical legs that are 48 inches tall. This provides enough surface area to drop the air temperature significantly. If you live in a very humid climate, you might want to increase this to six legs.
Where is the best place to install the separator? Install it as far from the compressor as practical, but before your first drop or tool outlet. You want the air to have some time to cool in the main line before it hits the manifold, which then acts as the final “knockout” point for the water.
What size pipe is best for a 60-gallon compressor? For a 60-gallon tank, 3/4-inch or 1-inch pipe is ideal. Using 1/2-inch pipe can create too much restriction, leading to a pressure drop at your tools during high-flow operations like painting or grinding.
How do I know if my manifold is working? The manifold should feel warm at the inlet and cool at the outlet. If you open the drain valves and water comes out, it is working. If your tools are staying dry and your weld beads are clear of porosity, your diagnostic and repair process was a success.
Does this system remove oil from the air? It will remove some atomized oil that condenses along with the water, but it is not a dedicated oil-coalescing filter. If you are doing high-end automotive painting, you should still use a dedicated oil filter at the very end of the line.
Is it safe to mount the manifold horizontally? No. This design relies on gravity to separate the water from the air. The air must travel vertically so that the water can fall into the “dead legs” at the bottom. A horizontal pipe will simply allow the water to skitter along the bottom of the pipe and into your hose.
Can I use an old propane tank as a water trap? I strongly advise against using any tank that was not specifically designed for compressed air. Propane tanks are not rated for the cyclic loading and moisture-induced corrosion that happens in air systems. Stick to a pipe-based manifold for safety.
How often should I drain the water? In a professional fabrication setting, drain it at the start and end of every shift. If you are doing a lot of continuous sandblasting or plasma cutting, you may need to drain it every couple of hours.
(This article was written by one of our staff writers, Paul Whitaker. Visit our Meet the Team page to learn more about the author and their expertise.)