How to Troubleshoot Poor Grounding on MIG Welders (DIY Fix)
I have spent the last 15 years in fabrication shops, and if there is one thing I have learned, it is that the most frustrating problems are often the simplest ones hiding in plain sight. I remember a specific Tuesday afternoon about eight years ago. I was working on a heavy-duty equipment trailer frame, trying to lay down a series of structural beads. My MIG welder, a machine I knew inside and out, started acting like it had a mind of its own. The arc was stuttering, the wire was stubbing into the joint, and the spatter looked like a popcorn machine gone haywire. I checked my gas flow, swapped the contact tip, and even opened a fresh spool of wire. Nothing worked.
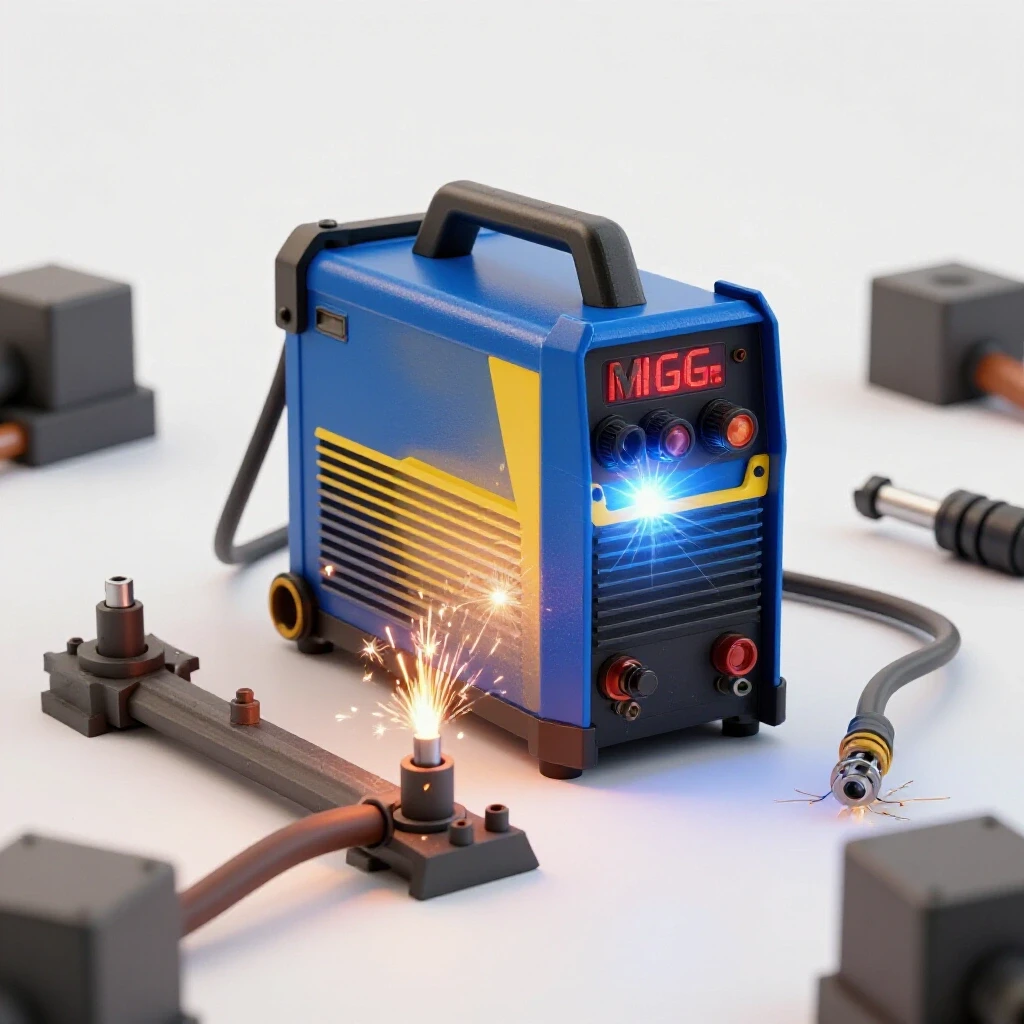
It took me nearly an hour of frustration to realize that the work clamp was biting onto a thick layer of mill scale and a patch of leftover primer. That experience taught me a valuable lesson: when the arc gets ugly, the first thing you look at is how the electricity is getting back to the machine. In the world of metal fabrication, we spend a lot of time worrying about the “hot” side of the circuit—the gun, the wire, and the volts. However, the return path is just as critical. If that circuit is restricted, your weld quality will plummet, regardless of how expensive your power source is.
Mastering systematic diagnostic methodologies is the only way to avoid the “parts cannon” approach, where you replace components randomly hoping for a fix. Instead, we look for high-resistance points in the loop. These are the bottlenecks that choke the current, leading to poor penetration and inconsistent beads. By focusing on the mechanical integrity of your connections, you can resolve these issues with simple hand tools and a bit of elbow grease.
Identifying the Signs of a Weak Electrical Return Path
A weak electrical return path occurs when the welding current encounters resistance as it travels from the workpiece back to the power source. This resistance generates heat at the connection point rather than the arc, causing the machine to underperform and creating visible defects in the weld bead.
When your return circuit is compromised, the symptoms are usually distinct. You might notice the arc sounds “crispy” or “crackly” rather than a smooth hiss. You may also see the wire “stubbing,” where it hits the base metal and pushes the gun back because there is not enough current to melt it instantly. Another telltale sign is a work clamp that feels hot to the touch after a short period of welding. In a healthy system, that clamp should stay relatively cool.
Why Resistance Ruins Your Weld Quality
Resistance is the enemy of a stable welding arc because it consumes voltage that should be used to melt metal. In a MIG setup, even a small amount of resistance can cause a significant voltage drop, leading to shallow penetration and excessive spatter.
Building on this, think of your welding circuit like a water loop. If you have a high-pressure pump but the return pipe is half-clogged with debris, the entire system slows down. In welding, that “debris” is often rust, paint, or a loose mechanical connection. When resistance increases, the amperage drops. As a result, the weld puddle stays cold, the edges do not wet out properly, and you end up with a “ropey” bead that sits on top of the metal rather than fusing into it.
Common Symptoms of High-Resistance Connections
- Excessive Spatter: When the arc is unstable due to fluctuating current, molten metal is thrown out of the puddle.
- Unstable Arc: The arc may flicker, cut out, or vary in intensity even if your hand is steady.
- Porosity: While often caused by gas issues, an unstable arc can disrupt the shielding gas envelope, leading to troubleshooting weld porosity.
- Heat Buildup: If the work clamp or the cable near the lug is hot, you have found a point of high resistance.
- Wire Stubbing: The wire feeds faster than the weakened current can melt it, causing it to “bump” against the workpiece.
Evaluating the Work Clamp and Contact Surfaces
The work clamp is the primary interface between your machine and your project, and it is often the most abused part of the setup. It gets dropped, covered in spatter, and clamped onto dirty surfaces, all of which degrade its ability to pass current efficiently.
Interestingly, many fabricators overlook the internal spring tension of the clamp. If the spring is weak, the jaws cannot bite through surface contaminants to reach the clean metal underneath. A loose grip creates a small air gap or a high-resistance contact point, which can actually cause the clamp to weld itself slightly to the workpiece or arc-mark the material.
Checking for Mechanical Wear and Oxidation
Over time, the copper or brass pads on your work clamp will oxidize or become coated in non-conductive film. This layer acts as an insulator, forcing the current to work harder to jump the gap.
To fix this, I always keep a dedicated wire brush or a piece of 80-grit sandpaper nearby. Cleaning the “teeth” or pads of the clamp until they show bright, shiny metal is a foundational step in any metalworking diagnostic guide. If the pads are deeply pitted from previous arcing, they should be filed flat. A flat, clean surface provides more “surface area” for the electrons to travel through, which reduces heat and stabilizes the arc.
The Impact of Clamp Placement on Arc Performance
Where you place your clamp matters just as much as how clean it is. Clamping to a thin, painted flange on a large assembly is a recipe for disaster.
As a rule, you should place the return connection as close to the weld zone as possible. This minimizes the distance the current has to travel through the base metal. If you are working on a rotating piece, like a pipe in a positioner, a standard clamp can wrap the cable around the workpiece. In these cases, specialized rotary grounds are used, but for the DIY fabricator, ensuring the clamp is on the actual piece being welded—rather than the table—is the best way to avoid “stray” current paths that can damage bearings or sensitive electronics.
| Connection Quality | Arc Stability | Spatter Level | Penetration Depth |
|---|---|---|---|
| Clean/Tight | Consistent Hiss | Minimal | Deep/Consistent |
| Rusty/Loose | Erratic/Pop | Heavy | Shallow/Cold |
| Painted Surface | No Arc/Stubbing | Extreme | None |
| Frayed Cable | Fluctuating | Moderate | Intermittent |
Inspecting Cable Integrity and Lug Connections
The welding lead itself is a bundle of hundreds of fine copper strands designed to carry high current while remaining flexible. However, these strands can break over time, especially near the points where the cable enters the clamp or the machine.
If you notice a “soft spot” in the cable or if it feels unusually hot in one specific area, you likely have internal strand breakage. When 30 percent of the strands are broken, the remaining 70 percent have to carry the full load. This causes them to overheat, further increasing resistance and potentially melting the rubber insulation. This is a classic example of how mechanical troubleshooting steps can prevent a total equipment failure.
Testing the Cable-to-Lug Interface
The point where the cable meets the lug is a common failure zone. Most DIY MIG welders use a set-screw or a crimp-on lug to hold the cable in place.
Building on this, vibration from the shop environment or the constant pulling and tugging of the lead can loosen these connections. I make it a habit to check the set-screws on my work lead every few months. If the wire looks blackened or “cooked” inside the lug, the connection has been arcing internally. The fix is simple: cut back the cable to clean, bright copper, strip the insulation, and re-seat it in the lug. This ensures a solid mechanical bond that can handle the full amperage of the machine.
Why Cable Length and Coiling Matter
It is tempting to buy a 50-foot work lead so you can reach across the shop, but long cables increase resistance. Furthermore, coiling your excess cable into a neat circle can create an “inductor” effect.
In a DC MIG setup, coiling the cable can actually interfere with the arc’s starting characteristics and stability. If you have extra lead, try to lay it out in a “figure-eight” pattern or just spread it out on the floor. This prevents the magnetic field from building up in a way that fights the welding current. If you find your arc is soft or “mushy,” try uncoiling your leads and see if the crispness returns.
Preparing the Workpiece for Optimal Conductivity
You can have the best clamp and cable in the world, but if you are trying to weld through mill scale, rust, or paint, you will never get a clean circuit. Most metal fabrication fixes start with a grinder.
Mill scale is a particularly tricky culprit. It looks like the metal itself, but it is actually a layer of iron oxide that is a poor conductor of electricity. While you might be able to strike an arc through it, the return path will be restricted. I always grind a “bright spot” specifically for the work clamp. This ensures that the very first link in the electrical chain is as strong as possible.
Eliminating Surface Contaminants
- Paint and Primer: These are insulators. Even a thin “weld-through” primer can add resistance if the clamp is placed directly over it.
- Rust: Heavy oxidation is non-conductive and will cause the clamp to arc against the workpiece.
- Oil and Grease: These can create a film that interferes with contact and can also lead to weld contamination.
- Mill Scale: This dark grey coating on hot-rolled steel must be removed at the contact point for a stable arc.
The “Double-Clamp” Strategy for Large Projects
On very large projects, such as a car frame or a large gate, the current may have to travel through several bolted joints to get back to the clamp. Bolted joints are notorious for having high resistance due to paint in the threads or washers.
If I am working on a complex assembly, I often use a “jumper” lead or move my clamp as I move my welding position. For example, if I am welding on the far end of a 20-foot trailer, I don’t leave the clamp at the hitch. I move it to the specific cross-member I am working on. This ensures the shortest possible path and the most consistent voltage at the puddle.
Case Study: The Case of the “Ghost” Porosity
I once consulted for a shop that was struggling with persistent porosity on a line of custom aluminum fuel tanks. They had replaced the gas regulators, bought new MIG guns, and even switched gas suppliers, but the “troubleshooting weld porosity” efforts were failing. The welds looked like Swiss cheese.
When I arrived, I watched the operator work. He was clamping his work lead to a heavy steel table, and then resting the aluminum tank on top of that table. Because aluminum forms an insulating oxide layer almost instantly, the contact between the tank and the steel table was terrible. The arc was jumping and fluttering because it couldn’t find a steady path back to the machine.
The fix was incredibly simple. We bolted a clean copper bar to the table and used a dedicated spring clamp to attach the return lead directly to the aluminum workpiece. We also made sure to stainless-steel wire brush the contact point on the tank right before clamping. The porosity vanished instantly. The “ghost” wasn’t a gas issue at all; it was a high-resistance return path that was destabilizing the arc and pulling atmospheric air into the weld pool.
Maintenance Checklist for the Return Circuit
To keep your machine running at peak performance, you need a systematic way to inspect your gear. I recommend doing a “cold check” every time you start a new project. This doesn’t require any fancy electronics—just your eyes, your hands, and a couple of wrenches.
- Inspect the Clamp Jaws: Look for pitting, copper BBs (spatter), or black soot. Clean with a file or wire brush.
- Check Spring Tension: If the clamp opens too easily, replace it. It won’t bite through surface film.
- Tug Test the Cable: Grab the cable near the clamp and the machine and give it a firm tug. If it moves inside the lug, tighten the set-screw.
- Feel for Heat: After welding for five minutes, safely feel the cable. If one spot is hot, you have internal damage.
- Verify Machine Connections: Ensure the “Dinse” or “Twist-lock” connector on the front of the machine is fully seated and locked. A loose plug here can melt the entire socket.
- Clean the Workpiece: Always grind a 1-inch square of bare metal for the clamp to grab onto.
Common Mistakes in Managing the Return Path
One of the biggest mistakes I see beginners make is clamping onto a part that is separated from the weld zone by a bearing or a hinge. For example, if you are welding on a trailer axle and you put the clamp on the frame, the electricity has to travel through the wheel bearings. This can cause “arcing” inside the bearing race, which creates tiny pits and leads to premature bearing failure.
Another common error is using a clamp that is too small for the amperage. If you are running a 250-amp machine at high duty cycles, a flimsy 100-amp stamped-steel clamp will get hot enough to lose its spring temper. Always match your clamp’s rating to your machine’s output. A heavy-duty brass “C-style” ground is often a better choice for high-heat applications than a standard spring clamp.
Summary of Diagnostic Benchmarks
- Acceptable Temperature: The cable and clamp should be no more than “warm” to the touch (approx. 110°F to 120°F) after heavy use.
- Mechanical Tolerance: Lugs and set-screws should have zero visible movement when pulled.
- Surface Condition: Contact points must be ground to a “bright” finish (removing 100% of mill scale).
- Cable Health: No more than 5% of external insulation should be cracked or frayed before replacement is considered.
By following these systematic steps, you take the guesswork out of fabrication. Instead of wondering why your machine is acting up, you can confidently point to the mechanical state of your connections and know they are solid. This methodical approach not only saves time but also ensures that your welds meet the structural standards required for high-quality metalwork.
Frequently Asked Questions
Why does my MIG welder spatter more when the clamp is far away?
When the return path is long, the resistance increases, causing a voltage drop. This drop makes the arc unstable, which prevents the wire from melting smoothly. Instead of a consistent spray or short-circuit transfer, the wire “explodes” into the puddle, creating heavy spatter. Moving the clamp closer reduces this resistance.
Can I just clamp onto my welding table instead of the part?
You can, but it is not ideal. If there is rust, dust, or paint between your workpiece and the table, you create a high-resistance junction. It is always better to attach the clamp directly to the piece you are welding to ensure the most direct and clean electrical path.
How do I know if my welding cable is worn out internally?
Perform a “heat test.” Run a long bead or several short ones, then run your hand along the length of the cable (with the machine off). If you find a specific section that feels significantly hotter than the rest, the internal copper strands are likely frayed or broken in that spot.
Does the size of the work clamp matter?
Yes. A clamp must have enough surface area and spring pressure to carry the machine’s full amperage. If the clamp is too small, it will overheat, which increases resistance and can eventually damage the clamp’s spring or the cable’s insulation.
Why is my work clamp “arcing” against my project?
This usually happens because of poor contact. If the clamp is on a painted or rusty surface, the electricity tries to jump the tiny gaps, creating small arcs. These arcs can pit your workpiece and damage the clamp’s contact pads. Always grind to bare metal before clamping.
Can a bad return path cause porosity in my welds?
Indirectly, yes. A weak connection causes an erratic arc. An erratic arc can “flicker” or jump, which disturbs the flow of shielding gas around the puddle. When the gas envelope is broken, oxygen enters the weld, leading to troubleshooting weld porosity issues.
What is the best way to clean my work clamp?
Use a fine-tooth file or a piece of coarse sandpaper to remove oxidation and spatter from the contact pads. If the clamp is a spring-style, ensure the pivot point is clean and that the copper braided strap (if equipped) is securely attached to both halves of the clamp.
Should I worry if my work lead gets slightly warm?
A little warmth is normal, especially when welding at high amperages or near the machine’s duty cycle limit. However, if the cable is too hot to hold comfortably, or if it is hot only in one specific spot, you have a resistance problem that needs to be addressed.
Why does my welder seem to lose power after 10 minutes of use?
This is often due to “heat soak” in a poor connection. As a loose or dirty junction gets hot, its resistance increases. This creates a vicious cycle where the connection gets hotter and the welding voltage drops lower, making the machine feel like it is losing “oomph.”
Is a “C-clamp” style ground better than a spring clamp?
For heavy-duty or high-amperage work, yes. A C-clamp style ground allows you to apply much more mechanical pressure to the connection, which can bite through thin films and ensure a very low-resistance path. Spring clamps are faster but less reliable for high-current applications.
Can I use a jump lead to extend my ground?
You can, but every “break” in the cable (like a plug or a bolt-together junction) adds a potential point of resistance. If you must use an extension, ensure the connectors are clean, tight, and rated for the amperage you are using.
What should I do if my machine’s ground lug is melted?
A melted lug is a sign of a loose connection that caused extreme arcing. You must replace the lug and likely the socket on the machine. Simply tightening a melted connection won’t work because the metal has oxidized and will no longer conduct electricity efficiently.
(This article was written by one of our staff writers, Paul Whitaker. Visit our Meet the Team page to learn more about the author and their expertise.)