Common Metalworking Mistakes and How to Fix Them (DIY Guide)
When I first picked up a welding torch twelve years ago, my hands shook so much I could barely find the joint. I remember staring at a pile of ruined steel plates, wondering why my beads looked like a string of grapes rather than a smooth stack of coins. I was frustrated by the lack of consistency and the feeling that my hands simply wouldn’t do what my brain commanded. Over the years, I learned that high-heat manual skills are not about innate talent but about building a systematic bridge between your eyes and your muscles.
By tracking my own progress through thousands of practice coupons and referencing American Welding Society (AWS) standards, I realized that most errors in the shop come from a few repeatable physical mistakes. Whether you are struggling with erratic bead shapes or inconsistent penetration, the fix usually lies in your body mechanics and your understanding of the molten puddle. This guide is designed to help you diagnose these issues and build the muscle memory needed for professional results.
Establishing a Stable Foundation Through Body Mechanics
Body mechanics refers to how you position your torso, arms, and hands to maintain a steady movement during a manual task. In metal fabrication, your body acts as the primary stabilizer for the tool, and any tension or poor posture will translate directly into a shaky or uneven weld bead.
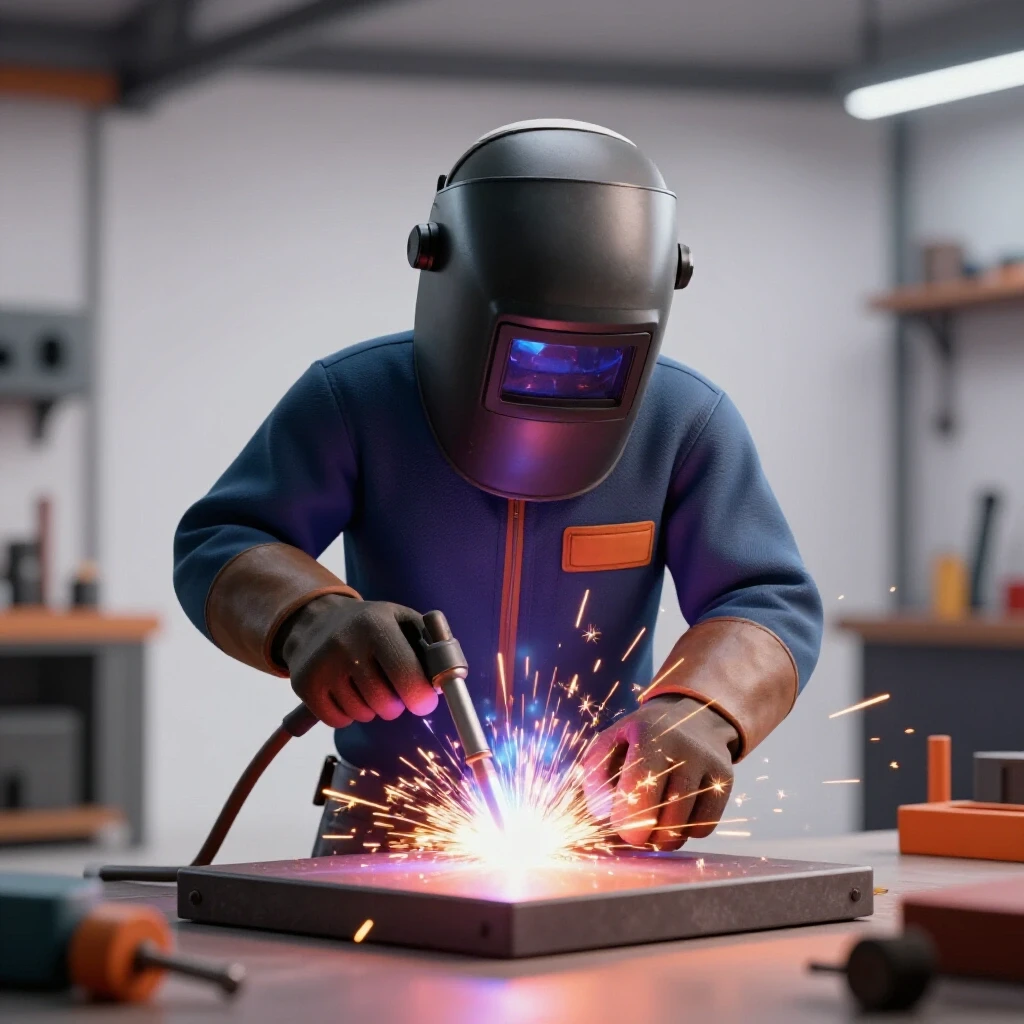
When you start a weld, you are not just moving your hand; you are moving your entire upper body. I often see beginners trying to weld using only their wrists, which leads to a curved path and inconsistent torch angles. To fix this, I teach the “human tripod” method. Always ensure you have three points of contact: your two feet on the floor and at least one elbow or forearm braced against the welding table.
If you are standing, lean your hip against the bench. If you are sitting, tuck your elbows into your ribs. This bracing reduces the load on your fine motor muscles, allowing you to focus on the fluid movement of the torch. Before you pull the trigger, perform a “dry run.” Move the cold torch across the entire length of the joint to ensure your cord won’t snag and your arm won’t hit an obstacle halfway through.
The Role of Muscle Memory in Torch Manipulation
Muscle memory is the process by which your brain automates a physical task through repetitive, focused practice. In welding, this means your hand learns to maintain a consistent arc gap without you having to consciously think about every millimeter of movement.
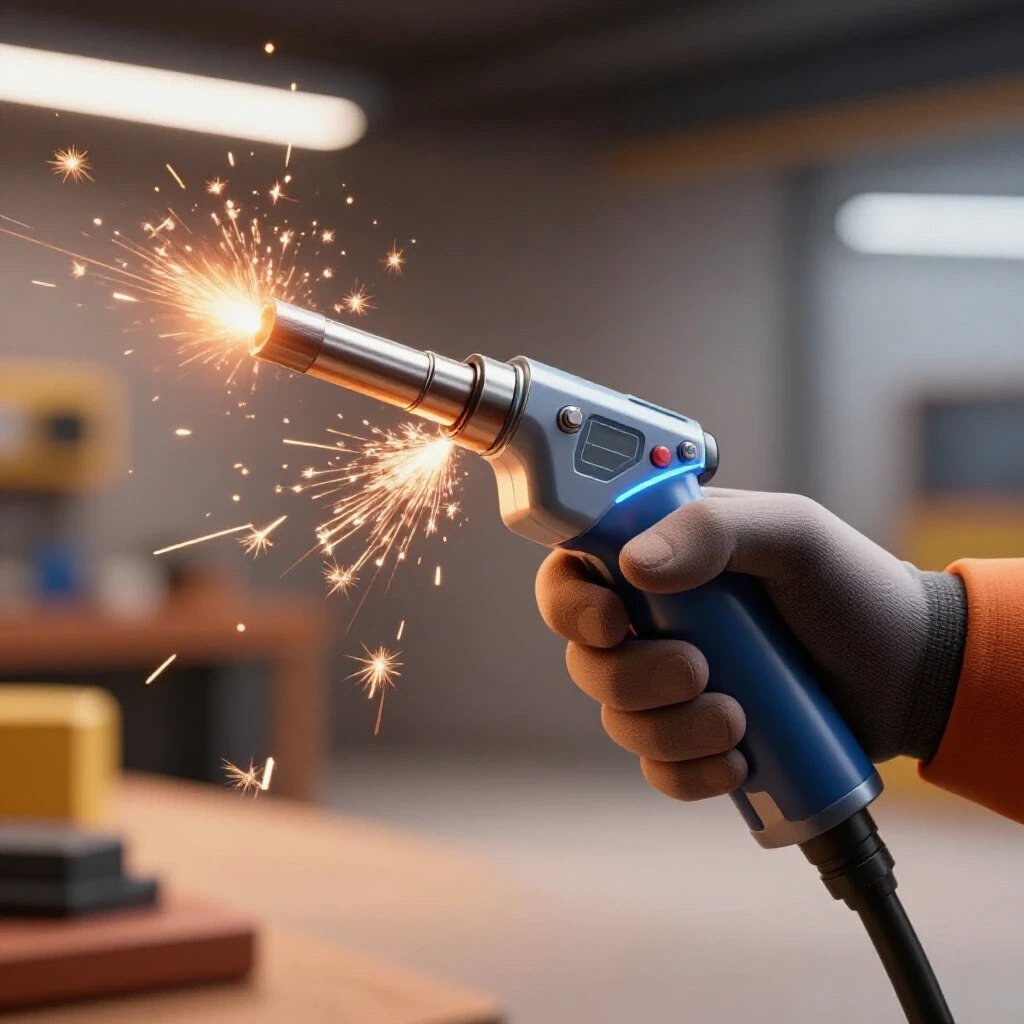
To build this, I recommend practicing the “pencil drill.” Take a standard TIG torch or MIG gun (with the power off) and a piece of paper. Practice drawing straight lines and consistent circles while maintaining a specific distance from the paper. This low-stakes practice helps you identify where your movement becomes jerky. Once you can move smoothly on paper, moving on steel becomes much easier.
Decoding the Language of the Weld Puddle
The weld puddle is the small pool of molten metal created by the heat of the arc, and “reading” it involves observing its shape, width, and fluidity in real-time. Understanding the puddle is the most critical skill in metal welding practice because it tells you exactly what adjustments you need to make to your speed or angle.
If the puddle looks narrow and pointed at the back, you are likely moving too fast. If it is wide, sluggish, and seems to be sinking into the plate, you are moving too slow or using too much heat. A healthy puddle should be roughly 1.5 to 2 times the width of your electrode or wire. It should look like a bright, liquid oval that follows your torch with a consistent “wetting” action at the edges.
Visual Cues for Heat and Penetration
Penetration is the depth to which the base metal is melted and fused with the filler material. Achieving the right depth requires a balance between the heat you put in and the speed at which you move the arc across the metal.
| Puddle Observation | Likely Issue | Physical Correction |
|---|---|---|
| Puddle is “standing up” and not flowing | Too little heat or dirty metal | Increase voltage or clean the surface |
| Puddle is falling through the joint | Too much heat or slow travel | Increase travel speed or lower amps |
| Puddle is erratic and popping | Arc gap is too long | Move the torch closer to the work |
| Puddle has tiny bubbles | Porosity (gas coverage issue) | Check gas flow or clean mill scale |
Setting Baseline Machine Parameters for Success
Machine parameters are the settings on your welder, such as voltage, wire feed speed (WFS), or amperage, that determine the intensity and behavior of the arc. Setting these correctly is the first step in mastering torch control, as it removes technical variables that can mask poor technique.
Many beginners guess their settings, which leads to a frustrating cycle of chasing problems that aren’t actually related to their hand movement. I suggest starting with the manufacturer’s door chart, but don’t stop there. For MIG welding, use the “bacon sizzle” rule: a steady, crisp crackling sound usually indicates a good balance between voltage and wire speed. If the wire is stubbing into the plate, your WFS is too high or your voltage is too low. If the arc is long and the wire is melting into a ball before it hits the plate, your voltage is too high.
Calculating Heat Input for Consistent Results
Heat input is a measure of the energy transferred to the weldment per unit length, usually expressed in Joules per inch. While you don’t need to do math for every hobby project, understanding the relationship between amperage, voltage, and travel speed is vital for learning metal fabrication.
The formula is: (Amps x Volts x 60) / Travel Speed (IPM). If you want to keep your heat consistent while moving faster, you must increase your amperage. For a beginner, a travel speed of 8–12 inches per minute (IPM) is a great target. This speed is slow enough to see the puddle clearly but fast enough to prevent the metal from overheating and warping.
Preparing Clean Zones and Joint Fit-Up
A clean zone is the area around a joint that has been stripped of all contaminants, including rust, oil, and mill scale. Mill scale is the dark, flaky layer of iron oxide found on hot-rolled steel, and it acts as an insulator that resists the welding arc.
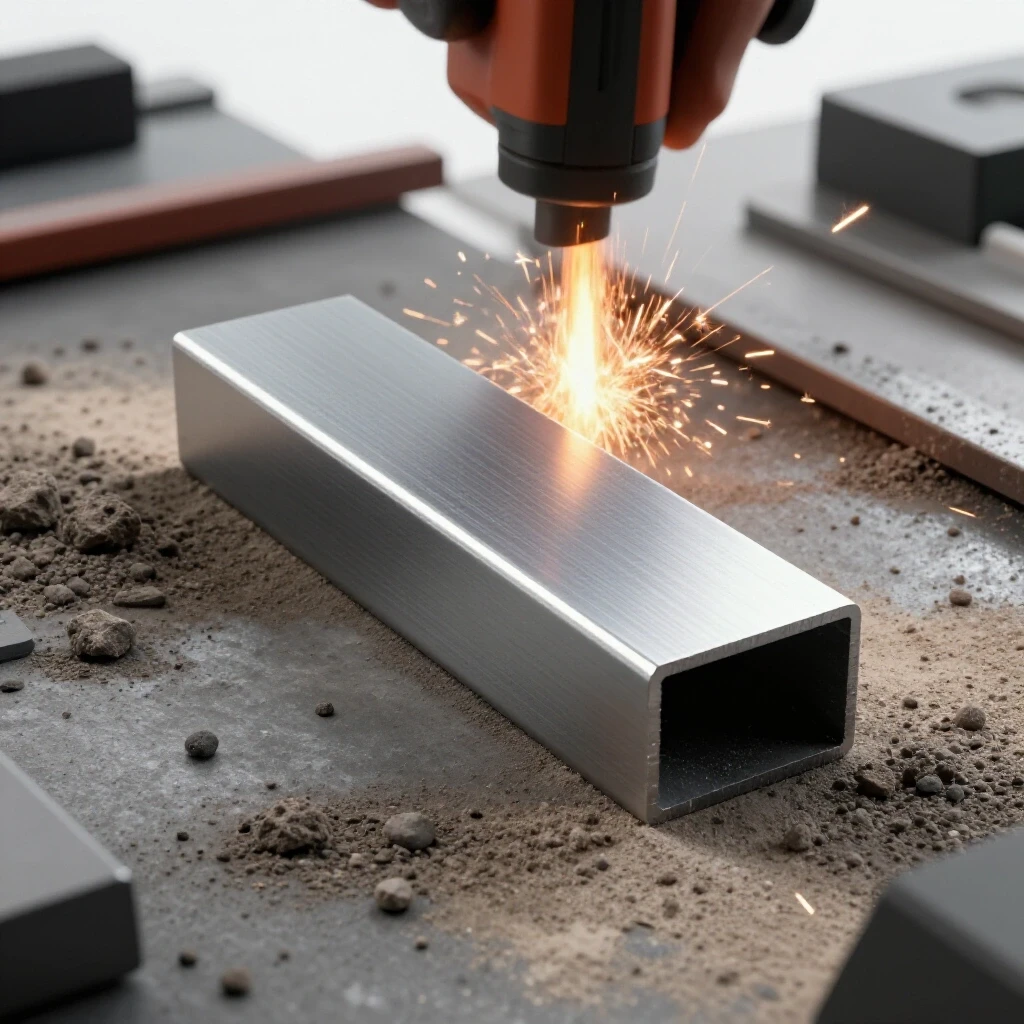
One of the most common errors I see in garage workshops is trying to weld through mill scale. This leads to a “cold” weld where the filler metal sits on top of the plate rather than fusing with it. Use a flap disc or a wire wheel to grind the metal until it is shiny and bright. You should clean at least one inch back from the edge of the joint on all sides. This ensures that the arc starts easily and the puddle stays fluid.
The Importance of Proper Joint Gap and Tack Welding
Fit-up refers to how closely the pieces of metal align before you start welding. If there are large gaps or uneven edges, the arc will struggle to bridge the space, leading to holes or weak spots.
- Tack Welding: These are small, temporary welds used to hold parts in alignment. Space your tacks every 2 to 3 inches for thin material.
- Gap Consistency: For most DIY projects using 1/8″ steel, a “tight” fit (no gap) is usually best. If you have a gap larger than 1/16″, you will need to slow your travel speed and use a “weaving” motion to fill the space.
- Squareness: Use magnets and clamps to hold pieces at exactly 90 degrees. Metal expands when heated, so if you don’t clamp your work, the joint will “pull” out of square as you weld.
Refining Your Torch Angles and Travel Speed
Torch angles consist of the work angle (the angle between the torch and the metal surface) and the travel angle (the angle in the direction of movement). These angles determine where the heat is directed and how the shielding gas protects the puddle.
For a standard flat weld, use a 10–15 degree drag angle. This means the top of the torch is tilted slightly away from the direction you are moving, “dragging” the puddle along. If you tilt the torch too far (over 20 degrees), you lose gas coverage and risk getting porosity. If you hold the torch perfectly vertical, you might find it hard to see where you are going. Finding that sweet spot is a key milestone in any welding technique progression.
Mastering Weld Travel Speed Tips
Travel speed is the rate at which you move the torch along the joint. It is perhaps the hardest variable to master because it requires constant visual feedback and adjustment.
If you move too slowly, the heat builds up, the puddle gets too large, and you risk “burn-through.” If you move too fast, the metal doesn’t have time to melt, resulting in a thin, weak bead that lacks penetration. To fix this, I recommend using a “timing count.” As you weld, count “one-thousand-one, one-thousand-two” in your head. Each count should correspond to a specific distance, such as 1/8 of an inch. This rhythmic approach helps stabilize your hand and ensures the bead width remains uniform from start to finish.
Structured Practice Drills for Skill Progression
Trade school practice drills are designed to isolate specific movements so you can master them before moving on to complex assemblies. I spent my first six months just doing “bead-on-plate” exercises, and it was the best thing I ever did for my coordination.
Start with a flat piece of 1/4″ thick scrap steel. Draw straight lines across it with a soapstone marker. Your goal is to run a straight bead directly over that line, maintaining a consistent width and height. Once you can do ten perfect beads in a row, move to the next level.
- Bead-on-Plate: Focus on straight lines and consistent height.
- Overlapping Beads: Run a second bead that overlaps the first by 50%. This teaches you how to manage heat on an existing weld.
- Lap Joints: Place one plate on top of another and weld the edge. This introduces the challenge of two different heat sinks.
- T-Joints (Fillet Welds): Stand one plate vertically on another. This is the most common joint in fabrication and requires careful control of the work angle to ensure both plates melt equally.
Using a Practice Log to Track Improvements
You cannot improve what you do not measure. I keep a dedicated notebook in my shop where I record the settings and results of every practice session. This turns a frustrating afternoon into a data-driven learning experience.
| Date | Material Thickness | Voltage/Amps | Travel Speed | Result/Observation |
|---|---|---|---|---|
| Oct 12 | 1/8″ Mild Steel | 17.5V / 210 WFS | ~10 IPM | Good penetration, slight undercut on top |
| Oct 14 | 1/8″ Mild Steel | 17.2V / 205 WFS | ~11 IPM | Better bead shape, smoother edges |
By looking back at these logs, you can identify patterns. If you consistently see undercut (a groove melted into the base metal next to the weld), you might realize your voltage is slightly too high for your travel speed.
Identifying and Fixing Common Joint Defects
Self-assessing your work is vital for becoming a proficient fabricator. You need to be able to look at a completed weld and understand why it failed or succeeded. This visual defect evaluation is a core part of any trade program.
Undercut is a common issue where the weld eats away at the base metal but doesn’t fill it back in. This is usually caused by too much heat or an incorrect torch angle. To fix it, try lowering your voltage or pointing the torch more toward the plate that is being undercut.
Porosity looks like tiny holes or “Swiss cheese” in the weld. This is almost always caused by a lack of shielding gas or dirty metal. Check your gas tank levels, look for drafts in the room that might be blowing the gas away, and ensure your metal is ground to a shiny finish.
Overlap (or “cold roll”) happens when the filler metal spills over the joint without fusing. This is the opposite of undercut and is caused by moving too slowly or using too little heat. The fix is to increase your amperage or speed up your hand movement.
The Arc Gap and Electrode Stick-Out
The arc gap is the distance between the tip of your electrode and the metal surface. In MIG welding, this is often called “stick-out” or “contact-to-work distance” (CTWD). For most DIY applications, you want to maintain a stick-out of about 3/8 of an inch.
If your stick-out is too long, the arc becomes unstable, and you lose gas coverage. If it is too short, you might dip the nozzle into the puddle or cause the wire to fuse to the contact tip. Maintaining a consistent 3/8″ gap while moving your hand is one of the most physically demanding parts of learning the craft. It requires you to constantly adjust your hand height as you move across the plate.
Advanced Tools for the Modern Learner
While traditional practice is irreplaceable, modern technology can help you overcome plateaus faster. I often use my smartphone to record slow-motion videos of my arc. Watching the puddle in slow motion allows you to see exactly when you are moving too fast or when your hand is shaking.
There are also digital parameter calculators available as apps. You input your material type and thickness, and the app provides a starting point for your settings. These are excellent for reducing the “guesswork” phase of a project. However, always remember that these are just starting points; your eyes and the behavior of the puddle are the final authority.
Ergonomic Grips and Tool Modifications
If you find that your hand cramps or you struggle to maintain a steady grip, look into ergonomic modifications. Some fabricators use a “TIG finger” (a heat-shielding sleeve) to allow them to rest their hand directly on the hot metal for stability. Others might wrap their MIG gun handle with grip tape to reduce the effort needed to hold it. Small changes in how you hold your tools can lead to significant gains in consistency over a long practice session.
Taking the Next Steps in Your Fabrication Journey
Mastering these skills is a marathon, not a sprint. I have spent hundreds of hours at the bench, and I still find areas where I can improve. The key is to stay disciplined with your practice and honest with your self-assessments.
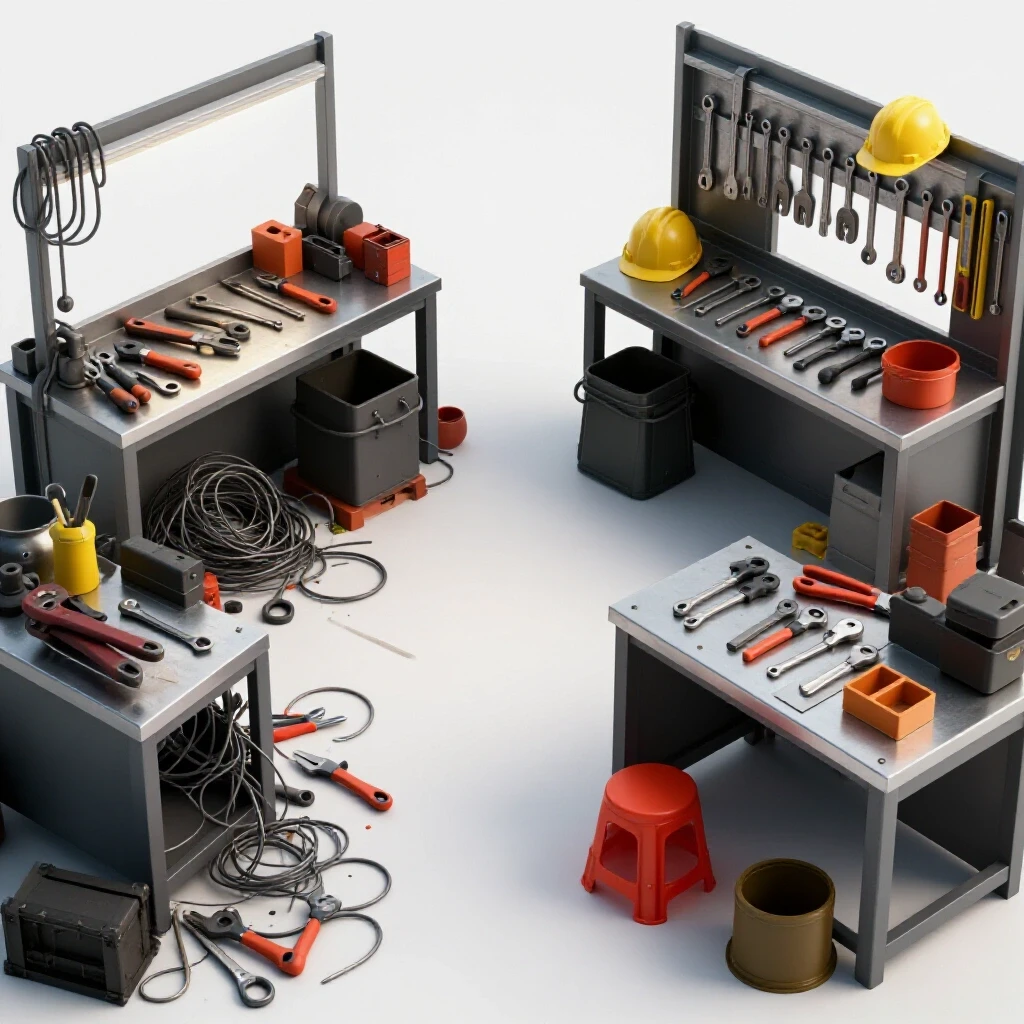
Start today by setting up a dedicated practice area. Clear off your bench, grab some scrap 1/8″ steel, and commit to running twenty beads. Don’t worry about building a project yet. Just focus on your body position, your arc gap, and the shape of that molten puddle. When you stop chasing “perfect” and start chasing “consistent,” the quality of your work will naturally follow.
- Clean your metal: Grind every joint to shiny steel.
- Brace yourself: Find three points of contact for every weld.
- Watch the puddle: Let the liquid metal dictate your speed.
- Log your data: Write down your settings and what you learned.
Frequently Asked Questions
Why does my welding wire keep sticking to the metal?
This is usually caused by a wire feed speed that is too high or a voltage that is too low. When the wire hits the metal faster than the heat can melt it, it “stubs” into the joint. Try increasing your voltage in small increments or backing off the wire speed. Also, check that your ground clamp is attached to clean, unpainted metal.
How can I stop my hand from shaking during a long weld?
Shaking is often a result of muscle fatigue or lack of bracing. Ensure you are using the “human tripod” method by leaning your elbow or forearm on a stable surface. Also, remember to breathe. Many beginners hold their breath while welding, which causes CO2 buildup in the blood and leads to tremors. Take deep, steady breaths as you move.
What is the best way to tell if I have good penetration?
On a butt joint (two plates side-by-side), look at the back of the plates. You should see a small “heat tint” or a slight bead of metal protruding through the bottom. On a T-joint, it is harder to see, but a good sign is the “toes” of the weld (the edges) being smoothly melted into the base metal rather than sitting on top like a bead of caulk.
Why does my weld have tiny holes in it?
Those holes are called porosity. They happen when the shielding gas is blown away or when there is moisture, oil, or mill scale on the metal. Make sure you are welding in a draft-free area and that your gas flow is set correctly (usually 20-25 cubic feet per hour). Most importantly, grind your metal until it is bright and clean.
How do I know if I am moving the torch at the right speed?
Watch the shape of the puddle. If it is staying a consistent oval shape and the “ripples” in the finished weld are spaced evenly like a stack of coins, your speed is likely correct. If the ripples are far apart and the bead is thin, you are moving too fast. If the bead is wide and lumpy, you are moving too slow.
What angle should I hold my welding torch at?
For most flat-position welding, a 10–15 degree drag angle is ideal. This means the torch is tilted slightly away from the direction of travel. This angle allows you to see the puddle clearly while ensuring the shielding gas properly covers the molten metal.
Can I weld over rust or paint?
It is highly discouraged. Rust, paint, and oil contaminate the weld, leading to weak joints and porosity. Always use a grinder or wire brush to create a “clean zone” at least one inch wide around your joint. Successful fabrication starts with 90% preparation and 10% welding.
Why is my welder making a loud popping sound?
Loud popping usually indicates that the arc gap is too long or the wire feed speed is inconsistent. If you are MIG welding, check your “stick-out” distance and ensure it is about 3/8″. If you are stick welding, you might be holding the electrode too far from the plate. Move closer to stabilize the arc.
(This article was written by one of our staff writers, Thomas Langley. Visit our Meet the Team page to learn more about the author and their expertise.)