How to Use Backstep Welding to Prevent Metal Warp (DIY Fix)
When I first started fabrication in my small garage twelve years ago, I thought I could solve every problem with more heat and a bigger hammer. I remember building a simple steel tabletop, only to watch in horror as the flat surface curled up like a dry leaf. This “taco effect” is a rite of passage for many of us, but it is also the most common reason beginners walk away from the craft in frustration.
The reality of metalwork is that heat is both your best friend and your greatest enemy. When you run a long, continuous bead, you are pumping massive amounts of energy into a localized area. As that metal cools, it shrinks, pulling the surrounding material with it. This guide is designed to help you move past that frustration by mastering a specific technique: managing heat through reverse-sequence bead placement. By breaking your welds into smaller, controlled segments, you can maintain the integrity of your project and produce professional-grade results.
The Science of Metal Movement and Heat Control
Thermal distortion occurs when the localized heating of a weld causes the metal to expand, while the cooler surrounding metal resists that expansion. As the weld pool solidifies and cools, the metal contracts significantly more than it expanded, creating internal stresses that pull the workpiece out of alignment.
Understanding this “tug-of-war” is the first step in learning metal fabrication. In a typical DIY environment, we often work with thinner gauges of mild steel, which are particularly sensitive to heat input. If you weld from one end of a joint to the other in a single pass, the heat builds up cumulatively. By the time you reach the end of the joint, the metal is so hot that the contraction force is maximized. This results in the bowing, twisting, or “warping” that ruins your layout work.
Defining Heat Input and Its Impact
Heat input is the amount of energy transferred to the workpiece per unit length of the weld. It is a calculation of your voltage and amperage divided by your travel speed. In a garage setting, high heat input is usually the result of moving too slowly or using a machine setting that is too high for the material thickness.
When we talk about mastering torch control, we are really talking about managing this energy. If you can keep your heat input consistent and localized, you reduce the overall stress on the metal. This is where the strategy of welding in reverse segments becomes a game-changer for the hobbyist.
Why Segmented Beads are the Key to Flat Projects
The reverse-sequence method, often called backstepping, involves depositing short beads in the opposite direction of the overall weld progression. Instead of one long bead from point A to point B, you weld from B back to A in small increments. This technique is essential for minimizing the cumulative pull of cooling metal.
This method works because each new segment is deposited into a section of the joint that is relatively cool, and the heat from the previous segment has already begun to dissipate. It effectively “breaks up” the stress patterns. Instead of one giant force pulling the metal, you have several smaller, competing forces that tend to cancel each other out. This is a foundational skill in any metal welding practice guide because it teaches you to think about the physics of the material, not just the look of the bead.
The Logic of the Reverse Sequence
Imagine a 12-inch joint. Instead of starting at the 0-inch mark and moving to 12, you start at the 3-inch mark and weld back to 0. Then, you start at the 6-inch mark and weld back to 3. Each segment “steps back” into the previous one. This creates a series of small anchors along the joint, locking the metal in place before the heat can cause significant movement.
| Metric | Standard Approach | Segmented Approach |
|---|---|---|
| Cumulative Heat | High (Continuous build-up) | Low (Intermittent cooling) |
| Stress Distribution | Linear (Pulls in one direction) | Distributed (Opposing forces) |
| Distortion Risk | High (Significant warping) | Low (Maintains alignment) |
| Best Application | Thick plate, structural | Sheet metal, thin wall tubing |
Mastering Body Mechanics and Torch Angles
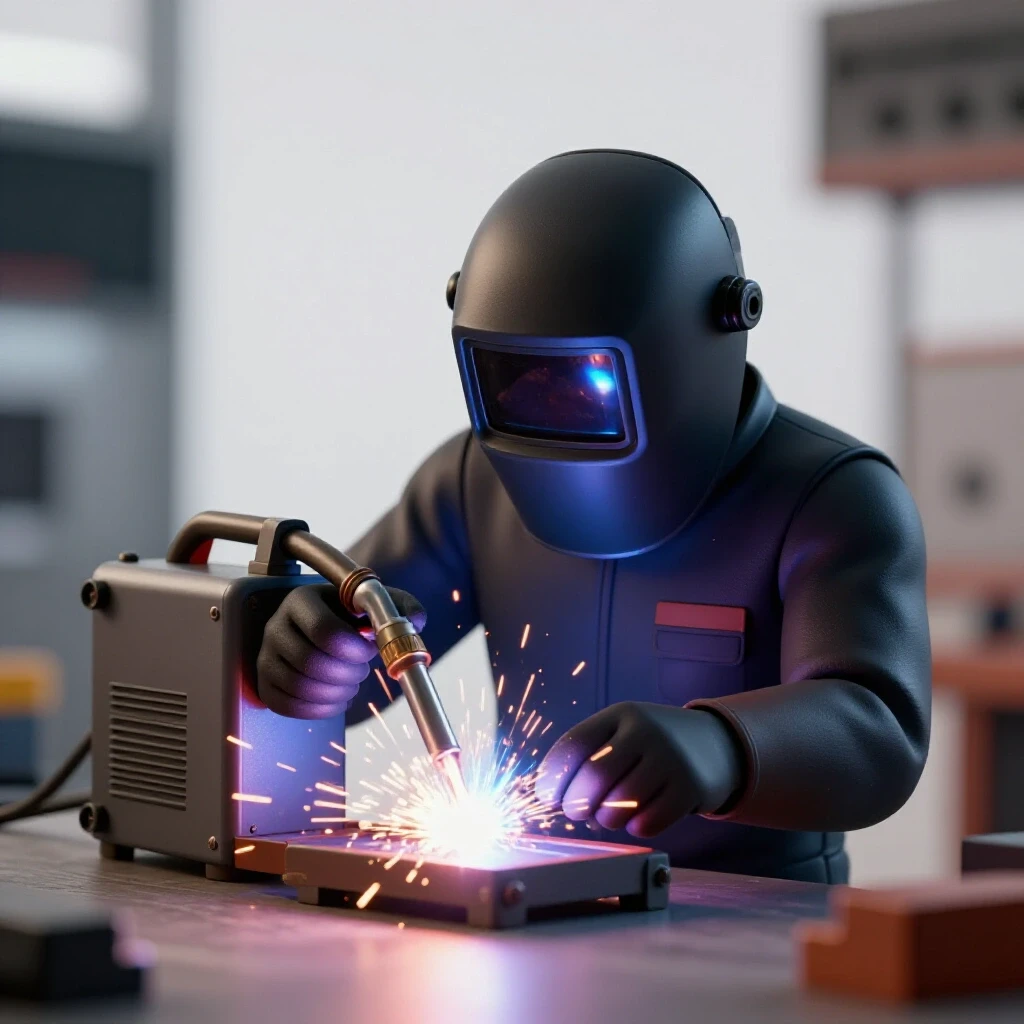
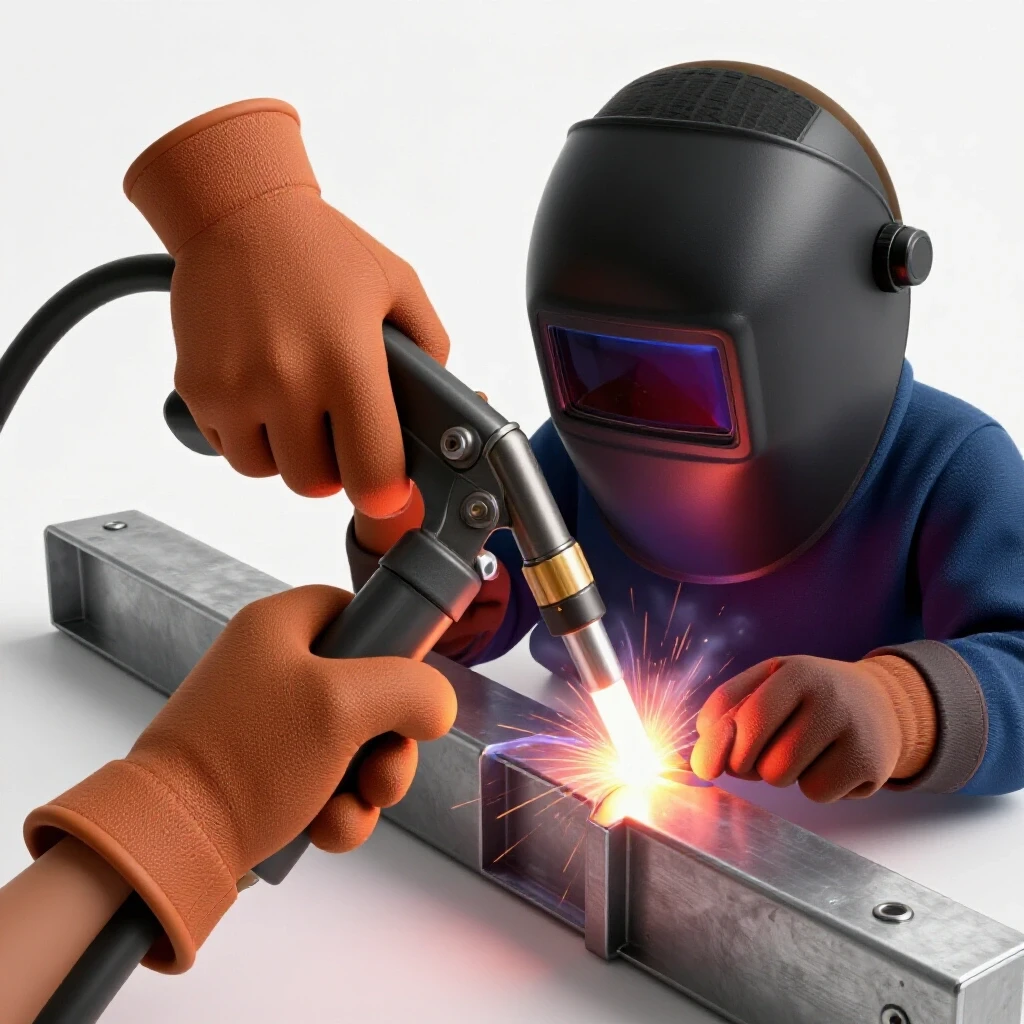
Before you strike an arc, your physical positioning determines the quality of the weld. Consistent travel speed and a steady hand are impossible if you are reaching, leaning, or holding your breath. You must find a “staged” position where your arm can move fluidly across the entire segment length without tension.
To develop professional-level torch control, I recommend the “dry run” method. Before turning on the machine, move your torch along the joint in the exact path you plan to weld. If your elbow hits your ribs or your wrist locks up halfway through, you need to adjust your stance. Your body should act as a steady pivot point, allowing the torch to glide at a consistent height and angle.
Achieving the Correct Travel Angle
For most MIG and Stick welding in a DIY shop, a 10 to 15-degree drag angle is the gold standard. This means the top of the torch is tilted slightly away from the direction of travel, “dragging” the puddle along. If your angle is too steep, you lose penetration; if it is too shallow, you risk trapping slag or creating an erratic bead shape.
- Work Angle: Usually 90 degrees to the joint surface.
- Travel Angle: 10-15 degrees (drag or push depending on the process).
- Arc Gap: For Stick, keep the tip about 1/8″ from the metal. For MIG, maintain a 3/8″ wire stick-out.
Setting Up Your Workspace for Success
A clean workspace is not just about organization; it is a technical requirement for high-quality fabrication. Contaminants like rust, oil, or mill scale act as insulators, forcing you to turn up your machine’s voltage to penetrate the grime. This unnecessary heat is a primary driver of metal warp.
I tell my students to establish a “one-inch clean zone.” This means using a flap disc or wire wheel to grind the metal back to a shiny, silver finish at least one inch away from the joint on all sides. This ensures the arc stays stable and the heat is used to melt the base metal, not burn through surface impurities.
The Importance of Tacking
Tack welds are small, temporary spots of weld metal that hold the pieces in alignment. In a reverse-sequence strategy, tacks are your best friends. Space your tacks frequently—every 2 to 3 inches for thin material. These act as physical barriers to the metal’s desire to move. Once the piece is tacked securely, you can begin your segmented beads between those points.
- Clean the joint: Remove all mill scale until the steel is bright.
- Align the pieces: Use magnets or clamps to set the gap.
- Place tacks: Use high-heat, short-duration bursts to fuse the corners.
- Check for square: Always verify your measurements after tacking, as even small tacks can pull the metal.
Step-by-Step Guide to the Reverse-Sequence Technique
Execution is where theory meets the road. To successfully use the backstep method, you must be disciplined about bead length. It is tempting to keep welding once you find a good rhythm, but for heat management, you must stop. I typically recommend 2-inch to 3-inch segments for most DIY projects.
Start by marking your joint into equal segments. If you have a 9-inch joint, mark it at 3, 6, and 9 inches. Your first weld starts at the 3-inch mark and moves back to the 0-inch start. Your second weld starts at 6 inches and moves back to the 3-inch mark, overlapping the start of your first weld slightly. This “stacking” ensures full penetration and a watertight seal.
Managing the Tie-In
The “tie-in” is where one bead ends and the next begins. This is a common failure point for beginners, often resulting in a lump or a cold spot. To master this, aim your arc at the leading edge of the previous bead, wait a split second for the puddle to wash in, and then begin your travel. This creates a seamless transition that looks like one continuous bead.
- Segment 1: Start at 2″, weld back to 0″.
- Segment 2: Start at 4″, weld back to 2″.
- Segment 3: Start at 6″, weld back to 4″.
- Cooling Time: Allow the metal to become touch-safe between segments if the material is very thin.
Why Travel Speed Rules the Puddle
Travel speed is the most critical variable in welding technique progression. If you move too slowly, the heat builds up, the puddle gets too wide, and the metal warps. If you move too fast, the bead will be thin, “ropey,” and lack proper fusion. Finding the “sweet spot” requires focused practice and a keen eye on the puddle’s shape.
A good benchmark for DIY fabrication is a travel speed of 8 to 12 inches per minute (IPM). You can measure this by setting a timer and welding a straight line on a scrap plate. If you find you are consistently slower than 8 IPM, you are likely putting too much heat into the work, which will lead to distortion regardless of the sequence you use.
Visual Cues for Speed Control
Watch the “C” shape of the trailing edge of your weld puddle. If the “C” is elongated and pointy, you are moving too fast. If the puddle is a perfect circle or starts to sag, you are moving too slow. You want a slightly oval shape that follows the torch consistently. This visual feedback is the fastest way to build the muscle memory required for professional results.
| Travel Speed (IPM) | Visual Result | Heat Input Level |
|---|---|---|
| 4-6 (Slow) | Wide, flat bead; heavy warping | Excessive |
| 8-12 (Ideal) | Consistent width; minimal warp | Balanced |
| 15+ (Fast) | Thin, erratic bead; poor fusion | Insufficient |
Tracking Your Skill Progression with Practice Logs
You cannot improve what you do not measure. In my shop, I insist that every learner keeps a practice log. This isn’t just about recording what you did; it’s about identifying patterns in your failures and successes. When you experience a breakthrough—like finally keeping a plate flat—you need to know exactly what settings and speeds led to that result.
A practice log should include your machine settings (voltage/wire speed), the material thickness, the segment lengths you used, and a “warp test.” A simple way to test for warp is to lay the finished piece on a known flat surface, like a machinist’s table or a piece of thick glass, and see if it rocks.
How to Use a Practice Log Template
- Date and Project: Keep track of your timeline.
- Material Specs: Note the gauge and type of steel.
- Machine Parameters: Record your Volts, Amps, and Wire Feed Speed.
- Technique Used: Did you use 2-inch backsteps or 4-inch?
- Results: Rate the bead appearance (1-10) and the flatness (Pass/Fail).
- Observations: “Moved too slow on the third segment” or “Torch angle was too steep.”
Common Pitfalls and How to Correct Them
Even with a solid plan, things can go wrong. The most common mistake I see is “cheating” on the segment length. You feel good, the arc is humming, and you decide to weld 6 inches instead of 2. By the time you stop, the plate has already pulled. Discipline is the core of trade school practice drills; stay the course even when it feels slow.
Another issue is ignoring the “clean zone.” If you weld over mill scale, your arc will wander, causing you to slow down to compensate. This extra time spent in one spot dumps heat into the metal. If your bead looks like a series of grapes or has “pockmarks” (porosity), go back to your grinder. Clean metal is the foundation of a stable arc.
Troubleshooting the “Cold Start”
In backstepping, every new segment is a “cold start” because you are beginning on relatively cool metal. This can lead to a lack of fusion at the beginning of each segment. To fix this, use a “strike and hold” technique. Strike your arc, hold it for one second to let the puddle form and the base metal heat up, then begin your backward travel.
- Symptom: Bead sits on top of the metal like a worm. Fix: Increase voltage or slow down slightly.
- Symptom: Metal warps despite backstepping. Fix: Shorten your segments and increase cooling time between runs.
- Symptom: Holes blown through the metal. Fix: Increase travel speed or lower your amperage.
Advanced Metrics for the Dedicated Learner
As you move from beginner to intermediate, you can start using more objective data to refine your skills. One such metric is the “heat input formula.” While it sounds complex, it is simply a way to quantify how much energy you are using. This allows you to compare different techniques and machines accurately.
The formula is: (Amps x Volts x 60) / (Travel Speed in inches per minute x 1000). This gives you a value in kilojoules per inch (kJ/in). For thin-gauge DIY projects, you want to keep this number as low as possible while still achieving full penetration. By tracking this, you can see exactly why a certain setting caused more warping than another.
Using Video Analysis for Technique Refinement
One of the best modern tools for learning metal fabrication is the smartphone in your pocket. Set up a tripod and record yourself welding a segment. Watch the video in slow motion. Look at your torch angle—is it wobbling? Look at your arc gap—is it getting longer as you move? Seeing yourself from the “outside” often reveals physical habits you aren’t aware of while under the hood.
- Check for: Steady hand movement (no jerking).
- Check for: Consistent distance from the work.
- Check for: Smooth transitions at the tie-ins.
Actionable Benchmarks for Your Next Session
To move forward, you need specific goals. For your next practice session, don’t just “weld some stuff.” Set a goal to weld a 12-inch butt joint on 1/8-inch steel using 2-inch backsteps. Your objective is to keep the plate flat enough that a 0.010-inch feeler gauge cannot slide under it when placed on a flat table.
These benchmarks provide the “why” behind the “how.” They turn a frustrating hobby into a measurable skill. As you meet these benchmarks, your confidence will grow, and you’ll find yourself taking on more complex projects with the knowledge that you can control the metal, rather than letting the metal control you.
- Baseline: Weld a 6-inch bead continuously. Measure the warp.
- Experiment: Weld a 6-inch bead using 1-inch backsteps. Measure the warp.
- Refinement: Adjust your travel speed to be 20% faster than your baseline.
- Verification: Repeat the backstep test with the faster speed. Compare the results.
Conclusion: The Path to Professional Results
Mastering the art of heat management is what separates a “grinder and paint” welder from a true fabricator. It requires a shift in mindset from “getting the job done” to “controlling the process.” By implementing the reverse-sequence technique, focusing on your body mechanics, and logging your data, you are building a foundation of skill that will last a lifetime.
Remember, every professional you admire has spent hundreds of hours blowing holes in metal and warping plates. The difference is that they learned to measure those failures and adjust their technique. Start small, be disciplined with your segments, and keep your workspace clean. The flat, square, and strong projects you produce will be the ultimate proof of your progress.
FAQ
What exactly is backstep welding?
It is a technique where you weld in short segments in the opposite direction of the overall joint progression. If you want the weld to go from left to right, you start a few inches in and weld back to the left. This distributes heat more evenly and reduces the stresses that cause warping.
Why does my metal still warp even when I backstep?
Usually, this is because the segments are too long or the travel speed is too slow. If you weld a 6-inch segment, the heat build-up is still significant. Try shortening your segments to 1 or 2 inches and allow the metal to cool slightly between passes.
Does this technique work for both MIG and Stick welding?
Yes. While the physical manipulation of the torch or electrode differs, the principle of heat distribution remains the same. It is actually more critical in Stick welding because the process generally introduces more heat into the workpiece than MIG.
How do I know if my travel speed is correct?
Look at your bead width and the shape of the ripples. For 1/8-inch steel, a bead should be about 1/4-inch wide. If it is much wider, you are moving too slow. Use a timer to ensure you are hitting the 8-12 inches per minute benchmark.
Can I use this on very thin sheet metal?
Absolutely. For very thin material (like auto body panels), backstepping is often combined with “stitch welding,” where you place tiny spots and let them cool completely. The reverse sequence ensures that the cumulative pull of those spots doesn’t twist the panel.
What is a “tie-in” and why is it hard?
A tie-in is where you start a new weld segment at the point where the previous one began. It is difficult because you need to fuse the new molten metal into the old, solidified bead without creating a large hump or a weak spot. Practice “overlapping” the start of the previous bead by about 1/4 inch.
How much cleaning is really necessary?
You should grind away all mill scale, rust, and paint until you see shiny metal. This “clean zone” should extend at least one inch from the weld path. Dirty metal causes arc instability, which leads to slower travel speeds and more warping.
Do I need special clamps for this?
While heavy-duty clamps help hold the metal in place, they cannot stop the internal molecular forces of shrinkage. Backstepping is a technique that solves the problem at the source (heat), whereas clamps just try to resist the symptoms. Use both for the best results.
How long does it take to master this?
You will see an immediate improvement in your projects the first time you use it. However, mastering the “tie-ins” and maintaining a perfectly consistent travel speed usually takes 20 to 40 hours of focused practice.
Should I weld the segments in a specific order?
Yes, the most common order is to start a segment length away from the beginning, weld back to the start, then move another segment length ahead and weld back to the previous start. This creates a continuous chain of beads that were each laid into cooler metal.
(This article was written by one of our staff writers, Thomas Langley. Visit our Meet the Team page to learn more about the author and their expertise.)