How to Weld Even Fillet Joints on Thick Steel (DIY Tutorial)
When I first started working with 1/2-inch steel plate, I felt a deep sense of frustration. I could stick two thin pieces of metal together, but thick sections felt like a different world. My beads were lumpy, and I couldn’t seem to get the metal to flow where I wanted. It took me years of logging my practice sessions and studying vocational manuals to realize that creating clean, uniform joints on heavy material is about physics and muscle memory, not luck.
In my workshop, I treat every practice session like a laboratory experiment. I track my travel speed, measure my leg lengths, and photograph my results. This systematic approach is what helped me move past the plateau of “good enough” to professional-grade results. If you are struggling with inconsistent beads or poor penetration on heavy-gauge projects, you are not alone. It is a physical skill that requires a specific roadmap of movements and settings.
Establishing a Stable Physical Foundation for Heavy Fabrications
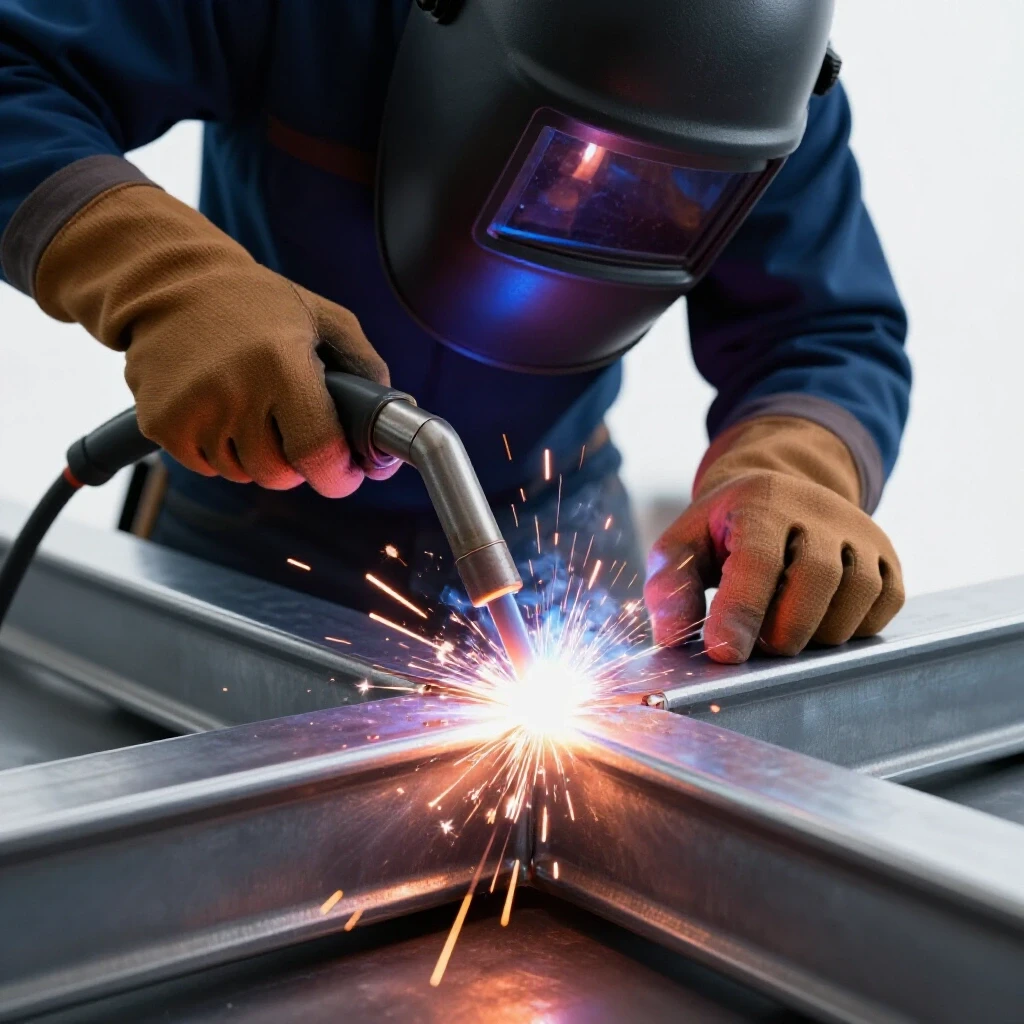
Body mechanics are the most overlooked part of learning metal fabrication. When you are working on thick steel, the heat is intense and the weld times are longer. If you are not comfortable, your hand will shake, and your travel speed will become erratic.
I teach my students the “tripod” method of bracing. You should have three points of contact with your work surface or the ground. This might mean your feet are planted firmly while your non-dominant elbow rests on the welding table. By bracing your torch hand against your steadying hand, you create a mechanical pivot point that smooths out small tremors.
- Keep your shoulders relaxed and down.
- Breathe steadily through your nose to maintain a calm heart rate.
- Position yourself so you can see the leading edge of the puddle clearly.
- Dry run your movement before you pull the trigger or strike the arc.
| Physical Stability Factor | Impact on the Weld | Recommended Correction |
|---|---|---|
| Unbraced arm | Shaky, zig-zag bead path | Use a wrist rest or a wooden block |
| Poor visibility | Wandering off the joint line | Adjust your helmet shade (usually 10-11) |
| Tight grip | Hand fatigue and jerky motion | Hold the torch like a heavy pen, not a hammer |
| Locked knees | Lower back pain and swaying | Keep a slight bend in your legs |
Decoding the Fluid Dynamics of a Large Weld Puddle
Reading the molten puddle is the core of mastering torch control. On thick sections, the puddle behaves differently than on thin sheet metal. It has more mass and holds heat longer. You must learn to distinguish between the liquid steel and the floating slag.
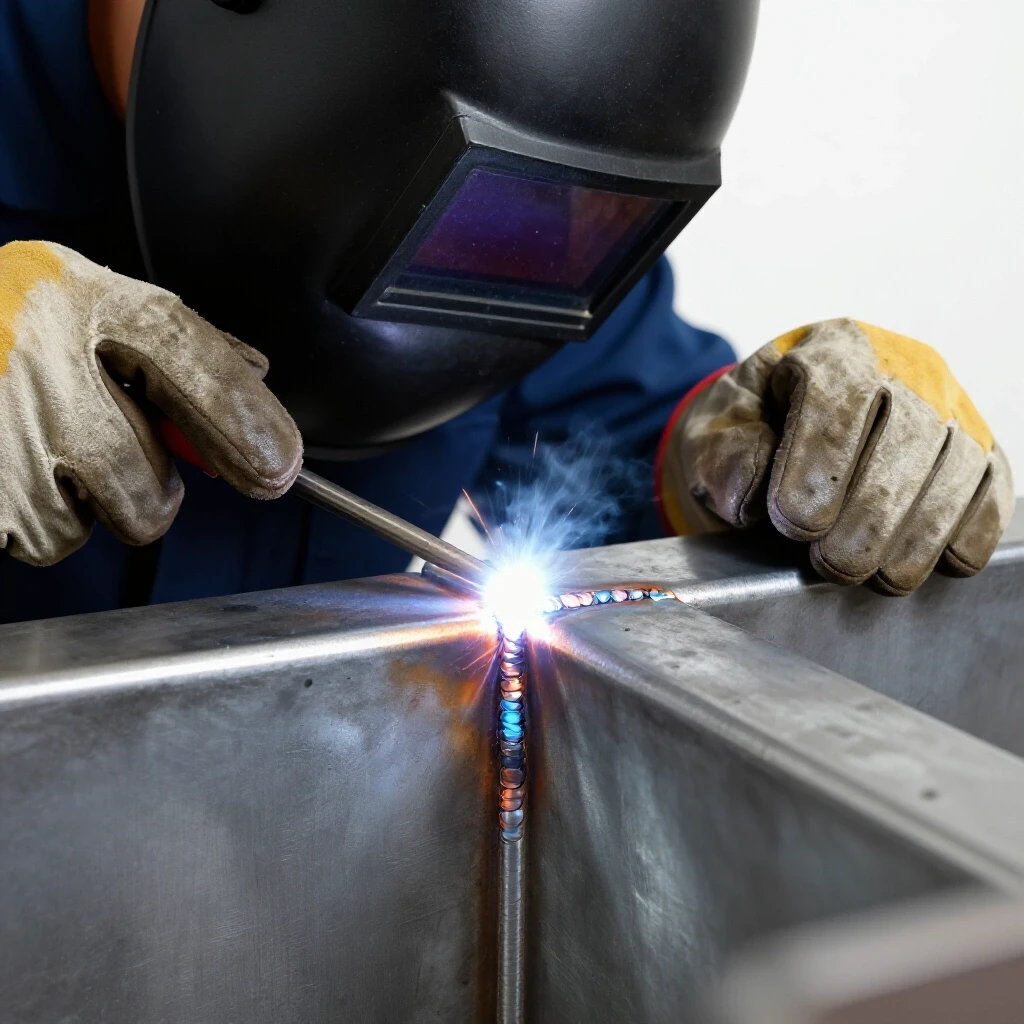
The puddle should look like a bright, glowing oval. I tell my students to watch the “toes” of the weld, which are the edges where the molten metal meets the base plates. If the toes are not “wetting in” or melting into the corners, your heat is too low or your travel speed is too fast. Consistency comes from keeping that oval the same width from the start of the joint to the finish.
- Arc Gap/Stick-out: Keep your distance consistent. For MIG, aim for a 3/8″ to 1/2″ stick-out. For Stick, keep the arc gap about the thickness of the electrode core.
- Puddle Shape: A circular puddle often means you are moving too slowly, causing excess heat buildup. A pointed, “teardrop” shape means you are moving too fast. Aim for a soft, rounded oval.
- Fluidity: The metal should flow smoothly into the corner. If it looks like it is “piling up” without melting the base, you are losing the battle against the material’s thermal mass.
Configuring Equipment for Maximum Heat Saturation
Thick steel acts like a giant heat sink. It pulls energy away from the weld zone rapidly. To overcome this, your machine parameters must be set higher than you might expect. I spent months underestimating how much “juice” a 1/2-inch plate needs to achieve proper fusion.
For MIG welding (GMAW), you need enough voltage to flatten the bead and enough wire speed to fill the joint. For Stick welding (SMAW), a 1/8″ or 5/32″ E7018 electrode is the standard for heavy plate. The E7018 is a low-hydrogen rod that produces a very strong, smooth bead, but it requires a steady hand and a tight arc.
Baseline Parameters for 1/2″ Mild Steel Fillets
- MIG (GMAW): 24-26 Volts | 350-400 Inches Per Minute (IPM) wire speed.
- Stick (SMAW): 125-150 Amps for a 1/8″ E7018 electrode.
- Gas Flow: 25-30 Cubic Feet per Hour (CFH) of C25 (75% Argon/25% CO2).
- Polarity: DCEP (Direct Current Electrode Positive) for maximum penetration.
Precision Preparation and the Clean Zone Standard
You cannot get a professional result on dirty metal. Thick steel often comes with a heavy layer of mill scale, which is a dark, flaky oxidation from the hot-rolling process. This scale acts as an insulator and will cause your arc to sputter and your weld to have “porosity” or tiny holes.
I follow the “one-inch rule.” I grind the metal until it is shiny and silver at least one inch back from the joint on all sides. This creates a “clean zone” that ensures the arc stays stable and the puddle can bond directly to the base metal.
- Grinding: Use a 36-grit flap disc or a hard grinding wheel to remove all mill scale.
- Degreasing: If the metal is oily, use a dedicated metal cleaner or acetone. Never use chlorinated brake cleaners, as they create toxic gases when heated.
- Fit-up: Ensure the two plates are touching tightly. A gap in a fillet joint on thick material will lead to “burn-through” or an uneven leg size.
- Tacking: Place strong 1-inch tacks at both ends of the joint to prevent the metal from warping as it heats up.
Mastering Torch Angles and Travel Speed
Travel speed and torch angle are the two variables that most often cause technique plateaus. If your angle is off, the weld will lean toward one plate, leaving the other plate unfused. If your speed is wrong, the bead will be either too thin or too bulky.
For a fillet joint, you are aiming for a 45-degree “work angle.” This means the torch is pointed directly into the corner of the two plates. Your “travel angle” should be a 10-15 degree “drag” or “pull.” Pulling the puddle allows you to see the arc better and provides deeper penetration on heavy sections.
- Work Angle: 45 degrees (bisecting the joint).
- Travel Angle: 10-15 degrees drag (leaning away from the direction of travel).
- Travel Speed: Aim for 8-12 inches per minute. I suggest using a stopwatch and a marked 12-inch plate to calibrate your internal clock.
| Travel Speed Metric | Visual Result | Correction |
|---|---|---|
| Too Fast | Thin, ropey bead; lack of fusion | Slow down; watch the puddle widen |
| Too Slow | Wide, tall bead; excessive heat | Increase speed; keep the puddle oval |
| Inconsistent | “Lumpy” appearance; varying width | Use a rhythmic count (1-2-3) |
Executing the Multi-Pass Sequence on Heavy T-Joints
On steel 1/2-inch and thicker, a single pass is rarely enough to provide the required strength. You must learn the art of “stacking” beads. This is a multi-pass process where you lay down a “root” bead in the corner, followed by additional “filler” passes.
The goal is to build a triangular profile. A common mistake is trying to make one giant weld. This leads to “cold lap,” where the metal just sits on top of the plate without melting in. Instead, use the 1-2-3 method: one bead in the center, one on the bottom leg, and one on the top.
- Root Pass: Lay a straight “stringer” bead directly in the corner. Focus on getting deep penetration.
- Second Pass: Clean the first bead thoroughly with a wire brush. Aim the torch at the bottom toe of the first bead and the bottom plate.
- Third Pass: Aim the torch at the top toe of the first bead and the top plate. This bead should overlap the second bead by about 50%.
- Interpass Cleaning: Always remove slag or silicon islands between passes. If you trap debris between layers, the joint will be weak.
Troubleshooting and Self-Correction
When I was learning, I used to get frustrated when a weld looked “wrong,” but I didn’t know why. Understanding common defects is the first step toward fixing them. On thick steel, the most common issues are undercut and overlap.
Undercut is a groove melted into the base metal next to the toe of the weld that isn’t filled back in. This usually happens because your travel speed is too fast or your voltage is too high. Overlap (or cold lap) is the opposite; the weld metal rolls over the base metal without fusing. This is caused by moving too slowly or having too low of a heat setting.
- Undercut Fix: Slow down and pause slightly at the edges of your movement. Decrease your voltage or amperage slightly.
- Overlap Fix: Increase your heat settings. Ensure you are pointing the arc directly at the joint, not just the puddle.
- Porosity Fix: Check your gas flow. Make sure there isn’t a draft in your shop blowing away your shielding gas. Clean your metal more thoroughly.
Objective Assessment and Skill Tracking Metrics
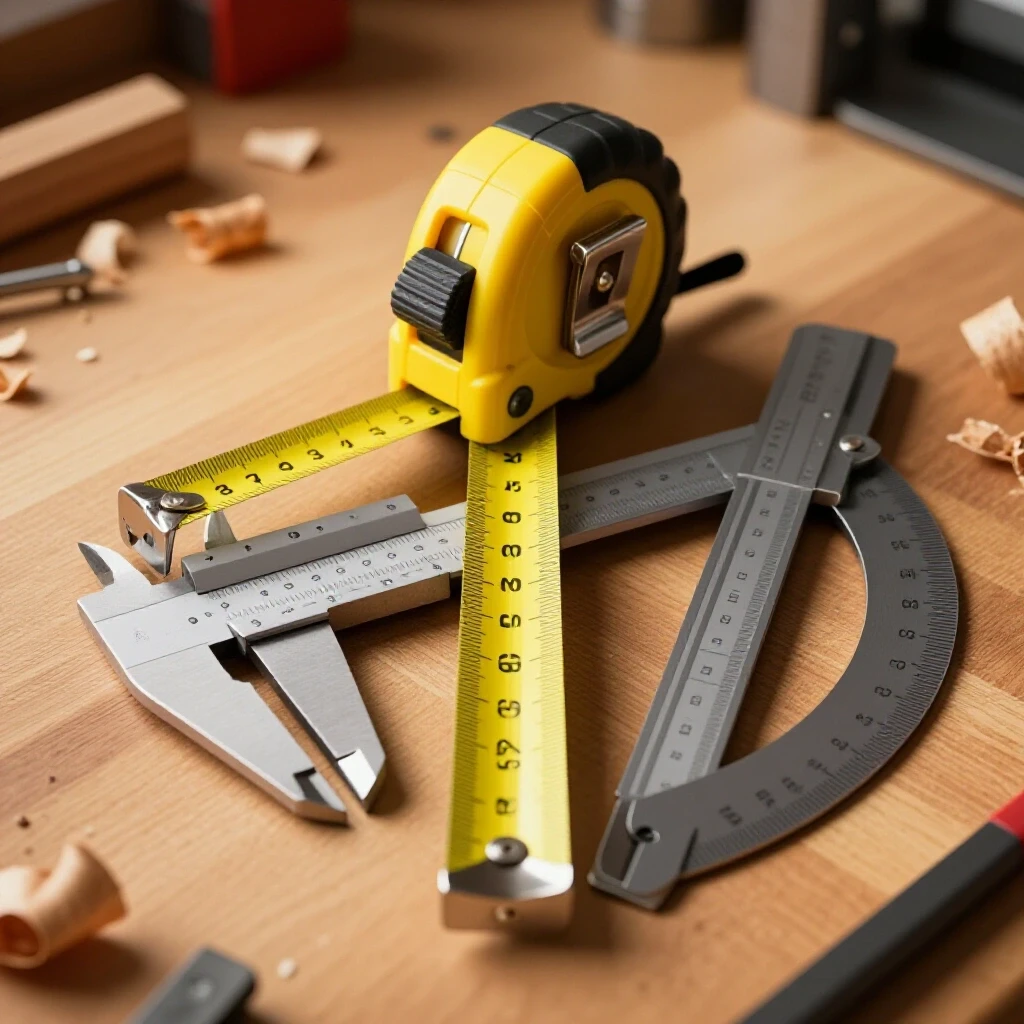
You cannot improve what you do not measure. I encourage every fabricator to keep a practice log. When you finish a joint, don’t just throw it in the scrap pile. Measure it. Use a fillet weld gauge to check the “leg length” (the distance from the corner to the toe) and the “throat” (the thickness of the weld through the center).
For a 1/2-inch plate, a standard fillet should have a leg length of roughly 3/8″ to 1/2″. If your legs are uneven—for example, 1/2″ on the bottom and 1/4″ on the top—your work angle was off. You were likely pointing the torch too far down.
The Weekly Practice Log Template
- Date and Material: (e.g., Oct 12, 1/2″ Mild Steel)
- Process and Settings: (e.g., MIG, 25V, 380 IPM)
- Focus Area: (e.g., Maintaining a 15-degree drag angle)
- Measurement: (e.g., Target 3/8″ leg, Actual 3/8″ bottom / 5/16″ top)
- Observation: (e.g., “I noticed the arc was sputtering; found mill scale I missed.”)
- Adjustment for Next Time: (e.g., “Clean metal further back; tilt torch up 5 degrees.”)
Utilizing Modern Tools for Technique Refinement
In the modern shop, we have access to tools that can speed up the learning curve significantly. I often use my smartphone to record slow-motion videos of my arc. When you watch a weld in slow motion, you can see exactly how the metal is transferring and how the puddle is reacting to your movements.
- Slow-Motion Video: Set up a phone on a tripod with a welding lens over the camera. Review the footage to see if your hand is steady or if your arc gap is fluctuating.
- Digital Parameter Calculators: Use apps from major manufacturers to get a baseline for your settings. These provide a great starting point, though you will still need to fine-tune them for your specific machine.
- Ergonomic Grips: If you find your hand cramping, look into aftermarket torch handles or “TIG fingers” (heat shields) that allow you to rest your hand closer to the heat without burning your glove.
The Path to Consistency: Structured Practice Drills
To build muscle memory, you need repetitive, focused drills. Don’t just build projects; spend time doing “bead-on-plate” exercises. Take a scrap piece of 1/2-inch steel and run parallel beads across the surface.
- Drill 1: The Straight Stringer. Run a 6-inch bead without any weaving. Focus entirely on maintaining a constant arc gap and travel speed.
- Drill 2: The Overlap. Run a second bead that overlaps the first by 50%. This simulates the multi-pass technique used on heavy joints.
- Drill 3: The Stop-Start. Stop in the middle of a bead, let it cool for a second, and then restart. The goal is to make the “tie-in” invisible so the bead looks like one continuous line.
- Drill 4: The T-Joint. Once you can run straight beads on a flat plate, move to the vertical member. Practice the 1-2-3 multi-pass sequence we discussed earlier.
Summary of Key Metrics for Heavy Fillet Success
Mastering these joints is a marathon, not a sprint. It requires hundreds of inches of weld time to get your hands to do what your brain wants. By focusing on the data and the physical cues, you remove the guesswork from the process.
- Clean Zone: 1 inch of shiny metal on all sides.
- Work Angle: 45 degrees into the corner.
- Travel Angle: 10-15 degrees drag.
- Arc Gap: 1/8 inch (or 3/8″ stick-out for MIG).
- Target Speed: 8-12 inches per minute.
- Multi-pass: Use stringers in a 1-2-3 stack for 1/2″ material.
As you progress, you will find that the “frustrating plateaus” become less frequent. You will start to feel the rhythm of the metal melting. You will hear the “bacon sizzle” of a perfect MIG arc or the smooth hum of a 7018 rod. These are the rewards of a systematic, skill-focused approach to fabrication. Keep your logbook close, your metal clean, and your hand steady.
Frequently Asked Questions
Why does my weld look like a tall, narrow mountain instead of a flat triangle? This is usually a sign of “cold lap” or insufficient heat. When welding 1/2-inch steel, the base metal absorbs heat so quickly that the puddle doesn’t have time to spread out and “wet” the edges. Increase your voltage or amperage. Also, check your travel speed; if you move too slowly, the metal piles up on itself. Aim for a speed that allows the puddle to stay oval and flat.
How do I know if I am actually getting penetration into the corner? Visual cues are key. Look at the very front of the puddle. You should see the arc “digging” into the corner, creating a small bridge of molten metal between the two plates. If the puddle seems to be floating on top of the corner without melting the actual point of the “V,” you are not getting penetration. Using a “drag” angle helps push the heat into the root of the joint.
Is it better to use a “weave” motion or straight “stringer” beads on thick plate? For beginners and intermediates, I always recommend straight stringer beads. Weaving can lead to slag inclusions (in Stick) or lack of fusion at the edges if your timing is off. Stacking multiple stringers is the industry standard for high-strength joints because it provides a more consistent heat input and a more predictable grain structure in the metal.
Why is my arc sputtering and popping even though my settings are correct? This is almost always a preparation issue. Even a tiny amount of mill scale or rust can destabilize the arc. Thick steel is notorious for having deep-seated scale. Ensure you are grinding down to “white metal” (bright, shiny silver). If you are using MIG, also check your ground clamp; on heavy plate, a weak ground can cause significant arc instability.
What is the “7018” electrode, and why is it recommended for thick steel? The E7018 is a “low-hydrogen” electrode. The “70” stands for 70,000 psi of tensile strength, and the “18” indicates the coating type and that it can be used in all positions. It is the gold standard for heavy structural work because it produces a very ductile weld that is resistant to cracking. It creates a very smooth, quiet arc that is excellent for learning how to control a puddle on thick sections.
How can I tell if my travel speed is 10 inches per minute without a timer? A good trick is to use a “soapstone” marker to draw one-inch increments on your practice plate. As you weld, try to time your movement so that each inch takes about 5 to 6 seconds. After a few dozen passes, your body will develop a “rhythm,” and you won’t need the marks anymore. Muscle memory is built through this kind of calibrated repetition.
My welds look good at the start but get messy toward the end. What is happening? This is usually caused by “heat soak.” As you weld, the entire plate gets hotter. By the time you reach the end, the metal is so hot that the puddle becomes too fluid and starts to sag or undercut. To fix this, you can either slightly increase your travel speed as you reach the end or stop halfway to let the plate cool down.
Do I really need to clean the slag off between every single pass? Yes, absolutely. If you are doing multi-pass welds, any slag left behind will be trapped under the next layer of molten metal. This creates a “slag inclusion,” which is a permanent weak spot in your weld. Use a chipping hammer and a stiff stainless steel wire brush until the previous bead is completely clean and shiny before starting the next pass.
How do I prevent the vertical plate from pulling toward the weld? This is called “draw” or “distortion.” As the weld cools, it shrinks and pulls the plates together. To counter this, you can “pre-set” the joint by leaning the vertical plate a few degrees away from the side you are welding first. Alternatively, use very heavy tacks or clamps to hold the metal in place until it has completely cooled.
What helmet shade should I use for high-amperage welding on thick plate? When you move up to 1/2-inch steel, the arc is much brighter because you are using more power. For MIG at 25 volts or Stick at 140 amps, a shade 10 or 11 is usually ideal. If your eyes feel “tired” or if you see spots after welding, move to a darker shade. If you can’t see the edges of the puddle, move to a lighter shade. Always protect your vision.
(This article was written by one of our staff writers, Thomas Langley. Visit our Meet the Team page to learn more about the author and their expertise.)