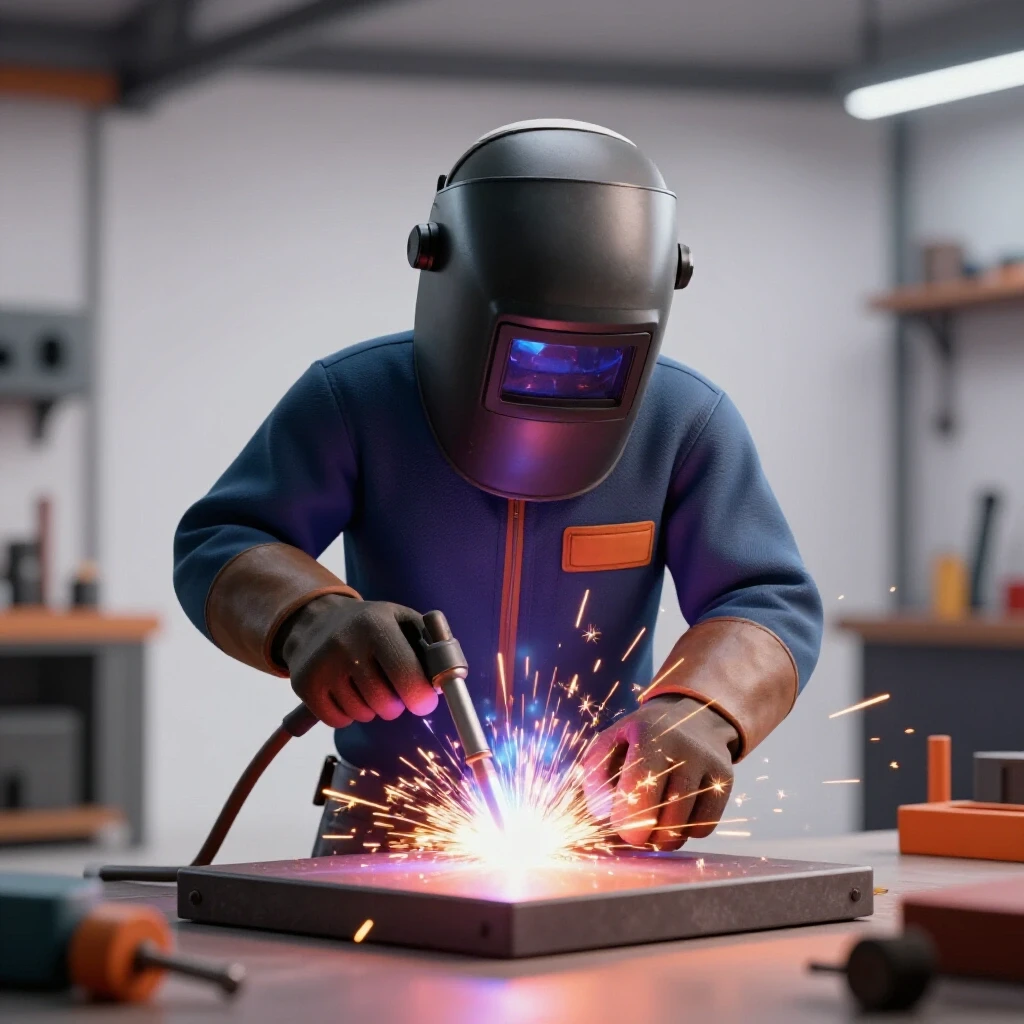
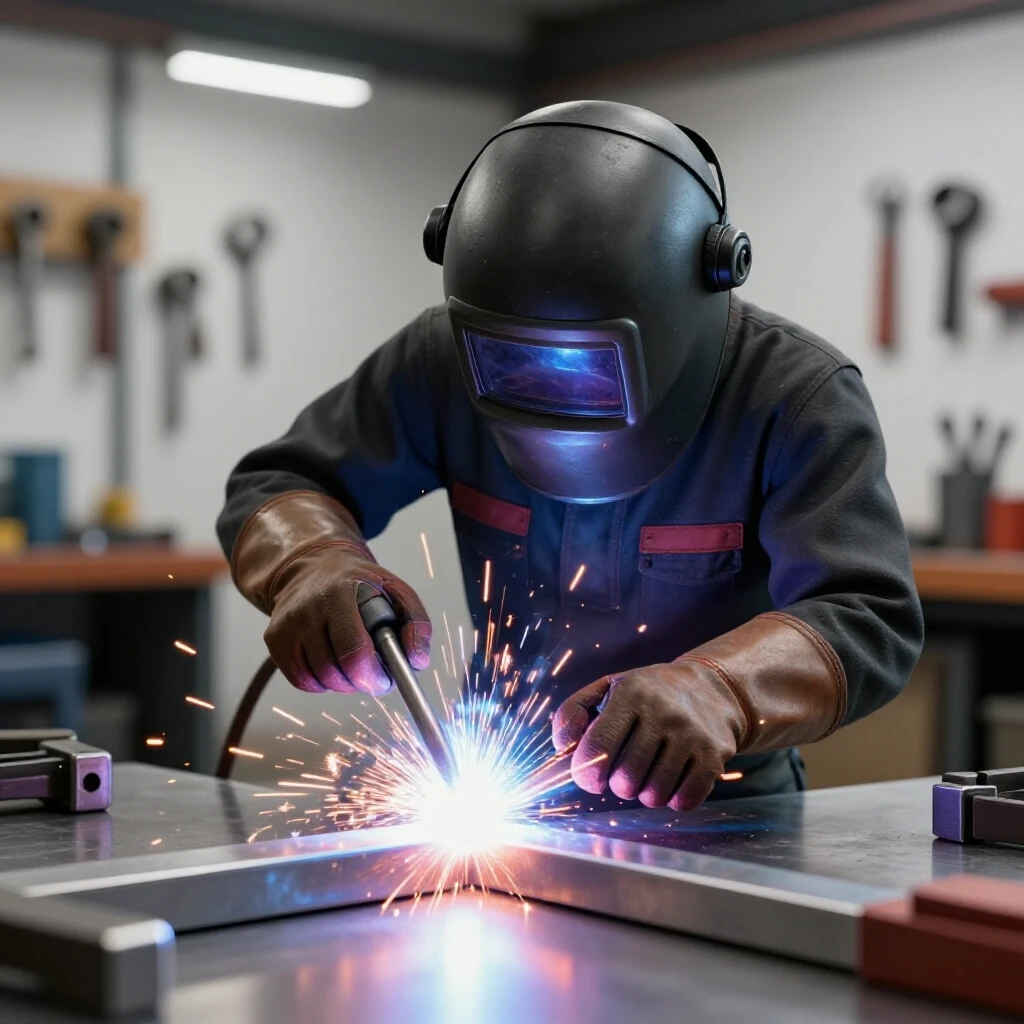
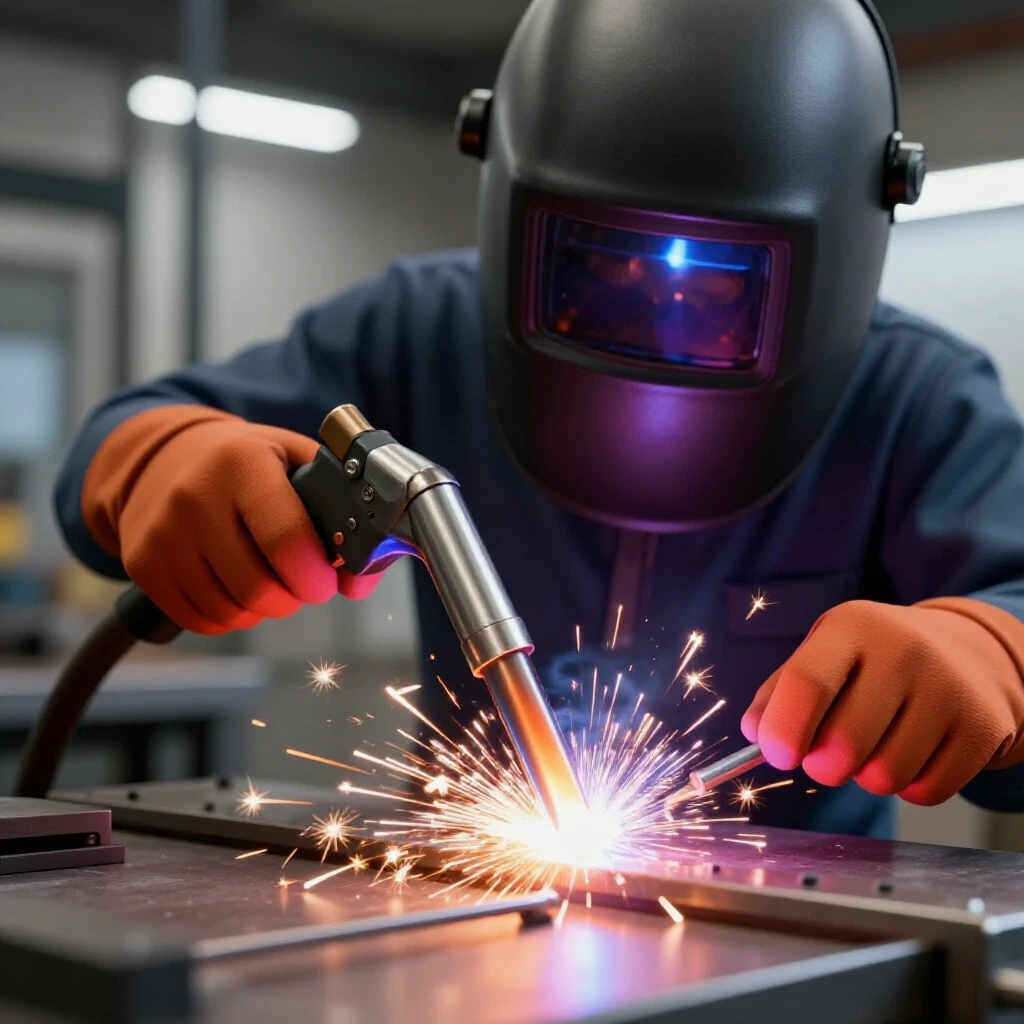
How to Manage Heat Input When TIG Welding Aluminum (Guide)
When I first sat down to TIG weld aluminum twelve years ago, I felt like I was trying to hold a conversation while balancing on a tightrope. Aluminum is a strange, temperamental beast. Unlike steel, it doesn’t glow red to warn you it is about to melt; it simply stays silver and then suddenly drops into your lap. I remember my first dozen practice coupons looking like melted candle wax because I couldn’t grasp how quickly the metal absorbed and held onto energy.
Through years of tracking my own progress in fabrication logs and studying American Welding Society (AWS) standards, I realized that success isn’t about luck. It is about understanding the relationship between your hand speed, your foot pedal, and the unique way aluminum moves heat. If you are struggling with inconsistent beads or blowing holes in your workpieces, you are not alone. These are the same plateaus I hit, and they can be overcome with structured practice and a better understanding of your machine’s parameters.
The Science of Thermal Conductivity in Aluminum Fabrication
Thermal conductivity refers to how quickly a material transfers heat from the arc through the rest of the metal. In aluminum, this happens at a rate nearly five times faster than in carbon steel, requiring a different approach to arc management.
Because aluminum acts like a massive heat sink, your initial arc requires a high burst of energy to establish a molten puddle. However, as the entire workpiece warms up, that same amount of energy becomes too much, leading to a puddle that grows uncontrollably. This “heat soak” is the primary reason beginners struggle with beads that start thin and end up as a wide, slumped mess.
To combat this, we must view the welding process as a sliding scale. You start with high amperage to break the oxide layer and create the puddle, then gradually back off as the metal’s internal temperature rises. Understanding this curve is the first step toward achieving professional-grade consistency in your shop.
Understanding the Aluminum Oxide Layer
The oxide layer is a thin, hard skin on the surface of aluminum that melts at roughly 3,700 degrees Fahrenheit, while the base metal melts at about 1,200 degrees. This discrepancy is why we use Alternating Current (AC) to “blast” away the oxide while simultaneously melting the core.
When you see the “frosty” etched zone around your weld, that is the result of the cleaning action from the AC cycle. If your cleaning is insufficient, the puddle will look cloudy or “peppery,” indicating that contaminants are trapped in the weld. Proper metal preparation—using a dedicated stainless steel wire brush—is non-negotiable for managing the purity of your thermal transfer.
Mastering Body Mechanics and Torch Control
Body mechanics involves the physical positioning of your torso, arms, and hands to ensure a steady, repeatable motion during the welding process. Proper ergonomics prevent fatigue and allow for the micro-adjustments needed to maintain a consistent arc length.
When I was a beginner, I used to “white-knuckle” the torch, which led to shaky hands and erratic travel speeds. Now, I teach the “tripod” method: resting the side of your hand or your pinky finger on the workpiece or a steady rest. This creates a pivot point, allowing your wrist to move the torch in a smooth, linear fashion while keeping the tungsten at a fixed distance from the metal.
The Importance of Arc Length and Torch Angle
Arc length is the distance between the tip of your tungsten electrode and the surface of the puddle. For aluminum, keeping a tight arc—roughly 1/8 inch or less—is critical because a long arc spreads heat over a wider area, reducing penetration and increasing the risk of warping.
Your torch angle should generally be a 10 to 15-degree “push” angle. Pushing the puddle allows the shielding gas and the AC cleaning action to stay ahead of the weld, ensuring the path is clear of oxides. If you lean the torch back too far, you lose shielding gas coverage and the arc becomes unstable, making it nearly impossible to regulate the energy entering the joint.
| Variable | Recommended Metric | Impact on Weld |
|---|---|---|
| Arc Length | 3/32″ to 1/8″ | Tighter arc focuses heat; longer arc spreads it. |
| Travel Angle | 10–15° Push | Ensures gas coverage and oxide cleaning. |
| Work Angle | 90° (for butt joints) | Distributes heat evenly between both pieces. |
| Tungsten Stick-out | 1/8″ to 3/16″ | Affects visibility and gas shielding efficiency. |
Establishing Baseline Machine Parameters
Machine parameters are the specific settings on your TIG welder, such as amperage, AC balance, and frequency, that dictate how the arc behaves. Setting these correctly provides a stable foundation so you can focus on your physical hand-eye coordination.
For 1/8-inch aluminum plate, a good starting point is 125 to 150 amps. While this might seem high, remember that we use the foot pedal to modulate this. You want enough “headroom” on the machine so that you can floor the pedal to start the puddle quickly, then ease back as you move.
AC Balance and Frequency Settings
Modern inverters allow you to adjust the AC Balance, which controls the percentage of the cycle spent cleaning versus penetrating. I typically set my balance to 70% DCEN (Negative), which provides plenty of heat for penetration while leaving 30% for cleaning the oxide. If your tungsten starts to “ball” excessively, you may have too much cleaning action (EP) dialed in.
AC Frequency, measured in Hertz (Hz), controls how many times per second the current switches polarities. A higher frequency (around 100–120 Hz) narrows the arc cone, making it more directional and intense. This is incredibly helpful for fillet welds where you need to drive the heat into the root of the joint without melting the top edges of the plates.
Reading the Puddle and Amperage Modulation
Reading the puddle is the skill of visually monitoring the width, fluidity, and “shine” of the molten metal to make real-time adjustments to your technique. It is a feedback loop between your eyes, your hand, and your foot.
When you see the puddle start to widen or the edges begin to sag, that is a physical signal that the material is becoming oversaturated with heat. Your response should be twofold: slightly increase your travel speed and gradually ease up on the foot pedal. This “dance” is the core of high-quality aluminum fabrication.
Using the Foot Pedal as a Throttle
Think of your foot pedal like the gas pedal in a car. You don’t just stomp it and stay there. For a standard 6-inch bead on 1/8-inch material, my foot movement usually looks like this: 1. Start: 100% pedal to snap the puddle into existence (approx. 1-2 seconds). 2. Mid-run: 60-70% pedal as I establish a rhythm and the plate warms up. 3. End: 30-40% pedal, tapering down to 0% to fill the crater and prevent cracking.
Strategic Joint Preparation and Clean Zones
A clean zone is the area around the weld joint that has been mechanically and chemically cleaned to remove oils, dirt, and the oxide layer. Aluminum is extremely sensitive to contaminants, which can cause porosity (tiny bubbles) in the weld.
I recommend a “one-inch rule”: clean at least one inch back from the edge of the joint on all sides. Use a dedicated stainless steel brush that has never touched steel. If you use a brush contaminated with carbon steel, you will embed tiny particles of steel into the aluminum, leading to “peppering” and potential corrosion later.
- Degrease: Use acetone or a dedicated aluminum cleaner to remove shop oils.
- Mechanical Cleaning: Use a stainless wire brush or a non-woven abrasive disc.
- Fit-up: Ensure the gap between pieces is as small as possible. Large gaps require more filler metal, which means more heat and a higher risk of distortion.
Structured Practice Drills for Skill Progression
Building muscle memory requires repetitive, focused exercises that isolate specific variables. You cannot master everything at once, so I recommend breaking your practice sessions into 20-minute blocks focused on one specific goal.
In my own training logs, I found that “Bead-on-Plate” drills were the fastest way to stabilize my travel speed. By removing the complexity of a joint, I could focus entirely on how the amperage affected the width of the bead. Once I could weld a straight, consistent 8-inch line, I moved on to lap joints and then T-joints.
The 10-Inch Bead Challenge
This drill focuses on maintaining consistent energy input over a long distance. 1. Take a 12-inch long piece of 1/8-inch aluminum. 2. Scribe a straight line down the center. 3. Attempt to weld a single, continuous bead for 10 inches without stopping. 4. The Goal: The bead should be the same width at the 9-inch mark as it was at the 1-inch mark. 5. The Metric: If the bead widens by more than 20%, you need to work on tapering your amperage or increasing your travel speed as you progress.
| Practice Stage | Focus Area | Success Metric |
|---|---|---|
| Stage 1: Bead-on-Plate | Consistency & Rhythm | Uniform bead width (+/- 1mm) |
| Stage 2: Lap Joint | Edge Control | Fusion of top edge without “melting away” |
| Stage 3: T-Joint (Fillet) | Root Penetration | Puddle reaches the very bottom of the “V” |
| Stage 4: Outside Corner | Heat Balance | Sharp corner maintained without sagging |
Why Travel Speed Rules the Puddle
Travel speed is the rate at which you move the torch along the joint, usually measured in Inches Per Minute (IPM). It is the most effective tool you have for controlling how much total energy enters the workpiece.
A common mistake is moving too slowly because you are waiting for the “perfect” puddle look. However, a slow travel speed allows heat to soak into the surrounding metal, which actually makes the puddle harder to control. By increasing your speed to the 8–12 IPM range, you keep the heat concentrated in a small area, resulting in a narrower heat-affected zone (HAZ) and a stronger weld.
Calculating Heat Input
For those who like numbers, the formula for heat input is: Heat Input = (Amps x Volts x 60) / Travel Speed
If you keep your amperage and voltage the same but double your travel speed, you cut the heat input in half. This is why experienced welders often look like they are “racing” across the metal. They are staying ahead of the thermal conductivity of the aluminum.
Troubleshooting and Self-Assessing Joint Defects
Self-assessment is the ability to look at your finished weld and diagnose what went wrong based on visual cues. This is how you break through plateaus—by turning failures into data points.
If your weld has a “crater” at the end, you stopped the arc too abruptly. Aluminum shrinks significantly as it cools, and a sudden stop leaves a weak point that will likely crack. If your weld looks “gray” or “dull,” you either overheated the metal or had poor gas coverage. A shiny, silver bead with distinct “stack of dimes” ripples is the gold standard for a well-managed thermal cycle.
- Burn-through: Caused by too much amperage or moving too slowly.
- Lack of Fusion: Caused by too little amperage or a travel speed that is too fast for the puddle to catch.
- Porosity: Usually caused by improper cleaning or shielding gas turbulence.
- Warping: Caused by excessive total heat input; try shorter “stitch” welds to let the piece cool.
Tracking Your Progress: The Fabrication Log
A practice log is a written record of your settings, techniques, and results for every shop session. Without a log, you are just “guessing” every time you pick up the torch.
I keep a notebook next to my welder. For every session, I record the material thickness, the tungsten size, the AC frequency, and a “post-game” analysis of what worked. Over time, these logs become a personalized roadmap. You’ll start to see patterns, like “I always blow through T-joints at 150 amps; I should try 135 amps with a higher frequency.”
Sample Practice Log Template
- Date/Time: (e.g., Oct 12, 45 mins)
- Material: (e.g., 6061 Aluminum, 1/8″ plate)
- Machine Settings: (e.g., 140A, 100Hz, 70% Balance)
- Drill Performed: (e.g., 5 Fillet Welds)
- Observation: (e.g., “Started strong, but the end of the 3rd weld got too wide.”)
- Adjustment for Next Time: (e.g., “Increase travel speed by 20% in the last two inches.”)
Conclusion: The Path to Consistency
Mastering the thermal dynamics of aluminum is not a feat of strength; it is a feat of observation and discipline. By treating every weld as a data-gathering exercise, you remove the frustration of “bad days” in the shop. You begin to see that a sagging puddle isn’t a failure—it’s a signal to adjust your foot or speed up your hand.
The most important step you can take today is to stop “aimless” welding. Pick one variable—perhaps your arc length or your travel speed—and focus on it exclusively for your next three practice coupons. As your muscle memory stabilizes, the complex “dance” of TIG welding will start to feel like second nature. Keep your tungsten sharp, your metal clean, and your logbook full.
Frequently Asked Questions
Why does my aluminum puddle suddenly “drop out” or disappear?
This happens because aluminum has a very narrow window between its solid and liquid states. Unlike steel, it doesn’t give much visual warning. When the base metal reaches its melting point, the entire area becomes fluid instantly. This is usually caused by staying in one spot too long or not backing off the foot pedal as the heat builds up in the plate.
How do I stop the “pepper” or black flakes in my weld puddle?
Those black flakes are usually aluminum oxide or surface contaminants that have been pulled into the puddle. To fix this, ensure you are using a clean stainless steel wire brush and wiping the metal with acetone. Also, check that your shielding gas flow is between 15–20 CFH (Cubic Feet per Hour) and that you aren’t using a contaminated tungsten.
What is the best tungsten for AC TIG on aluminum?
For modern inverter machines, 2% Lanthanated (Blue) or E3 (Purple) tungsten is generally preferred. Unlike the old-school Pure Tungsten (Green), these hold a sharpened point much better at high AC frequencies, which helps focus the arc and manage the energy directed into the joint.
My beads start out fine but get wider and flatter as I go. What am I doing wrong?
This is the classic “heat soak” issue. As you weld, the aluminum plate absorbs heat, making it easier to melt. To keep the bead width consistent, you must gradually ease off the foot pedal (reducing amperage) or increase your travel speed as you move down the joint.
How can I prevent the end of my weld from cracking?
Aluminum is prone to “crater cracks” because it shrinks as it solidifies. To prevent this, don’t just “flick” the arc off at the end. Instead, pause, add a final dab of filler rod to create a slight hump, and slowly taper the amperage down using your foot pedal. This allows the puddle to solidify slowly and stay full.
Why is my tungsten “balling up” and becoming a big round glob?
An excessively large ball on the end of your tungsten is caused by too much “cleaning action” or EP (Electrode Positive) in your AC Balance. If your machine allows it, adjust your AC Balance to 70-75% EN (Electrode Negative). This puts more heat into the work and less into the tungsten, allowing it to maintain a more tapered point.
Does the thickness of the filler rod matter for heat management?
Yes, significantly. A thicker filler rod (like 1/8″) acts as a “heat sink” and chills the puddle every time you dab it. A thinner rod (like 3/32″) melts more easily and requires less energy to integrate. For 1/8″ plate, a 3/32″ filler rod is usually the best balance for maintaining a consistent puddle temperature.
How do I know if my travel speed is correct?
Look at the ripples in your bead. If the ripples are very close together and the bead is tall, you are moving too slowly. If the ripples are stretched out and the bead is thin or “pointing” forward, you are moving too fast. Aim for a “stack of dimes” look where each ripple is spaced about 1/16″ to 1/8″ apart.
Can I weld aluminum without a foot pedal?
It is possible using a torch-mounted slider or a “lift-arc” technique with fixed amperage, but it is much more difficult. Because aluminum’s heat requirements change so drastically during a single weld, having the ability to modulate amperage in real-time with a foot pedal is the most effective way to produce professional results.
What is the “cleaning zone” and how wide should it be?
The cleaning zone is the etched, frosty-looking area on either side of the weld bead. It shows where the AC arc has successfully stripped away the oxide layer. Generally, a cleaning zone that extends 1/8″ to 1/4″ on either side of the bead is sufficient. If it is too wide, you are wasting energy; if it is non-existent, your weld will likely have inclusions.
(This article was written by one of our staff writers, Thomas Langley. Visit our Meet the Team page to learn more about the author and their expertise.)