Simple Adjustments to Improve Welder Travel Speed (DIY Fix)
When I first picked up a MIG gun twelve years ago, my hands shook with a mix of excitement and pure nerves. I remember staring at a piece of scrap mild steel, trying to move the torch in a straight line, but my beads looked like a row of grapes dropped in the dirt. Some were tall and skinny; others were flat and wide. I realized quickly that my biggest hurdle wasn’t the machine settings alone, but my inability to move at a steady, predictable pace.
Learning metal fabrication is a journey of connecting your brain to your hands. It is about building muscle memory so that you stop thinking about the torch and start seeing the molten metal. If you are struggling with inconsistent beads or erratic penetration, you are likely facing a common plateau in your welding technique progression. By focusing on how you physically navigate the joint, you can transform your work from hobbyist-level to professional-grade.
Mastering Body Mechanics for Steadier Torch Movement
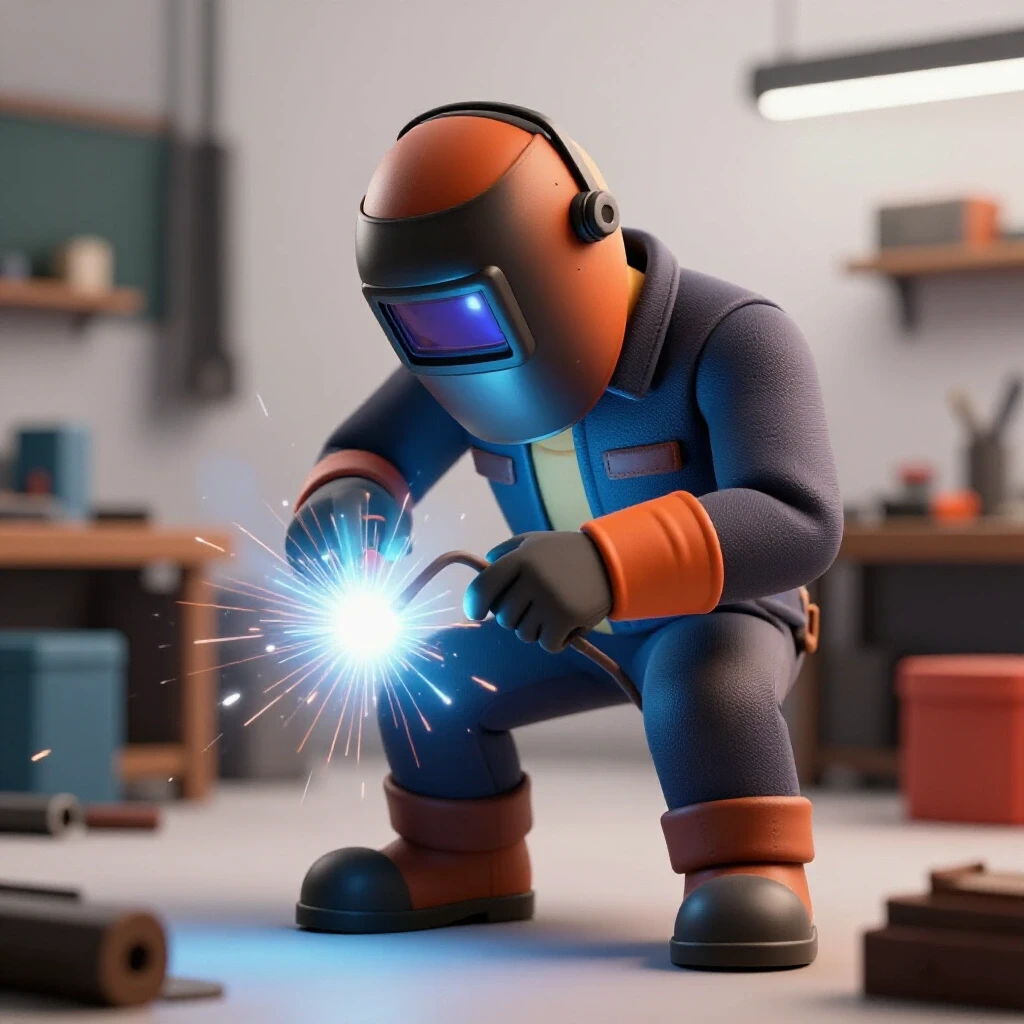
Body mechanics in welding refers to the physical stance, bracing, and movement patterns an operator uses to maintain a stable arc. Proper positioning reduces fatigue and allows for the fluid, rhythmic motion required for high-quality metalwork.
I often tell my students that a good weld starts with your feet, not your hands. If you are leaning over a table in an awkward position, your muscles will eventually twitch. This twitch translates directly into your weld. To fix this, I recommend the “three-point contact” rule. Always try to have three parts of your body braced against something stable. For example, keep both feet flat on the floor and lean your hip or non-welding elbow against the workbench.
Another vital part of mastering torch control is the “dry run.” Before you pull the trigger or strike an arc, move your torch across the entire length of the joint while the machine is off. If your arm hits an obstacle or you run out of reach halfway through, you need to reposition. I spent years ignoring this, only to find myself stuck in a corner mid-weld. Now, I never start a bead without ensuring my path is clear and my body can move freely from start to finish.
The Importance of Bracing and Hand-Eye Coordination
Bracing is the act of using a secondary support to stabilize your welding hand, while hand-eye coordination involves syncing your visual perception of the puddle with your physical movement. These two factors are the primary drivers of consistent bead width.
When I was a beginner, I tried to “freehand” every weld, holding the torch in mid-air. This led to shaky movements and an inconsistent arc gap. Now, I use my off-hand to support my welding wrist. If you are using a MIG gun, you can rest the barrel of the gun on your gloved hand. This acts like a bridge, allowing you to glide smoothly along the metal.
Developing a Rhythmic Movement Pattern
A rhythmic movement pattern is a repeated physical motion, such as a slight oscillation or a steady pull, that helps distribute heat and filler metal evenly. Consistency in this rhythm prevents the “lumpy” appearance of a weld bead.
You can practice this away from the welding table. I used to take a pencil and draw “e” shapes or “u” shapes across a piece of paper, trying to keep every loop exactly the same size. In the shop, this translates to how you move the puddle. Whether you use a straight “stringer” bead or a small weave, the goal is to make every movement identical in timing.
Tuning Machine Parameters to Match Your Natural Pace
Machine parameters involve the voltage and wire feed speed (WFS) settings that dictate how much heat and metal enter the joint. These settings must be balanced against how fast you can comfortably move your hand.
If your travel speed is too slow for your settings, the metal will get too hot, leading to a wide, flat bead or even burning a hole through the workpiece. If you move too fast, the bead will be thin and “ropey,” with very little penetration. I find that most intermediate learners try to move too fast because they are afraid of the heat. By adjusting your machine to a slightly lower voltage, you can give yourself more time to see what is happening in the puddle.
Understanding the Relationship Between Wire Speed and Movement
Wire feed speed (WFS) determines the amount of filler metal being added and influences the amperage of the weld. Higher wire speeds generally require a faster hand movement to prevent excessive buildup.
| Setting Type | Effect on Hand Speed | Visual Indicator |
|---|---|---|
| High Wire Speed | Must move faster | Tall, thick bead; potential for cold lap |
| Low Wire Speed | Can move slower | Thin bead; potential for lack of fusion |
| High Voltage | Must move faster | Wide, flat puddle; risk of burn-through |
| Low Voltage | Can move slower | Narrow, convex bead; “cold” appearance |
Finding Your “Sweet Spot” with Voltage Adjustments
Voltage acts as the pressure that pushes the metal into the joint. Finding the right voltage for your natural pace is a key part of your metal welding practice guide.
I recommend starting with the manufacturer’s suggested settings for your material thickness. From there, make small adjustments of 0.5 volts at a time. If you feel like you are rushing to keep up with the puddle, turn the voltage and wire speed down. If the puddle feels sluggish and isn’t wetting out (flowing into the edges), turn them up. Your goal is to find a setting where you can move at a comfortable, steady pace of roughly 8 to 12 inches per minute (IPM) on 1/8-inch steel.
Optimizing Torch Geometry and Arc Gap
Torch geometry refers to the angle at which you hold the welding gun or torch relative to the workpiece. The arc gap, or contact-tip-to-work distance (CTWD), is the space between the end of your electrode and the metal.
Maintaining a consistent angle is one of the most difficult skills to master. If you tilt the torch too far back, you lose gas coverage and the arc becomes unstable. If the torch is too upright, you might not be able to see the puddle clearly. I generally aim for a 10 to 15-degree “drag” angle for MIG welding on mild steel. This means the top of the torch is tilted slightly in the direction you are moving, pointing the arc back at the finished weld.
Managing Contact-Tip-to-Work Distance (CTWD)
CTWD is the distance from the copper contact tip inside the MIG nozzle to the surface of the metal. In stick or TIG welding, this is referred to as the arc gap or arc length.
A common mistake I see in trade school practice drills is “wandering” CTWD. As the welder moves along the plate, their hand slowly lifts or drops. For MIG, you want to keep about 3/8″ to 1/2″ of wire sticking out from the tip. If this distance changes, the resistance in the circuit changes, which fluctuates the heat. To fix this, I suggest resting your pinky finger (protected by a heat shield or “TIG finger”) on the work surface to act as a height gauge.
The Impact of Work and Travel Angles
The work angle is the position of the torch relative to the joint (e.g., 45 degrees for a T-joint), while the travel angle is the lean in the direction of the weld path.
- Travel Angle: Keep this between 5 and 15 degrees. Too much angle causes “long-arcing” and creates a messy, spattered weld.
- Work Angle: For a flat bead on a plate, keep the torch at 90 degrees to the surface. For a corner, split the angle at 45 degrees.
- Consistency: The key is to keep these angles locked. Imagine your arm is a robot; only the shoulder and elbow should move, while the wrist remains fixed.
Learning to Read the Weld Puddle Dynamics
Reading the puddle is the ability to observe the molten metal in real-time and adjust your movement based on its shape, size, and fluidity. This is the “secret sauce” of mastering torch control.
When you are welding, you shouldn’t be looking at the bright arc itself. Instead, look just behind the arc at the pool of liquid metal. I tell my students to look for the “C” shape at the back of the puddle. If that “C” starts to get too long or pointy, you are moving too fast. If it becomes a perfect circle or starts to sag, you are moving too slow. Learning to react to these visual cues is what separates a beginner from an intermediate fabricator.
Identifying the Puddle’s Leading Edge
The leading edge is the front part of the molten pool where the arc is actively melting the base metal. Watching this area ensures you are achieving proper penetration.
If the arc is constantly jumping ahead of the puddle, you are moving too fast, and the metal won’t have time to fuse. If the puddle is rolling over the front of the arc, you are moving too slow, and you’ll end up with “cold lap,” where the filler metal just sits on top of the base metal without sticking. You want the arc to stay right on the front edge of the molten pool.
Recognizing Heat Saturation Cues
Heat saturation occurs when the base metal becomes so hot that the puddle starts to widen uncontrollably. This usually happens toward the end of a long weld run.
As you progress through a joint, the metal absorbs heat. To compensate, you actually need to increase your travel speed slightly as you reach the end of the bead. If you maintain the same slow pace, the end of your weld will be much wider and flatter than the beginning. I often practice “tapering” my speed—starting slow to get the heat in, then gradually moving faster as the plate warms up.
Structured Practice Drills for Technique Progression
Structured practice drills are repetitive exercises designed to isolate specific variables, such as travel speed or torch angle, to build muscle memory. These are essential for anyone learning metal fabrication.
Don’t just start building a project immediately. Spend your first 20 minutes in the shop doing “bead-on-plate” exercises. Take a flat piece of scrap steel and run straight lines from one side to the other. This removes the complexity of a joint and lets you focus entirely on your hand speed. Once you can produce ten identical beads in a row, you are ready to move on to more complex joints.
The “Step-and-Pause” Drill
This drill involves moving the torch forward a small amount (the “step”) and then holding it still for a fraction of a second (the “pause”) to let the puddle fill.
- Start your arc and wait for the puddle to form a circle.
- Move the torch forward about 1/8 of an inch.
- Pause until the puddle catches up and fills that space.
- Repeat this rhythm for the length of the plate.
- Check your bead. It should look like a stack of coins.
Fillet Weld Consistency Exercises
A fillet weld joins two pieces of metal at an angle, usually forming a T-shape. This is one of the most common joints and requires precise control of both work and travel angles.
When practicing T-joints, I focus on the “puddle tie-in.” You need to see the molten metal touching both the vertical and horizontal pieces of steel. If your hand speed is too high, the puddle won’t have time to “wet out” into the corners, leaving a weak joint. I recommend marking your path with a soapstone line. Following a physical line helps train your eyes to stay on track while your hands manage the speed.
Tracking Progress with a Welding Skill Log
A welding skill log is a written or digital record of your practice sessions, including machine settings, travel speeds, and visual assessments of your work. This is the best way to overcome frustrating plateaus.
I am a big believer in data. If you don’t measure it, you can’t improve it. Every time I sit down to practice, I write down my voltage, wire speed, and the thickness of the metal. After I finish a run, I grade it on a scale of 1 to 5. Was it straight? Was the width consistent? Did it have enough penetration? Over a few weeks, you will start to see patterns. You might realize you always struggle when welding from left to right, or that your speed is more consistent when you sit rather than stand.
Creating a Parameter Reference Chart
A reference chart is a personalized table of settings that work best for your specific machine and your natural hand speed.
| Date | Material | Voltage | WFS | Result/Notes |
|---|---|---|---|---|
| 10/12 | 1/8″ MS | 18.5V | 210 | Good penetration; felt a bit fast. |
| 10/14 | 1/8″ MS | 17.5V | 190 | Better control; bead is more consistent. |
| 10/15 | 3/16″ MS | 20.0V | 240 | Needed more heat; slowed down hand speed. |
Using Video Analysis for Self-Correction
Modern technology makes it incredibly easy to see your own mistakes. Set up your phone on a tripod (behind a welding lens or at a safe distance) and record yourself welding.
When you watch the footage, look at your torch angle. Does it change as you move? Look at your travel speed. Do you speed up at the end? Seeing yourself from an outside perspective is often the “lightbulb moment” for many fabricators. I still use slow-motion video to analyze my TIG welding technique when I’m working with tricky alloys like aluminum.
Troubleshooting Common Speed-Related Defects
Defects are flaws in the weld that compromise its strength or appearance. Most common defects are directly related to improper pacing or machine setup.
If you find that your welds have “undercut”—a groove melted into the base metal next to the weld that isn’t filled by filler metal—you are likely moving too fast or using too much voltage. Conversely, if your weld is “rolling over” the edges, you are moving too slow. By identifying these visual cues, you can make the necessary adjustments to your technique on the fly.
Correcting Undercut and Overlap
Undercut and overlap are the two most common results of poor travel speed management.
- Undercut: Caused by moving too fast or having a torch angle that is too extreme. Fix it by slowing down and letting the puddle fill the “crater” created by the arc.
- Overlap (Cold Lap): Caused by moving too slow. The filler metal flows over the base metal without fusing. Fix it by increasing your speed or bumping up the voltage.
Managing Spatter and Surface Finish
Excessive spatter is often a sign that your arc gap is too long or your wire speed is too high for your travel pace.
If you see sparks flying everywhere, check your CTWD. Ensure you aren’t pulling the torch too far away from the metal. Also, ensure your “clean zone” is adequate. I always grind the mill scale off my steel at least one inch back from the weld area. Trying to weld through rust or scale will force you to move erratically as the arc struggles to stay stable.
Practical Benchmarks for the Developing Fabricator
Benchmarks are specific, measurable goals that help you track your progress toward professional-grade results.
As you work through your welding technique progression, aim for these milestones: 1. Consistency: Can you run a 6-inch bead with less than 1/16″ variation in width? 2. Straightness: Can you follow a soapstone line without deviating more than 1/32″? 3. Speed Control: Can you accurately hit a target speed of 10 IPM without looking at a clock? 4. Restart Quality: Can you stop a weld and restart it so cleanly that the “tie-in” is invisible?
By focusing on these small, incremental goals, you avoid the frustration of trying to master everything at once. Fabrication is a game of millimeters and seconds. When you master the mechanics of your own movement, the machine becomes an extension of your hand.
Frequently Asked Questions
How do I know if I am moving too fast?
If your weld bead looks thin, pointed, or “ropey,” you are likely moving too fast. Another sign is a lack of penetration, where the weld sits on the surface rather than sinking into the metal. You may also see undercut along the edges of the bead because the filler metal didn’t have time to fill the area melted by the arc.
What is the ideal travel speed for a beginner?
For most manual MIG welding on 1/8-inch mild steel, a good target speed is between 8 and 12 inches per minute. A simple way to track this is to mark out 10 inches on a scrap plate and try to complete the weld in exactly 60 seconds. This helps you calibrate your internal clock.
Why does my hand shake when I start welding?
Shaking is usually caused by a lack of bracing or muscle tension. Ensure you are using the “three-point contact” rule by bracing your hip, elbow, or off-hand against the table. Take a deep breath before you strike the arc and try to keep your grip on the torch firm but not “white-knuckled.”
Does torch angle really affect how fast I have to move?
Yes. A steep “push” angle tends to spread the heat out and create a flatter, wider bead, which often requires a slightly faster pace. A “drag” angle concentrates the heat and results in deeper penetration, which usually allows for a more controlled, slightly slower movement.
How can I practice without wasting expensive gas and wire?
You can practice your body mechanics and “dry runs” with the machine turned off. Use a flashlight or a laser pointer taped to your torch to follow a line on a piece of paper. This builds the muscle memory for a steady hand and consistent travel path without consuming any materials.
What should I look at while I am welding?
Avoid looking directly at the bright light of the arc. Instead, focus your eyes on the back edge of the molten puddle. Watch how the liquid metal flows and fills the joint. If you see the puddle getting too wide or sagging, speed up. If it looks narrow and dry, slow down.
Why is my weld bead wider at the end than at the beginning?
This is caused by heat soak. As you weld, the base metal absorbs heat and becomes more fluid. To maintain a consistent bead width, you must gradually increase your travel speed as you move toward the end of the joint to compensate for the rising temperature of the metal.
How do I fix a “lumpy” weld bead?
Lumpy beads are usually the result of an inconsistent rhythm. Practice a steady “step-and-pause” motion or a consistent stringer bead. Using a metronome or even humming a rhythmic tune can help you maintain a steady pace. Also, check that your wire feed speed isn’t set too high for your hand speed.
Does the thickness of the metal change my travel speed?
Absolutely. Thicker metal acts as a “heat sink,” drawing heat away from the weld area. You will generally need to move slower or use higher settings on thicker material. Conversely, on very thin sheet metal, you must move much faster to prevent burning through the workpiece.
Can I use a timer to improve my consistency?
Using a timer is an excellent way to measure progress. Time your weld runs on a standard length of metal (like 6 inches) and record the results in your logbook. If you find your times vary wildly from run to run, focus on your breathing and your physical stance to stabilize your movement.
(This article was written by one of our staff writers, Thomas Langley. Visit our Meet the Team page to learn more about the author and their expertise.)