Simple 15-Minute Morning Prep Checklists for Shops (Review)
For more than 20 years, I have navigated the transition from a crowded garage to a high-output fabrication facility. Scaling a shop is rarely about buying the biggest machine; it is about how you manage the space and the systems you already have. When I first integrated a CNC plasma table, I realized that my old habits were causing massive bottlenecks. I spent more time looking for tools and clearing floor space than I did cutting metal. Through trial and error, I learned that a systematic approach to shop readiness is the only way to maintain professional throughput without burning out.

The stress of scaling often comes from the feeling that the shop is running you, rather than you running the shop. You might have the best 3-phase power converter and a high-end gantry, but if your morning starts with a chaotic search for a clean air filter, your productivity is already compromised. Transitioning to a semi-professional operation requires a shift in mindset. You must treat your workshop like an industrial process. This begins with a disciplined review of your systems every single day.
Why Workshop Layout Physics Dictates Daily Throughput
Workshop layout physics involves the study of how materials and people move through a space to minimize wasted effort. By analyzing floor load ratings and machine zoning, owners can reduce bottlenecks. This ensures that every tool is positioned to support a logical, linear production path from raw stock to finished product.
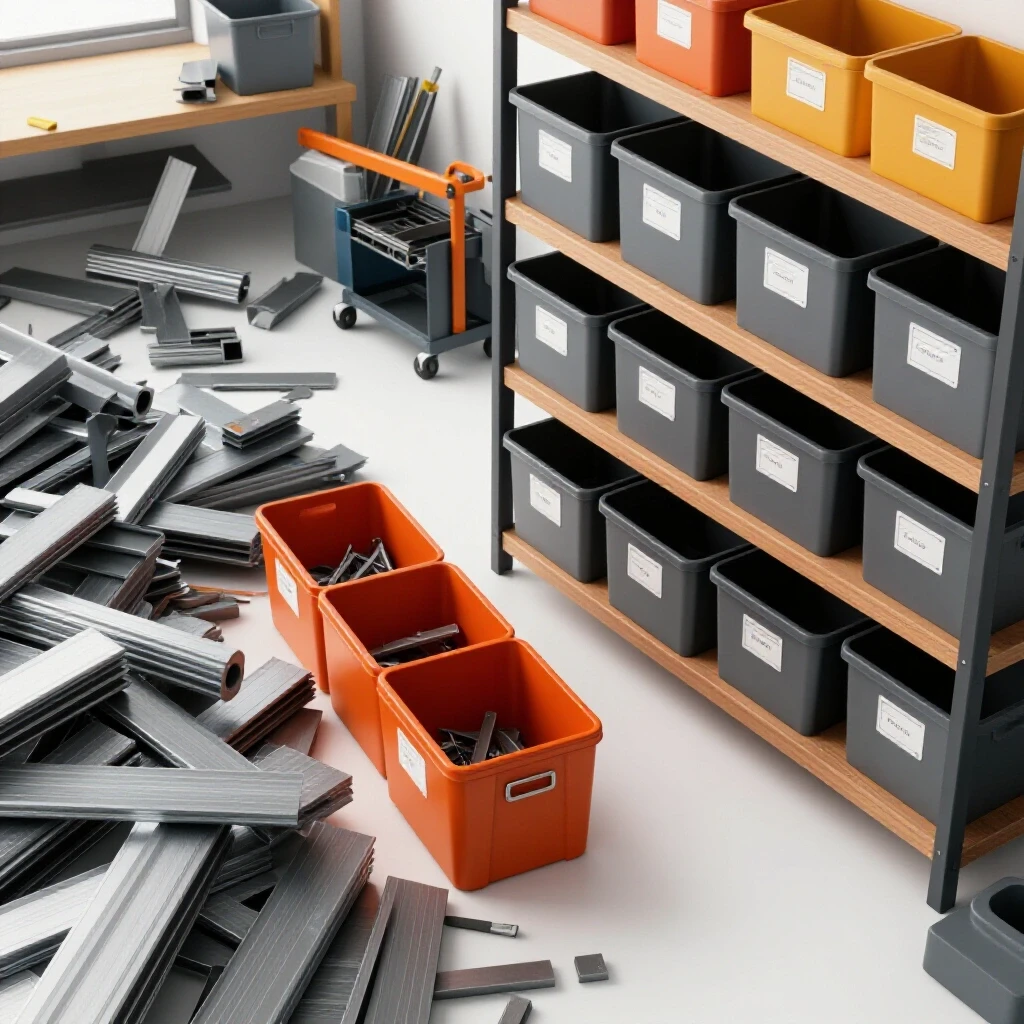
In my early years, my shop layout was a “spaghetti map.” I would walk from the material rack at one end to the saw at the other, then back to the center for welding. This back-and-forth movement is a silent profit killer. To optimize a layout, you must establish clear zones: material receiving, primary processing (cutting), secondary processing (grinding/welding), and finishing.
A professional layout respects the 3-foot minimum access zone around heavy machinery. This is not just for safety; it is for maintenance and material handling. If you cannot get a pallet jack to your CNC table because of a poorly placed welder, your workflow is broken. I recommend using a linear flow pattern where material enters one door and exits another.
Table 1: Workshop Layout Flow Comparison
| Feature | Batch/Hobby Layout | Linear Professional Flow |
|---|---|---|
| Material Movement | Frequent backtracking | Single direction (In to Out) |
| Tool Access | Tools stored where they fit | Tools stored at point of use |
| Floor Load Management | Random placement | Heavy machines on reinforced slabs |
| Bottleneck Risk | High (shared workspaces) | Low (dedicated work cells) |
| Cleanup Time | 30+ minutes | Under 10 minutes |
- Measure your “travel distance” for a single part.
- Identify “dead zones” where scrap or unused tools collect.
- Ensure floor load ratings can support the concentrated weight of a CNC water table.
Establishing 3-Phase Power Readiness for Heavy Machinery
3-phase power systems provide three alternating currents that are out of phase with each other, offering more consistent torque for heavy machinery. Understanding how to balance these loads is vital for shop owners transitioning from residential power to industrial-grade fabrication. It prevents motor overheating and ensures equipment longevity during daily operations.
Most home-based shops start with single-phase 240V power. However, as you scale, you will likely encounter 3-phase equipment. I remember the first time I bought a commercial-grade ironworker. I had to decide between a static converter, a rotary phase converter (RPC), or a Variable Frequency Drive (VFD). Each has its place, but for a shop with multiple machines, a rotary converter is often the most reliable choice.
The National Electrical Code (NEC) provides frameworks for safe 3-phase installations. A critical part of your morning routine should be a quick check of your phase balance. If the voltage between the three legs varies by more than 2-5%, your motors will run hot and lose efficiency. I use a simple digital multimeter to verify my RPC output before starting the first shift of the day.
Table 2: 3-Phase Power Options for Small Shops
| Technology | Best Use Case | Efficiency | Complexity |
|---|---|---|---|
| Static Converter | Single machine, low load | Low (60-70%) | Simple |
| Rotary Converter (RPC) | Multiple machines, high torque | High (90%+) | Moderate |
| VFD | Precision speed control | Very High | High (per machine) |
| Phase-Angle Controller | Resistance heating/lighting | Moderate | Low |
- Check for loose connections in the converter panel.
- Listen for unusual humming or vibration during the startup cycle.
- Verify that the “manufactured leg” voltage is within 5% of the utility legs.
Managing Air Quality and Dust Collection Systems
Air quality management involves using mechanical systems to remove airborne particulates and fumes from the workshop environment. High-volume filtration and properly designed ductwork are essential for maintaining a safe and productive space. This is especially true when running CNC plasma cutters or high-speed grinders that produce fine dust.
If you can see a haze in your shop by noon, your ventilation is failing. In my shop, I designed a multi-stage cyclone dust collection system. The goal is to maintain a specific air velocity (usually 3,500 to 4,000 feet per minute) inside the ducts to prevent dust from settling. This requires understanding static pressure loss, which is the resistance the air faces as it moves through pipes and filters.
A quick morning check of your dust collection system can save hours of cleaning later. I always check the pressure gauge on my filter bank. A sudden rise in static pressure means the filters are loaded and need a cleaning cycle. According to OSHA guidelines, maintaining clean air is not just about comfort; it is about preventing long-term respiratory issues.
- Empty the primary dust bin before it reaches 75% capacity.
- Inspect duct joints for air leaks that reduce CFM at the tool.
- Ensure the fume extraction arm is positioned correctly for the day’s first weld.
CNC Plasma and Automation Startup Protocols
CNC gantry setups involve the integration of mechanical rails, motors, and software to automate cutting or milling tasks. Successful operation depends on precise leveling, clean air supply, and accurate homing routines. These systems require a higher level of daily scrutiny than manual tools to avoid costly material waste or machine damage.
Integrating automation is a steep learning curve. I recall a morning when I skipped my gantry check and ended up crashing a torch head into a tipped-up part. It was a $400 mistake that could have been avoided in 60 seconds. Modern CNC tables use either stepper motors or servo motors. Servos are faster and have closed-loop feedback, meaning they know their exact position, but they still require a clean environment to function.
Your daily routine must include a “homing” sequence. This moves the machine to its physical limits to calibrate the software’s coordinate system. I also check the air dryer for the plasma cutter. Moisture in the air line is the leading cause of poor cut quality and premature consumable wear.
- Clear the gantry rails of any metal chips or slag.
- Check the torch consumables (nozzle and electrode) for wear.
- Drain the moisture trap on the main air compressor.
- Verify the software communication with the motor controllers.
- Perform a “dry run” of the day’s first nested file to check for collisions.
The 15-Minute Daily Shop Readiness Review
A daily shop readiness review is a concise series of checks performed every morning to ensure equipment safety, tool organization, and workspace cleanliness. By spending a small amount of time on these tasks, a shop owner can prevent production delays and mechanical failures. This routine bridges the gap between a hobbyist mindset and professional operations.
This is the heart of a lean workflow. I break my 15-minute routine into four distinct categories: safety, power, air, and motion. By following a consistent sequence, I don’t have to “think” about what to do; I just execute. This reduces the mental load of starting a busy day and ensures that no critical system is overlooked.
Step 1: The Safety and Environment Sweep (4 Minutes) I start by walking the perimeter. I’m looking for trip hazards, like extension cords or scrap metal. I check that all fire extinguishers are accessible and that the floor is clear of oil or coolant spills. This is also when I turn on the ambient air cleaners to start cycling the shop air.
Step 2: Power and Utility Verification (3 Minutes) Next, I power up the 3-phase converter. While it stabilizes, I check the air compressor’s oil level and drain the tank’s bottom valve. I verify that the main electrical panel is clear of obstructions. These are the “lifeblood” systems of the shop; if they aren’t ready, nothing else happens.
Step 3: Tool and Material Staging (4 Minutes) I review my production list for the day. I ensure the tools I need for the first job are at the workstation. If I’m welding, the tank valves are opened and the ground clamp is checked. If I’m cutting, the material is staged near the saw or CNC table. This prevents the “search and rescue” missions that kill momentum.
Step 4: Automation and Precision Check (4 Minutes) Finally, I focus on the CNC systems. I wipe down the rails with a lint-free cloth and check the belt tension. I home the machine and load the first file of the day. By the time this 15-minute window is over, the shop is not just open; it is ready to produce.
Common Mistakes in Shop Scaling and Daily Prep
Many owners make the mistake of thinking that “more space” solves everything. In reality, more space often just leads to more clutter if you don’t have a system. Another common error is neglecting the “small” maintenance tasks, like cleaning gantry rails or checking phase balance, until something breaks.
I once worked with a fabricator who was losing two hours a day just looking for clamps and grinding discs. We implemented a simple “shadow board” system and a morning reset routine. Within a week, his throughput increased by 20% without adding a single new machine. It was a lesson in the power of organization over raw capital investment.
- Mistake: Over-relying on automation without manual verification.
- Mistake: Ignoring air quality until it becomes a health issue.
- Mistake: Failing to balance 3-phase loads, leading to motor failure.
- Mistake: Storing material in the “travel paths” of the shop.
Conclusion
Transitioning to a professional-grade fabrication shop is a journey of incremental improvements. It is about moving from a state of constant reaction to a state of planned action. By focusing on layout physics, robust electrical systems, and disciplined daily routines, you can reclaim your time and increase your shop’s output. The 15 minutes you spend every morning checking your systems is the highest-ROI activity you can perform. It ensures that when you hit the “start” button on your CNC or strike your first arc, the shop is prepared to support your success.
FAQ
What is the most common bottleneck in a scaling fabrication shop? The most common bottleneck is usually material flow. When raw stock, work-in-progress, and scrap are not managed in a linear path, they clutter the floor and prevent efficient movement between machines.
How do I know if I need a rotary phase converter or a VFD? If you need to run multiple 3-phase machines simultaneously, a rotary phase converter is generally more cost-effective. If you need precise speed control for a single motor, such as on a milling machine or lathe, a VFD is the better choice.
What is “static pressure” in a dust collection system? Static pressure is the resistance to airflow caused by friction in the ducts, bends, and filters. If your static pressure is too high, your fan cannot move enough air (CFM) to effectively capture dust at the tool.
Why is homing a CNC machine every morning necessary? Homing resets the machine’s internal coordinate system to a physical “zero” point. This ensures that the software knows exactly where the torch or tool is located, preventing offset errors and potential crashes.
How often should I drain my air compressor? You should drain the moisture from your air compressor tank every day. Water buildup leads to internal tank corrosion and introduces moisture into your air tools and CNC plasma system, which ruins cut quality.
What is a “shadow board” and how does it help? A shadow board is a tool storage system where the outline of each tool is painted on the board. This allows you to see instantly if a tool is missing and ensures that every item has a dedicated home.
How do I calculate the CFM needed for my shop? CFM requirements depend on the tools you use. A general rule is to have at least 1,000 CFM for a single large tool like a table saw or sander. You must also account for duct length and the number of bends in your system.
What is a closed-loop feedback system in CNC? A closed-loop system uses encoders on the motors to send position data back to the controller. If the motor misses a step due to an obstruction, the system can detect the error and stop the machine or correct the position.
Can I run a CNC plasma table on a standard 20-amp circuit? Most professional-grade CNC plasma cutters require a 50-amp, 240V circuit at minimum. Running on an undersized circuit will lead to frequent breaker trips and poor cut performance.
What is the benefit of a “dry run” on a CNC machine? A dry run allows you to watch the machine move through the cutting path without actually firing the torch or spindle. This helps you identify potential collisions with clamps or the workpiece before they happen.
(This article was written by one of our staff writers, Edward Sinclair. Visit our Meet the Team page to learn more about the author and their expertise.)