How to Convert a Drill Press to Run Polishing Wheels (Fix)
In my twenty years of operating a fabrication shop, I have learned that the biggest hurdle to scaling isn’t just buying bigger machines. It is the friction of small, unfinished tasks that clog your workflow. When I first transitioned from a hobbyist setup to a more professional operation, I realized that my high-end CNC plasma table was often sitting idle because I was stuck hand-finishing parts.
To solve this, I began looking at my existing equipment through the lens of lean manufacturing. One of the most effective moves I made was repurposing a standard floor drill press into a dedicated finishing station. By adapting this tool for surface conditioning and buffing, I removed a massive bottleneck in my production line. This guide focuses on how you can mechanically adapt your existing vertical drilling tools to handle finishing wheels, ensuring your shop maintains a smooth, professional material flow.
Optimizing Shop Layout for Secondary Finishing Operations
A shop layout defines the physical path a piece of metal takes from raw stock to a finished product. In an efficient setup, every machine is placed to minimize “travel waste,” which is the unnecessary movement of materials or operators across the floor.
When you integrate a dedicated finishing tool, you are essentially creating a manufacturing cell. Instead of bouncing between a workbench and a pedestal grinder, you create a station where parts are deburred and polished immediately after they leave the primary cutting area. I recommend a “U-shaped” flow where your drill-press-turned-polisher sits between your deburring area and your final inspection table. This reduces foot traffic and keeps the mess contained to one zone.
Why Material Flow Mapping Prevents Production Backlogs
Material flow mapping is the process of drawing the physical path of a part through your shop to identify where it gets stuck. By visualizing this, you can see if your finishing equipment is placed in a way that forces you to backtrack.
In my early days, I had my polishing tools in the far corner, away from my main assembly area. I was walking miles every week just to touch up edges. Moving my modified vertical spindle closer to the output side of my CNC table saved me roughly four hours of labor per week. For an advanced shop, those four hours represent a significant increase in throughput.
Mechanical Adaptation of the Spindle for Finishing Wheels
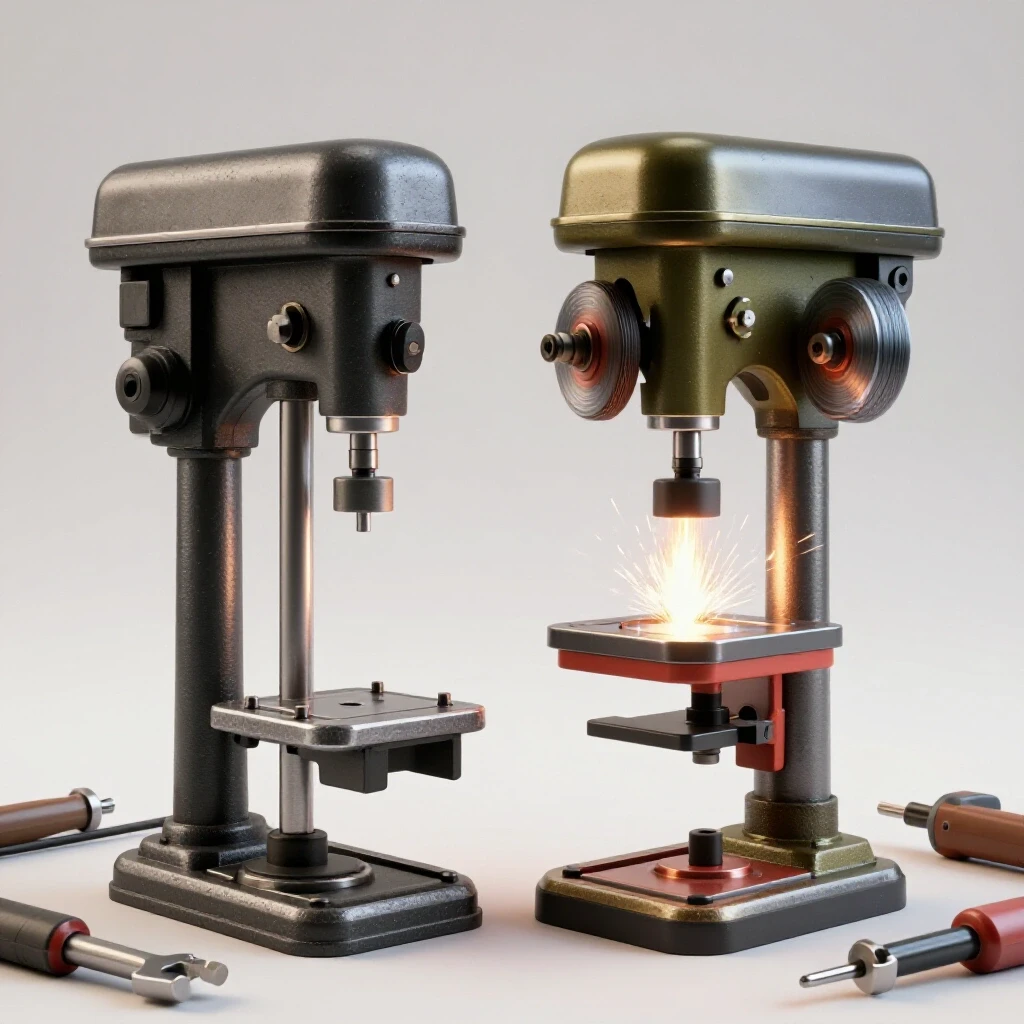
To use a vertical spindle for surface conditioning, you must address the interface between the machine and the wheel. This involves using specialized arbors that can safely hold a buffing or polishing wheel without slipping under load.
The most critical component is the tapered or straight-shank arbor. Most drill presses use a Morse Taper (MT) system. You will need an arbor that fits your specific taper—usually MT2 or MT3—on one end and has a threaded shaft with flanges on the other. This setup allows you to sandwich the polishing wheel securely. It is a mechanical fix that turns a tool designed for downward pressure into one that can handle the side-loading of a buffing operation.
Selecting the Right Arbor for Spindle Compatibility
An arbor is a removable shaft that holds a tool or wheel in place, providing a bridge between the machine’s power and the finishing media. Choosing the right one ensures the wheel stays centered and safe during high-speed rotation.
| Arbor Type | Best Use Case | Benefit |
|---|---|---|
| Morse Taper to Threaded Stud | Heavy-duty buffing | High grip strength in the spindle |
| Straight Shank (Chucked) | Light-duty polishing | Quick to install in a standard chuck |
| Flanged Mandrel | Wide wheels | Prevents the wheel from wobbling |
I prefer the Morse Taper variety because it eliminates the risk of a chuck loosening under the vibration of a heavy buffing wheel. When I upgraded my shop’s finishing station, switching to a dedicated MT2 arbor reduced vibration by nearly 30%, which led to a much more consistent finish on my aluminum brackets.
Managing Spindle Speeds for Safe Surface Conditioning
Standard drilling operations often require high torque at low speeds or high speeds for small bits, but polishing requires a specific range of Surface Feet per Minute (SFM). If the wheel spins too fast, it can burn the metal or cause the buffing compound to fly off.
Most home-shop drill presses have a stepped pulley system. To adapt for polishing, you usually need to move the belt to the largest spindle pulley and the smallest motor pulley. This gives you the lowest possible RPM. If your machine is still too fast for a large 8-inch wheel, you may need to source a smaller motor pulley to further reduce the speed. Keeping the speed within the 1,500 to 3,000 RPM range is generally the sweet spot for most metal finishing tasks.
Calculating Surface Feet Per Minute (SFM) for Metal Finishing
SFM is a measurement of how fast a point on the edge of a wheel is moving. It is more important than RPM because a larger wheel at the same RPM moves much faster at the edge than a small one.
To find your SFM, multiply the wheel diameter by the RPM and then by 0.262. For example, an 8-inch wheel spinning at 2,000 RPM results in roughly 4,192 SFM. Most stainless steel polishing is best done around 5,000 SFM, while softer metals like aluminum prefer a slightly lower speed to avoid overheating. Understanding this math prevents you from ruining a workpiece or prematurely wearing out your expensive buffing wheels.
Designing a Dust and Debris Containment System
Polishing is a messy process that generates fine metal dust and spent abrasive compound. In a professional shop, letting this debris float around is not an option as it can interfere with CNC electronics and settle on freshly painted parts.
I solved this by building a simple plywood or sheet metal enclosure around the drill press table. This “shroud” captures the majority of the heavy particles. I then integrated a 4-inch dust collection port at the back of the shroud. By connecting this to a standard shop vacuum or a dedicated dust collector, you can maintain a “clean air” zone even during heavy finishing sessions.
Air Quality and Particulate Management in the Workshop
Effective dust collection relies on CFM (Cubic Feet per Minute), which is the volume of air moved by your vacuum system. High-volume air movement is required to pull heavy metal dust away from the operator.
- 100-200 CFM: Sufficient for a small, enclosed shroud on a single machine.
- 500+ CFM: Required if you are running multiple finishing stations or a larger open-front booth.
- Static Pressure: The resistance the air faces as it moves through your ducts. Keep your hose runs short to maximize suction.
In my shop, I use a multi-stage cyclone separator before the vacuum. This captures 99% of the heavy metal dust in a bucket, preventing my expensive HEPA filters from clogging every two days. It is a simple addition that makes the entire finishing process much more sustainable for a high-output environment.
Safety Protocols and Operator Protection
When you change the intended use of a machine, you must update your safety protocols. A drill press is designed for vertical force, but polishing applies lateral (sideways) pressure. This can, over time, cause the spindle bearings to wear or even cause the taper to seat differently.
Always ensure the work table is locked tightly. I also recommend using a “dead man” foot switch for your finishing station. This allows you to cut power instantly without taking your hands off the workpiece. Since polishing wheels can “grab” a part and pull it from your hands, having an emergency stop at your feet is a critical safety upgrade for any advanced shop owner.
Essential Safety Checklist for Modified Spindles
A safety checklist ensures that every operator in your shop follows the same standards, reducing the risk of accidents during the finishing process.
- Check Arbor Seating: Ensure the Morse Taper is clean and fully seated with a lead hammer tap.
- Verify Wheel Direction: Ensure the wheel rotates downward toward the operator to prevent parts from being kicked upward.
- Inspect Wheel Integrity: Look for frays or tears in the buffing wheel before starting the motor.
- Clear the Table: Remove any loose tools or scraps from the drill press table that could vibrate into the wheel.
- Wear Face Protection: Use a full face shield, as buffing wheels can throw compound and metal slivers at high velocity.
Integration of Finishing Cells into CNC Workflows
As you move toward a semi-professional operation, the goal is to have your CNC machinery doing the heavy lifting while your manual stations handle the “finesse” work. Integrating a dedicated polishing station into your CNC workflow means your parts are “customer-ready” the moment they leave the shop floor.
I track my “Time-to-Finish” metric religiously. Before I had a dedicated polishing station, it took me 15 minutes to finish a batch of ten parts. After setting up a permanent, modified drill press station with the right arbors and dust collection, that time dropped to 6 minutes. Over a year, that is hundreds of hours reclaimed for higher-value tasks like CAD design or sales.
Balancing Production Speed with Surface Quality
Consistency is the hallmark of a professional shop. By using a fixed spindle rather than a handheld grinder, you ensure that the angle of the finish is the same on every single part.
This level of repeatability is what allows you to charge premium prices. When a customer receives a batch of 50 parts and every single one has the exact same brushed finish, they know they are dealing with a professional. Using a modified drill press provides the stability needed for that consistency, which is often difficult to achieve with hand-held tools.
Frequently Asked Questions
Can a standard drill press handle the side-load of a large polishing wheel?
Most medium-to-heavy-duty drill presses have bearings capable of handling moderate side-loads. However, it is important not to over-pressurize the workpiece. Let the compound and the wheel speed do the work. If you notice the spindle wobbling or making a growling noise, you are likely applying too much lateral pressure for the bearings to handle.
What is the best way to attach the wheel to the spindle?
The most secure method is using a Morse Taper arbor that matches your machine’s internal taper. These arbors usually end in a 1/2-inch or 5/8-inch threaded stud. You place the wheel on the stud, followed by a large washer (flange) on both sides, and tighten it with a nut. This prevents the wheel from spinning independently of the shaft.
How do I stop the buffing compound from getting everywhere?
The best solution is a three-sided enclosure or “hood” that surrounds the back and sides of the wheel. This hood should be connected to a high-CFM dust collector. Additionally, applying the compound in small, frequent amounts rather than one large glob helps reduce “sling” and keeps your workspace cleaner.
Is it safe to use a drill chuck to hold a polishing arbor?
While possible for very light work, it is generally not recommended for advanced shops. Drill chucks are designed for axial (up and down) loads. The vibration and side-loading of polishing can cause the chuck to loosen or even fall off the taper. A dedicated one-piece arbor is a much safer and more professional choice.
What RPM should I use for a 6-inch buffing wheel?
For a 6-inch wheel, an RPM between 2,000 and 3,000 is usually ideal for most metals. This provides enough speed to generate the heat necessary for the buffing compound to work, without being so fast that it becomes dangerous or burns the material. Always start at the lowest speed and increase only if the finish isn’t reaching the desired luster.
Do I need to modify the motor for this setup?
No, for most shops, the existing motor and pulley system are sufficient. You simply need to adjust the belt positions to reach the desired RPM. If your motor is too fast even on the lowest setting, you can replace the motor-side pulley with a smaller one to further reduce the speed.
How often should I maintain the spindle bearings?
If you are using your drill press for polishing daily, I recommend greasing the spindle (if your model allows) every month. Listen for changes in noise or feel for increased vibration. Polishing creates fine dust that can find its way into unsealed bearings, so keeping the area clean is the best form of maintenance.
Can I use this setup for deburring as well?
Yes, you can mount “Scotch-Brite” style abrasive wheels or wire wheels using the same arbor system. This makes the station even more versatile, allowing you to move from heavy deburring to fine polishing just by swapping the wheel. This versatility is key to maximizing every square foot of your shop floor.
(This article was written by one of our staff writers, Edward Sinclair. Visit our Meet the Team page to learn more about the author and their expertise.)