Batch Production vs Custom Metal Fabrication Guide (Review)
For twenty years, I have lived the evolution of a fabrication shop from the inside out. I started like many of you, working on a single welding table in a cramped garage, moving my chop saw every time I needed to cut a long piece of tubing. As my projects grew from simple repairs to complex assemblies, the physical toll of a disorganized shop became impossible to ignore. I realized that the difference between a struggling hobbyist and a profitable micro-manufacturer isn’t just the quality of the welds; it is the efficiency of the floor plan and the reliability of the systems.
Scaling a shop involves a significant amount of strategic stress. You find yourself asking if you should buy a larger CNC table or if you should first upgrade your electrical service. You wonder if you should focus on making fifty identical brackets or stick to the high-margin, one-off custom builds that built your reputation. These are the decisions that define your transition into a professional-grade operation. My goal is to share the data and the hard-earned lessons I have gathered while optimizing my own facility, helping you avoid the bottlenecks that cost me time and money.
Mapping Material-Flow Loops to Reduce Hidden Workshop Waste
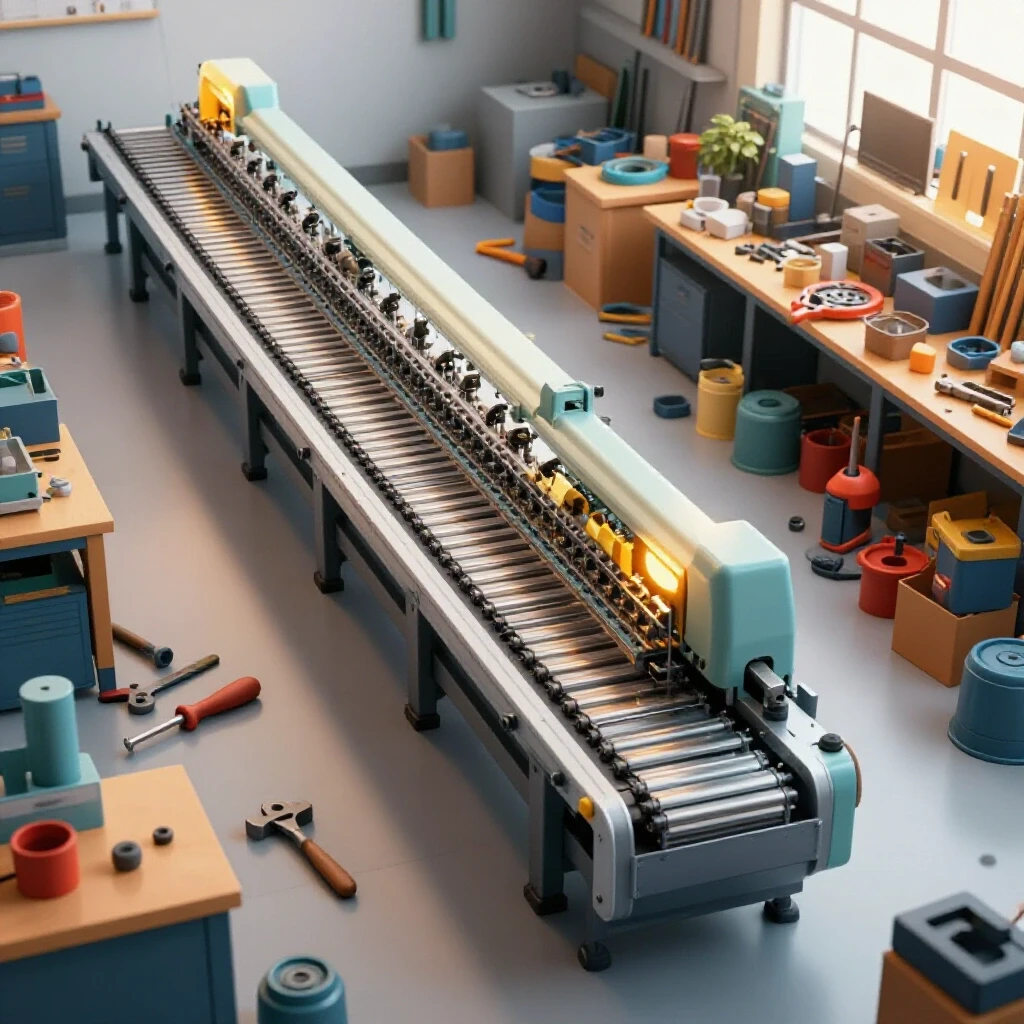
Material-flow loops represent the physical path a piece of steel takes from the delivery truck to the final shipping pallet. Mapping these loops helps identify “dead miles” where you are moving heavy stock unnecessarily across the floor. This process uncovers bottlenecks that slow down both repetitive runs and one-off projects, ensuring your energy goes into the metal rather than moving it.
In my early days, I had my sheet metal storage at the back of the shop and my CNC plasma table near the front. Every time I needed to cut a part, I had to haul a 4×8 sheet across 40 feet of floor space, dodging welding leads and grinders. I was acting as a manual forklift more than a fabricator. By mapping my material flow, I realized I was traveling nearly a mile a week just moving raw materials.
To fix this, you must analyze your shop in “zones.” The “Hot Zone” includes your plasma table and welding stations. The “Cold Zone” is for CAD work, electronics, and precision assembly. The “Dirty Zone” is for grinding and sanding. Ideally, material should enter the shop near the storage rack, move directly to the primary cutting station (CNC or saw), flow to the secondary processing (drilling or bending), and finally reach the welding and finishing area.
| Layout Type | Movement Pattern | Best Use Case | Efficiency Rating |
|---|---|---|---|
| U-Shape | Entry and exit are on the same side | Small shops with one large door | Moderate |
| Straight Line | Material moves from front to back | Long, narrow commercial bays | High |
| Cellular | Machines grouped by project type | Shops doing both batches and custom work | High |
| Random | Machines placed near outlets | Hobbyist setups | Low |
A linear flow is often the most efficient. If you cannot achieve a straight line, aim for a “U-shape” where the material comes in one side of a double door and leaves out the other. The key metric to watch is “touches.” Every time a person touches a piece of metal to move it without changing its shape, you are losing money. Aim for a 3-foot minimum access zone around every major machine to ensure you aren’t constantly shifting equipment to reach a tool.
Managing the Electrical Load: Integrating 3-Phase Power in a Small Shop
Most home-based shops start with single-phase power, but professional-grade fabrication tools often require 3-phase electricity for efficiency and torque. A 3-phase system uses three alternating currents to provide more consistent power delivery for large motors and welders. Implementing this requires choosing between rotary phase converters, static converters, or variable frequency drives.
When I moved to a high-output CNC plasma system and a commercial-grade air compressor, my standard 200-amp residential service started to groan. I learned quickly that single-phase motors on large equipment are often less efficient and more prone to overheating under heavy loads. If you want to run industrial-grade press brakes or large mills, 3-phase is almost a requirement.
For most of us in residential or light commercial zones, the utility company will not drop a 3-phase line without a massive fee. This is where a Rotary Phase Converter (RPC) becomes the heart of the shop. An RPC uses a 3-phase idler motor to generate the third leg of power. It is a robust solution, though it can be noisy and draws some power even when you aren’t using your machines.
| Converter Type | Power Quality | Cost | Best For |
|---|---|---|---|
| Static Converter | Low (Starts motor only) | Low | Light-duty drills or saws |
| Rotary Phase Converter | High (Balanced legs) | Medium | Heavy motors, CNC, and Lathes |
| VFD (Variable Frequency Drive) | Excellent (Adjustable) | Medium/High | Single machines requiring speed control |
| Digital Phase Converter | Perfect (Pure Sine Wave) | High | Sensitive CNC electronics and lasers |
If you are only running one specific machine, a VFD is often the smartest choice. It allows you to run a 3-phase motor on single-phase input while also giving you speed control. However, for a whole shop approach, a large RPC is the standard. Always check your voltage balance between the three legs; if one leg is significantly higher or lower than the others (more than 5-10%), it can damage sensitive CNC control boards.
Designing High-Volume Air Filtration and Fume Management
Clean air management involves removing both fine dust from grinding and hazardous fumes from thermal cutting processes. High-volume filtration requires a combination of source capture, like a water table or downdraft system, and ambient air scrubbers to catch escaping particulates. Proper duct design is essential to maintain the air velocity needed to keep pipes from clogging.
When I first installed my CNC plasma table, I underestimated the volume of smoke it would produce. Within ten minutes of cutting 16-gauge steel, the entire shop was a blue haze. This isn’t just a comfort issue; it’s a health and equipment longevity issue. Fine metal dust is conductive and can short out the expensive motherboards inside your CNC controller or welder.
A common mistake is using a standard shop vacuum or a small dust collector designed for wood. Metal dust is heavy and often hot. You need a system that can handle at least 1,000 to 2,000 CFM (Cubic Feet per Minute) for a standard 4×4 or 4×8 plasma table. If you use ducting, keep the runs short and use smooth-walled metal pipe. Every 90-degree elbow you add increases “static pressure loss,” which effectively kills your fan’s ability to pull air.
- Use 6-inch main ducts for high-volume collectors.
- Install a “drop out” box or a cyclone separator to catch heavy sparks before they hit the filter.
- Clean or pulse-clear your filters every 20 hours of cutting time.
- Ensure your “make-up air” (the air coming back into the shop) is filtered or sourced from a clean area to avoid creating a vacuum.
For grinding stations, a dedicated downdraft table is a game-changer. It pulls the heavy dust down and away from your face. In my shop, I noticed a 40% reduction in general floor dust simply by moving all grinding to a partitioned area with a dedicated 1,200 CFM extractor.
Transitioning to CNC: Automation Integration and Workflow Logic
Integrating CNC machinery involves moving from manual, hand-eye coordination to a digital workflow involving CAD (Computer-Aided Design) and CAM (Computer-Aided Manufacturing). This transition allows for high-repetition accuracy and complex geometry that is impossible to achieve by hand. However, it introduces a steep learning curve in software and machine maintenance.
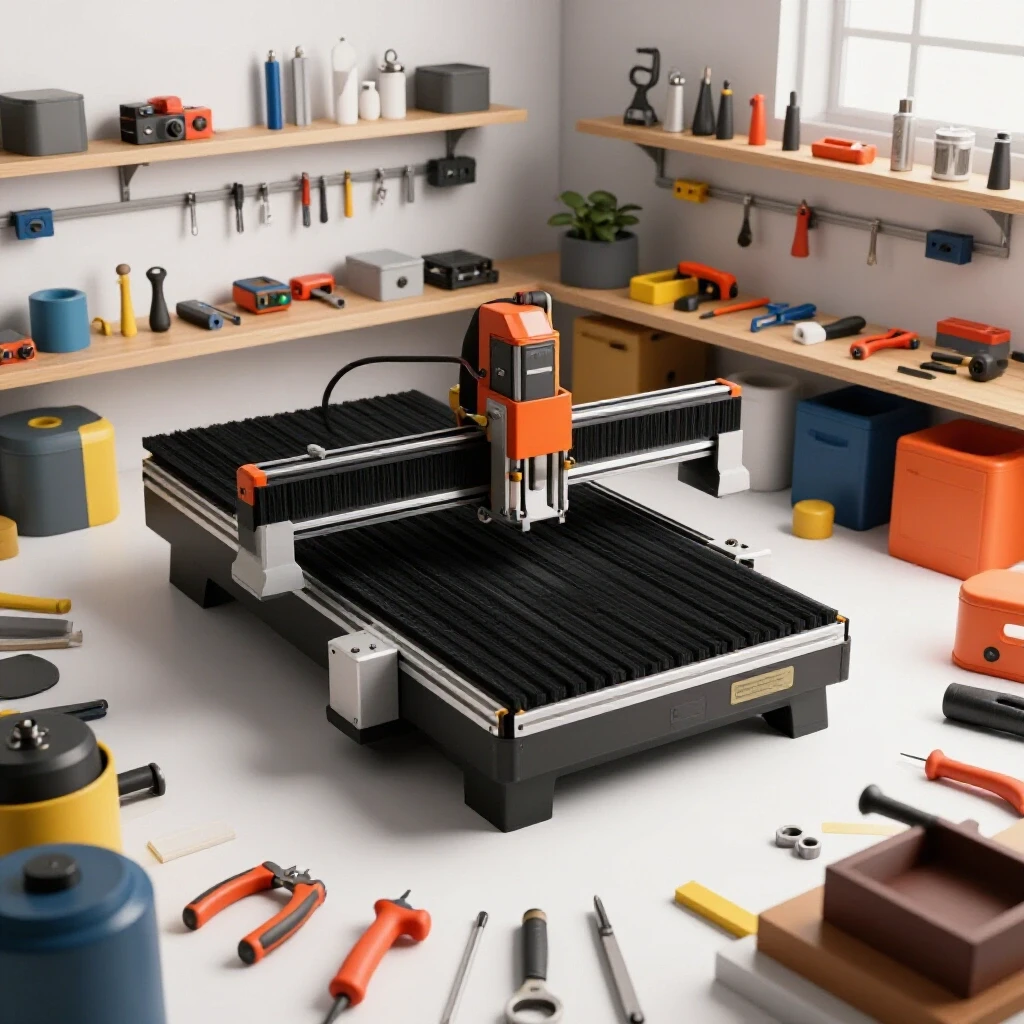
The jump to a CNC plasma table or a CNC press brake is the biggest leap a shop can take. It changes your role from “the guy with the torch” to “the systems operator.” When I first got my gantry-style plasma table, I spent more time fighting the software than I did cutting metal. I had to learn about “lead-ins,” “kerf compensation,” and “torch height control.”
There are two main types of motors used in these systems: steppers and servos. Stepper motors are common in entry-level and mid-grade tables. They move in “steps” and are generally reliable, but if the torch hits a tip-up (a piece of cut metal sticking up), the motor can “lose steps,” and the rest of your cut will be offset. Servo motors use “closed-loop” feedback, meaning they have an encoder that tells the computer exactly where the torch is at all times. If a servo gets bumped, it knows it and tries to correct itself.
- CAD Phase: Draw your part in a program like Fusion 360 or Inkscape.
- CAM Phase: Assign toolpaths, set your cutting speed (IPM), and define how the torch enters the metal.
- Post-Processing: Convert that data into G-code, which is the language the machine speaks.
- Cutting Phase: Set your air pressure, check your consumables (nozzle and electrode), and run the program.
The real power of automation is found in repetitive work. If you have to make one custom bracket, it might be faster to use a drill press and a bandsaw. But if you need fifty of them, the CNC will finish the job while you are welding something else. This is the core of “batch” logic: front-load the effort into the setup so the machine can do the heavy lifting.
Balancing Batch Production with Bespoke Fabrication Projects
Managing a mix of repetitive manufacturing and custom builds requires a flexible shop layout and a disciplined scheduling approach. Repetitive work benefits from “jigging,” where fixed stops and clamps are used to ensure every part is identical. Custom work requires “open-table” space where you can mock up unique shapes and handle varied material sizes.
In my experience, the most successful shops use repetitive work to pay the overhead and custom work to build the brand. I call this the “70/30 Rule.” I spend about 70% of my time on “batch” items—parts I have already designed and can cut and weld quickly. The other 30% is reserved for high-end custom projects that challenge my skills and command a higher hourly rate.
To make this work, your shop layout must be “modular.” I use heavy-duty casters on almost everything except my CNC table and my main welding station. If a large custom gate comes in, I can roll my benders and notchers out of the way to create a 20-foot clear span. When it’s time to run a batch of 100 small brackets, I bring the tools back into a tight “cell” to minimize walking.
- Batching Strategy: Create a dedicated “jig shelf.” Once you build a fixture for a repeat job, never throw it away.
- Custom Strategy: Invest in a high-quality 3D welding table with a hole pattern (like a 16mm or 28mm system). This allows you to square up complex custom frames in minutes rather than hours.
- Tooling Logic: Keep a “master file” of your CNC settings for different thicknesses of metal. Don’t guess the settings every time you switch from 10-gauge to 1/4-inch plate.
Analyzing the Real Costs: Capital Amortization and Maintenance
Capital amortization is the process of spreading the cost of an expensive machine over its useful life to understand its true impact on your hourly rate. Maintenance involves the scheduled upkeep of these machines to prevent unexpected downtime. Understanding these financial and mechanical realities prevents the “profit trap” where a busy shop is actually losing money.
When you spend $15,000 on a CNC table or $8,000 on a 3-phase rotary converter, you aren’t just “spending” money; you are “deploying” capital. To see if the machine is worth it, you have to look at the “amortization timeline.” If I expect a machine to last five years (60 months) and it costs $15,000, that machine costs me $250 a month just sitting on the floor. If it saves me 10 hours of labor a month, and my labor is worth $75 an hour, the machine has paid for itself twice over.
However, many fabricators forget the “hidden” maintenance costs. CNC consumables, air filters, and electricity add up. A CNC plasma torch nozzle might only cost $5, but if you are cutting dirty steel or have poor air quality, you might go through three a day.
| Equipment Item | Expected Life | Key Maintenance Task | Annual Upkeep Cost |
|---|---|---|---|
| CNC Plasma Table | 7–10 Years | Gantry alignment & slat replacement | $500 – $1,200 |
| Rotary Phase Converter | 15–20 Years | Bearing lubrication | $50 – $100 |
| Air Compressor | 10–15 Years | Oil changes & tank draining | $100 – $300 |
| Welding Power Source | 10+ Years | Internal dust cleaning (blow out) | $0 – $50 |
The biggest “rookie mistake” I see is ignoring the air dryer. If you are running CNC plasma, moisture in your air lines will destroy your torch consumables and ruin your cut quality. A refrigerated air dryer is a significant upfront cost, but it usually pays for itself in six months through saved consumables and reduced rework.
Workflow Optimization Tips for Maximizing Every Square Foot
Optimization is the practice of refining your environment to remove friction from your daily tasks. In a small shop, this means utilizing vertical space, implementing “point-of-use” tool storage, and ensuring your most-used items are within a “strike zone” (between the knees and shoulders). These small changes aggregate into massive productivity gains over a year.
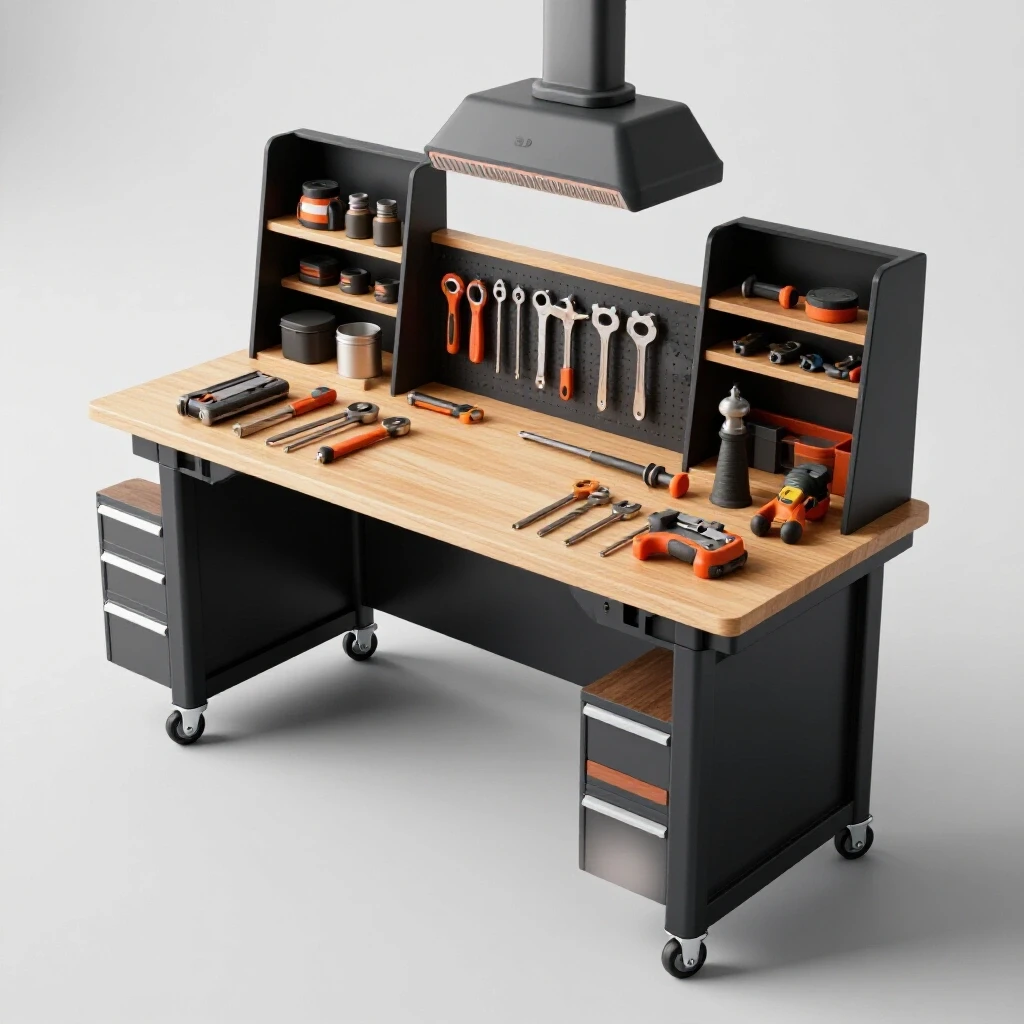
I once spent a whole Saturday watching myself work. I realized I walked across the shop 15 times just to get a 1/2-inch wrench and a square. Now, every major workstation in my shop is “self-contained.” My welding table has its own set of clamps, its own square, and its own grinder. I no longer share tools between stations. It felt expensive to buy three of the same grinder, but the time saved not searching for a tool paid for those grinders in a month.
- Vertical Storage: Use heavy-duty cantilever racks for your steel. Storing steel flat on the floor is a waste of 90% of your vertical space.
- Shadow Boards: Use foam cutouts or outlines for your tools. If a tool is missing, you should know instantly.
- Mobile Bases: Put your heavy tools on industrial casters with floor locks. Flexibility is the key to a small shop’s survival.
- Lighting: Upgrade to high-output LED shop lights. If you can’t see your scribe lines or the puddle in your weld, you will make mistakes. Aim for at least 50 foot-candles of light at the work surface.
Ultimately, the transition from a hobbyist to a professional fabricator is about mindset. You have to stop looking at your shop as a collection of tools and start looking at it as a machine that produces parts. Every step you take, every amp of power you draw, and every cubic foot of air you move should be calculated to support that goal.
Frequently Asked Questions
Is a rotary phase converter better than a digital one for CNC work? Digital phase converters provide the cleanest power, which is ideal for the sensitive electronics found in high-end CNC controllers. However, they are significantly more expensive. A high-quality rotary phase converter is usually sufficient for most fabrication shops, provided you check that the voltage across the legs is well-balanced. If your CNC system is particularly sensitive, a dedicated line conditioner or a VFD for the main motor may be a more cost-effective middle ground.
How do I calculate the CFM I need for my dust collection system? The CFM (Cubic Feet per Minute) required depends on the tool and the size of the dust. For a CNC plasma table, you generally want enough air velocity to create a “downdraft” that overcomes the rising heat of the plasma arc. A good rule of thumb is 150 to 200 CFM per square foot of open table area. For a 4×4 table (16 sq ft), you would ideally want a fan capable of pulling 2,400 to 3,200 CFM, though many shops get by with less by using “water tables” to trap the dust in liquid.
What is the difference between “stepper” and “servo” motors on a CNC gantry? Stepper motors move in fixed increments and do not have a way to verify if they actually reached the intended position. They are affordable and simple. Servo motors use an encoder to provide constant feedback to the controller. If a servo motor is forced out of position, the system detects the error and can stop the machine or correct the movement. Servos are faster and more reliable for high-volume production but come with a higher price tag and more complex wiring.
How much space should I leave between my machines? The National Electrical Code (NEC) generally requires a 36-inch (3-foot) clearance in front of electrical panels and many industrial machines for safety and maintenance. In a fabrication environment, you also need to consider “material swing.” If you are cutting a 20-foot stick of tubing on a cold saw, you need 20 feet of clearance on both sides of the blade. Using mobile bases allows you to “cheat” these requirements by moving machines only when needed.
Why is moisture such a big deal for CNC plasma cutting? When air is compressed, it gets hot and holds moisture. When that air exits the plasma torch nozzle, it cools rapidly, and the moisture condenses. This water will short out the electric arc, causing “sputtering,” which ruins the cut quality and can literally melt your copper consumables in seconds. A multi-stage drying system, including a refrigerated dryer and a desiccant filter, is essential for professional-level CNC cutting.
How do I decide between a water table and a downdraft table for plasma? A water table is cheaper to build and effectively traps about 90% of the dust and sparks in the water. However, it makes the parts wet (leading to instant rust on steel) and can be messy to clean. A downdraft table keeps the parts dry and is better for high-speed production, but it requires a very powerful fan and expensive ducting/filtration to vent the smoke outside or scrub it for indoor return.
Can I run my whole shop on a single 3-phase converter? Yes, you can “size” a rotary phase converter to handle the total load of your shop. You calculate the horsepower of your largest motor and ensure the converter is rated to start that load. You can then daisy-chain multiple 3-phase machines to a single converter. Just be aware that the converter itself draws power, so it is often better to have one large unit rather than several small ones.
What is “kerf compensation” in CNC software? The “kerf” is the width of the material removed by the cutting tool (the plasma arc or the saw blade). If your plasma arc is 0.060 inches wide and you want a 5-inch square, you have to tell the computer to move the torch 0.030 inches outside the line. This is kerf compensation. Without it, every part you cut will be slightly smaller than your CAD drawing.
(This article was written by one of our staff writers, Edward Sinclair. Visit our Meet the Team page to learn more about the author and their expertise.)