Easy Ways to Track and Reduce Custom Fabrication Time (Guide)
When I first transitioned from a hobbyist to taking paid fabrication work, I made a mistake that almost ended my business before it started. I landed a contract for ten custom steel planter boxes and quoted the job based on a “gut feeling.” I thought the project would take a weekend; it took three. By the time I finished, I realized I had earned roughly four dollars an hour after accounting for electricity, grinding discs, and welding gas.
That experience taught me that in a small shop, your most valuable asset isn’t your welder or your lathe—it is your time. If you do not track your minutes as closely as you track your pennies, you will never move beyond a break-even hobby. Managing a side-hustle requires a shift in mindset from “making things” to “managing a process.”
To run a profitable shop, you must understand the financial weight of every movement you make. This guide focuses on manual, low-cost methods to monitor your workflow, identify where you are losing money, and reorganize your shop for maximum efficiency. We will move away from guesswork and toward a data-driven approach that respects your labor and your bottom line.
Establishing a Profitable Hourly Shop Rate
A shop rate is the total dollar amount needed per hour to cover all expenses and generate a sustainable profit. It includes fixed costs like rent and insurance, plus your desired take-home pay and a buffer for future equipment. Without an accurate rate, you cannot price jobs with confidence.
Most small shop owners pick a number out of thin air, often landing between $30 and $50 an hour because they want to stay “competitive.” However, once you factor in the “hidden” costs of running a business, those rates often result in a net loss. A realistic shop rate for a well-equipped side-hustle usually falls between $65 and $120 per hour, depending on your local market and equipment overhead.
To calculate this, you need to add up your annual overhead. This includes your shop rent (or a portion of your mortgage), utilities, insurance, and tool depreciation. Divide that total by the number of hours you actually spend “under the hood” or at the bench. This gives you your baseline cost of existence.
Calculating Your True Overhead Burden
Overhead burden is the cost of keeping the lights on before you even strike an arc. It includes everything that isn’t directly tied to a specific piece of metal, such as shop rags, heat, and the interest on tool loans. Understanding this number prevents you from “paying” to do a customer’s project.
I recommend using a simple spreadsheet to list every monthly expense. Do not forget to include a “depreciation fund.” If your $3,000 welder has a five-year lifespan, it costs you $50 a month just to own it. If you don’t account for that, you won’t have the cash to replace it when it eventually dies.
The Shop Rate Allocation Formula
Below is a breakdown of how a typical $85/hour shop rate is actually distributed. This helps you see that “profit” is only a small slice of the total hourly charge.
| Expense Category | Percentage of Rate | Hourly Amount |
|---|---|---|
| Direct Labor (Your Pay) | 45% | $38.25 |
| Shop Overhead (Rent/Utilities) | 20% | $17.00 |
| Equipment Depreciation & Repair | 15% | $12.75 |
| Consumable Burden (Gas/Abrasives) | 10% | $8.50 |
| Net Profit (Business Growth) | 10% | $8.50 |
| Total Shop Rate | 100% | $85.00 |
- Direct Labor: This is what you pay yourself for the physical work.
- Consumable Burden: This covers items used across all jobs, like shielding gas and drill bits.
- Net Profit: This is the money the business keeps to buy new tools or weather a slow month.
Manual Methods for Monitoring Project Duration
Monitoring project duration involves using low-tech tools like stopwatches or simple logs to record exactly how long each phase of a build takes. This data helps identify where hours are lost. By documenting your time, you create a historical record that makes future bidding significantly more accurate.
When I started consulting for other fabricators, I noticed a trend: everyone thought they were faster than they actually were. We tend to remember the “flow state” where everything goes right and forget the twenty minutes spent looking for a 1/2-inch wrench. Manual logging forces you to confront the reality of your pace.
The Clipboard and Stopwatch Technique
The most effective way to start is the “Phase Log.” Keep a clipboard at your primary workbench with a simple table. Every time you start a new phase—such as cutting, fit-up, or welding—hit a stopwatch and note the start time.
This isn’t about rushing; it’s about awareness. If you realize that prep work takes three times longer than the actual welding, you know exactly where to focus your improvement efforts. You don’t need fancy software; a $10 digital stopwatch and a piece of paper are often more reliable in a dusty shop environment.
Creating a Simple Time Log Spreadsheet
Once a project is finished, I transfer my handwritten notes into a basic spreadsheet. This allows me to see the “Total vs. Estimated” time. If I estimated four hours for a project but the log shows seven, I can look back and see exactly which phase caused the delay.
- Task Column: List the specific action (e.g., “Deburring edges”).
- Duration Column: Total minutes spent.
- Notes Column: Mention any issues, like a broken drill bit or a material flaw.
Spotting and Eliminating Workflow Bottlenecks
Bottlenecks are specific stages in your fabrication process that slow down the entire project. Common examples include searching for tools, excessive material handling, or waiting for machines to cool. Identifying these constraints allows you to make targeted changes that yield the highest return on your time.
In my years of metalworking, the biggest bottleneck was rarely the speed of the machine; it was the “walking tax.” This is the time spent walking back and forth across the shop to get a tool or move a heavy piece of steel. If you have to move three things to get to your bandsaw, you have a bottleneck.
Analyzing Material Handling and Movement
Material handling is the non-productive time spent moving, flipping, or transporting metal. It adds zero value to the finished product but consumes a massive amount of energy and time. In a small shop, this often looks like moving a stack of tubing to reach the piece you need at the bottom.
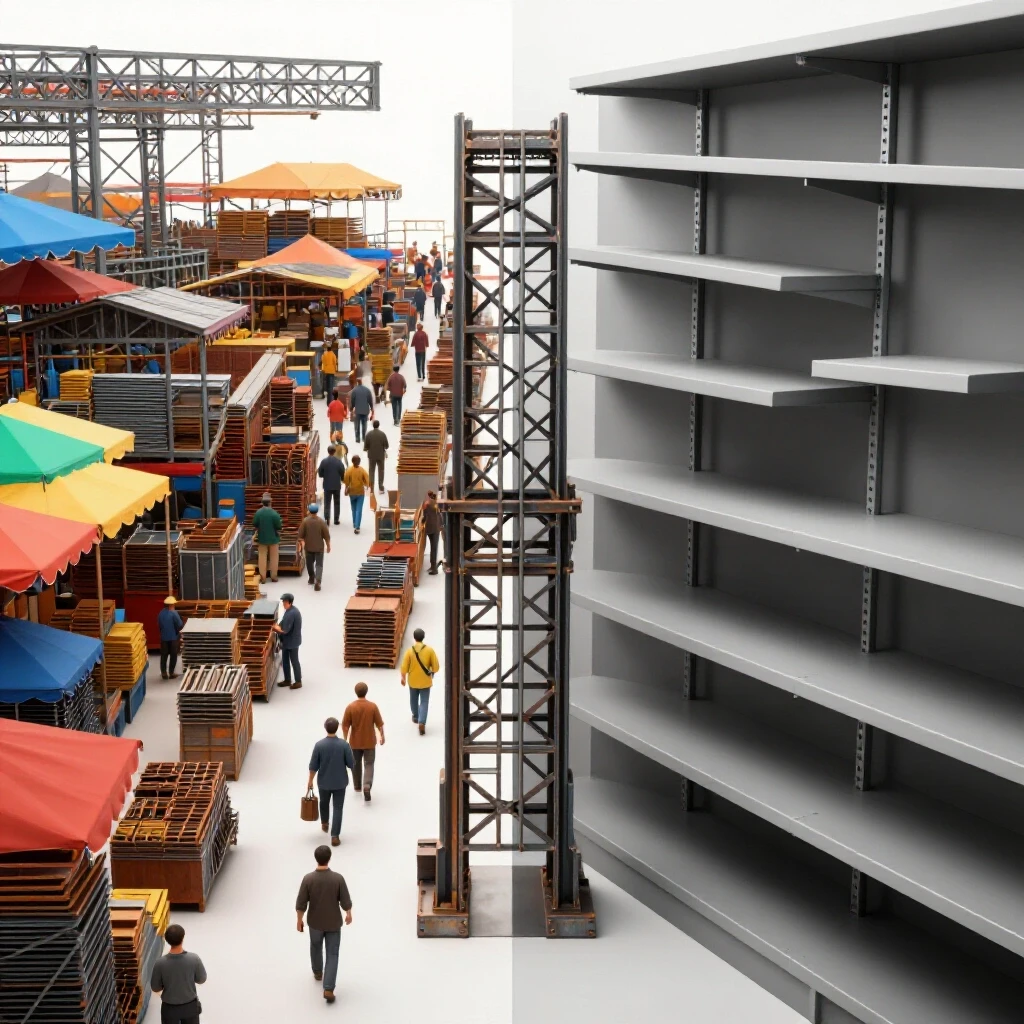
To reduce this, I started logging how many times I touched a piece of metal before the first cut. If the number was higher than two, I knew my storage layout was failing. Aim for a “point-of-use” storage system where your most common materials are stored as close to the cutting station as possible.
Tool Setup and Changeover Times
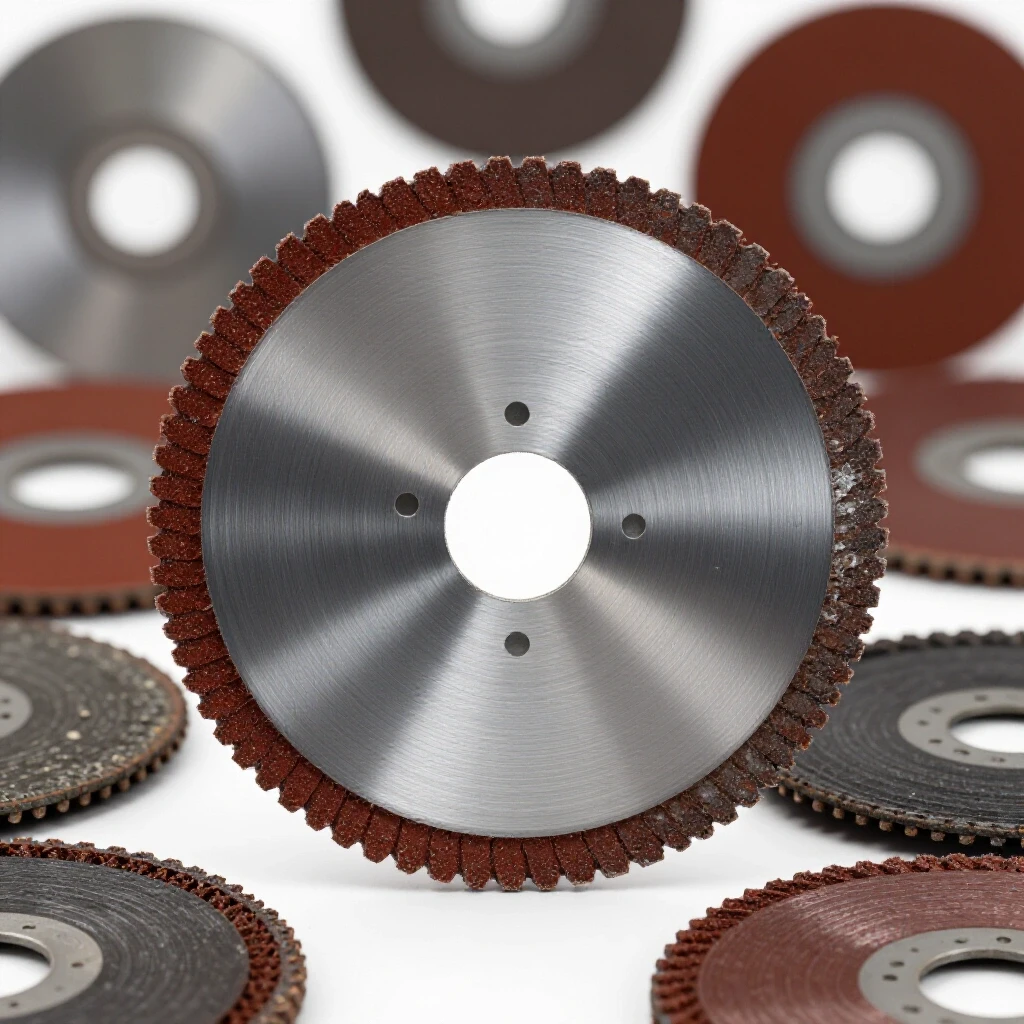
Changeover time is the duration required to switch a machine from one task to another, such as changing a grinding disc or swapping a spool of wire. While these tasks only take a few minutes, they add up over a day. If you change a disc ten times, you’ve lost fifteen to twenty minutes of billable time.
One of the best ways to reclaim this time is to have “dedicated” tools. Instead of one grinder that you constantly swap between a flap disc and a cut-off wheel, own two grinders. The $60 investment in a second tool can pay for itself in a single week through saved changeover time.
Optimizing Workshop Layout for Faster Turnaround
Workshop layout refers to the physical arrangement of benches, tools, and materials to minimize movement. A well-organized shop reduces the physical steps required to complete a task. A logical flow ensures that material moves in a straight line from the entrance to the shipping door.
I once worked in a shop where the raw steel was stored in the back, the saw was in the front, and the welding table was in the middle. The fabricator was walking miles every day just to move parts. By rearranging the equipment into a “U-shape” flow, we reduced his project completion time by 15% without him working any harder.
The Work Triangle Concept
Borrowed from kitchen design, the work triangle in a fabrication shop connects your three most-used areas: the cutting station, the fabrication table, and the welding/finishing area. These three points should be close enough to minimize walking but far enough apart to allow for safe movement.
- Cutting Station: Where raw material enters the process.
- Fabrication Table: Where parts are fitted and tacked.
- Finishing Area: Where grinding, painting, or cleaning occurs.
Utilizing Shadow Boards and Point-of-Use Storage
Shadow boards are tool organizers where each item has a dedicated, outlined spot. This manual tracking system tells you instantly if a tool is missing. More importantly, it eliminates the “search time” that plagues disorganized shops.
I recommend placing “mini-kits” at each station. Your welding table should have its own dedicated pliers, wire cutters, and clamps. You should never have to leave the welding table to find a tool that belongs there. This creates a “stationary workflow” where your feet stay still and your hands keep moving.
Implementing Batching Techniques to Streamline Production
Batching is the practice of performing the same operation on multiple parts at once rather than finishing one unit at a time. This reduces the time spent switching tools and setting up machines. It is the closest a manual shop can get to the efficiency of an assembly line.
When you are building five identical brackets, do not cut one, grind it, and weld it before moving to the next. The “setup cost” for each tool is too high. Instead, cut all five, then grind all five, then weld all five. This approach keeps your brain and your tools in one “mode,” which naturally increases speed.
The Efficiency of “Mode-Based” Working
When you switch tasks, your brain experiences a “switching cost.” It takes a few minutes to get back into the rhythm of a different process. Batching eliminates this. You can find a rhythm with the bandsaw or the welder that you simply can’t achieve if you are constantly jumping between tasks.
- Cut Phase: Set the stop on your saw once and run all parts.
- Prep Phase: Set up your deburring station and process everything in one go.
- Assembly Phase: Use jigs to ensure every part is identical without constant measuring.
Using Jigs to Reduce Layout Time
A jig is a custom-made tool used to hold parts in the exact position needed for welding or machining. For side-hustlers, building a jig might feel like “extra work,” but it is a massive time-saver for any job with more than three identical parts.
If a jig takes 30 minutes to build but saves you 5 minutes of measuring per part, it pays for itself by the seventh part. On larger orders, jigs are the difference between a profitable job and a stressful one. They also ensure consistency, which reduces the time spent on “rework” or fixing mistakes.
Analyzing Post-Job Profits and Time Logs
Post-job analysis is the process of comparing your initial estimate to the actual time and materials used. This “financial autopsy” reveals the reality of your shop’s performance. It is the only way to know if your shop rate is actually working for you.
Every month, look back at your logs. Did you consistently go over time on welding? Maybe you need a better welder or more practice. Did you spend too much on grinding discs? Perhaps you are over-finishing parts that don’t require a mirror polish. This data allows you to make informed decisions about where to invest in your shop.
Identifying “Time Leaks” in Your Estimates
A “time leak” is a recurring task that you consistently fail to charge for. Common leaks include unloading material from your truck, cleaning the shop after a project, and talking to customers on the phone. These are billable activities.
If you spend an hour a week cleaning, that is four hours a month of overhead. If your shop rate is $85, that’s $340 of labor you must account for in your pricing. By tracking these “leaks,” you can adjust your material markups or shop rates to ensure these costs are covered.
When to Invest in New Tools (ROI Analysis)
Return on Investment (ROI) is a calculation used to determine if a new tool will pay for itself through time savings. For a side-hustle, you should look for tools that have a “payback period” of less than one year.
If a $500 cold saw saves you 10 minutes of grinding per project, and you do two projects a week, you are saving 20 minutes a week. At a $90/hour shop rate, that is $30 a week in saved labor. The saw pays for itself in about 17 weeks. That is a smart investment.
| Tool Upgrade | Estimated Cost | Time Saved per Job | Payback Period (Jobs) |
|---|---|---|---|
| Second Angle Grinder | $80 | 10 Minutes | 6 Jobs |
| Magnetic Drill Press | $600 | 30 Minutes | 14 Jobs |
| High-Quality Welding Table | $1,200 | 45 Minutes | 18 Jobs |
| Pneumatic Deburring Tool | $150 | 15 Minutes | 7 Jobs |
Summary of Practical Steps for Shop Efficiency
To truly master your workshop economics, you must be disciplined with your data. Start by calculating a real shop rate that covers your overhead and your future. Use manual logs to track every hour you spend, and be honest about where that time goes.
Identify the bottlenecks that force you to walk or wait, and reorganize your shop to eliminate them. Use batching and jigs to turn custom fabrication into a streamlined process. Finally, always look back at your finished jobs to see where your estimates missed the mark. Efficiency isn’t about working faster; it’s about making every movement count.
- Calculate your baseline: Know your hourly cost of existence.
- Log everything: Use a stopwatch for two weeks to find your “walking tax.”
- Optimize the flow: Move your saw closer to your steel rack.
- Batch your work: Never do one of anything if you have to do five.
- Review and adjust: Update your pricing based on real-world time logs.
Frequently Asked Questions
How do I know if my shop rate is too high for my area? If you are winning 100% of your bids, your rate is likely too low. If you are winning about 30% to 50% of your quotes, you are likely in the right ballpark. Remember, you aren’t competing with factory-made goods; you are providing custom solutions. Your rate should reflect your expertise and the costs of running a professional-grade shop.
What is the easiest way to track time without it feeling like a chore? Keep a simple kitchen timer or a dedicated shop “punch clock” next to your main workbench. Make it a habit to hit the timer as soon as you pick up a tool. If you wait until the end of the day to “guess” your time, you will consistently underestimate by 20% to 30%.
Should I charge for the time I spend quoting a job? For small jobs, quoting time is usually rolled into your overhead. However, for complex custom projects that require hours of design or research, you should charge a “design fee” or a “consultation fee.” This ensures you are compensated for your expertise even if the customer decides not to move forward.
How do I handle “rework” time in my logs? Rework—fixing a mistake—should be logged separately. This is a “non-billable” expense. By tracking it, you can see if a specific process is prone to errors. If you spend three hours a month fixing bad welds, it might be time to upgrade your equipment or take a specialized course.
Is it worth buying expensive tools if I only work 10 hours a week? It depends on the ROI. If a tool saves you two hours a week, it is saving you 20% of your total working time. In a side-hustle, where time is extremely limited, tools that increase speed are often more valuable than they are in a full-time shop where labor is cheaper than capital.
How do I account for shop cleaning and maintenance? This is a “non-billable” activity that must be covered by your shop rate. If you spend 10% of your time cleaning, your “billable” hours must be priced 10% higher to cover that time. Never ignore maintenance in your cost calculations, as a dirty or broken shop is an inefficient one.
What should I do if a project takes much longer than I quoted? First, finish the job to the customer’s satisfaction. Then, perform a “post-mortem” on your logs. Did you hit a bottleneck? Was the material harder to work with than expected? Use this data to adjust your next quote. Do not ask the customer for more money unless the scope of the project changed.
How can I reduce time spent on material handling in a small garage? Use mobile bases on all your heavy equipment. If you can roll your saw to the steel rack rather than carrying heavy tubes across the shop, you save time and physical energy. Vertical storage for long stock can also save a significant amount of floor space and “digging” time.
Does batching work for custom, one-off projects? Even in one-off projects, there are “micro-batches.” You can cut all the components for a single assembly at once, then grind them all, then weld. This is still more efficient than jumping back and forth between the saw and the welder for every single part.
How often should I review and update my shop rate? Review your rate at least once a year, or whenever you make a major tool purchase or your utility costs change significantly. Inflation and rising material costs mean that a rate that worked last year might be losing you money today. Stay proactive with your numbers to ensure long-term profitability.
(This article was written by one of our staff writers, Michael Hargrove. Visit our Meet the Team page to learn more about the author and their expertise.)