How to Write Standard Operating Procedures for Shop (Guide)
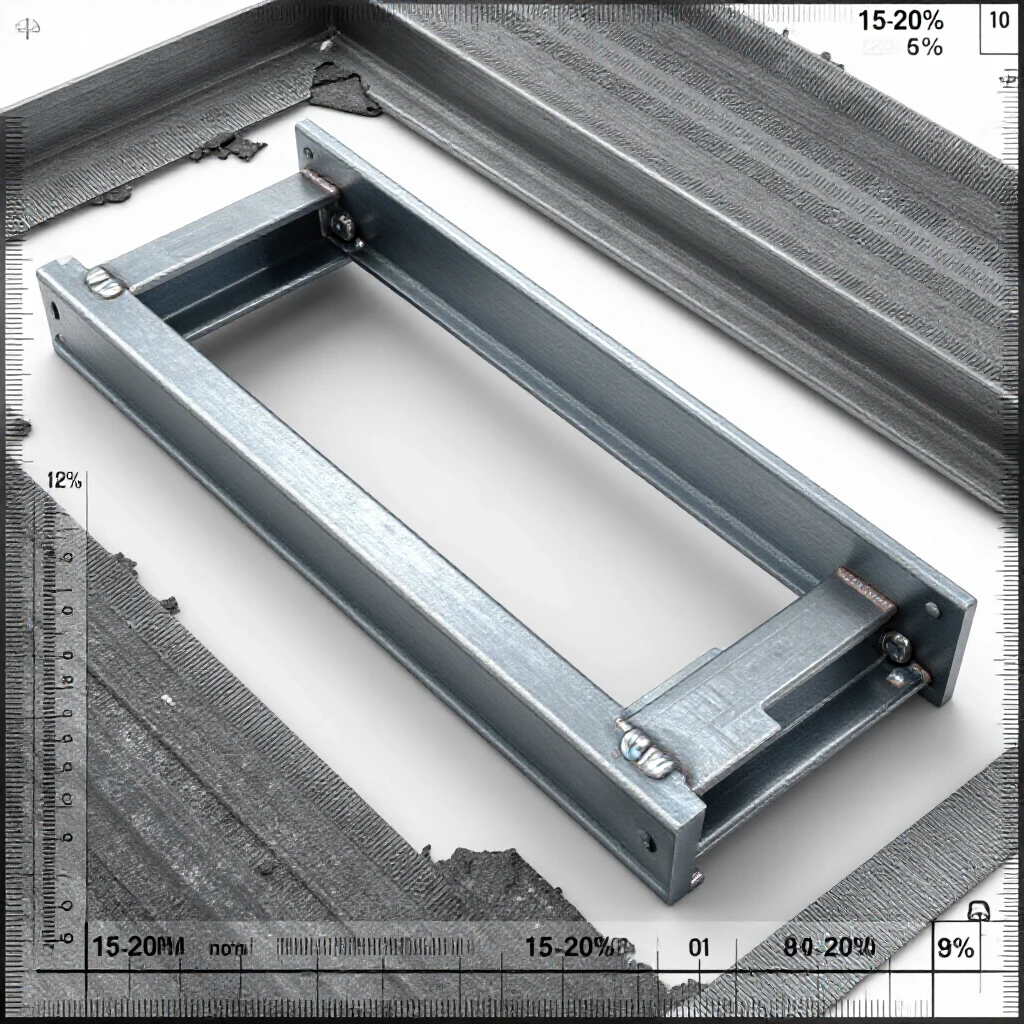
I remember standing over a 20-foot trailer frame I had just finished. It looked solid, the beads were stacked like cordwood, and the paint was fresh. Two weeks later, a hairline crack appeared right at the edge of a critical cross-member weld. I had spent fourteen years in industrial inspection, yet I had made a classic mistake in my own garage. I hadn’t followed a repeatable process for managing the heat-affected zone (HAZ). That crack wasn’t just a failure of metal; it was a failure of my workflow.
In my years on the shop floor, I have seen that most failures happen because of “tribal knowledge” or guessing. We think we remember the right gas flow or the correct bevel angle, but memory is a poor engineer. To build things that last, we need to move away from guesswork. We need clear, written steps for every major task in the shop. This guide focuses on how to document those steps to ensure your projects are structurally sound and your workspace remains safe.
Building a Foundation for Consistent Workshop Results
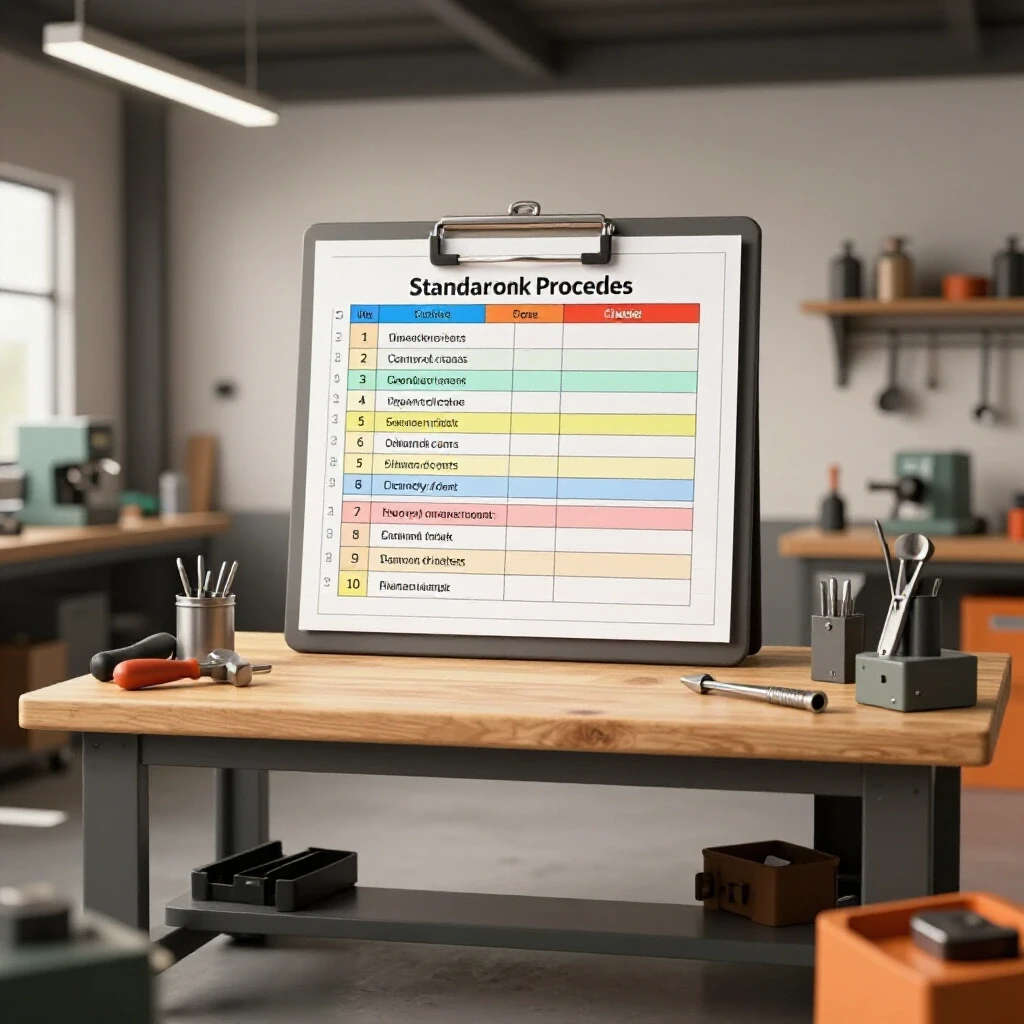
Documenting your shop workflows is about creating a “source of truth” for your hands. These written instructions act as a bridge between engineering theory and the physical act of fabrication. When you have a set sequence for a task, you remove the variables that lead to structural cracking or wasted material. This consistency allows you to spot where a process went wrong if a part eventually fails.
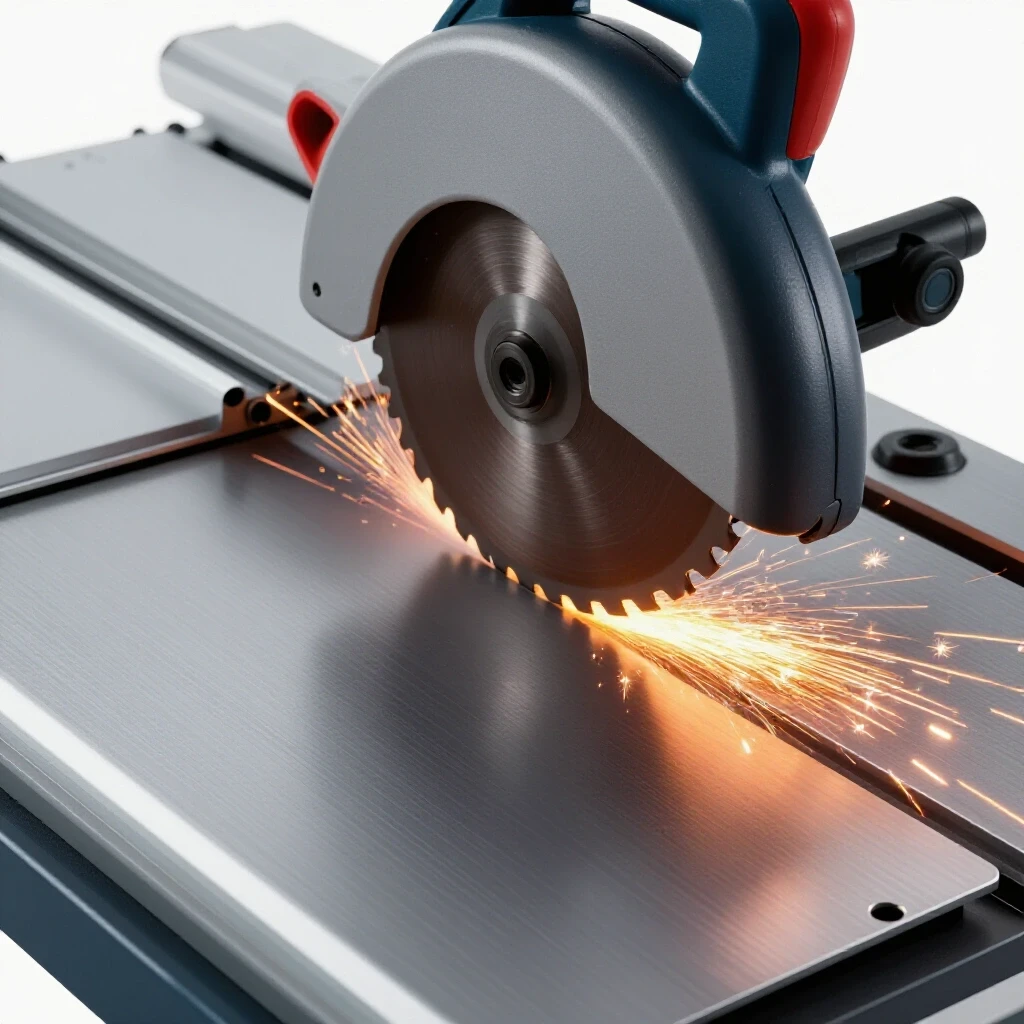
In a garage fabrication safety context, these documents are not just about the build quality. They are about keeping you out of the emergency room. A written sequence for operating a cold saw or a plasma cutter ensures you never skip a safety check because you were tired or distracted. I call these “operational blueprints” because they map out the life of a project from the first cut to the final inspection.
Defining the Core Elements of a Shop Protocol
A good shop instruction should be simple enough to follow when you are tired but detailed enough to prevent errors. It should cover the “what,” the “how,” and the “why.” For example, knowing that you need a specific welding gas flow rate is the “what.” Knowing how to set the regulator is the “how.” Understanding that too much flow causes turbulence and porosity is the “why.”
Every instruction you write should include: – A list of required PPE and tool settings. – A step-by-step sequence of the physical work. – Quality benchmarks, such as “weld must be flush with the base metal.” – Safety warnings for high-risk steps like heavy lifting or high-voltage starts.
Analyzing Structural Load Paths and Material Stress
Before you ever strike an arc, you must understand how forces move through your project. This is called the load path. It is the route that weight or pressure takes from the point of application down to the ground or the support structure. If your written plan doesn’t account for these paths, you might place a weld in a spot where it will experience “shear stress.” This is a force that tries to slide two parts of the metal in opposite directions.
I always document the structural metal load capacity of the materials I use. You can find these numbers in databases like MatWeb or from the American Institute of Steel Construction (AISC). For most hobbyist projects, I recommend a safety factor of at least 2:1 for static loads and 4:1 for anything that moves or carries people. This means if you expect a shelf to hold 500 pounds, you design it to hold 1,000.
Understanding Yield vs. Tensile Strength
When writing your material selection guides, you must distinguish between yield strength and tensile strength. Yield strength is the point where the metal will bend and stay bent. Tensile strength is the point where it actually pulls apart or breaks. I have seen many fabricators use thin-walled tubing for trailers because it has high tensile strength, forgetting that it will yield (bend) under a much lower weight.
| Material Type | Yield Strength (PSI) | Tensile Strength (PSI) | Common Use Case |
|---|---|---|---|
| A36 Mild Steel | 36,000 | 58,000-80,000 | General frames, brackets |
| 6061-T6 Aluminum | 40,000 | 45,000 | Lightweight structures |
| 4130 Chromoly | 63,100 | 97,200 | High-stress cages, bike frames |
| 304 Stainless Steel | 30,000 | 75,000 | Corrosion-resistant parts |
Creating Safe Operating Sequences for Shop Equipment
Safety in a home shop is often overlooked because we feel comfortable in our own space. However, a table saw or a MIG welder doesn’t care if you are in a professional plant or a basement. I have developed a workshop safety checklist for every major tool I own. This ensures that every time I turn on a machine, I am following the same safety-first mindset.
For instance, your welding protocol should always specify the correct PPE. For MIG and TIG welding on mild steel, I recommend a Shade 10 to 13 filter, depending on your amperage. If you are working at 200 amps, a Shade 12 is usually the sweet spot to prevent “arc eye” while still seeing your puddle clearly. Documenting these settings prevents you from squinting through a lens that is too dark or burning your retinas with one that is too light.
Calibrating Gas Flow for Structural Integrity
One of the most common causes of weld failure is improper gas coverage. If your welding gas flow rate is too low, oxygen enters the weld pool and creates “porosity.” These are tiny bubbles in the metal that act like a sponge, making the joint brittle and weak. Conversely, if the flow is too high (above 30-40 CFH), it creates a vortex that sucks air into the weld.
I have found that for most indoor garage work, a flow rate of 15–20 CFH (cubic feet per hour) is ideal. If you are working near a door with a breeze, you might need to bump it up or use a wind shield. Your written procedure should state: “Check regulator for 18 CFH before tacking. Increase to 22 CFH if fans are running.” This simple note can save a project from a hidden internal failure.
Standardizing Joint Preparation and Heat Management
A weld is only as strong as the metal beneath it. If you weld over mill scale, rust, or oil, you are asking for a “brittle fracture.” This is a sudden break that happens without any warning or bending. My personal shop rule is that the metal must be shiny and silver for at least one inch away from the joint. I document this as a “pre-flight” step in every fabrication sequence.
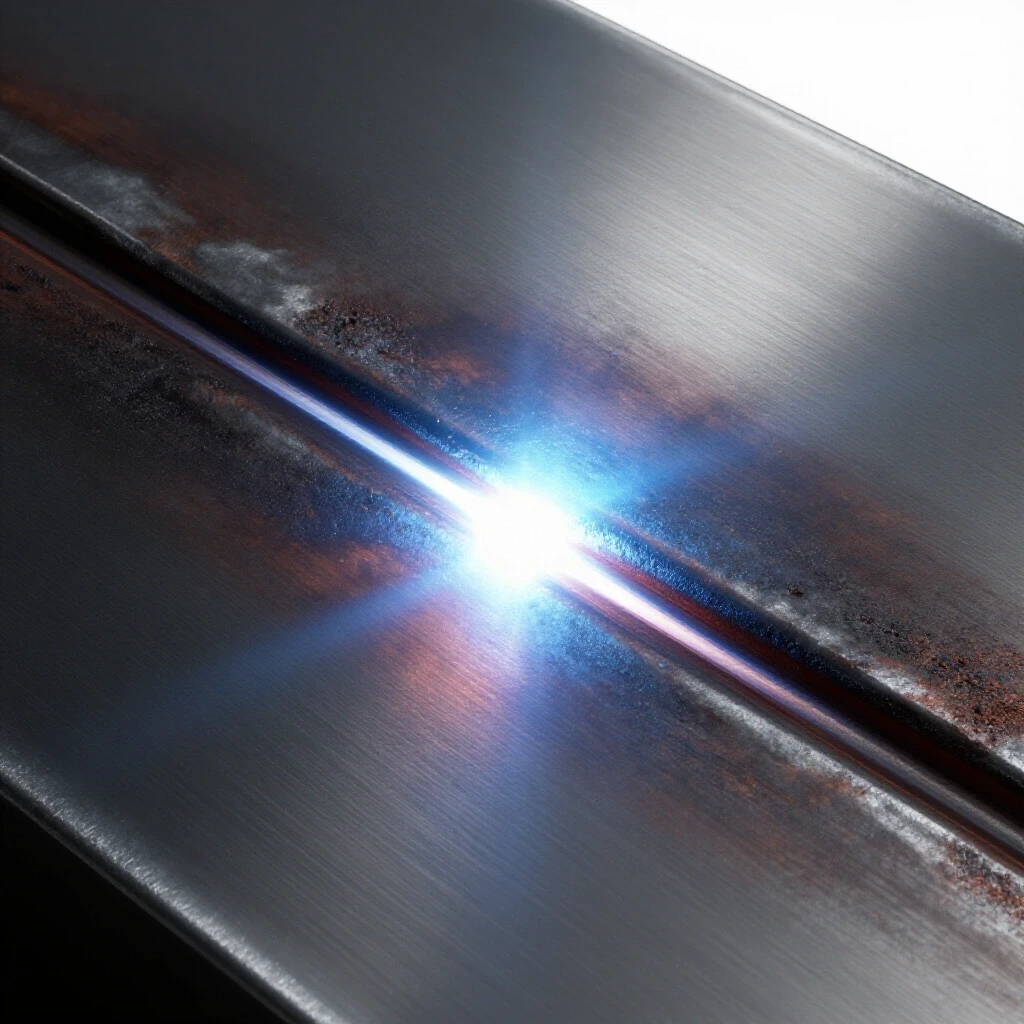
You also need to account for the heat affected zone weakness. The HAZ is the area of base metal that didn’t melt but got hot enough to change its internal structure. This area is often softer or more brittle than the rest of the metal. If you put too much heat into a small area, the HAZ becomes a “stress riser” where cracks are likely to start.
Steps for Proper Joint Preparation
- Grind away all mill scale until the metal is bright and reflective.
- Bevel any material thicker than 1/8 inch to a 30-degree angle to allow for full penetration.
- Clean the joint with acetone or a dedicated degreaser to remove skin oils and shop dust.
- Check for “fit-up” gaps; a gap wider than 1/16 inch on structural joints can lead to excessive distortion.
- Pre-heat thick sections (over 1/2 inch) to 200°F to prevent the weld from cooling too fast and cracking.
Diagnostic Inspection and Quality Control Methods
Once the welding is done, the most important phase begins: verification. You cannot always see a bad weld with the naked eye. In industrial settings, we use non-destructive testing (NDT). You can do a version of this in your shop using a “dye penetrant kit.” This involves spraying a red dye on the weld, wiping it off, and then applying a white developer. If there is a crack, the red dye will bleed through the white powder.
I also recommend a visual welding defect troubleshooting guide. Keep a photo of what “undercut” and “overlap” look like on your shop wall. Undercut is when the weld eats away a groove into the base metal, making it thinner and weaker. Overlap is when the weld metal just sits on top of the base without actually fusing. Both are grounds for grinding the weld out and starting over.
Common Weld Defects and How to Fix Them
| Defect Name | Visual Indicator | Root Cause | Corrective Action |
|---|---|---|---|
| Porosity | Small holes/pits in the surface | Low gas flow or dirty metal | Clean metal; check for leaks in gas line |
| Undercut | A “trench” at the edge of the weld | Voltage too high or travel too slow | Lower voltage; increase travel speed |
| Slag Inclusion | Dark spots trapped inside the weld | Poor cleaning between passes | Grind out slag before the next bead |
| Lack of Fusion | Weld metal not “wetting” into the base | Amperage too low | Increase heat/amperage |
Designing a Shop Layout for Safe Fabrication Flows
The way you move through your shop affects the quality of your work. If you have to trip over an extension cord to reach your fire extinguisher, your shop layout is a hazard. I recommend dividing your workspace into “zones.” You should have a “hot zone” for welding and grinding, a “clean zone” for layout and measuring, and a “storage zone” for material.
In your garage fabrication safety plan, include a map of these zones. Ensure that your welding area is at least 10 feet away from any flammable liquids or wood dust. I once saw a small fire start because a spark traveled across a messy shop and landed in a pile of oily rags. A documented layout prevents these “unforced errors” by keeping the hazards separated from the work.
Essential Tools for Shop Verification
- Digital Calipers: For measuring material thickness and gap widths to within 0.001 inch.
- Infrared Thermometer: To monitor pre-heat and inter-pass temperatures, ensuring you stay within the material’s thermal limits.
- Weld Fillet Gauges: To measure the size of your weld beads against your design requirements.
- Electronic Gas Flow Meter: To verify that the flow at the torch matches what the regulator says.
- Dye Penetrant Kit: For checking critical structural joints for surface cracks.
Implementing a Structural Load Testing Protocol
For projects that will carry significant weight, like a gantry crane or a heavy-duty workbench, I perform a “proof load test.” This involves applying a controlled weight to the structure and measuring how much it deflects (bends). If the structure does not return to its original shape after the weight is removed, you have exceeded the yield strength of the metal.
I document these tests in a “Project Log.” I record the amount of weight used, where it was placed, and the measured deflection. This data is invaluable. If I build a similar project later, I can look back and see exactly how my design performed under pressure. It turns a one-off project into a data point for future success.
How to Conduct a Simple Deflection Test
- Secure the structure firmly to the floor or a heavy bench.
- Place a dial indicator or a fixed ruler at the point where you expect the most bend.
- Gradually add weight in increments (e.g., 50-pound bags of sand).
- Record the measurement at each increment.
- Remove the weight and check if the ruler returns to “zero.”
- If it doesn’t return to zero, the structure has “permanently deformed,” and the design must be reinforced.
Actionable Shop Audit Checklist
To keep your shop running at a high standard, perform a monthly audit. This isn’t about being “corporate”; it’s about making sure your tools are in a condition to produce safe work. A dull saw blade or a frayed ground cable can lead to poor cuts and dangerous electrical arcs.
- Check all ground clamps for tight connections and lack of corrosion.
- Inspect gas hoses for cracks using a soapy water spray.
- Verify that fire extinguishers are charged and accessible.
- Check the “square” of your welding table and miter saw.
- Review your documented sequences to see if any steps need updating based on recent projects.
- Ensure all PPE (gloves, hoods, aprons) is free of holes or thin spots.
By treating your workshop like a professional environment, you reduce the anxiety that comes with building structural projects. You move from “hoping it holds” to “knowing it will.” The time spent writing down these sequences pays for itself the first time you avoid a major mistake or a structural failure.
Building something with your own hands is one of the most rewarding things you can do. By using these documented methods, you ensure that the things you build are not just beautiful, but are also safe, strong, and built to last a lifetime.
Frequently Asked Questions
Why is a written sequence better than just remembering the steps? Memory is subjective and fades over time. When you are tired or rushing to finish a project, you are likely to skip “invisible” steps like degreasing or checking gas flow. A written sequence acts as an external brain, ensuring that your 100th weld is just as prepared and safe as your first one.
What is the most common mistake in home shop structural design? Most people underestimate the impact of the Heat Affected Zone (HAZ). They assume the metal is just as strong next to the weld as it was before. In reality, the heat from welding can soften certain steels or make others brittle. Documenting your heat input and cooling rates helps manage this risk.
How do I know if my welding gas flow is set correctly? A good starting point is 15–20 CFH for MIG welding. You can tell it is too low if you see “porosity” (tiny holes) or if the arc sounds unstable. It is too high if the gas feels like it is blowing the puddle away or if you are burning through bottles of gas unusually fast.
What does a 4:1 safety factor actually mean? It means the structure is designed to fail at four times the maximum weight it will ever actually carry. If you are building a swing set for a 100-pound child, a 4:1 safety factor means the structure is engineered to hold 400 pounds before it breaks. This accounts for “dynamic loads,” like the child jumping or swinging.
Is cleaning the metal really that important for mild steel? Yes. Even “clean-looking” mild steel has mill scale, which is a hard, brittle layer of iron oxide. If you weld over it, the scale can get trapped in the weld, creating a weak point. For structural work, you must grind back to shiny metal to ensure the weld fuses properly with the base material.
How can I tell if a weld has “good penetration” without cutting it open? While you can’t be 100% sure without NDT or destructive testing, you can look for “heat tint” on the back side of the metal. For thinner materials, you should see a slight discoloration or a small “bead” on the reverse side. If the back of the metal looks untouched, you likely didn’t get full penetration.
What shade helmet should I use for TIG welding? TIG welding produces a very bright, crisp arc. For most hobbyist amperages (50–150 amps), a Shade 10 or 11 is sufficient. If you are doing high-amperage TIG on thick aluminum, you may need to go up to a Shade 12 or 13 to protect your eyes from the intense UV light.
What is “brittle fracture” and how do I avoid it? Brittle fracture is a sudden, catastrophic failure where the metal snaps like glass instead of bending. It often happens in welds that have too much carbon or were cooled too quickly. You can avoid it by using the correct filler metal, pre-heating thick sections, and ensuring your metal is clean before you start.
How often should I check my workshop safety equipment? I recommend a quick check before every work session and a deep audit once a month. Before you start, check your fire extinguisher and your hood lens. Once a month, check your gas lines for leaks and inspect your power cords for any nicks or exposed wires.
Can I use an infrared thermometer to check my weld temperature? Yes, but be aware that shiny metals like aluminum can give false readings to infrared sensors. For the most accurate results on shiny metal, put a small piece of black electrical tape on the surface or use a “Tempilstick” (a temperature-sensitive crayon) to verify the heat.
(This article was written by one of our staff writers, James Harlan. Visit our Meet the Team page to learn more about the author and their expertise.)