How to Check the Flatness of a DIY Welding Table (DIY Fix)
In my 14 years of inspecting industrial steel and managing shop floors, I have seen many projects fail before the first arc is even struck. The most common culprit is not a lack of skill or a poor welding machine. It is a work surface that is not truly level or straight. When your base is uneven, every joint you tack into place inherits that error. I once inspected a heavy equipment trailer frame that had a noticeable twist across its six-foot width. The fabricator was talented, but his table had a slight sag in the center. That small dip caused the entire structure to lock in internal stresses as it cooled. By the time he realized the error, the metal had already reached its yield strength in several spots, making the fix nearly impossible without cutting the whole thing apart.
A flat work area is the foundation of structural integrity. If you are building a project in your garage, you need to know exactly where your surface stands. This guide focuses on the technical steps to verify the planarity of your work area and the mechanical methods used to correct any deviations you find. We will look at how physical forces like heat and load affect your metal and how to ensure your table stays a reliable reference point for every project.
Why Surface Planarity Governs Your Project’s Structural Success
Planarity is the state of a surface where all points lie in the same geometric plane. In a workshop, this prevents internal stresses from being built into a weldment. If a base is uneven, the finished project will likely rock or fail under load.
When you weld two pieces of steel together, the metal expands as it heats and contracts as it cools. If the pieces are resting on a surface that is not flat, they will not contract evenly. This creates a “built-in” stress. In engineering, we look at the structural metal load capacity to see how much weight a joint can hold. If the joint is already under stress because it was forced to fit an uneven table, it will reach its breaking point much sooner.
Think of a chair with one leg that is too short. On an uneven floor, it might seem stable. But as soon as you move it to a flat floor, it wobbles. In fabrication, that wobble represents a structural defect. Using a flat surface allows you to trust your measurements. It ensures that 90-degree angles are actually square in three dimensions, not just two.
Quantifying Surface Deviations with Precision Instruments
Using specialized measuring tools allows a fabricator to find gaps that the eye cannot see. These tools turn guesswork into hard data, ensuring that the work surface meets specific tolerance levels required for high-quality structural assembly.
You cannot eyeball flatness. The human eye is great at seeing lines, but it is poor at judging a gap of 0.010 inches across a four-foot span. To get a true reading, you need a few specific tools. These are the same tools I use when performing a structural joint failure analysis to see if a table caused a weld to crack.
- A Precision Straightedge: This is a thick bar of steel or aluminum ground to a very high level of accuracy. It should be at least as long as the width of your table.
- Feeler Gauges: These are thin metal strips of known thicknesses, usually ranging from 0.001 to 0.040 inches.
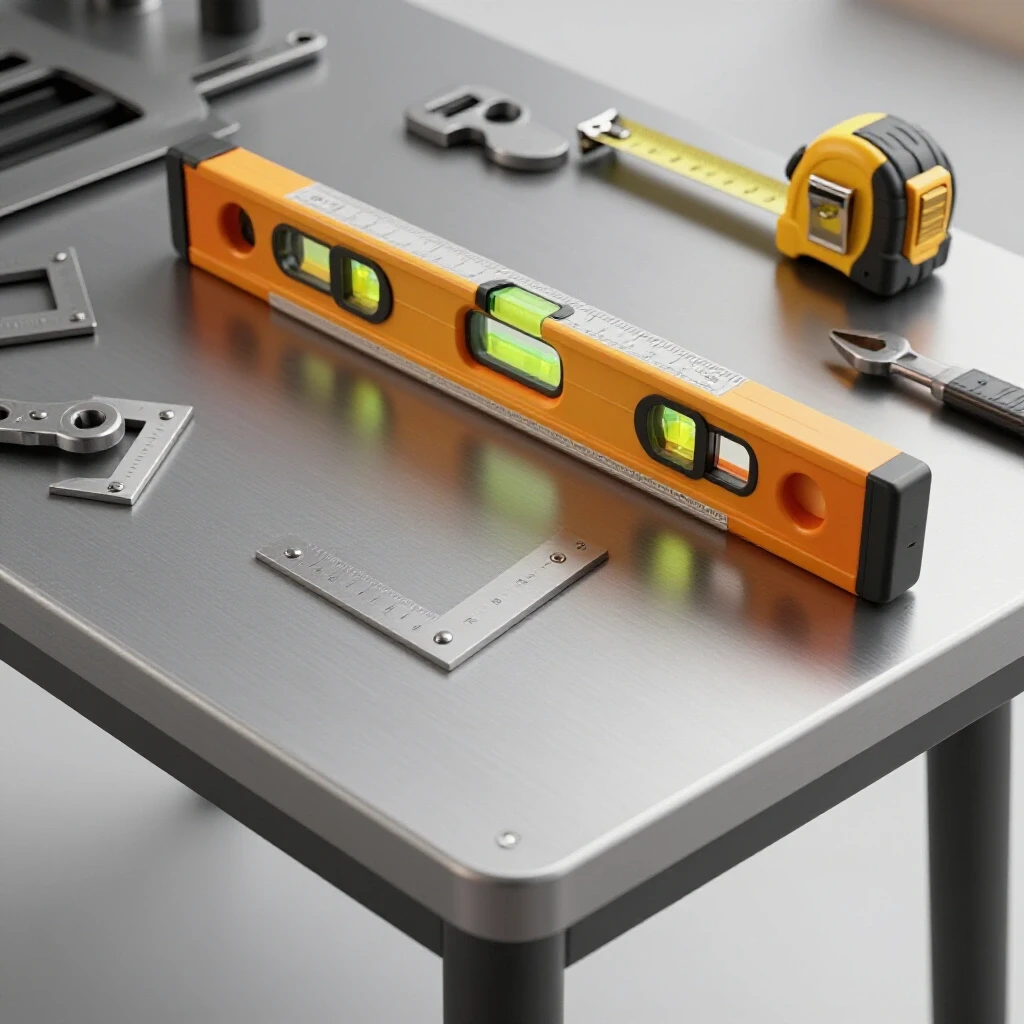
- A Machinist’s Level: Unlike a standard carpenter’s level, a machinist’s level can detect slopes as small as 0.0005 inches per foot.
- A Scribe or Paint Pen: To mark the high and low spots as you find them.
When you check your surface, you are looking for “high spots” (peaks) and “low spots” (valleys). Most DIY tables will have a slight bow or a “potato chip” twist. Your goal is to map these out so you know where you can trust the table and where you need to make corrections.
The Straightedge Sweep and Feeler Gauge Method
This technique involves moving a verified straight edge across the work area and using thin metal strips of known thickness to measure gaps. It is the most reliable way to map the high and low spots of a metal plate without expensive electronics.
To begin, clean your table surface thoroughly. Any bit of slag, rust, or old spatter will throw off your readings. Place your straightedge across the table lengthwise. Look for light passing underneath the edge. If you see light, you have a low spot.
Take your feeler gauges and try to slide them into the gap. Start with a thin gauge, like 0.005 inches. If it slides in easily, try the next size up. Keep going until the gauge sticks. Record that number. Move the straightedge to the center, the sides, and across the diagonals. This “X” pattern is vital because it reveals twists that a side-to-side check might miss.
Table 1: Surface Tolerance and Project Risk
| Gap Measurement | Severity Level | Recommended Action | Risk to Structural Integrity |
|---|---|---|---|
| 0.000″ – 0.010″ | Excellent | None needed | Negligible; safe for precision work |
| 0.011″ – 0.030″ | Acceptable | Mark for awareness | Minor; okay for general framing |
| 0.031″ – 0.060″ | Marginal | Shimming required | Moderate; can cause “rocking” in frames |
| Over 0.060″ | Critical | Mechanical fix needed | High; will cause significant weld distortion |
Understanding Heat-Affected Zone (HAZ) Weakness and Surface Contact
The heat-affected zone is the area of metal that hasn’t melted but has had its properties changed by welding heat. A flat surface ensures consistent heat sinking, which helps prevent brittleness and maintains the structural metal load capacity of the joint.
When you weld on a flat table, the table acts as a “heat sink.” It pulls heat away from the weld area. This is important for managing the heat affected zone weakness. If your metal plate is not making full contact with the table because of a low spot, the heat stays trapped in the workpiece. This can lead to grain growth in the steel, making the area around the weld brittle.
Interestingly, this lack of contact also leads to more warping. If one side of a joint is touching the table and the other is hovering over a 1/16-inch gap, they will cool at different rates. The side that stays hot longer will pull more, twisting your project. Maintaining a flat surface is a key part of your welding defect troubleshooting strategy. It prevents the geometric errors that lead to structural failure.
Mechanical Strategies for Correcting Surface Irregularities
Once deviations are found, they must be addressed through physical intervention. This includes removing material through grinding, adding support through shimming, or stiffening the underside of the plate to pull it back into a true horizontal state.
If your map shows that the table is not flat enough for your needs, you have three main paths for a DIY fix. Each requires a different level of effort and tools.
1. Selective Grinding for High Spots
If you have a small “hump” in the middle of the plate, you can use a flap disc or a grinding wheel to take it down. Be careful here. Grinding generates heat, which can cause the plate to warp even more. Work in short bursts and keep checking with your straightedge. I recommend using a 60-grit flap disc for control.
2. The Shimming Technique
For low spots, shimming is often the most practical fix. If a section of your table top is sagging, you can place thin metal shims between the top plate and the support frame. This pushes the plate up from below. * Identify the exact center of the low spot. * Loosen the bolts or cut the tacks holding the plate to the frame in that area. * Slide in a shim (you can use pieces of a feeler gauge or thin sheet metal). * Re-check the flatness before welding or bolting it back down.
3. Structural Reinforcement and Stiffeners
If the entire plate is bowing under its own weight, it lacks structural stiffness. You can weld “stiffeners”—usually angle iron or square tubing—to the underside of the plate. By welding these in a specific sequence, you can actually “pull” a bow out of a plate. This is a common practice in industrial fabrication to correct garage fabrication safety issues where a table might collapse or warp under heavy loads.
Implementing a Workshop Safety Checklist for Heavy Surface Repairs
Repairing a heavy work surface involves risks like flying debris, heavy lifting, and intense heat. A checklist ensures that PPE is correct, the environment is clear of fire hazards, and the structural integrity of the support frame is maintained during the fix.
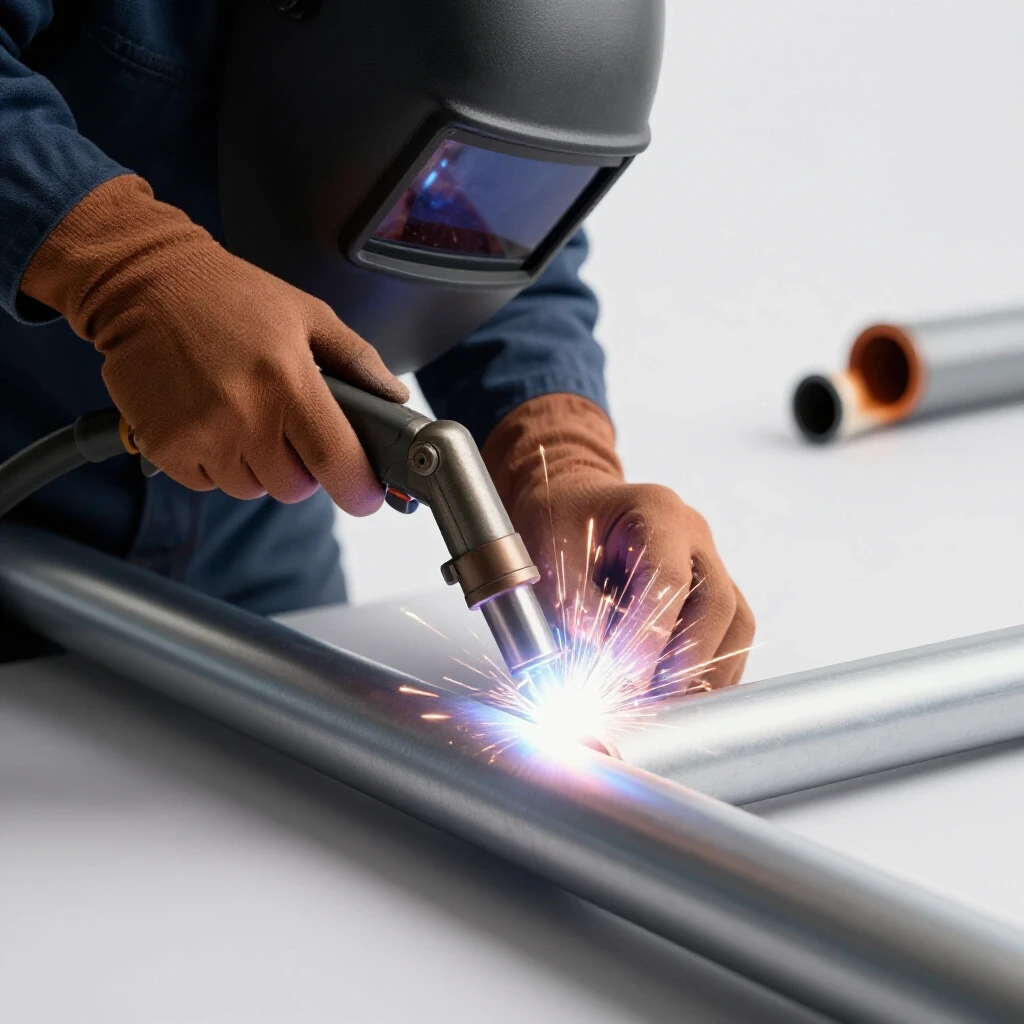
Before you start grinding or welding on your table to fix it, you must prepare your environment. Working on a table often means working at waist height where sparks can easily fly into your lap or face.
- PPE Integration: Always wear a face shield over your safety glasses when grinding. For welding stiffeners, ensure your helmet is set to the correct PPE shade rating (usually Shade 10-13 for most tasks).
- Fire Safety: Clear all sawdust, rags, and flammable liquids from the area. A heavy grinding session can send sparks 10 feet or more.
- Lifting Safety: If you need to flip the table top to weld stiffeners, do not do it alone. A 1/2-inch steel plate can weigh hundreds of pounds. Use a hoist or a friend to prevent back injuries.
- Gas Flow Check: If you are tacking shims or stiffeners, check your welding gas flow rate. A rate of 15–20 CFH (cubic feet per hour) is standard for indoor work to prevent porosity, which would weaken your table’s structural integrity.
Analyzing Material Stress and Load Paths During Correction
When you apply force to a metal plate to flatten it, you are manipulating the internal stresses of the material. Understanding how these forces move through the steel helps you avoid creating a “brittle fracture” or a permanent kink in the surface.
Steel has an elastic limit. If you bend it slightly, it snaps back. If you bend it too far, it reaches its yield point and stays bent. When you are shimming or pulling a table flat, you are trying to find the balance between these two.
Table 2: Material Properties and Correction Limits (A36 Steel)
| Property | Value | Why it Matters for Table Fixes |
|---|---|---|
| Yield Strength | ~36,000 PSI | The point where the plate will permanently deform. |
| Tensile Strength | ~58,000 PSI | The point where the metal will actually tear or fail. |
| Modulus of Elasticity | 29,000,000 PSI | Determines how much the plate will “spring back” after you stop pushing on it. |
| Thermal Expansion | 6.7 x 10^-6 in/in/°F | Tells you how much the plate will grow when you weld on it. |
Building on this data, if you are using a jack to push a sag out of your table, you must “over-bend” it slightly because the metal will spring back. However, if you go past the yield strength too aggressively, you risk thinning the metal or creating a weak point that could fail under a heavy project load.
Advanced Diagnostic Tools for the Detail-Oriented Fabricator
While a straightedge is the gold standard, modern technology offers more ways to verify your work. These tools are becoming more affordable for the home shop and provide a level of precision that was once reserved for high-end machine shops.
One tool I highly recommend is a dial indicator on a magnetic base. You can stick the base to your straightedge and slide it across the table. The needle will move to show you exactly how many thousandths of an inch the surface drops or rises. This is incredibly helpful when you are trying to shim a plate to a very tight tolerance.
Another option is using a laser line. By casting a laser across the surface, you can see where the beam hits the plate and where it floats above it. While not as precise as a feeler gauge, it is a fast way to do an initial “triage” on a large surface. Interestingly, some fabricators even use a “water level” (a clear tube filled with colored water) to check if the corners of the table are in the same horizontal plane.
Step-by-Step Joint Verification Checklist for Table Repairs
When you are finished correcting your surface, you need to verify that your fixes are solid. A table that is flat today but moves tomorrow is of no use. Use this checklist to ensure your repair will last.
- Check the Tacks: If you welded shims or stiffeners, inspect the welds for “undercut” or “porosity.” These are signs of a weak joint.
- Re-Sweep the Surface: Perform the straightedge and feeler gauge test one last time.
- Load Test: Place a heavy weight (like a large vise or a bucket of scrap) on the area you fixed. Does the plate move? If it does, your support frame needs more work.
- Heat Test: Take a scrap piece of metal and do a long weld bead on the table. Let it cool. Re-check the flatness. This tells you if the table will warp under normal working heat.
- Level the Legs: A flat table is useless if it is sitting on a slanted floor. Use your machinist’s level to ensure the legs are adjusted so the surface is perfectly horizontal.
Common Errors in Surface Correction
Even with the best intentions, it is easy to make things worse. One major mistake I see is “over-welding.” A fabricator sees a sag and decides to weld a massive beam to the bottom. The heat from that massive weld pulls the plate into a permanent “U” shape that no amount of grinding can fix.
Another mistake is ignoring the frame. If your table top is thin (less than 3/8 of an inch), it will always follow the shape of the frame underneath it. You can spend days grinding the top, but if the frame is twisted, the top will eventually settle back into that twist. Always look at the structure as a whole, from the floor up to the work surface.
Finally, do not underestimate the power of “creep.” Over months of heavy use and heating/cooling cycles, metal can move. I make it a habit to do a quick straightedge sweep once every six months. This is a core part of my workshop safety checklist. It ensures that my tools remain accurate and my projects remain structurally sound.
Conclusion: The Path to Precision
Achieving a flat work surface is not a one-time task; it is a discipline. By using straightedge sweeps, feeler-gauge checks, and mechanical corrections like shimming or grinding, you turn an unreliable bench into a precision instrument. This foundation allows you to manage heat-affected zones and ensure that your structural metal load capacity remains where it should be.
Your next step is simple: Go to your shop and perform a diagonal sweep with a straightedge. Do not be discouraged if you find gaps. Every gap is a data point that helps you understand your equipment better. By mastering these verification and fix techniques, you are not just making a better table—you are ensuring that every project you build from this day forward is safer, straighter, and stronger.
FAQ: Verifying and Fixing Surface Planarity
How flat does a welding table really need to be? For most general fabrication, a gap of 1/32 of an inch (about 0.031″) over four feet is acceptable. If you are doing precision machine bases or high-stress structural work, you should aim for 0.010″ or less.
Can I use a standard 4-foot level to check flatness? A standard level is okay for checking if the table is horizontal, but it is usually not accurate enough to act as a precision straightedge. Most levels have a slight curve or a painted surface that can hide small gaps. Use a dedicated steel straightedge for the best results.
What is the best material for shimming a table top? Stainless steel shim stock is best because it does not compress and resists rust. However, in a DIY pinch, pieces of a steel measuring tape or thin strips of cold-rolled sheet metal work well. Avoid using soft materials like aluminum or copper, as they can deform under heavy loads.
Will welding on my table ruin the flatness? Yes, if you are not careful. Always use “clamping” and “stitching” techniques to minimize heat input. If you weld a long, continuous bead directly onto the table, the local expansion will almost certainly cause a permanent warp.
Should I grind the high spots or shim the low spots first? Always start with shimming. Shimming is reversible and does not remove material. Grinding is permanent. Only grind if you have a localized “burr” or a small high spot that shimming cannot resolve.
How do I know if my straightedge is actually straight? Use the “three-surface method” or simply draw a line with it on a flat wall, flip the straightedge over, and see if the edge still aligns with the line. If it matches in both directions, it is straight.
Can a thin table top (1/4″) ever stay truly flat? It is very difficult. Thin plates lack the “moment of inertia” to resist warping from heat. If you have a thin top, you must have a very dense grid of support beams underneath it (every 12 inches or less) to keep it planar.
What if my table is flat but my floor is uneven? This is why adjustable feet are critical. Once the table top is flat relative to itself, use a machinist’s level and the adjustable feet to make sure the entire plane is level with the earth. This prevents gravity from pulling your projects out of alignment during assembly.
Does rust affect the flatness check? Absolutely. Even a thin layer of scale can be 0.005″ thick. Use a wire wheel or a chemical rust remover to get the surface down to clean, bare metal before you start your measurements.
How often should I re-check the planarity of my work surface? I recommend a quick check after any project involving high heat or very heavy loads. For a hobbyist shop, a thorough mapping once or twice a year is usually enough to catch any “material creep.”
(This article was written by one of our staff writers, James Harlan. Visit our Meet the Team page to learn more about the author and their expertise.)