How to Store Precision Measuring Tools on a Mobile Cart (Fix)
I remember standing in my shop a few years ago, staring at a custom chassis that was off by nearly an eighth of an inch. I had spent hours on the layout, but my calipers had taken a tumble off a rickety rolling table the day before. That small drop was enough to knock the alignment out of spec, and because I didn’t have a secure way to house my instruments while moving around the shop, my project suffered. For those of us building utility trailers or custom fixtures, our work is only as good as our measurements. If our precision tools aren’t protected from the vibrations and bumps of a mobile workshop environment, our “accurate” layouts are just guesswork.
Protecting Sensitive Layout Instruments from Shop Floor Vibrations
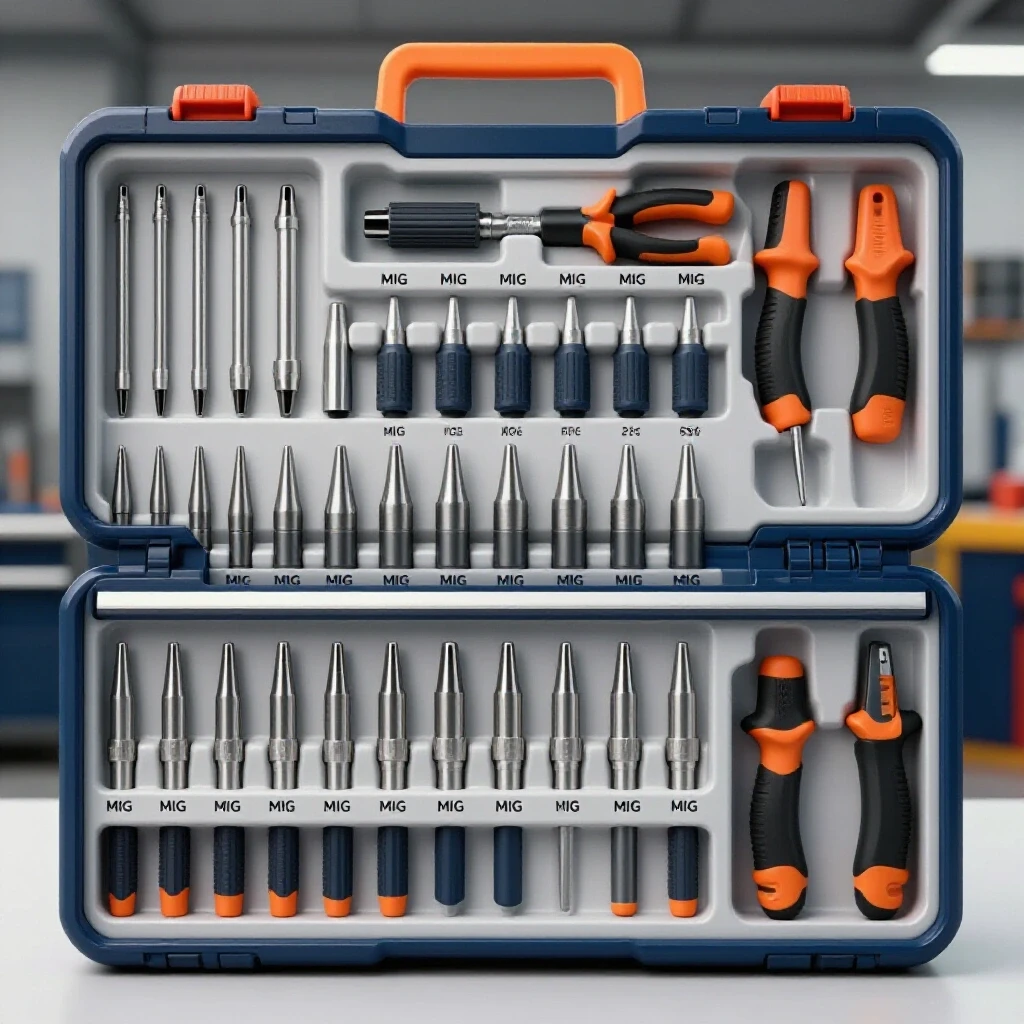
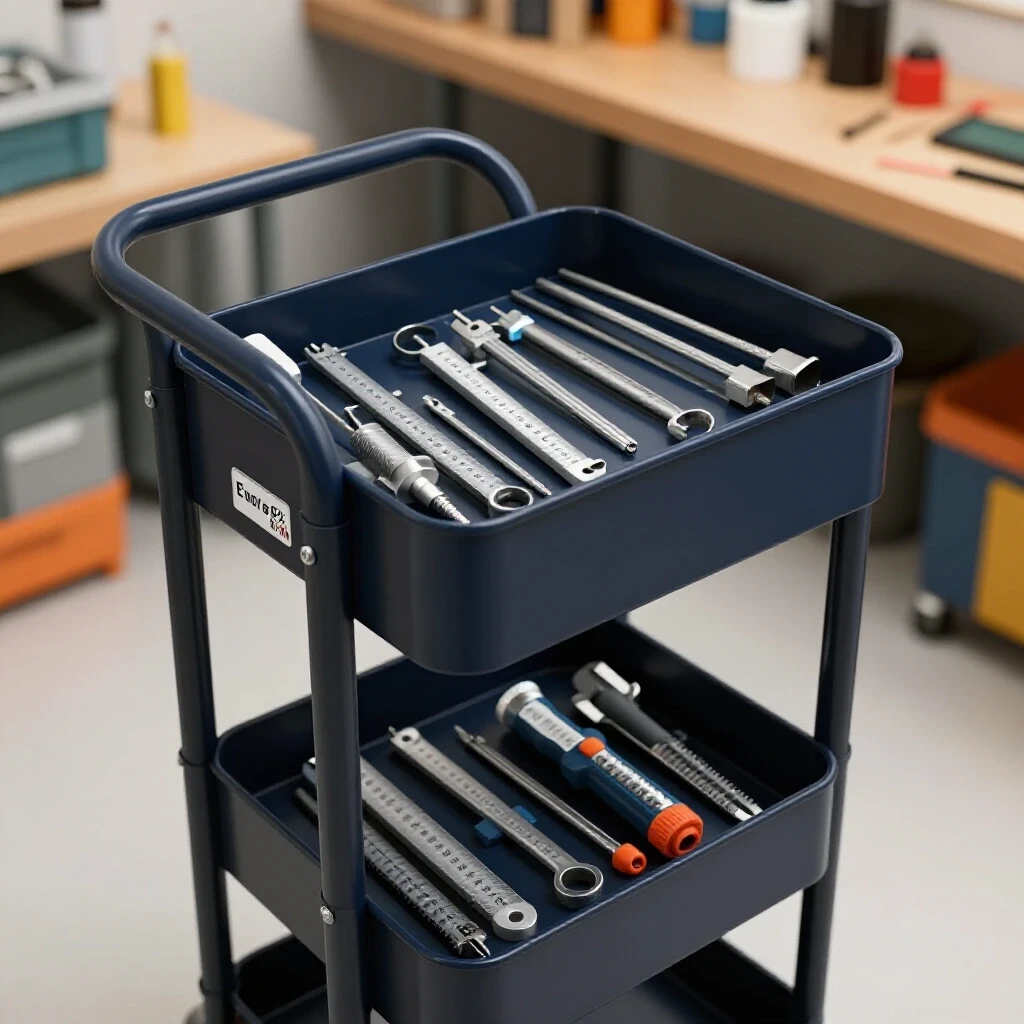
Vibration damping involves using specialized materials and structural designs to shield sensitive instruments from the kinetic energy of a moving cart. High-density foam inserts and rubberized drawer liners absorb the shocks caused by rolling over expansion joints or uneven concrete. This protection ensures that your calipers, micrometers, and dial indicators remain reliable throughout the build process.
In my 13 years of fabrication, I’ve learned that the shop floor is the enemy of precision. When you are moving a cart from the welding table to the drill press, every bump sends a shockwave through the frame. To combat this, I rely on custom-cut foam inserts. I prefer closed-cell polyethylene foam because it doesn’t absorb oil or moisture, which can lead to rust on your steel layout tools.
When planning your drawer layout, you should aim for a “snug-fit” philosophy. Each tool should have a dedicated pocket that prevents it from sliding when you stop or start the cart. I’ve found that a 1/8-inch clearance around the tool is usually sufficient. If you leave too much room, the tool will rattle, which can lead to the same internal damage as a drop.
- Vibration Damping Materials:
- High-density Kaizen foam (layered for easy depth adjustment).
- Neoprene rubber sheets for heavy base tools like height gauges.
- Sorbothane pads placed between the cart frame and the drawer unit.
| Material Type | Vibration Absorption | Durability | Best Use Case |
|---|---|---|---|
| Open-Cell Foam | Moderate | Low | Light-duty hand tools |
| Closed-Cell Foam | High | High | Micrometers and calipers |
| Rubber Matting | Low | Very High | Heavy base plates |
| Sorbothane | Extreme | Moderate | Sensitive dial indicators |
Designing a Rigid Cart Frame for Dimensional Stability
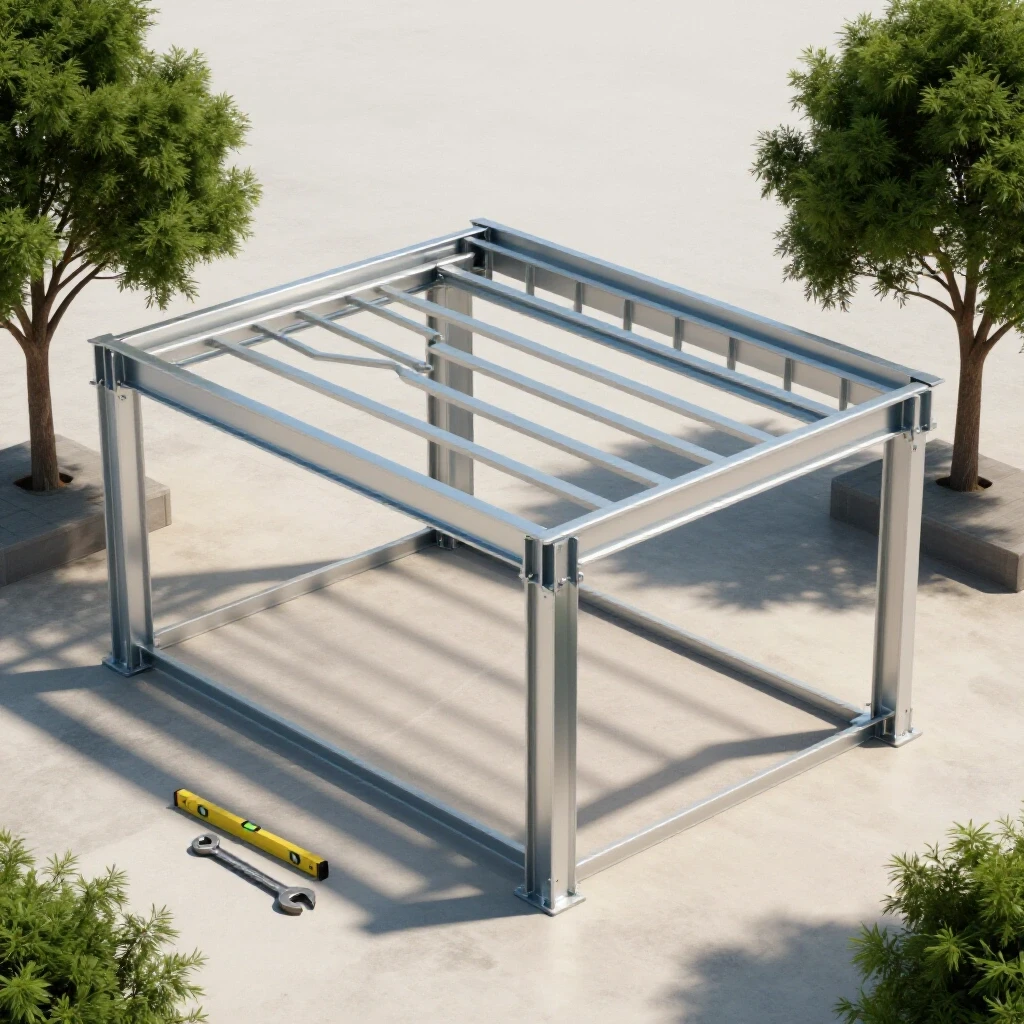
A rigid cart frame serves as the foundation for any mobile storage system, preventing the twisting and racking that can bind drawers. By using square steel tubing and proper weld sequencing, you can create a platform that remains square even under heavy loads. This stability is vital for maintaining the alignment of precision drawers and the tools kept inside them.
When I build a mobile station, I start with 1.5-inch or 2-inch square tubing with a 1/8-inch wall thickness. This provides enough mass to stay steady but isn’t so heavy that it’s a chore to move. The key is in the layout. I always calculate my kerf—the width of the material removed by the saw blade—before making a single cut. If my saw blade has a 1/16-inch kerf, I have to account for that to ensure my final frame dimensions are spot on.
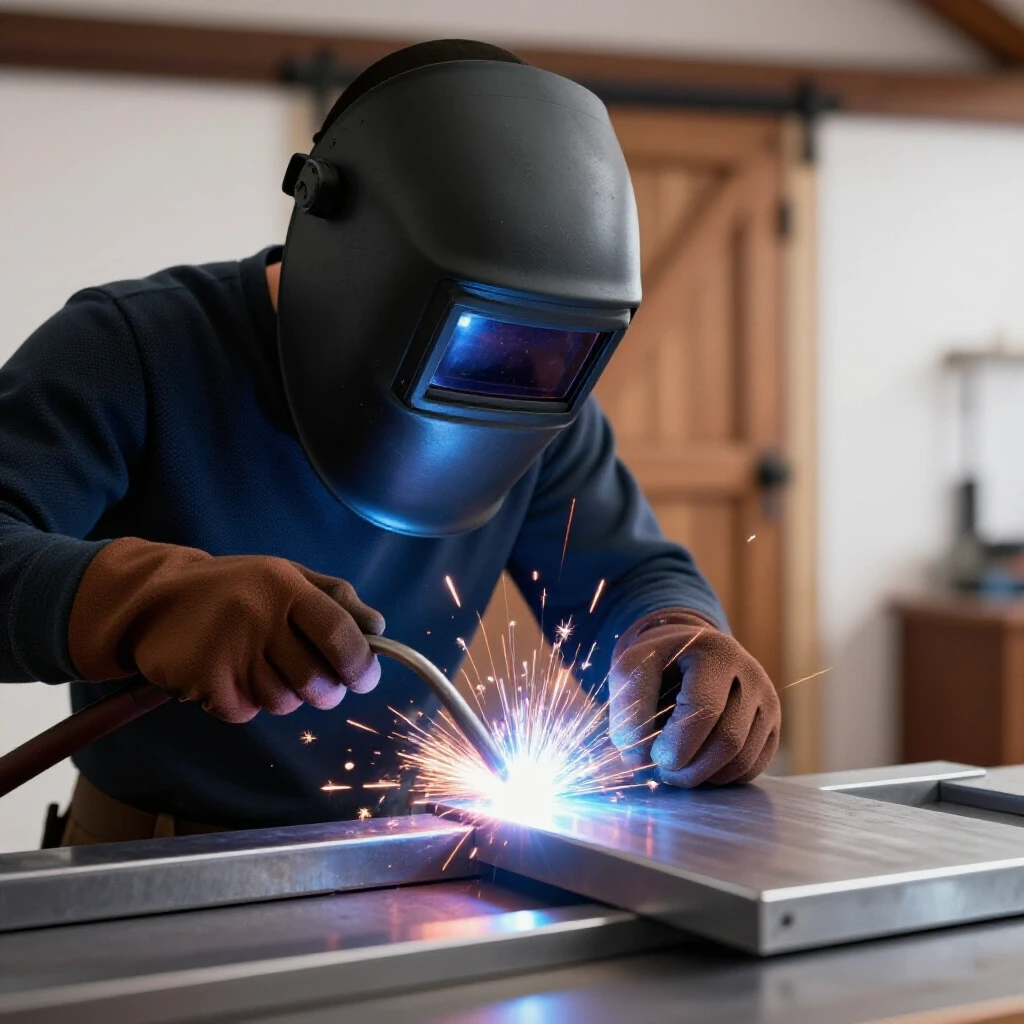
Once the pieces are cut, I use a heavy welding table and sturdy clamps to hold everything in place. If you don’t clamp your corners, the heat from the welding process will pull the metal toward the weld, a phenomenon known as angular shrinkage. This can turn a perfect 90-degree corner into an 88-degree mess, making your drawers stick and potentially jarring your measuring gear every time you force them open.
Managing Weld Sequencing to Prevent Frame Warping
Weld sequencing is the practice of choosing the order and location of your welds to balance the heat input across a structure. By alternating sides and allowing sections to cool, you can minimize the internal stresses that cause metal to bow or twist. This technique is essential for keeping a mobile cart perfectly square during fabrication.
I never weld a single joint from start to finish in one go. Instead, I use a “staggered” approach. I’ll place small tack welds—about 1/4 inch long—on all four corners of a joint first. Then, I move to the opposite side of the frame to do the same. This distributes the heat more evenly. If I weld the entire front face of the cart at once, the metal will expand and then shrink, pulling the front legs inward.
- Tack Weld Spacing: Place tacks every 3 to 4 inches on long runs.
- Cooling Time: Allow the metal to be cool to the touch before removing clamps.
- Sequence Pattern: Work in a “criss-cross” or “star” pattern, similar to tightening lug nuts on a wheel.
Organizing Precision Gear with Custom Drawer Dividers
Drawer dividers provide a structural way to categorize and secure various layout tools within a mobile unit. By creating specific zones for different tool types, you reduce the risk of metal-on-metal contact, which can dull edges or scratch polished surfaces. Well-planned dividers also help maintain the cart’s balance by distributing weight evenly across the drawers.
In my custom fabrication projects, I often use 1/4-inch plywood or thin-gauge aluminum for my dividers. The goal is to prevent tools like squares and protractors from shifting during transport. I’ve seen many builders throw all their layout gear into one big drawer. When they roll that cart across the shop, the tools clank together like a bag of hammers. That’s a fast way to ruin the edge of a precision square.
For height gauges or larger layout fixtures, I incorporate magnetic holders. However, you must be careful. Some precision tools can become magnetized, which causes them to attract small metal chips or “swarf.” This can lead to false readings. I only use magnets for non-sensitive items or ensure there is a thick rubber barrier between the magnet and the tool.
Vertical Storage Solutions for Height Gauges
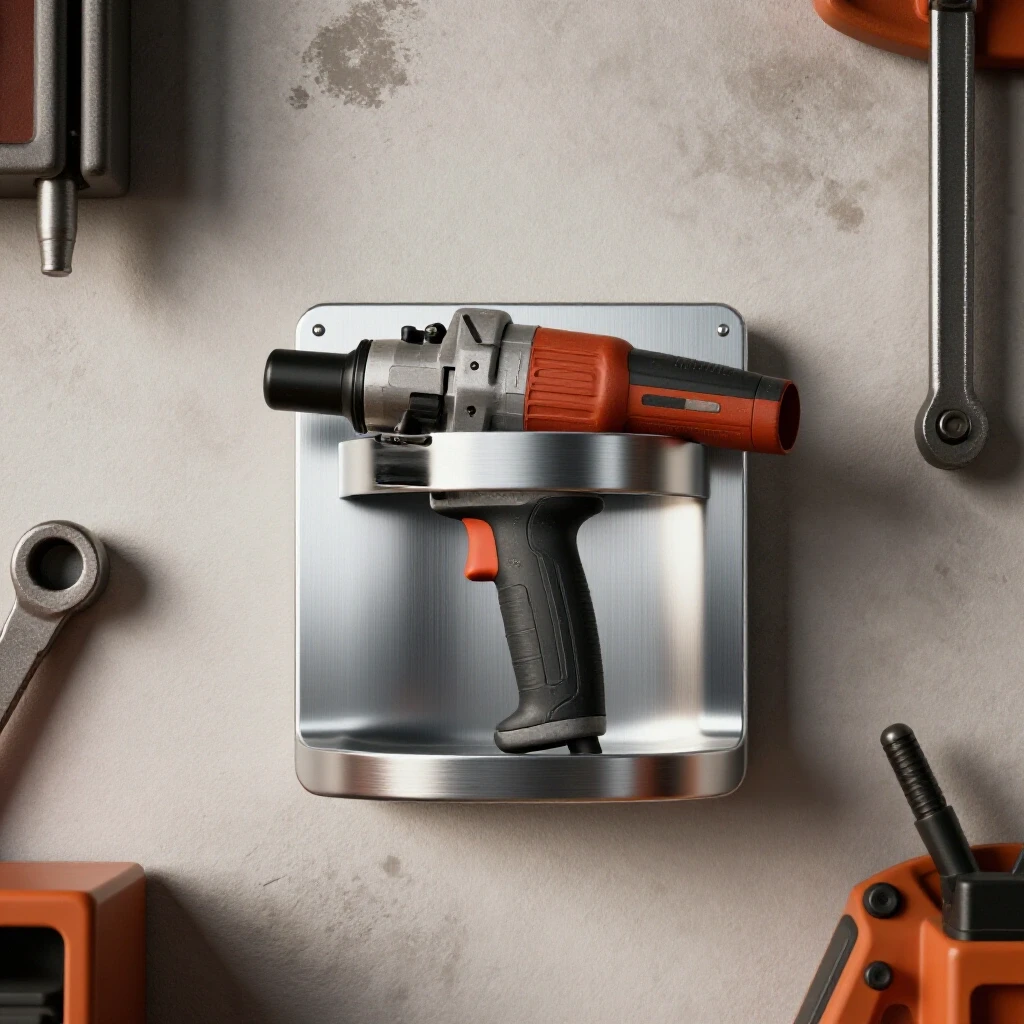
Storing tall instruments like height gauges on a mobile cart requires a low center of gravity to prevent tipping. By mounting these tools in a dedicated, recessed well or using a heavy-duty base clamp, you can ensure they stay upright during movement. This setup protects the long, slender columns of the gauge from bending or snapping under lateral forces.
- Recessed Wells: Cut a hole in the top shelf of the cart so the heavy base of the gauge sits lower, lowering the center of gravity.
- Safety Straps: Use a simple nylon strap or a “gate” style latch to hold the vertical column in place while the cart is in motion.
- Anti-Tip Casters: Use a wide wheelbase with 5-inch casters to provide a stable footprint.
Implementing Anti-Tip and Locking Mechanisms
Anti-tip features are safety designs that prevent a mobile cart from falling over when multiple drawers are opened or when the cart hits an obstruction. These can include weighted bottoms, interlocking drawer slides, or extended outriggers. For a cart carrying expensive measuring instruments, these features are the final line of defense against a catastrophic tip-over.
I once saw a guy lose a full set of micrometers because he opened three drawers at once on a top-heavy cart. The whole thing pitched forward. Now, I always build my carts with a “one-drawer-at-a-kind” rule, or I add weight to the very bottom shelf. I often store my heavy welding lead or scrap steel on the bottom to act as a counterweight.
Locking casters are also non-negotiable. You want at least two locking casters, preferably on the side you handle most. When you are performing a layout on the top of the cart, you don’t want the station drifting away from you. Total-lock casters, which lock both the wheel rotation and the swivel, are the best choice for a stable layout environment.
| Feature | Function | DIY Implementation |
|---|---|---|
| Counterweight | Lowers center of gravity | Store heavy plates on the bottom shelf |
| Interlocking Slides | Prevents multiple drawers opening | Use a simple vertical locking bar |
| Outriggers | Widens the base | Extend the bottom frame 2 inches past the top |
| Total-Lock Casters | Stops all movement | Use 5-inch polyurethane wheels with dual locks |
Accurate Square Cuts and Layout Tips for Cart Construction
Achieving accurate square cuts is the first step in building a reliable storage system. This involves precisely marking material and accounting for the thickness of your marking tool and the kerf of your saw. When the frame components are cut perfectly square, the subsequent assembly and welding processes become much more predictable.
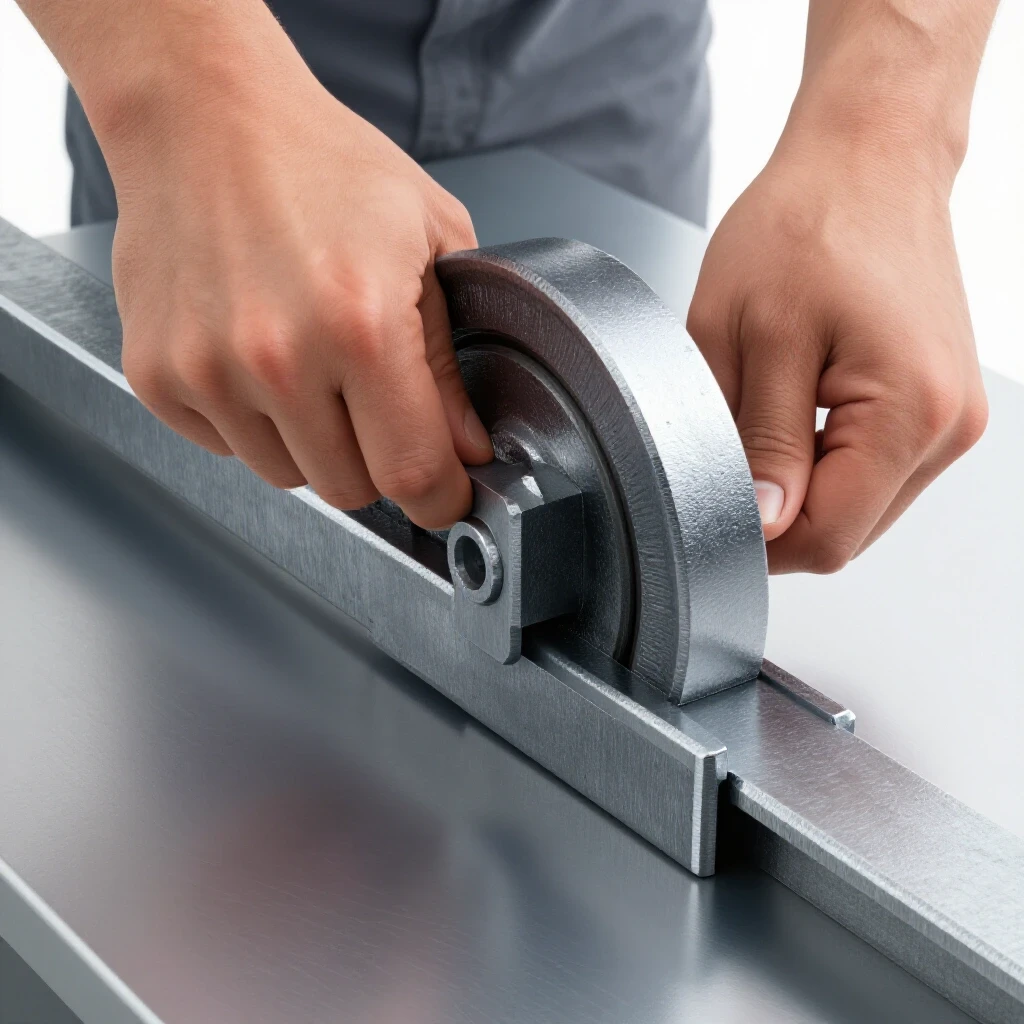
When I’m prepping material for a cart, I use a carbide-tipped dry cut saw. It leaves a cleaner edge than an abrasive chop saw and generates much less heat, which reduces the chance of the metal ends warping before I even start welding. I always mark my lines with a thin scribe or a 0.5mm mechanical pencil. A thick soapstone line can be 1/16-inch wide, which is way too much room for error in a precision build.
If you find that your cuts are slightly off, don’t try to “fill the gap” with a weld. That gap will cause the joint to pull even harder as the weld cools. Instead, take the time to grind the piece back to square. A tight, flush fit-up is the best way to ensure your cart stays true after the clamps come off.
- Measure Twice: Always check the “inside” and “outside” dimensions of your frame.
- Check Diagonals: On any rectangular frame, the diagonals must be identical within 1/32 of an inch.
- Deburr Everything: A small burr on the end of a tube can throw off your square by a full degree.
Managing Metal Warping During the Assembly Process
Metal warping is the permanent distortion of a component caused by the uneven expansion and contraction of the metal during heating and cooling. In cart fabrication, this can lead to twisted frames and misaligned drawer tracks. Controlling this warping requires a combination of physical restraints, heat management, and strategic weld placement.
One trick I use for workshop jigs and fixtures is to use a “heat sink.” If I’m welding a thin drawer slide to a thicker frame, I’ll clamp a large block of aluminum behind the weld area. Aluminum conducts heat much faster than steel, so it pulls the excess heat away from the joint, reducing the “heat-affected zone” and minimizing the pull.
Another technique is to “pre-bend” or “pre-set” your parts. If you know a weld is going to pull a leg inward by 1/16 of an inch, you can clamp it so it starts 1/16 of an inch “out.” When the weld cools, it pulls the part into the correct position. This takes some experience to master, but it’s a powerful tool for any custom chassis builder.
Heat Control Benchmarks for Fabricators
- Tack Size: Keep tacks to approximately 2-3 times the thickness of the material.
- Travel Speed: Maintain a consistent, fast travel speed to minimize heat soak.
- Interpass Temperature: If the metal is glowing dull red for more than a few seconds, you are putting too much heat into the joint.
Final Alignment and Leveling of the Mobile Station
Final alignment is the process of checking and correcting any minor distortions in the finished cart before installing the precision tools. This may involve light grinding, shim placement for drawer slides, or adjusting the casters to ensure a level working surface. This step ensures that the cart operates smoothly and provides a reliable base for layout tasks.
Once the welding is done and the frame has cooled completely, I do a final check with a long straightedge and a precision level. If the top surface isn’t flat, it will affect how your tools sit in their foam cutouts. If a drawer slide is slightly out of parallel, I use thin stainless steel shims to bring it back into alignment.
It is also a good idea to check the “roll” of the cart. Does it track straight, or does it want to wander? Sometimes, a slight twist in the bottom frame can cause one caster to carry less weight, making the cart feel unstable. You can often fix this by adding a thin washer between the caster and the frame on the “short” leg.
- Alignment Steps:
- Check frame for twist using “winding sticks” (two perfectly straight bars).
- Verify drawer slide parallelism with a spacer block.
- Level the top surface in both directions.
- Test the anti-tip stability with the drawers weighted.
Custom Fabrication Project Case Study: The Precision Layout Cart
In this project, I built a mobile station specifically for my chassis layout tools. The goal was to house a 24-inch height gauge, two sets of calipers, and a collection of magnetic bases. I used a 2-tier design with the bottom tier heavily weighted with my plate steel remnants.
I chose a “shadow board” style for the top drawer using dual-color foam. The bottom layer was bright red, and the top was black. This way, if a tool was missing, the red “shadow” would immediately alert me. I used a 1/8-inch kerf allowance for all my tubing cuts and followed a strict criss-cross weld sequence. The final result was a cart that stayed square within 1/64 of an inch across the 30-inch frame.
The biggest challenge was the drawer slides. I had to use heavy-duty ball-bearing slides to handle the weight of the foam and tools without sagging. To keep them parallel, I clamped a piece of 12-inch precision-ground bar stock between the rails while welding the mounting tabs. This prevented the heat from pulling the rails out of alignment.
Conclusion and Next Steps
Building a reliable mobile home for your measuring instruments is one of the best investments you can make in your shop. It moves you from “eyeballing it” to true precision fabrication. Start by assessing your current tool collection and sketching out a layout that prioritizes vibration damping and structural rigidity.
Your next step should be to source some high-density foam and experiment with cutting pockets for your most-used tools. Once you see how much more confident you feel moving your gear around the shop, you’ll never go back to throwing them in a cluttered drawer. Remember, in the world of custom fabrication, your projects are only as accurate as the tools you use to measure them. Keep those tools safe, keep them square, and your builds will follow suit.
Frequently Asked Questions
How do I prevent my precision tools from rusting inside a mobile cart? Use closed-cell foam that doesn’t hold moisture and keep a few silica gel desiccant packets in each drawer. Periodically wipe your steel tools with a light coat of high-quality machine oil or a dedicated rust preventative.
What is the best way to cut foam for tool inserts? A long, thin snap-off utility knife works well. For the cleanest look, heat the blade slightly with a torch before cutting. This allows the blade to glide through the foam without snagging or tearing the edges.
Should I use wood or metal for my mobile layout cart? Metal is superior for a fabrication environment. It is more rigid, doesn’t warp with humidity, and can be welded to create a perfectly square, integrated frame. Steel also provides the weight needed for a low center of gravity.
How can I tell if my cart frame has warped during welding? Measure the diagonals of the frame from corner to corner. If the measurements are not identical, the frame is “racked” or out of square. You can also use winding sticks to see if the two ends of the frame are twisted relative to each other.
Why are my drawer slides binding even though I measured everything correctly? This is usually due to weld shrinkage pulling the frame members inward. Even a 1/32-inch pull can cause high-quality ball-bearing slides to bind. Always use spacers and heavy clamps when welding near drawer mounting points.
Can I use magnetic strips to hold my calipers on a rolling cart? It is generally not recommended for precision tools. Magnets can transfer a charge to the tool, which then attracts tiny metal filings. These filings can get into the sliding mechanism or between the measuring jaws, causing inaccuracies.
What size casters are best for a precision tool cart? I recommend 4-inch or 5-inch polyurethane wheels. Larger wheels roll over shop debris and floor cracks more easily, which reduces the amount of vibration transferred to your tools.
How do I calculate the weight needed for an anti-tip base? A good rule of thumb is to have at least 1.5 times the weight of the top-heavy components located in the bottom third of the cart. If your top drawers hold 50 lbs of tools, aim for 75 lbs of weight on the bottom shelf.
What is “kerf,” and why does it matter for my cart build? Kerf is the thickness of the slot cut by your saw blade. If you don’t account for it, every piece you cut will be short by the width of that blade. Over a whole cart frame, those small errors add up to a significant misalignment.
How often should I check the alignment of my mobile cart? Check it after the initial build and then every few months, or after any major “incident” like hitting a large pothole or dropping a heavy object on it. A quick check with a square and level will tell you if the frame has shifted.
(This article was written by one of our staff writers, Robert Kline. Visit our Meet the Team page to learn more about the author and their expertise.)