How to Mount a Heavy Duty Bench Vise to a Workbench (Fix)
Setting up your first metalworking space is a journey filled with both excitement and a fair amount of financial stress. When I built my first shop in a cramped single-car garage back in 2013, I had exactly $2,000 to my name and a long list of tools I thought I needed. I quickly learned that while a shiny new welder is tempting, the most important tool in the building is the one that holds your work still. If your primary clamping station isn’t rock-solid, every cut will be crooked and every weld will be a struggle.
In my years as an industrial maintenance technician, I saw how professional shops prioritized structural integrity. They didn’t just “bolt things down”; they engineered their workstations to handle extreme torque. Bringing that mindset into a home garage doesn’t have to be expensive, but it does require moving past the “good enough” mentality. A heavy vise that wobbles or pulls away from the table isn’t just annoying—it is a safety hazard that can lead to broken tools or personal injury.
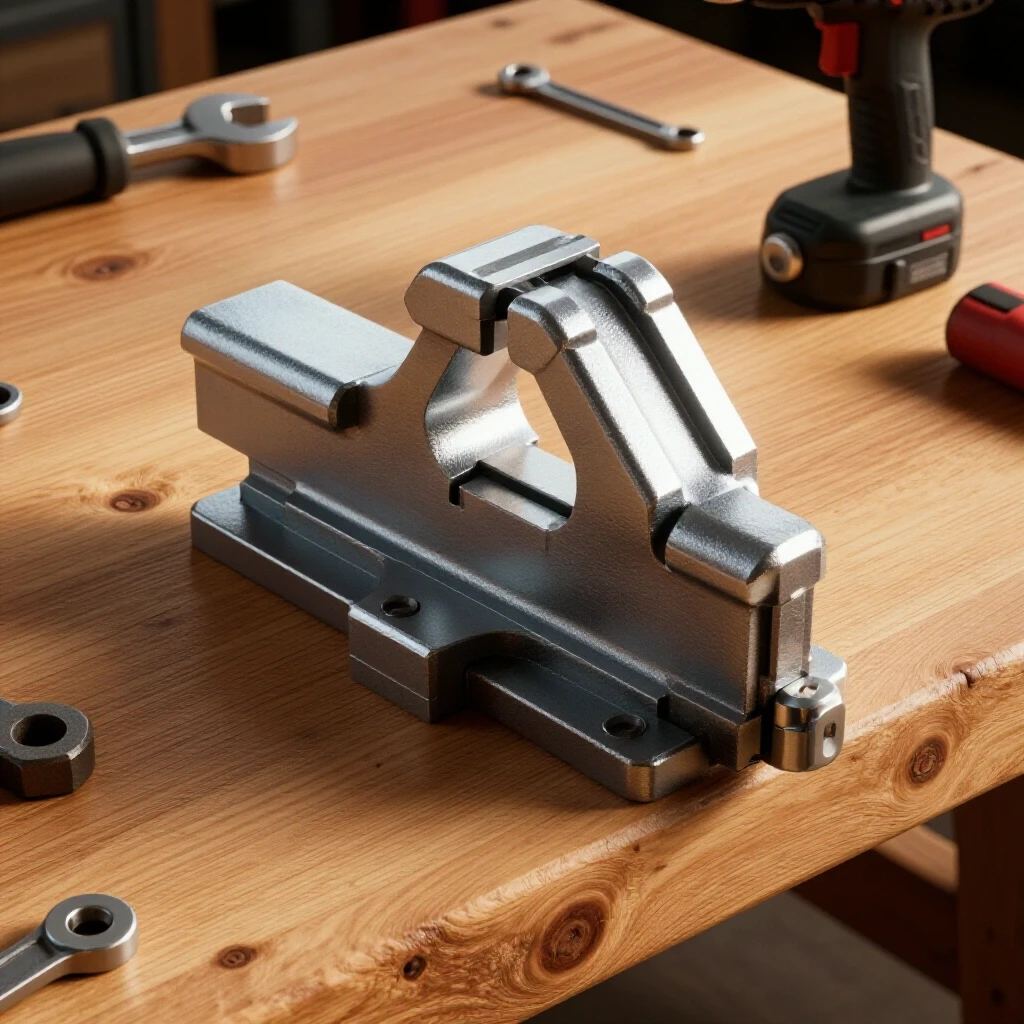
Establishing a functional fabrication space starts with a realistic assessment of your workbench and how you attach your tools to it. We are going to look at the mechanical methods for securing your most vital piece of equipment. By focusing on proper fastener selection and load distribution, you can create a professional-grade setup on a hobbyist budget.
Establishing a Foundation for Your Metalworking Space
A metalworking shop is only as good as the surface you work on and the power that feeds your tools. Before you even pick up a drill, you need to understand the physical limits of your workspace and the electrical demands of your equipment.
In my first shop, I made the mistake of trying to run a grinder and a vacuum on the same 15-amp circuit. The breaker tripped constantly, interrupting my workflow and frustrating me. Most home garages are wired for light duty. For a fabrication space, you should ideally have a dedicated 20-amp circuit. This ensures that when you are putting a heavy load on a tool, you aren’t starving it of power or risking a fire.
Your workbench is the literal foundation of your shop. For metalwork, a standard thin plywood top won’t cut it. You need mass and rigidity. If you are starting with a wooden bench, you must plan for how you will reinforce the areas where your heavy tools will sit. A heavy vise can easily weigh 50 to 80 pounds, and the leverage you apply when bending metal can double or triple that load on the mounting points.
| Tool Category | Typical Power Draw (Amps) | Recommended Circuit | Priority Level |
|---|---|---|---|
| Primary Clamping (Vise) | 0 (Manual) | N/A | Essential |
| Angle Grinder (4.5″) | 6 – 10 | 15A/20A | Essential |
| Entry-Level Welder | 15 – 20 | Dedicated 20A | High |
| Bench Grinder | 3 – 5 | 15A | Medium |
| Shop Vacuum | 8 – 12 | 20A | High (Safety) |
Strategic Placement for Your Primary Clamping Tool
Choosing where to anchor your vise is a decision that affects every project you will ever do. Most beginners make the mistake of mounting it right in the center of the bench, which actually limits your ability to handle long pieces of material.
When I plan a starter metal workshop layout, I always recommend placing the vise over a leg of the workbench. This transfers the downward force directly to the floor rather than flexing the middle of the table. You also want the stationary jaw of the vise to sit slightly past the edge of the workbench. This allows you to hold long pieces of metal vertically without the bench getting in the way.
Consider your “swing zone.” You need enough clearance to rotate the handle fully and enough room to stand comfortably while applying force. If you are right-handed, placing the vise on the left corner of the bench often feels more natural for sawing and filing.
- Corner Mounting: Provides the most clearance for long vertical workpieces.
- Leg Alignment: Ensures the bench doesn’t “bounce” when you are hammering.
- Edge Overhang: The rear jaw should be flush with or slightly ahead of the bench edge.
- Height: The top of the jaws should be roughly at elbow height to prevent back strain.
Choosing Fasteners That Will Not Fail Under Pressure
The bolts you use to secure your equipment are the only thing standing between a successful project and a heavy tool falling on your toes. I have seen many DIYers use standard wood screws or thin carriage bolts from the local hardware store. In a metalworking environment, these will eventually fail due to vibration and shear force.
You should always use “through-bolts” rather than screws. This means the bolt goes all the way through the bench and is secured with a nut and washer on the underside. I recommend Grade 5 or Grade 8 hex head bolts. Grade 5 is usually sufficient for most home shops, but Grade 8 offers higher tensile strength for very heavy-duty applications.
The diameter of the bolt should match the mounting holes on the base of your tool as closely as possible. If the hole is 1/2 inch, use a 1/2-inch bolt. Any “slop” or wiggle room in the hole will allow the tool to shift over time, which wears down the workbench and loosens the connection.
| Fastener Component | Purpose | Technical Specification |
|---|---|---|
| Hex Head Bolt | Primary attachment | Grade 5 or 8 Steel |
| Fender Washer | Surface protection | Large diameter, zinc-plated |
| Split Lock Washer | Vibration resistance | Spring steel |
| Nylon Insert Nut | Permanent security | “Nyloc” style |
| Backing Plate | Load distribution | 1/4″ Mild Steel |
Distributing the Load with Backing Plates
One of the most important industrial secrets I learned is the use of backing plates. If you simply put a small washer and a nut on the underside of a wooden or thin metal bench, the force of the vise will eventually pull the nut right through the material. This is especially true with wood, which compresses over time.
A backing plate is a piece of thick metal (usually 1/4 inch thick) that sits between the underside of the bench and the nuts. It spreads the clamping force across a much larger surface area. Instead of all the pressure being on a one-inch washer, it is spread across a four- or six-inch plate.
If you are on a budget, you can often find scrap steel at a local fabrication shop for a few dollars. Drill holes in the scrap plate that match your vise’s mounting pattern. This simple addition makes your workbench feel much more solid and prevents the “creaking” sound of wood fibers crushing under load.
Step-by-Step Installation for Long-Term Stability
Once you have your location picked out and your hardware ready, the installation process must be precise. A sloppy installation leads to a tool that needs constant tightening. I always start by using the tool itself as a template.
- Position the tool: Place the vise on the bench and check for jaw overhang and handle clearance.
- Mark the holes: Use a transfer punch or a permanent marker to mark the exact center of the mounting holes.
- Drill pilot holes: Start with a small drill bit (1/8 inch) to ensure accuracy before moving up to the full-size bit.
- Drill the final holes: Use a bit that is the same size as your bolt. Keep the drill perfectly vertical.
- Clean the surface: Remove all sawdust or metal shavings from the top and bottom of the bench.
- Insert the hardware: Drop the bolts through from the top. Underneath, add your backing plate, then a flat washer, then a lock washer, and finally the nut.
- Tighten in a pattern: If you have four bolts, tighten them in a “cross” pattern (like lug nuts on a car) to ensure even pressure.
Using a torque wrench can help you ensure the bolts are tight enough without snapping them. For a 1/2-inch Grade 5 bolt, aim for approximately 50 to 75 foot-pounds of torque. This creates a “pre-load” that prevents the bolts from loosening during heavy hammering or grinding.
Managing Your Shop Budget and Tooling Priorities
Financial anxiety is real when you are starting out. It is easy to look at a $500 vise and feel like you can’t afford to start. However, I have found that a used, high-quality vintage vise found at a garage sale is often better than a cheap, new one made of “pot metal” or thin cast iron.
When tracking your startup costs, I recommend allocating about 30% of your budget to your primary workstation setup. This includes the bench, the vise, and the high-quality fasteners required to marry them together. Affordable fabrication tools are great, but if they aren’t mounted properly, they won’t perform.
I keep a simple spreadsheet for my shop expenses. I track the cost of the tool, the hardware for mounting, and any reinforcement materials. This helps me see where my money is going and prevents “nickel and dime” spending from blowing my budget.
- Spend on: High-grade bolts, thick backing plates, and a solid workbench surface.
- Save on: Used vises (look for brands like Wilton, Reed, or Athol), scrap steel for reinforcement, and DIY workbench frames.
- Avoid: Cheap “all-in-one” mounting kits that use low-grade hardware.
Safety Standards and Workshop Maintenance
In an industrial setting, OSHA has strict guidelines about tool stability. While these don’t legally apply to your home garage, the physics remain the same. A tool that moves unexpectedly can cause a “kickback” or cause you to lose your balance while holding a sharp or hot piece of metal.
I suggest creating a simple safety log for your shop. Once a month, take five minutes to check the tightness of your mounting bolts. Metal expands and contracts with temperature changes, and vibration from grinding can slowly back off even the best nuts. If you see the lock washer is no longer compressed, it is time to grab the wrench.
Proper garage workshop ventilation is also key when you are working at your vise. If you are filing or grinding metal held in your vise, those particles are going into the air. Ensure your vise is positioned near a door or window, or set up a small fan to pull dust away from your face.
Common Mistakes to Avoid When Anchoring Equipment
Even with the best intentions, it is easy to fall into a few common traps. One of the biggest mistakes I see is using bolts that are too short. You want at least two or three threads showing past the nut once everything is tightened. If the bolt is too short, the nylon insert in a locking nut won’t engage, and the whole system will vibrate loose.
Another error is ignoring the material of the workbench. If you have a metal-topped bench, you must ensure there is no “galvanic corrosion” between the vise and the table. Using zinc-plated hardware helps prevent this. If you are mounting to wood, remember that wood shrinks in the winter. You will almost certainly need to tighten your bolts once the seasons change.
- Skipping the lock washer: Without it, vibration will loosen the nut.
- Using the wrong drill bit: A hole that is too large allows the vise to “clunk” back and forth.
- Over-tightening: You can actually crush a wooden bench top if you don’t use a backing plate.
- Poor alignment: If the vise isn’t square to the bench, your measurements for cuts will always be slightly off.
Future-Proofing Your Layout
As your skills grow, your shop will evolve. You might start with just a vise, but eventually, you will add a bench grinder or a drill press. When securing your primary clamping tool, think about where these future tools will go.
I like to leave at least three feet of open bench space on at least one side of the vise. This gives me room to lay out parts or use measuring tools without feeling cramped. If you have a very small space, you might consider a “multi-mount” system where you can swap tools in and out of the same set of holes, though this is rarely as stable as a permanent mount.
By taking the time to properly anchor your tools now, you are building a professional-grade foundation. You won’t have to worry about your equipment shifting during a critical cut, and you can focus on learning the craft of metalworking.
Frequently Asked Questions
What size bolts should I use for a standard heavy-duty vise? Most heavy-duty vises require 1/2-inch or 5/8-inch diameter bolts. You should always measure the holes in the base of your specific vise. Using a bolt that is too small will allow the vise to shift under load, which can damage your workbench and cause safety issues during heavy tasks.
Is it better to use Grade 5 or Grade 8 bolts for mounting tools? Grade 5 bolts are usually more than enough for a home workshop. They offer a good balance of strength and “toughness,” meaning they can bend slightly before breaking. Grade 8 bolts are stronger in tension but can be more brittle. For most metalworking tasks, Grade 5 provides the best value and reliability.
Can I just use large wood screws if my workbench is thick 4×4 lumber? No, wood screws are not recommended for securing heavy metalworking tools. The constant vibration and leverage applied to a vise will eventually strip the wood fibers, causing the screws to pull out. Through-bolting with a nut and washer on the underside is the only way to ensure long-term stability and safety.
Why do I need a backing plate under my workbench? A backing plate prevents the mounting nuts from sinking into or crushing the workbench material. This is especially important for wooden benches. By spreading the force over a larger area, the plate keeps the connection tight and prevents the bench from cracking or flexing when you are applying heavy torque to a project.
How do I know if my vise is positioned correctly on the bench? The most important rule is to ensure the rear (stationary) jaw is flush with or slightly ahead of the edge of your workbench. This allows you to clamp long pieces of metal vertically without the bench interfering. Additionally, mounting the vise over a bench leg provides the best structural support.
What should I do if my workbench top is too thin for a heavy vise? If your bench top is thinner than 1.5 inches of wood or 1/4 inch of steel, you should reinforce it. You can sandwich a piece of 3/4-inch plywood or a 1/4-inch steel plate to the top and bottom of the mounting area. This creates a “thick” zone specifically for the tool to anchor into.
Do I need to use a torque wrench to tighten the mounting bolts? While not strictly required, a torque wrench ensures that you have applied enough “clamp load” to keep the vise from moving without over-stressing the bolts. For a 1/2-inch bolt, tightening until it is very snug with a standard wrench is usually sufficient, but checking it periodically is essential.
How often should I check the tightness of my shop equipment mounts? I recommend checking your mounting hardware every month, or after any project that involved heavy hammering or bending. Changes in humidity can cause wooden benches to shrink or swell, which changes the tension on your bolts. A quick check with a wrench can prevent a tool from coming loose mid-project.
Should I put anything between the vise base and the workbench? Some people use a thin rubber mat to reduce vibration, but for metalworking, a direct metal-to-surface or metal-to-wood connection is usually better for maximum rigidity. If your bench is uneven, you can use thin metal shims to ensure the vise base sits flat before you tighten the bolts.
What is the best way to drill through a thick workbench for mounting? Use a high-quality twist bit and a corded drill for maximum power. Start with a small pilot hole to ensure your placement is perfect. If drilling through wood, clear the chips frequently to prevent the bit from overheating. Ensure the drill is held perfectly vertical so the bolts align with your backing plate underneath.
(This article was written by one of our staff writers, Michael Thompson. Visit our Meet the Team page to learn more about the author and their expertise.)