How to Check and Correct Misaligned Steel Frames (DIY Guide)
I remember the first time I built a heavy-duty welding table. I had spent hours meticulously cutting the square tubing, cleaning every joint to a mirror finish, and double-checking my measurements. To my eyes, the assembly looked perfect as it sat on my workbench. However, after I finished the final weld beads and the metal cooled, I noticed a problem. One corner of the table sat nearly half an inch higher than the others. The heat from my welder had pulled the steel out of alignment, turning my flat surface into a rocking chair.
That moment was a turning point in my fabrication journey. I realized that mastering torch control and learning metal fabrication wasn’t just about making pretty beads; it was about understanding how heat affects the geometry of a structure. Over the last 12 years, I have tracked my progress through thousands of hours of shop time, documenting every failure and breakthrough. I have learned that steel is a living thing when it gets hot, and if you don’t know how to guide it, it will move in ways you didn’t intend.
This guide is designed to help you navigate those same frustrations. Whether you are building a shop cart, a gate, or a tool stand, you will encounter situations where your project isn’t as straight as you planned. We will focus on the physical cues, the measurement techniques, and the manual correction methods that define a skilled fabricator. By the end of this article, you will have a roadmap for diagnosing geometry issues and the technical confidence to fix them using standard workshop tools.
Understanding the Mechanics of Thermal Distortion
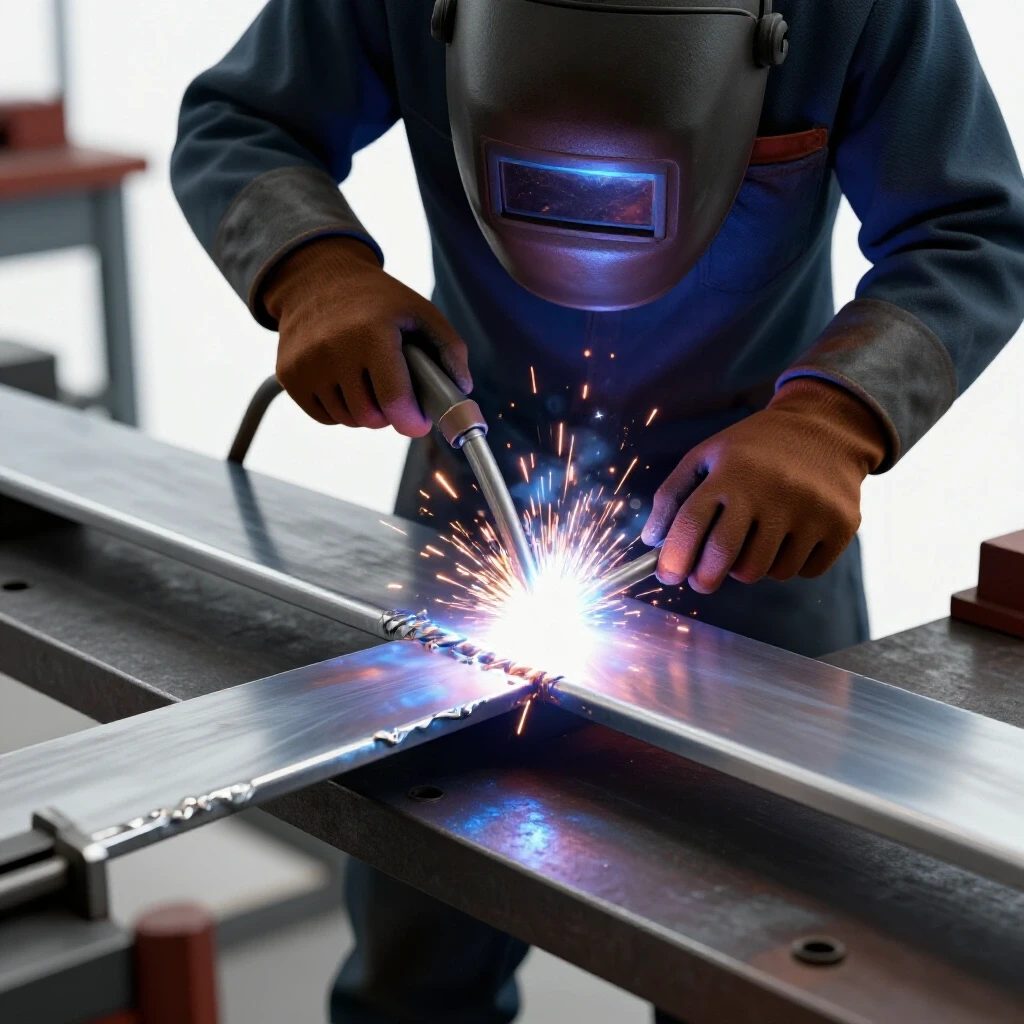
Thermal distortion is the physical movement of metal caused by the uneven heating and cooling cycles during the welding process. As the weld puddle cools, it shrinks, pulling the surrounding base metal toward the center of the joint. This predictable force can bow long rails, pull corners out of square, or twist a flat frame into a propeller shape.
When I first started, I thought I could simply “clamp it harder” to prevent movement. I quickly learned that the forces generated by cooling steel are immense. If you don’t account for this in your metal welding practice guide, the metal will simply move as soon as you release the clamps. Understanding the “why” behind this movement is the first step in mastering torch control.
The amount of movement is directly related to your heat input. Heat input is a calculation of how much energy you are putting into the metal per inch of weld. The formula is:
Heat Input = (Amps x Volts x 60) / Travel Speed (IPM)
If you move slowly, you put more heat into the steel, which leads to more distortion. If you can increase your travel speed while maintaining a consistent puddle, you reduce the total energy absorbed by the frame. This is why I stress the importance of a trade school practice drills approach: you must build the muscle memory to move at a steady, efficient pace.
Essential Tools for Verifying Geometry
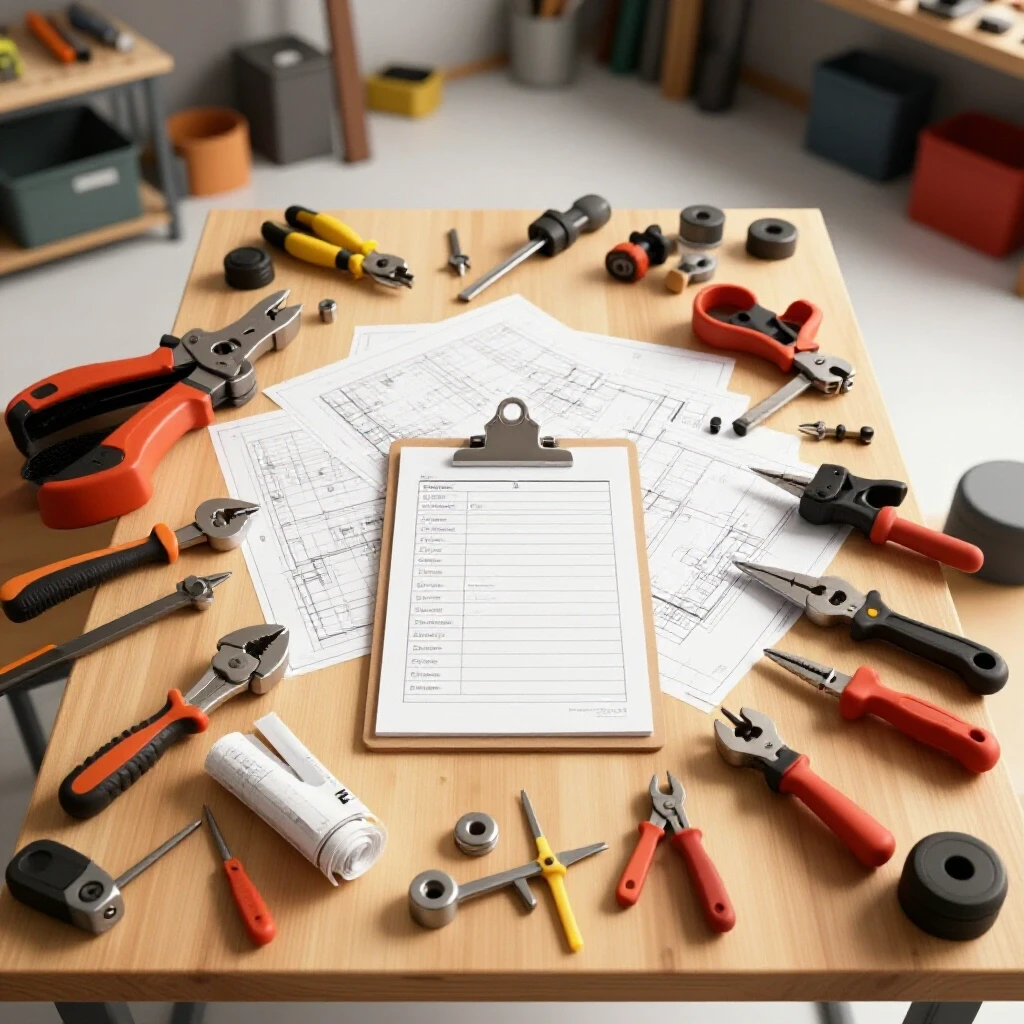
Verification tools are the instruments used to measure the accuracy of a frame against a known standard of straightness or squareness. In a DIY setting, these include machinist squares, straightedges, string lines, and tape measures. These tools allow you to identify errors that are too small for the naked eye to see but large enough to ruin a project.
You cannot fix what you cannot measure. I tell my students that their eyes will lie to them, but a machinist square will not. When you are learning metal fabrication, you need to invest in a few high-quality reference tools. You don’t need a metrology lab, but you do need tools that are verified for accuracy.
- Machinist Squares: These are used to check 90-degree corners. Unlike a common framing square, a machinist square is ground to very tight tolerances.
- Straightedges: A long, precision-ground bar used to check for bowing or dipping along a rail.
- Winding Sticks: Two identical, perfectly straight bars used to visually detect “wind” or twist in a frame by sighting across them.
- Dial Indicators: Useful for measuring small deviations in flatness when a frame is placed on a reference surface like a welding table.
| Tool Type | Primary Use | Accuracy Level |
|---|---|---|
| Tape Measure | Diagonal checks (Squareness) | Low/Medium (1/32″) |
| Machinist Square | Corner alignment | High (0.001″) |
| Straightedge | Detecting bows/dips | High (0.005″ per foot) |
| Winding Sticks | Detecting frame twist | Medium (Visual) |
Measuring for Squareness and Parallelism
Squareness refers to the relationship between two members meeting at a 90-degree angle, while parallelism ensures that opposite rails remain the same distance apart throughout their length. Checking these factors involves comparing diagonal measurements and using physical squares at every junction. This step is critical before and after tack welding to ensure the frame remains true.
In my welding technique progression logs, I always record my diagonal measurements. The most effective way to check a rectangular frame is the “X” measurement. Hook your tape measure on one corner and measure to the opposite diagonal corner. Then, repeat for the other two corners. If the measurements are identical, the frame is square.
If they are not identical, the frame is a parallelogram. To fix this before final welding, I often use a “squaring clamp” or a simple ratchet strap. By applying pressure to the long diagonal, I can squeeze the frame until the measurements match. Interestingly, I have found that a frame often needs to be held slightly “past” square before tacking, as the cooling tacks will pull it back.
Identifying and Fixing Frame Twist
Frame twist, often called “wind,” occurs when the corners of a rectangular structure do not sit in the same flat plane. This results in a frame that wobbles when placed on a flat surface or a gate that looks crooked when hung. Identifying twist requires sighting across the frame or using a level surface as a reference point.
I remember a student who was building a heavy-duty base for a bandsaw. He checked the squareness and it was perfect, but the base still wobbled. We put the base on a known flat table and found that one corner was 1/8″ off the surface. This is where winding sticks come in. Place one stick at each end of the frame and look across the top edges. If the edges are not parallel to each other, your frame is twisted.
To correct this manually, you can use a technique I call “counter-torsion.” 1. Clamp one end of the frame firmly to a heavy table. 2. Use a long lever or a heavy-duty C-clamp on the other end to twist the frame in the opposite direction of the error. 3. Apply heat to the joints while the frame is under tension. 4. Allow it to cool completely before releasing the pressure.
Mastering Heat Shrinking for Precision Alignment
Heat shrinking is a technique where a localized area of metal is heated to a dull red glow, causing it to expand against the cooler, rigid metal around it. Because it cannot expand outward easily, it “upsets” or gets thicker. As it cools, it contracts more than it expanded, creating a pulling force that can be used to straighten a bowed member.
This is perhaps the most “magical” part of learning metal fabrication. It feels counterintuitive to use heat to fix a problem caused by heat, but it is incredibly effective. I use a rosebud tip on an oxy-acetylene torch for this. The goal is to create a small “V” shaped heat zone on the outside of a curve.
When the “V” cools, the wide part of the triangle shrinks more than the point, pulling the metal straight. I tracked my results with this for a year and found that the speed of cooling matters. For most DIY steels, a natural air cool is best. Quenching with water can make the steel brittle, which is something we want to avoid in structural projects.
Mechanical Correction and Cold Working
Mechanical correction involves using physical force, such as hammers, clamps, or presses, to move metal back into alignment without the use of heat. Cold working, specifically peening, involves striking the weld bead with a ball-peen hammer to stretch the metal and relieve the internal stresses that are pulling the frame out of shape.
Peening is a skill that requires a steady hand pattern. If you strike too hard, you deform the metal surface. If you strike too softly, you don’t move the stress. I recommend practicing this on scrap T-joints. Weld one side, watch it pull, and then peen the weld bead until the vertical member moves back to center.
- Clamping: Use heavy-duty F-clamps or C-clamps to pull a bow out of a rail before welding.
- Peening: Use a 16oz or 24oz ball-peen hammer to strike the center of the weld bead.
- Leverage: Use a “dogs and wedges” setup on a welding table to force a frame into position.
Building a Systematic Practice Log
A systematic practice log is a written or digital record where a fabricator tracks weld parameters, measurements, and the results of various correction techniques. By documenting what worked and what didn’t, you can identify patterns in your technique and overcome skill plateaus more quickly. This data-driven approach removes the guesswork from fabrication.
I cannot emphasize enough how much my welding technique progression improved once I started logging my work. When a frame came out crooked, I didn’t just get frustrated; I looked at my log. I would record the amperage, the travel speed, and the sequence of my welds. Eventually, I noticed that I was always welding the inside of my joints first, which was causing the frame to “close up.”
Here is a simple template you can use for your own projects:
- Project Name: (e.g., Shop Cart Base)
- Material: (e.g., 2″ x 2″ x 1/8″ Square Tube)
- Weld Sequence: (e.g., Outside corners first, then insides)
- Initial Diagonal Measurements: (e.g., 40-1/8″ and 40-1/4″)
- Post-Weld Diagonal Measurements: (e.g., 40-1/16″ and 40-3/8″)
- Correction Method Used: (e.g., Heat shrink on long diagonal)
- Final Result: (e.g., Within 1/32″)
Why Travel Speed Rules the Puddle
Travel speed is the rate at which the welding torch moves along the joint, and it is the most critical factor in controlling heat input. A consistent travel speed ensures a uniform bead shape and minimizes the amount of time the metal is exposed to high temperatures, which directly reduces frame distortion. Mastering this requires developing a steady physical rhythm.
If you move too slowly, the puddle gets wide and deep, soaking the entire joint in heat. This is a common mistake for beginners who are trying to ensure “perfect” penetration. In reality, once you have achieved the required penetration, any extra heat is just causing more distortion. I recommend using a metronome or a simple counting rhythm (one-one-thousand, two-one-thousand) to keep your hand moving at a steady 8 to 12 inches per minute.
Body Positioning and Ergonomics for Precision
Body positioning refers to how a fabricator stands and supports their weight to ensure maximum stability and range of motion during a weld. Proper ergonomics involve using “three points of contact” to steady the torch hand, which reduces tremors and allows for more consistent bead patterns. This physical foundation is necessary for maintaining the correct torch angles.
When I am teaching, I often see students hovering their arms in the air, trying to weld with no support. This is like trying to write a letter while holding your pen at arm’s length. To get professional-grade results, you must brace yourself. * The Lean: Lean your hip or shoulder against the welding table. * The Slide: Use your non-dominant hand as a “rest” for your torch hand to slide across. * The Breath: Take a half-breath and hold it or exhale slowly during the weld run to minimize torso movement.
Common Rookie Mistakes to Avoid
Rookie mistakes in frame alignment usually stem from a lack of preparation or an incomplete understanding of how metal reacts to heat. These include failing to clean the metal properly, welding too much in one spot, or ignoring the importance of tack welds. Recognizing these errors early can save hours of correction work later.
One of the biggest mistakes I see is “chasing the dragon.” This happens when a fabricator notices a frame is out of alignment and tries to fix it by welding the other side even hotter. This usually just results in a frame that is now twisted in two directions. Another common error is neglecting the “clean zone.” You should have at least one inch of bare, shiny metal on either side of your joint. Contaminants like mill scale act as an insulator, forcing you to use more heat than necessary to get a good puddle.
Actionable Benchmarks for Skill Progression
Benchmarks are specific, measurable goals that allow a learner to track their improvement over time. In frame fabrication, these might include achieving a specific tolerance for squareness or maintaining a consistent bead width over a long run. Reaching these milestones provides a sense of accomplishment and a clear path forward.
As you work through your metal welding practice guide, aim for these targets: 1. Tack Weld Consistency: Can you place four tacks on a joint without the gap opening or closing? 2. Squareness Tolerance: Can you get a 4-foot frame square within 1/16″ before welding? 3. Distortion Control: After final welding, does your frame stay within 1/8″ of its original squareness? 4. Visual Pass: Are your weld beads uniform in width (within 1/32″) across the entire length of the joint?
By focusing on these metrics, you move away from “guessing” and toward “knowing.” You start to see the relationship between your body mechanics and the final shape of the steel.
Conclusion and Next Steps
Correcting a misaligned frame is a fundamental skill that separates the hobbyist from the craftsman. It requires a combination of precise measurement, an understanding of thermal physics, and the patience to apply manual corrections. Remember that even the pros deal with metal movement; the difference is that they know how to anticipate it and how to fix it when it happens.
Your next step is to get into the shop and start a practice log. Build a simple square frame out of scrap material. Measure it, weld it, and then measure it again. Use the heat shrinking and mechanical correction methods we discussed to bring it back into alignment. Don’t be discouraged by plateaus. Every hour you spend with a square and a torch is an investment in your muscle memory and your technical intuition. Keep tracking your data, keep refining your torch control, and soon, those “rocking chair” tables will be a thing of the past.
FAQ: Frequently Asked Questions
How do I know if I should use heat or mechanical force to straighten a frame? Mechanical force is best for minor bows in long rails or for “tweaking” a frame that is just slightly out of square. Heat shrinking is better for significant distortions or when the metal is too thick to move with standard clamps and levers. Generally, if you can’t move it with a 24-inch lever, it’s time to reach for the torch.
Why does my frame pull even when I use heavy-duty clamps? Steel expands when heated and contracts when cooled. If it is clamped tightly, it cannot expand outward, so it compresses itself. When you release the clamps after it cools, the internal stresses are still there, and the metal will “spring back” or move toward the weld. The key is to weld in a sequence that balances these forces or to “pre-set” the frame slightly out of alignment so it pulls into the correct position.
What is the “3-4-5 rule” and how does it help with alignment? The 3-4-5 rule is a geometry trick to find a perfect 90-degree angle. If one side of a triangle is 3 units long and the adjacent side is 4 units long, the diagonal (hypotenuse) must be 5 units long for the corner to be square. This is incredibly useful for large frames where a standard machinist square is too small to be accurate.
How much heat is too much when heat shrinking? You want to reach a “dull red” color, which is roughly 1,100 to 1,200 degrees Fahrenheit. If the metal starts sparking or turns a bright orange/white, you are overheating it. Overheating can change the grain structure of the steel, making it weaker or more brittle. Always let the metal air cool naturally for the best results.
Does the type of welding (MIG vs. TIG) affect how much a frame moves? Yes. TIG welding generally puts more total heat into the part because the process is slower, which can lead to more distortion. MIG is faster and often results in less movement, provided you don’t stay in one spot too long. However, TIG allows for much more precise control over the heat, making it easier to perform “pulse” welds that keep the overall temperature lower.
Can I use a regular propane torch for heat shrinking? Generally, no. A propane torch does not produce enough concentrated heat to raise a specific area of steel to a red glow quickly. The heat will soak into the entire part before the target area gets hot enough, which defeats the purpose of localized shrinking. You need the intensity of an oxy-acetylene or oxy-propane setup.
How do I prevent my frame from “diamonding” while I weld? “Diamonding” is when a square frame becomes a parallelogram. To prevent this, use a “staggered” welding sequence. Instead of welding one corner completely, place small tacks on all four corners. Then, weld the opposite sides of the frame in short increments (2-3 inches at a time), allowing the metal to cool between runs.
What is the best way to check for twist if I don’t have a flat table? You can use the “string line” method. Run two strings diagonally from corner to corner. The strings should just barely touch where they cross in the middle. If there is a gap between the strings or if they push hard against each other, the frame is twisted. This is an old-school technique that is still highly accurate.
(This article was written by one of our staff writers, Thomas Langley. Visit our Meet the Team page to learn more about the author and their expertise.)