How to Replace a Rotten Utility Trailer Wood Floor (DIY Plan)
I have spent the better part of two decades dragging home the discarded bones of the American industrial age. My shop is filled with the hum of South Bend lathes and the heavy thud of vintage Buffalo Forge drill presses. Over those 18 years, I have learned that the most critical tool in a machinery restorer’s arsenal isn’t always the micrometer or the scraping bridge; often, it is the trailer that gets the heavy iron home.
When you are winching a 2,000-pound cast-iron milling machine onto a deck, you cannot afford to have a single board fail. A soft spot in the wood is more than a nuisance; it is a structural hazard that can lead to a cracked machine casting or a dangerous shift in transit. Restoring the load-bearing surface of your hauling equipment requires the same methodical approach we use for rebuilding a spindle or aligning a tailstock. It begins with a cold-eyed assessment of the damage and ends with a platform that meets high-precision standards.
Assessing the Structural Integrity of the Hauling Platform
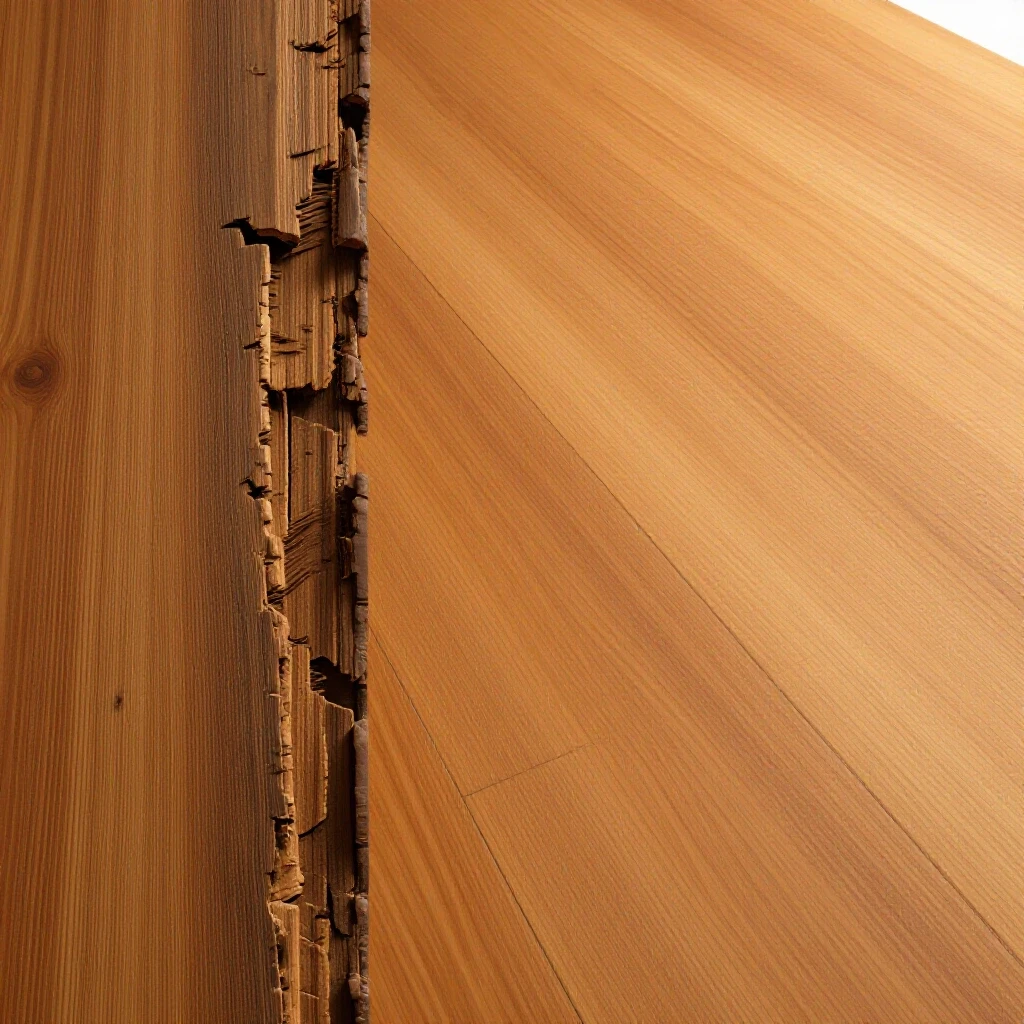
Before any new material is sourced, the underlying skeleton of the trailer must be evaluated with the same scrutiny one would apply to a rusted lathe bed. This phase involves identifying deep-seated corrosion, checking for frame squareness, and determining if the metal can still support the concentrated PSI of heavy machinery feet.
I approach a trailer frame much like I approach a pre-war casting. I start with a needle scaler or a stiff wire brush to remove “scale”—that thick, flaky rust that hides the true condition of the metal. Interestingly, what looks like a solid C-channel can often be paper-thin once the oxidation is cleared. I use a 16-ounce ball-peen hammer to tap along the frame rails. A sharp “ping” indicates healthy steel, while a dull “thud” suggests internal thinning or “pocking” from years of road salt and moisture trapped against the old wood.
| Inspection Point | Method of Evaluation | Restorer’s Benchmark |
|---|---|---|
| Main Frame Rails | Hammer Tapping & Caliper Check | Less than 10% material loss |
| Cross-Member Spacing | Tape Measure Alignment | 12″ to 16″ centers for heavy iron |
| Fastener Flanges | Visual & Pick Test | No “lace” or through-holes in steel |
| Frame Squareness | Diagonals & Precision Level | Within 1/8″ across a 12′ span |
If the frame shows signs of bowing or “twisting”—common when trailers have been overloaded with unbalanced machinery—it must be addressed before the new deck is installed. Building a precision surface on a warped foundation is a recipe for premature failure.
Why Seized Fasteners Crack Under Force—And How to Formulate a Real Thermal Release Plan
Removing old decking is rarely as simple as unbolting the boards. In the world of vintage machinery restoration, we deal with “galvanic corrosion,” where the steel bolt and the moisture in the wood have spent decades becoming a single, fused mass. Forcing these fasteners usually results in snapped bolt heads or, worse, damaged frame flanges.
I treat these rusted carriage bolts with the same patience I reserve for a seized taper pin in a 1940s headstock. First, I apply a high-quality penetrating oil—not the hardware store variety, but a mixture of 50/50 Acetone and Automatic Transmission Fluid (ATF). This concoction has a lower surface tension, allowing it to “creep” into the threads. If the bolt remains stubborn, I move to thermal release.
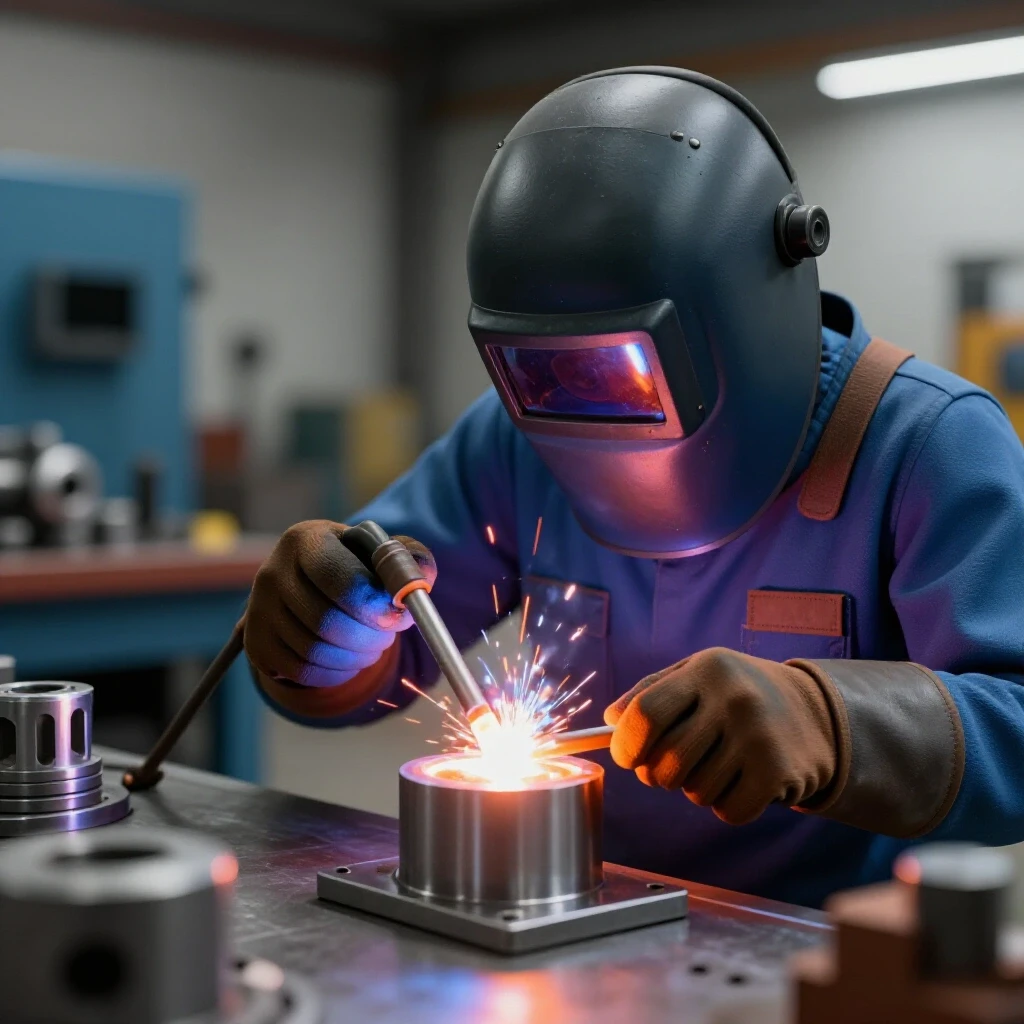
Applying heat to the nut (not the bolt) causes the nut to expand slightly. This movement, even if it is only 0.0005 inches, is often enough to break the bond of the rust. I use an oxy-acetylene torch with a small tip to keep the heat localized. The goal is to get the nut to a dull cherry red while keeping the surrounding frame cool enough to maintain its temper. Once the heat is removed, a quick shock from an impact wrench often zips the fastener right off.
Systematically Disassembling the Deteriorated Surface
The disassembly process should be treated as a data-gathering mission. As each board is removed, I document the fastener locations and the condition of the cross-members. This prevents “project creep” and ensures that the reassembly follows the original engineering intent of the manufacturer.
- Clear the Debris: Use a heavy-duty shop vac to remove all rotted wood fibers and dirt. You need to see the metal-to-wood interface clearly.
- Mark the Layout: Use a paint pen to mark where the original fasteners were. If the original spacing was too wide (over 24 inches), now is the time to plan for additional cross-members.
- Mechanical Extraction: For bolts that cannot be turned, I use a 4.5-inch angle grinder with a thin kerf cutoff wheel. I cut the heads off the carriage bolts from the top side. This avoids damaging the holes in the steel frame.
- Punching the Shanks: Once the heads are gone, use a heavy drift punch and a 3-pound sledgehammer to drive the remaining bolt shank through the frame.
Building on this, I often find that the holes in the steel have become “wallowed out” or oversized due to vibration. If a hole has grown more than 1/16th of an inch beyond its original diameter, I tack-weld a thick Grade 8 washer over the hole to provide a fresh, precise bearing surface for the new hardware.
Chemical Rust Removal and Frame Preservation
Once the frame is bare, it is time to strip the corrosion without stripping the base metal. For smaller components, I am a firm believer in the electrolysis bath. By using a 12V DC power supply and a solution of washing soda, you can lift rust off the steel without the aggressive abrasion of grinding. For the trailer frame itself, however, chemical chelators are more practical.
I prefer water-based rust converters that react with the iron oxide to create a stable, black protective layer. This is the same technique I use on the internal castings of old lathes where paint isn’t an option but protection is mandatory. When the chemical reaction is complete, the surface is ready for a high-solids primer.
A 1,500-pound milling machine sitting on four small feet creates immense “point loading.” If you use soft pine or thin plywood, the feet will eventually “sink” into the wood, causing the machine to become unstable during transport.For my trailer restorations, I look for “bridge grade” hardwoods. White Oak is the gold standard for machinery haulers. It is naturally rot-resistant and has a high Janka hardness rating. Interestingly, unlike Red Oak, White Oak has “tyloses” in its pores—essentially natural plugs that prevent water from traveling up the grain like a straw.
- Pressure-Treated Pine: Affordable and rot-resistant, but very soft. It tends to “compress” under heavy loads, which can loosen your tie-down straps.
- White Oak: Exceptional strength and durability. It can withstand the “scrubbing” action of heavy iron being winched across it.
- Apitong (Keruing): An exotic hardwood often used in semi-truck trailers. It is incredibly dense and nearly impervious to rot, though it is difficult to drill and requires carbide-tipped bits.
Precision Alignment and Fitting of the New Deck
When installing the new boards, I aim for the same level of alignment I would expect on a machine tool. A “flat” deck is essential for ensuring that the weight of your cargo is distributed evenly across the frame. If one board is higher than the others, it will take the brunt of the load, potentially cracking or causing the trailer to track poorly.
I start by selecting the straightest board for the center of the trailer. I use a machinist’s level—accurate to 0.0005 inches per foot—to ensure the frame is level on its jacks. Then, I lay the boards out with a 1/8-inch gap between them. This gap is crucial; wood is a “living” material that expands and contracts with humidity. Without this clearance, the boards will “tent” or buckle, ruining the precision of your flat surface.
Drilling and Fastening with Mechanical Integrity
In my shop, I never rely on “close enough.” When drilling the holes for the new decking, I use a self-centering transfer punch to mark the exact center of the existing holes in the steel frame. This ensures that the carriage bolts drop in vertically, preventing side-loading on the fasteners.
I always use Grade 5 or Grade 8 carriage bolts. While Grade 2 is common in hardware stores, they lack the shear strength required for hauling heavy machinery. I also apply a generous coating of “anti-seize” compound to the threads. This is a lesson learned from years of disassembling 100-year-old machines: your future self (or the next restorer) will thank you when those bolts need to come out again in twenty years.
Managing Long-Term Corrosion at the Contact Points
The most common failure point on any trailer deck is the interface where the wood meets the steel cross-members. Moisture gets trapped here, creating a “poultice” that accelerates rust. To combat this, I use a technique borrowed from vintage shipwrights: I apply a thin layer of “bituminous” tape or a heavy-duty grease to the top of the steel flanges before laying the boards down.
This creates a moisture barrier that prevents the wood from “wicking” water directly onto the metal. It also acts as a vibration dampener, reducing the “chatter” of the boards as you drive. In the world of machine restoration, we call this “way lubrication”—ensuring that two surfaces can coexist without destroying one another through friction or chemistry.
Final Inspection and Load Testing the New Surface
Once the last bolt is torqued—I usually aim for 25 to 30 lb-ft for a 3/8-inch Grade 5 bolt—the project isn’t finished until it is verified. I use a 4-foot straightedge to check for “high spots” across the deck. If I find a board that is proud of the others, I use a hand plane to bring it into alignment.
Finally, I perform a “static load test.” I place a known heavy weight—usually my 1,200-pound rotary table—in the center of the deck and check for deflection. A well-restored trailer deck should show almost zero visible flex. This gives me the confidence to head out to a scrap yard or an estate sale, knowing that whatever piece of mechanical history I find, I have a safe, precise platform to bring it home.
Actionable Framework for Trailer Deck Restoration
- Preparation (Day 1): Strip the old wood, grind off rusted bolt heads, and perform the “hammer test” on the frame rails.
- Metal Reclamation (Day 2-3): Apply rust converters or perform localized electrolysis. Prime the frame with a high-zinc cold galvanizing spray.
- Material Sourcing (Day 4): Procure White Oak or Apitong. Ensure the moisture content is below 15% to prevent excessive shrinking.
- Layout and Drilling (Day 5): Use transfer punches for hole alignment. Maintain 1/8-inch expansion gaps between boards.
- Final Assembly (Day 6): Install Grade 8 hardware with anti-seize. Torque in a “star pattern” similar to a cylinder head to ensure even tension across the frame.
Frequently Asked Questions
Why shouldn’t I just use plywood for a quick fix? Plywood, even marine-grade, lacks the directional grain strength of solid timber. Under the point-load of a heavy machine (like a drill press base), the internal layers of plywood can delaminate, causing the feet of the machine to “punch through” the deck during a sudden bump.
How do I handle a frame that has “thinned out” from rust? If the steel has lost more than 20% of its original thickness, it must be reinforced. I typically weld “fish plates”—diamond-shaped steel reinforcements—over the weakened areas. This restores the structural integrity without creating a “hard spot” that could lead to stress cracks.
What is the best way to prevent the wood from rotting again? The key is breathability. Never “seal” the wood with an impermeable coating like epoxy. Instead, use a “penetrating oil” finish like linseed oil or a specialized deck oil. This allows the wood to release moisture while preventing liquid water from soaking in.
Can I use an electrolysis bath for the whole trailer? Unless you have a literal swimming pool and a massive power supply, no. However, you can use “spot electrolysis” by creating a small dam of putty around a rusted area, filling it with electrolyte, and using a portable anode. For the main frame, mechanical removal and chemical conversion are more efficient.
Why are my new carriage bolts spinning in the wood? This usually happens if the square “neck” of the carriage bolt doesn’t have a tight fit. When drilling your pilot holes, ensure the hole is the same diameter as the bolt shank, then “set” the square neck into the wood with a firm hammer blow before tightening the nut from below.
Is it worth restoring a trailer that has been sitting in a field for 20 years? As restorers, we value the “heavy iron” of the past. Older trailers often used thicker, US-made steel compared to modern “big box” store trailers. If the main C-channel or tube frame is sound, a vintage trailer is almost always worth the effort to save.
How do I align boards if the trailer frame is slightly twisted? You cannot “pull” a twist out of a frame with wood. You must first level the frame using heavy jack stands. If the twist remains, you may need to use “shims” made of rot-resistant material (like HDPE plastic) between the boards and the cross-members to create a flat loading surface.
What thread pitch should I use for the fasteners? I prefer National Coarse (UNC) for trailer decks. Fine threads (UNF) are more susceptible to “galling” and are easily compromised by road grit and vibration. A coarse thread provides more “meat” for the nut to grab onto in a high-vibration environment.
Should I paint the wood to match my machines? I strongly advise against it. Paint hides the grain, making it impossible to spot early signs of rot or stress cracking. A clear or lightly tinted oil finish is much safer for a working hauler.
How often should I check the torque on the deck bolts? Wood shrinks as it seasons. I check the torque after the first 100 miles of hauling, and then again every six months. If you can turn the nut more than a quarter-turn, the wood has compressed or shrunk, and the fastener was no longer doing its job.
(This article was written by one of our staff writers, Richard Beaumont. Visit our Meet the Team page to learn more about the author and their expertise.)