How to Organize Raw Steel Tubing Stock Safely on Racks (Fix)
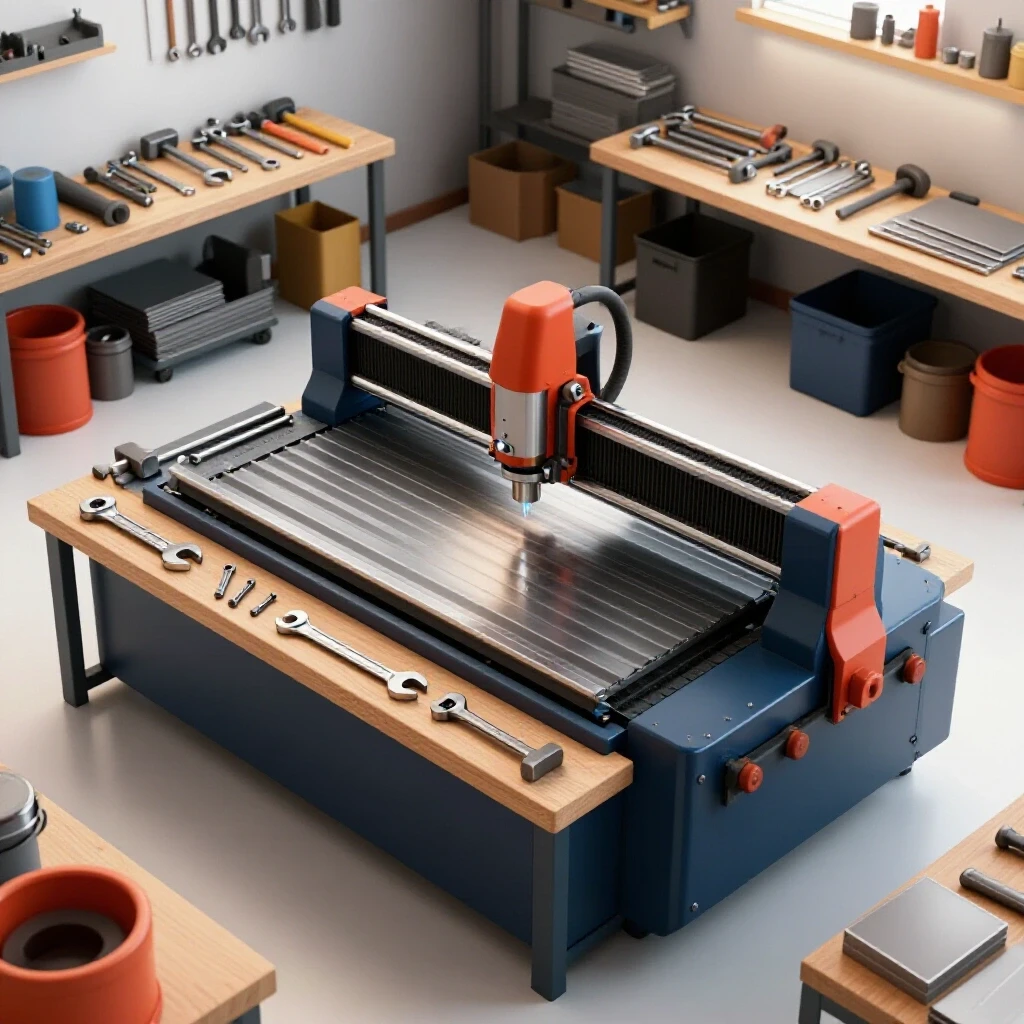
I remember the exact moment I realized my shop had outgrown its “hobby” roots. It wasn’t when I bought my first CNC plasma table or when I landed a five-figure contract. It was the Tuesday afternoon I spent twenty minutes moving three different piles of 2×2 square tubing just to find one ten-foot stick of DOM. My floor space was disappearing, my back was aching, and my production was at a standstill.
Scaling a fabrication business is more than just buying faster machines. It is about moving from a mindset of “where can I fit this?” to “where does this belong for maximum flow?” For those of us running high-output shops, the way we handle raw materials—specifically heavy steel tubing—dictates the efficiency of every subsequent step. If your material handling is a bottleneck, your expensive CNC equipment will sit idle while you hunt for stock.
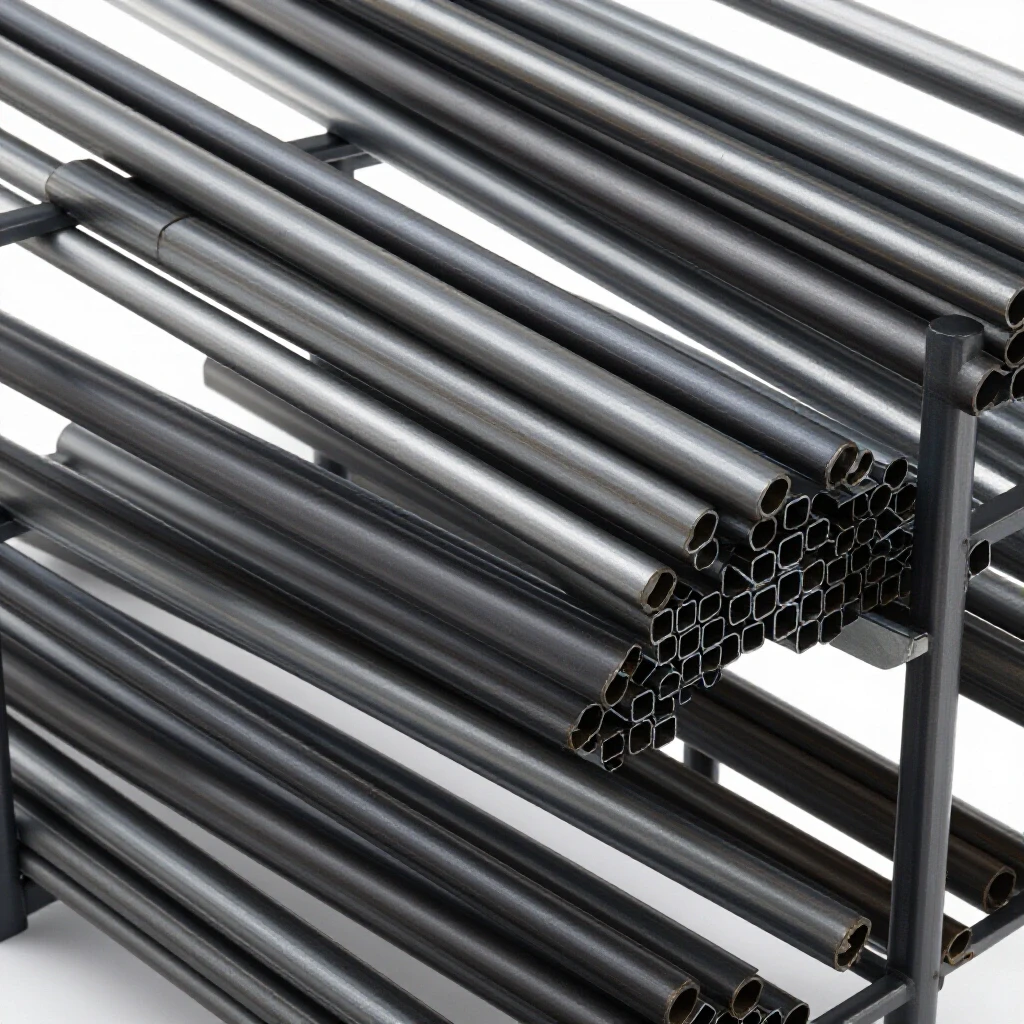
Over the last 20 years, I have transitioned my shop from a cluttered garage to a lean, semi-professional environment. I have learned that a systematic approach to storing metal stock is the foundation of a professional layout. It impacts your floor load capacity, your safety protocols, and your ability to integrate advanced automation. Let’s look at how to rebuild your workspace around a logical, safe, and efficient material management system.
Mapping Material-Flow Loops and Floor Load Capacities
A material-flow loop is the designated path raw stock takes from the delivery truck to the storage rack, the cutting station, and finally the CNC table. Understanding floor load capacity involves calculating the weight of your steel bundles to ensure your concrete slab can support the concentrated pressure of a fully loaded rack system without cracking or shifting.
When I first installed a heavy-duty cantilever rack, I didn’t think much about the slab. I just bolted it down. Six months later, I noticed a hairline crack spider-webbing out from the baseplates. Most residential or light commercial slabs are four inches thick, rated for about 3,000 to 4,000 PSI. A single rack holding 5,000 pounds of steel on four small feet creates immense point-loading.
To optimize your layout, you must map your “travel paths.” I use a simple 1:12 scale drawing of my shop floor. I mark the entry point for raw materials and the location of my primary saw. Your storage should sit directly between these two points. If you have to turn a 20-foot stick of tubing 180 degrees to get it to the saw, you are wasting time and risking injury.
- Standardize your zones: Create a 3-foot “clear zone” around all storage racks to allow for safe loading and unloading.
- Check slab integrity: Inspect for existing cracks before anchoring. Use 5/8-inch or 3/4-inch wedge anchors with a minimum 4-inch embedment.
- Calculate total weight: A single 20-foot stick of 2x2x1/4 square tubing weighs about 110 pounds. A rack holding 50 of these is supporting 5,500 pounds in a very small footprint.
| Material Type | Weight per Foot (lbs) | 20-Foot Stick Weight | Max Rack Capacity (50 Sticks) |
|---|---|---|---|
| 1.5″ x .120 Round | 1.77 | 35.4 lbs | 1,770 lbs |
| 2″ x 2″ x 1/4″ Square | 5.41 | 108.2 lbs | 5,410 lbs |
| 3″ x 3″ x 1/4″ Square | 8.81 | 176.2 lbs | 8,810 lbs |
| 4″ x 4″ x 3/8″ Square | 18.02 | 360.4 lbs | 18,020 lbs |
Structural Integrity and Load Ratings for Metal Storage
Structural integrity in a storage system refers to the rack’s ability to remain stable under maximum weight without deflection or failure. Choosing between horizontal cantilever arms and vertical “A-frame” setups depends on your stock length, the frequency of use, and the specific footprint available in your workshop layout.
For most of us, horizontal cantilever racks are the gold standard. They allow you to use a forklift or a material lift to load full bundles. However, they require significant floor space. If you are tight on room, vertical storage for shorter “drops” (remnants) or lighter tubing can save floor space, but it introduces the risk of materials tipping.
In my shop, I transitioned to a modular cantilever system. This allowed me to adjust the arm heights as my stock needs changed. One mistake I see often is the lack of “anti-roll” features. Every arm on a horizontal rack must have a removable pin or a welded lip at the end. Without these, a slight bump from a piece of equipment can send hundreds of pounds of steel sliding toward the floor.
- Horizontal Racks: Best for full 20-foot lengths and bulk bundles. Ensure arms are rated for at least 1,000 pounds each.
- Vertical Racks: Best for material under 8 feet. Use heavy-duty floor dividers to prevent the “domino effect” if one piece shifts.
- Anchoring: Never rely on gravity. Every rack must be anchored to the floor and, if possible, tied into the wall studs or structural steel of the building.
Integrating 3-Phase Power for Advanced Processing Machinery
3-phase power is a type of electrical distribution that uses three alternating currents to provide more consistent and efficient energy to heavy motors. In a fabrication shop, this is essential for running industrial cold saws, large air compressors, and CNC plasma systems that require stable voltage to maintain cut quality and motor torque.
As you scale, you will likely find that the best industrial saws and CNC components run on 3-phase power. Most home-based shops only have single-phase 240V. I faced this hurdle when I bought a high-capacity cold saw to process the tubing coming off my racks. I had two choices: pay the utility company thousands to drop a 3-phase line or install a phase converter.
I opted for a Rotary Phase Converter (RPC). An RPC uses a 3-phase motor (an idler) to generate the third leg of power. It is a workhorse but can be noisy. For more sensitive CNC electronics, a Digital Phase Converter is often better because it provides “cleaner” power with less voltage fluctuation. If your storage rack is the “start” of your line, your 3-phase equipment is the “engine” that keeps it moving.
- Rotary Phase Converters (RPC): Cost-effective, durable, and great for high-surge loads like starting a large saw motor.
- Digital Phase Converters: More expensive but highly efficient (95%+) and much quieter. Essential for high-end CNC controllers.
- Phase Balancing: Always measure the voltage between all three legs under load. A variance of more than 5% can overheat your motors.
Designing High-Volume Clean Air Filtration Systems
Clean air filtration in a shop involves the mechanical removal of fine particulate matter, such as metal dust and plasma fumes, from the environment. High-volume systems use CFM (Cubic Feet per Minute) ratings to determine how quickly the air in a specific zone can be scrubbed or exhausted to maintain OSHA-compliant air quality levels.
Once you move your tubing from the rack to the saw or the CNC plasma table, you start generating dust and fumes. In a small shop, this buildup happens fast. I used to think a simple respirator was enough, but the fine “grinder dust” gets everywhere—including into the cooling fans of your expensive CNC electronics.
For a shop processing steel tubing, you need a two-stage approach. First, source-capture at the saw or plasma table. Second, ambient air filtration for the whole room. I designed my own duct network using 6-inch rigid pipe to minimize static pressure loss. A 1,500 CFM dust collector is usually the minimum for a shop moving toward professional throughput.
- Source Capture: Use a “fume arm” or a water table for CNC plasma cutting to catch 90% of the smoke at the point of origin.
- Ambient Scrubbers: These should hang from the ceiling to cycle the air in the shop 6 to 8 times per hour.
- Duct Design: Avoid flexible ribbed hoses where possible. They create friction that kills your CFM. Use smooth-wall galvanized pipe.
| Tool Type | Recommended CFM | Duct Diameter | Filtration Level |
|---|---|---|---|
| Cold Saw / Abrasive Saw | 500 – 800 | 4″ – 5″ | 5 Micron |
| CNC Plasma Table (Dry) | 1,500 – 2,500 | 8″ – 10″ | Sub-micron / HEPA |
| General Grinding Station | 1,000 | 6″ | 1 Micron |
| Ambient Air Scrubber | 1,200 – 2,000 | N/A | Multi-stage |
CNC Plasma and Tooling Workflow Optimization
Workflow optimization is the strategic arrangement of tools and processes to reduce “non-value-added” time, such as walking, searching, or manual lifting. In a CNC environment, this means ensuring the path from the material storage rack to the gantry is short, level, and unobstructed to facilitate rapid loading and unloading.
The transition to CNC was the biggest learning curve I ever faced. It wasn’t just the software; it was the physical logistics. If your steel tubing is stored 40 feet away from the plasma table, you are burning time and energy every time you load a new piece. I eventually moved my main cantilever rack to be parallel with the long axis of my CNC table.
This layout change reduced my setup time by nearly 30%. I also integrated a simple “transfer rail” system—basically a set of heavy-duty rollers that allow me to slide a 20-foot stick of tubing directly from the rack onto the cutting bed. When you are doing “one-offs,” these seconds don’t matter. When you are doing a production run of 200 parts, they are the difference between profit and loss.
- Leveling the Line: Ensure your storage rack arms are at the same height as your saw bed or CNC table. This eliminates heavy lifting.
- Clearance Zones: Maintain at least 5 feet of clearance at both ends of your CNC table for loading full lengths of tubing.
- Tooling Proximity: Keep your consumables (nozzles, electrodes, saw blades) in a cabinet within arm’s reach of the machine, not across the shop.
Implementation and Safety Protocols for Material Handling
Safety protocols are a set of standardized procedures designed to prevent accidents during the handling and storage of heavy materials. This includes regular inspections of rack hardware, enforcing weight limits, and ensuring that all staff are trained in proper lifting and loading techniques for long-form steel stock.
I have seen a rack fail exactly once, and that was enough. A fellow fabricator had overloaded the top tier of a homemade rack. Over time, the welds fatigued. One morning, the whole thing just folded. Thankfully, no one was under it. This is why I advocate for commercially engineered racks or, at the very least, over-engineered DIY versions that follow industrial standards.
Your safety routine should be as habitual as your morning coffee. Every Monday morning, I do a “walk-around.” I check the floor anchors for tightness and look for any bowing in the horizontal arms. If an arm is deflected by more than a few degrees, it is overloaded or fatigued and needs to be replaced immediately.
- Load Labeling: Clearly stencil the maximum weight capacity on every level of your storage racks. Never assume you will remember.
- Visual Checks: Look for “crusty” paint at weld joints on your racks; this is a sign of metal fatigue or stretching.
- Safe Retrieval: Use a “buddy system” or a mechanical lift for anything over 50 pounds or longer than 10 feet. The leverage of a long tube can easily overpower a single person.
Building a Scalable Foundation
Moving from a hobby setup to a semi-professional operation is a marathon, not a sprint. It requires a hard look at the “unsexy” parts of fabrication—the floor layout, the electrical load, and how you store your raw steel. By organizing your material stock with a focus on safety and flow, you aren’t just cleaning up your shop; you are building a platform for growth.
My shop is far from perfect, but it is efficient. Every piece of tubing has a home, every machine has the power it needs, and the air stays clear enough to see from one end to the other. When you stop fighting your workspace, you can start focusing on the craft and the customers that make the business worth running.
Next steps for your shop: 1. Measure your current floor space and identify the “dead zones” where material piles up. 2. Audit your electrical panel to see if you have the overhead for a 3-phase converter. 3. Sketch a linear flow pattern that moves material from the rack to the saw to the CNC table in a straight line.
FAQ: Managing Steel Stock and Shop Efficiency
How do I know if my concrete floor can handle a heavy steel rack? Most professional shops have a 4-inch to 6-inch reinforced slab. A 4-inch slab can generally handle 3,000 PSI. To be safe, calculate the total weight of your rack and material, then divide it by the total square inches of the baseplates. If the pressure exceeds 500 PSI per baseplate, consider using larger “spreader plates” under the rack feet to distribute the load.
Should I store my tubing horizontally or vertically? Horizontal storage is safer and better for bulk quantities and long lengths (20 feet). It allows for mechanical loading. Vertical storage is a great “space-saver” for remnants and light-gauge tubing but requires a very secure “A-frame” or wall-tie system to prevent tipping.
What is the best way to prevent steel tubing from rolling off a rack? Every horizontal arm should have an “anti-roll” pin. This is usually a 1/2-inch steel pin that drops into a hole at the end of the arm. Some fabricators weld a 2-inch “lip” at the end of the arm, which is also effective but can make sliding material off more difficult.
Do I really need a 3-phase converter for a small shop? If you plan to use industrial-grade cold saws, ironworkers, or high-end CNC plasma systems, yes. Most “pro” equipment is built for 3-phase because it is more efficient and the motors last longer. A Rotary Phase Converter is a solid, mid-range investment for this transition.
How much CFM do I need for a CNC plasma table? For a standard 4×4 or 4×8 table, you should aim for 1,500 to 2,000 CFM if you are using a dry downdraft system. If you use a water table, your CFM requirements drop significantly because the water traps most of the heavy particulate.
How often should I inspect my material racks? I recommend a formal inspection every six months and a quick visual check every week. Look for loose floor anchors, cracked welds, or arms that no longer sit level. If you live in a seismic zone, inspections should be more frequent.
What is the most common mistake when setting up a material rack? Placing the rack in a “dead end.” If you put your 20-foot tubing rack in a corner where you can’t easily maneuver a full stick out, you will spend more time “jockeying” material than cutting it. Always ensure you have a clear “exit path” that leads directly to your primary cutting station.
How do I balance the voltage on a rotary phase converter? You use capacitors to “tune” the third leg of power. Most high-quality converters come pre-balanced, but you should check the voltage with a multimeter while your machines are running. You want the three legs to be within 5% of each other to prevent motor overheating.
Can I build my own cantilever racks? Yes, many fabricators do. However, you must use structural-grade steel (like I-beams or heavy C-channel) and ensure your welds are full-penetration. If you are storing thousands of pounds, buying a pre-engineered, load-rated rack is often the safer and more professional choice for insurance and liability reasons.
What is “static pressure” in a dust collection system? Static pressure is the resistance the air faces as it moves through your ducts. Long runs, flexible hoses, and sharp 90-degree elbows increase static pressure, which reduces your actual CFM at the tool. Use rigid pipe and “long-sweep” elbows to keep your air flowing efficiently.
(This article was written by one of our staff writers, Edward Sinclair. Visit our Meet the Team page to learn more about the author and their expertise.)