How to Safely Cut Steel With Abrasive Chop Saws (DIY Guide)
The first time I pulled the trigger on a 14-inch abrasive saw, the shower of sparks and the sudden roar of the motor made me flinch. I was a beginner, much like many of you, trying to figure out how to turn a long stick of square tubing into a clean, 90-degree frame. My first few cuts were jagged, out of square, and left the metal glowing a deep, angry purple. I realized then that mastering metal fabrication isn’t just about owning the tools; it is about developing a deep, physical connection with the machinery and understanding how the material responds to high-speed friction.
Over the last 12 years, I have tracked my progression from those shaky first attempts to producing industrial-grade components. I have learned that the “jumpy” feeling in your hands when the blade touches the steel is a lack of muscle memory, not a lack of talent. By breaking down the mechanics of the cut and using structured practice drills, you can move past the plateau of “good enough” and start achieving professional results in your home shop.
Mastering the Physics of High-Speed Friction Cutting
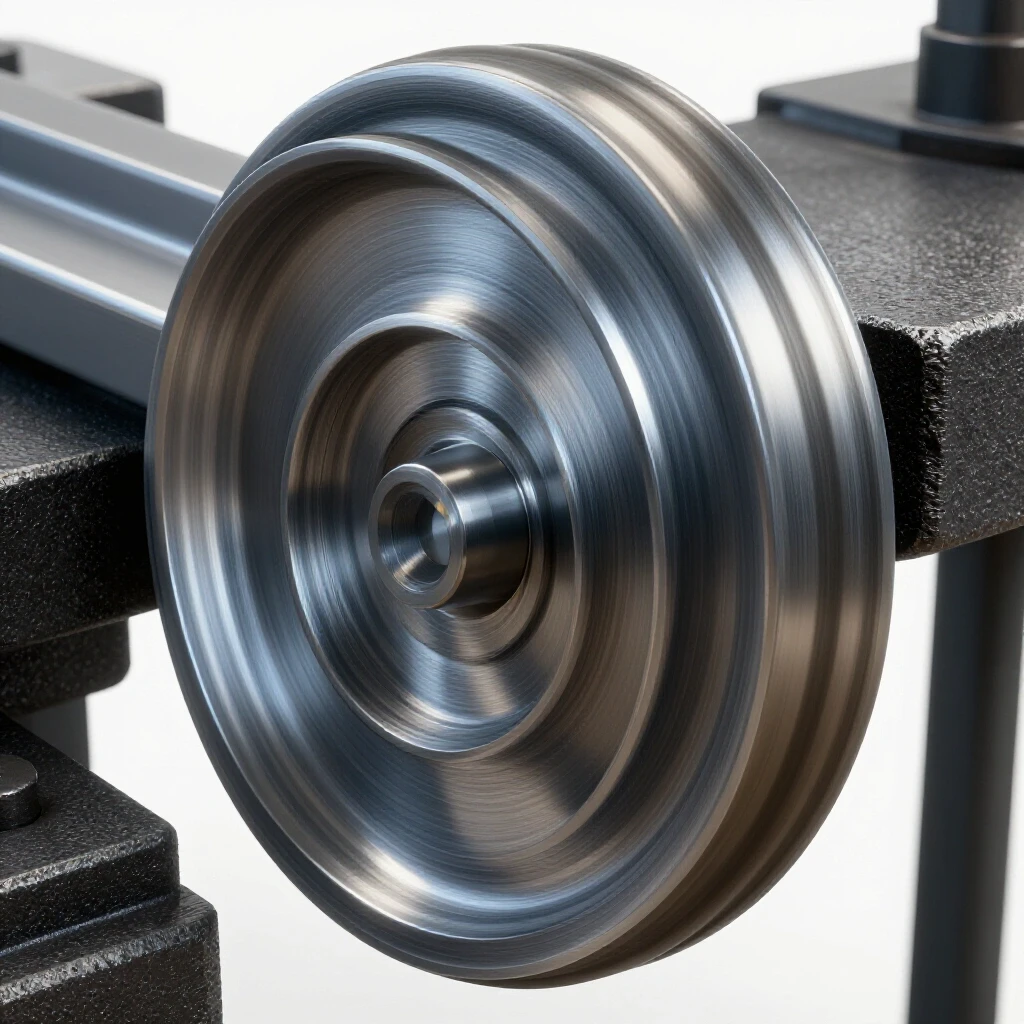
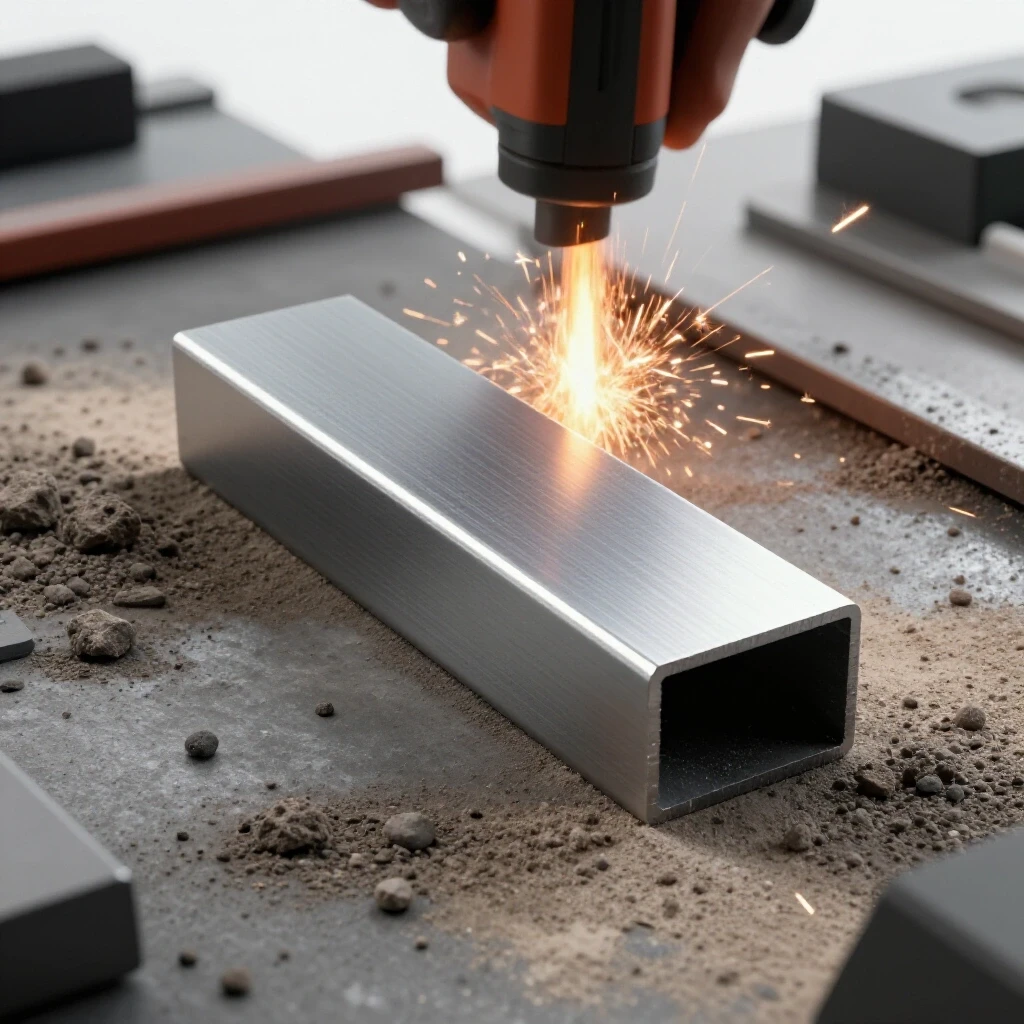
Friction cutting involves using a resin-bonded disc spinning at high speeds to grind away metal rather than carving it with teeth. This process generates intense heat and requires a specific physical approach to ensure the disc tracks straight through the workpiece.
Understanding the “kerf,” or the width of the material removed by the disc, is your first step toward precision. A standard abrasive disc is usually about 3/32 to 1/8 of an inch thick. If you do not account for this thickness in your layout, your finished parts will always be short. In my early logs, I noted that I consistently lost 1/8 of an inch on every cut until I started marking my lines with a “cut side” and a “keep side.”
| Feature | Description | Impact on Technique |
|---|---|---|
| Kerf Width | 3/32″ to 1/8″ | Requires offsetting the blade to the waste side of the line. |
| Disc RPM | 3,800 to 4,000 RPM | High speed creates gyroscopic stability but increases spark volume. |
| Bond Type | Resinoid | The disc is designed to wear away, exposing fresh grit. |
| Burr Formation | Raised metal edge | Requires post-cut cleanup with a file or grinder. |
Key Takeaway: Treat the abrasive saw as a high-speed grinder that happens to move in a straight line. Respecting the kerf is the foundation of all layout work.
Establishing Proper Body Mechanics and Shop Safety
Safe operation begins with how you stand and how you protect your body from the unique hazards of hot metal dust and sparks. In my vocational training sessions, I emphasize that your stance dictates your control over the handle.
You should stand slightly to the left or right of the “line of fire.” This is the direct path where a disc would travel if it were to shatter. Never lean directly over the saw. I use a staggered stance, with one foot forward to provide a stable base. This allows me to use my shoulder and core to apply steady downward pressure rather than just relying on my wrist, which can lead to shaky, inconsistent cuts.
- Eye Protection: Use a full-face shield over safety glasses. Abrasive dust is fine and can easily bypass standard glasses.
- Hearing Protection: These saws often exceed 100 decibels. Use earplugs or muffs to prevent long-term hearing loss.
- Respiratory Gear: Use a P100 respirator. The resin in the discs and the metal dust are not things you want in your lungs.
- Clothing: Wear natural fibers like cotton or leather. Synthetic fabrics can melt to your skin when hit by hot sparks.
Key Takeaway: Your physical positioning is your first line of defense. A stable stance leads to a stable cut.
Work-Holding Strategies to Prevent Kickback
The most dangerous moment in a cut is when the metal moves or the disc binds. Secure work-holding is non-negotiable for building consistent fabrication habits.
Most saws come with a built-in vise. However, I often see beginners just “snug” the vise. You need to lock it down firmly. If you are cutting a short piece that doesn’t reach the vise, use a spacer block of the same thickness on the opposite side to keep the vise jaws parallel. This prevents the material from “spitting out” under the pressure of the disc.
Optimizing the Fence Angle
The fence is the backstop that determines the angle of your cut. I recommend checking the squareness of your fence every single time you start a new project. I once spent three hours welding a table frame only to realize every joint was off by two degrees because my saw fence had vibrated loose. Use a machinist square to verify the 90-degree relationship between the blade and the fence.
Key Takeaway: Never trust the stamped scales on the saw base. Always verify your angles with a dedicated square before tightening the vise.
Developing Muscle Memory for Feed Pressure
One of the biggest hurdles in learning metal fabrication is finding the “sweet spot” for how hard to push. If you push too light, the disc will glaze over and stop cutting. If you push too hard, you will bog down the motor and cause the disc to flex, resulting in a crooked cut.
I track my feed rate by listening to the motor. You want a consistent, high-pitched whine. If the pitch drops significantly, you are pushing too hard. I tell my students to think of it like a “constant bite.” You should see a steady stream of bright yellow sparks. If the sparks turn dull red or stop, you need to clear the disc by lifting it slightly and then reapplying pressure.
The Feedback Loop of Sound and Sight
- Start the motor: Let it reach full speed before touching the metal.
- Initial contact: Lower the disc until it just kisses the steel.
- Establish the groove: Apply light pressure until a small channel is formed.
- Steady state: Increase pressure until the motor “sings” at a consistent note.
- The finish: Lighten the pressure as you reach the bottom of the cut to prevent a large burr.
Key Takeaway: Use your ears as much as your eyes. The motor’s pitch is your most accurate gauge for correct feed pressure.
Managing Thermal Input and Material Deformation
Steel expands when it gets hot. When you are making multiple cuts on a single piece of tube or bar stock, the heat can actually cause the metal to bow or change length.
In my practice logs, I found that cutting 2-inch square tubing with a 1/8-inch wall thickness generates enough heat to “blue” the steel up to three inches away from the cut. This heat can ruin the temper of the metal or make it difficult to handle. To manage this, I implement “cool-down intervals.” If I am making ten identical cuts, I cut two, then move to a different task for five minutes. This keeps the tool and the material from overheating.
| Material Thickness | Recommended Cut Cycle | Cooling Method |
|---|---|---|
| 1/8″ (Thin Wall) | 3-4 cuts consecutively | Air cool |
| 1/4″ (Plate/Bar) | 1-2 cuts consecutively | Air cool / Heat sink |
| 3/8″+ (Heavy Bar) | 1 cut, then 5 min rest | Heat sink (thick steel table) |
Key Takeaway: Heat is the enemy of precision. If the metal is too hot to touch with a gloved hand, it is time to take a break.
Precision Layout and the “Cut Line” Habit
To move from beginner to intermediate, you must stop “eyeballing” the blade. I use a systematic layout method that ensures every piece is identical.
First, use a silver streak pencil or a fine-tip scribe. Thick soapstone lines are too wide for precision work. Mark your measurement, then use a square to draw the line across the top and down the front face of the material. When you line up the saw, lower the blade (with the motor off) and align the outer edge of the abrasive grit with the waste side of your line.
Practice Drill: The “Salami Slice”
To build your hand-eye coordination, take a scrap piece of 1-inch square tubing. Try to cut off the thinnest possible “wafer” or slice. Aim for a slice that is less than 1/16 of an inch thick. This drill teaches you exactly where your blade sits in relation to your mark and helps you master the “initial bite” of the disc without it skipping across the surface.
Key Takeaway: Consistent layout habits are what separate a “hobbyist” from a “fabricator.” Accuracy starts with the mark, not the cut.
Troubleshooting Common Technique Plateaus
If you find your cuts are consistently “walking” or coming out crooked, you are likely experiencing disc deflection. This happens when the disc bends under pressure.
- Problem: The cut is square at the top but angled at the bottom.
- Cause: Too much downward pressure.
- Fix: Lighten your feed rate and let the grit do the work.
- Problem: The disc is “glazing” (turning smooth and not cutting).
- Cause: Not enough pressure or cutting very thin material.
- Fix: Briefly cut into a piece of scrap heavy-duty angle iron to “dress” the disc and expose new grit.
- Problem: Excessive burring on the bottom of the cut.
- Cause: Pushing too hard at the very end of the stroke.
- Fix: Ease up on the pressure as the disc breaks through the bottom wall of the steel.
Key Takeaway: Most errors in friction cutting come from trying to force the tool to work faster than it is designed to. Patience produces precision.
Tracking Your Progression and Skill Metrics
I am a firm believer in data. If you don’t measure your progress, you can’t see the plateaus you are breaking through. I keep a simple logbook in my shop to track my performance with different materials.
When I was learning, I would time my cuts and then measure the squareness of the result with a digital protractor. This allowed me to see that as I got faster, my accuracy initially dropped, then leveled out as my muscle memory improved. You can use a similar template to track your own growth.
Sample Practice Log Template
- Date: [MM/DD/YY]
- Material: [e.g., 2″ x 2″ x 1/8″ Square Tube]
- Goal: [e.g., 5 identical 12″ pieces]
- Measured Accuracy: [e.g., +/- 1/32″, 90.5 degrees]
- Disc Condition: [New / Used / Worn]
- Notes on Feel: [e.g., “Motor bogged on 3rd cut, needed more break time.”]
Key Takeaway: Documenting your shop time turns “tinkering” into “training.” Use your logs to identify which materials give you the most trouble.
Advanced Maintenance for Long-Term Consistency
A tool that is out of alignment will never produce professional results. Every 20 to 30 hours of shop time, I perform a deep-clean and alignment check on my saw.
Metal dust is conductive and abrasive. It gets into the motor brushes and the pivot points of the saw arm. Use compressed air to blow out the motor housing regularly. Check the pivot pin for any “slop” or side-to-side play. If the arm can wiggle left and right, your cuts will never be straight. Some saws allow you to tighten the pivot bolt to remove this play.
- Disc Inspection: Before every session, run your finger along the edge of the disc (unplugged!). If you feel any chips or deep gouges, throw it away. A damaged disc can explode at 4,000 RPM.
- Vise Lubrication: Keep the lead screw of your vise clean and lightly oiled. A sticking vise leads to poor work-holding.
- Spark Deflector: Ensure the spark guard is adjusted to direct the stream away from you and any flammable materials.
Key Takeaway: A well-maintained tool responds predictably to your input. Consistency in your equipment leads to consistency in your skills.
Conclusion: The Path to Professional Fabrication
Building your skills in metalworking is a marathon, not a sprint. The frustration you feel when a cut goes crooked is actually a sign that your “eye” is becoming more refined—you are noticing errors that you might have missed a month ago. By focusing on your stance, listening to the motor, and tracking your metrics, you are building the neurological pathways required for high-level fabrication.
Don’t be afraid of the sparks. Instead, learn to read them. They are the visual feedback of your progress. Start with the “salami slice” drills, keep your logbook updated, and respect the physics of the tool. Over time, that “jumpy” feeling will be replaced by a steady, confident hand that can produce clean, square cuts every single time you pull the trigger.
FAQ: Common Questions on Friction Sawing Steel
How do I know when an abrasive disc needs to be replaced? You should replace the disc when its diameter has shrunk so much that it can no longer cut completely through your workpiece, or if you notice any cracks, chips, or significant “wobble” during startup. I typically replace mine once they reach about 9 or 10 inches in diameter for a 14-inch saw.
Why does my saw keep tripping the circuit breaker? This usually happens because you are applying too much feed pressure, causing the motor to draw excessive amperage. It can also happen if you are using a thin or very long extension cord. Always use a heavy-duty (12-gauge) cord and listen to the motor to ensure you aren’t bogging it down.
Can I use these saws to cut solid steel round bar? Yes, but you must be careful. Solid bar stock generates much more heat than tubing. Use a “pulsing” technique where you apply pressure for 5-10 seconds, then lift slightly to let the disc and the metal cool for a moment. Never try to power through a 2-inch solid bar in one go.
What is the best way to remove the “burr” left by the saw? A bench grinder or a handheld angle grinder with a flap disc is the fastest way. For internal burrs on tubing, a half-round file or a dedicated deburring tool works best. Always remove the burr immediately after the cut so you don’t cut your hands on the sharp edges during layout.
Is it normal for the disc to smell like it’s burning? A slight “sulfur” or “burning rubber” smell is normal for resin-bonded discs as they wear. However, if you see smoke coming from the motor housing, stop immediately. That indicates the motor is overheating, likely from too much pressure or a lack of airflow.
How do I make a 45-degree miter cut accurately? Adjust the fence to the 45-degree mark, but verify it with a combination square or a digital angle finder. When cutting miters, the disc has a higher tendency to “walk” or flex because it hits the metal at an angle. Use very light initial pressure to “seat” the cut before applying full feed pressure.
Can I use a wood-cutting miter saw with an abrasive disc? No. Wood saws generally spin at much higher RPMs than abrasive saws, which can cause the disc to shatter. Additionally, wood saws are made of plastic and aluminum, which can melt or catch fire from the hot sparks generated by steel cutting. Always use a dedicated metal-cutting saw.
What should I do if the disc starts vibrating excessively? Stop the saw immediately. Check if the disc is centered on the arbor or if the blotter (the paper washer) is torn. Also, check for any missing chunks of grit. A vibrating disc is a sign of an unbalanced tool and can lead to catastrophic failure.
(This article was written by one of our staff writers, Thomas Langley. Visit our Meet the Team page to learn more about the author and their expertise.)