How to Prepare Test Plates for Welding Certification (Guide)
When I first started out in my small garage shop, I thought the most important part of metalworking was the moment the sparks flew. I spent hours trying to force a clean bead onto scraps of rusty angle iron I found in the scrap bin. No matter how much I practiced, my results were erratic. One day the metal would fuse beautifully, and the next, it would pop, sputter, and leave me with a mess of holes and slag. It took me nearly two years to realize that my struggle wasn’t just about my hand-eye coordination; it was about the metal itself. I was failing because I hadn’t mastered the art of preparing my workpieces.
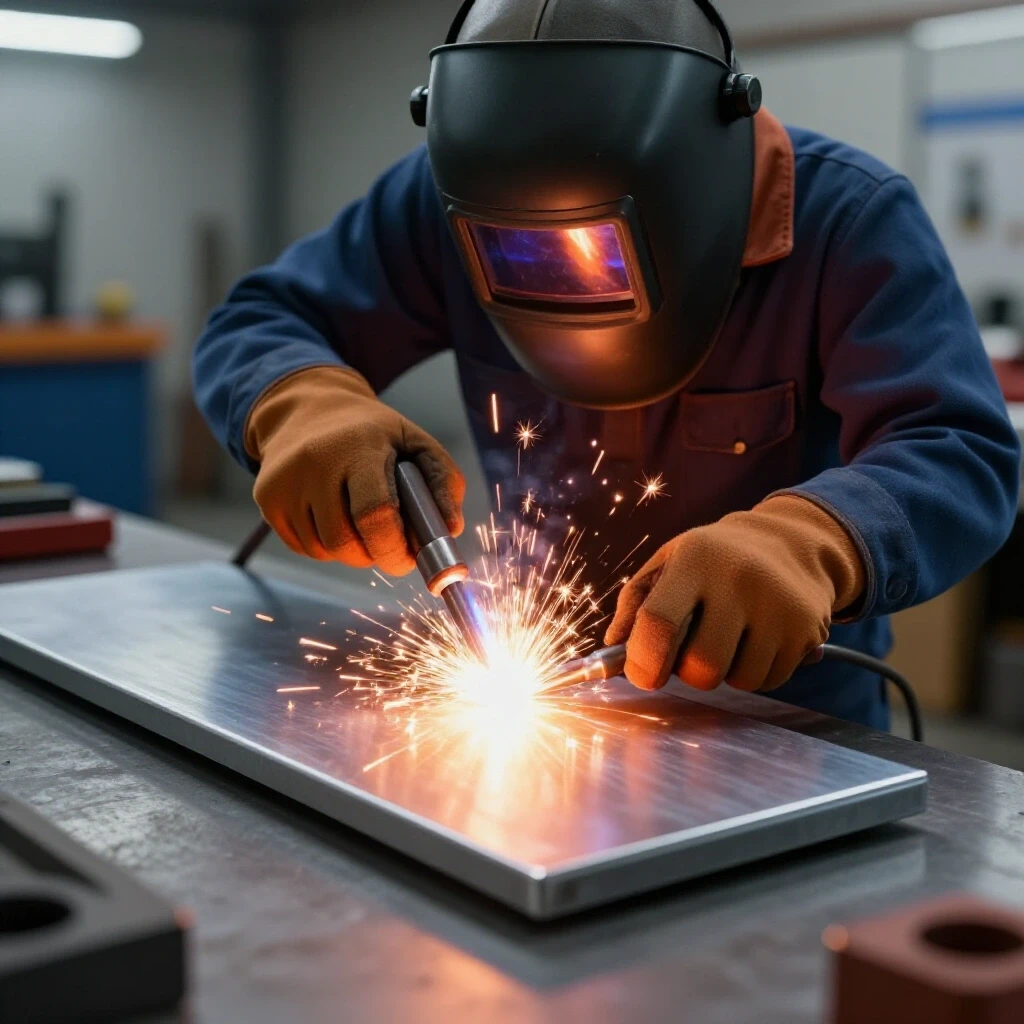
As a self-taught fabricator, I had to learn the hard way that the quality of your finished work is decided long before you ever pick up a torch. If your plates aren’t cut straight, cleaned to a mirror finish, and beveled with precision, you are fighting an uphill battle. In my vocational teaching, I tell my students that 90% of a high-quality result happens during the preparation phase. By focusing on the physical mechanics of cutting, grinding, and fitting, you create a foundation that allows your technical skills to actually shine. This guide is about building that foundation through structured, repeatable steps.
Selecting the Right Material for Skill Development
Choosing the correct metal stock is the first step in creating a controlled environment for your practice. For most structural training, A36 mild steel is the industry standard because it is predictable, affordable, and reacts consistently to heat. Using standardized thicknesses like 3/8-inch or 1/4-inch allows you to build a baseline for how metal behaves under stress.
When you are looking to improve your metal welding practice guide, you must start with clean, known material. I always recommend purchasing “new” hot-rolled steel from a local supplier rather than relying on salvaged scrap. Scrap metal often has unknown coatings, internal fatigue, or heavy pitting that can mask your actual progress. If you start with a consistent 3/8-inch thick plate, you can accurately measure how your preparation affects the final outcome.
| Material Type | Common Thickness | Best Use Case | Prep Difficulty |
|---|---|---|---|
| A36 Mild Steel | 1/4″ (6.4mm) | Beginner lap and T-joints | Low |
| A36 Mild Steel | 3/8″ (9.5mm) | Intermediate V-groove prep | Medium |
| A36 Mild Steel | 1/2″ (12.7mm) | Advanced multi-pass prep | High |
I remember a student who spent three weeks struggling with “porosity”—tiny holes in the metal—only to realize he was practicing on an old galvanized gate post. The zinc coating was gassing out and ruining his work. Once we switched him to clean A36 plate, his consistency improved overnight. This is why material selection is the bedrock of learning metal fabrication.
Precision Cutting and Squaring Your Practice Plates
Creating uniform samples requires that every piece of metal is cut to the exact same dimensions. If one plate is slightly longer or the edge isn’t perfectly square, your fit-up will be uneven, leading to inconsistent results. Mastering the use of a horizontal bandsaw or a steady hand with an angle grinder is a prerequisite for high-level work.
Standard practice plates for many vocational drills are typically 6 or 7 inches long and 3 inches wide. When you cut these, you must ensure the edges are at a perfect 90-degree angle to the face of the plate. I use a machinist square to check every cut. If the cut is off by even a few degrees, your joint geometry will change from one end of the plate to the other. This creates a “variable” that makes it impossible to measure your progress objectively.
- Use a fine-tooth blade (10-14 TPI) for thinner plates to prevent snagging.
- Always deburr the edges immediately after cutting to prevent cuts to your hands and to ensure a flush fit.
- Mark your cut lines with a carbide scriber rather than a thick soapstone for higher accuracy.
Establishing the Clean Zone for Maximum Consistency
Surface contamination is the enemy of any thermal joining process. Mill scale, which is the dark, flaky outer layer on hot-rolled steel, is an insulator that interferes with electrical and thermal transfer. To build a proper welding technique progression, you must remove this scale until you reach “bright metal”—steel that looks like a mirror.
The “clean zone” should extend at least one inch back from the edge where the joint will be formed. This isn’t just about the top surface; you must also clean the vertical face of the cut and the backside of the plate. Any oil, rust, or scale left behind will be drawn into the joint, causing defects that have nothing to do with your hand movement. I use a 36-grit flapper disc for the heavy lifting and follow up with a scotch-brite pad for a smooth finish.
Why Surface Prep Dictates Success
A clean surface ensures that the heat is distributed evenly across the joint. When I was refining my own skills, I tracked my “fail rate” and found that 60% of my errors occurred when I tried to save time by not cleaning the back of the plates. The heat would pull contaminants from the underside into the root of the joint.
- Mechanical Cleaning: Use a grinder to remove mill scale until the steel is shiny.
- Chemical Cleaning: Use a degreaser like acetone to remove any residual oils or fingerprints.
- Edge Squaring: Ensure the vertical face is smooth and free of saw marks.
Mastering the Bevel: Creating the V-Groove
For thicker materials, a square edge is not enough to allow for full-depth fusion. You must create a bevel, which is a slanted edge that, when joined with another beveled plate, forms a “V” shape. This allows you to reach the very bottom of the joint during your practice sessions.
The industry standard for these samples is usually a 37.5-degree angle on each plate, creating a total included angle of 75 degrees. Achieving this angle consistently by hand is one of the most difficult trade school practice drills. I recommend using a dedicated beveling tool or a grinding jig to ensure the angle is uniform across the entire 7-inch length of the plate.
The Importance of the Root Face (Land)
When you bevel a plate, you don’t grind it to a sharp “knife edge.” Instead, you leave a small flat section at the very bottom called the root face, or “land.” This land acts as a heat sink and prevents the bottom of the joint from melting away too quickly. A typical land is about 3/32 of an inch thick. If your land is inconsistent, the metal will behave differently as you move along the joint, leading to frustrating blow-throughs or lack of penetration.
- Mark a line 1/16″ or 3/32″ from the bottom edge of the plate face.
- Grind the bevel down until it just touches that line.
- Use a protractor to verify the 37.5-degree angle.
- Ensure the land is the same thickness from the start of the plate to the end.
Fixturing and Setting the Root Opening
Once your plates are cut, cleaned, and beveled, you must lock them into position. This process, known as fixturing, ensures the plates do not move or warp as heat is applied. The gap between the two plates, called the root opening, is a critical metric you must track to ensure your practice remains standardized.
For a 3/8-inch plate, a root opening of 1/8-inch is common. I use a “spacer” (like a 1/8-inch drill bit or a piece of scrap) to set this distance. If the gap is too narrow, you won’t get deep enough; if it’s too wide, you’ll struggle to bridge the distance. Consistency here is key to mastering torch control because it removes the guesswork from your physical movements.
| Joint Metric | Standard Dimension | Tolerance |
|---|---|---|
| Root Opening (Gap) | 1/8″ (3.2mm) | +/- 1/32″ |
| Root Face (Land) | 3/32″ (2.4mm) | +/- 1/64″ |
| Bevel Angle | 37.5 Degrees | +/- 2.5 Degrees |
| Plate Length | 7″ (178mm) | +/- 1/8″ |
Tack Welding and Alignment Strategies
Tack welds are small, temporary spots of fusion that hold your plates together. While they seem simple, poor tacking can ruin hours of preparation. You must ensure the plates are perfectly “flush”—meaning they sit on the same horizontal plane. If one plate is higher than the other (a condition called “high-low”), the heat will distribute unevenly.
I always place my tacks on the ends of the plates or on the backside if I’m using a backing bar. A common mistake is making tacks too large, which creates a speed bump in your practice run. Keep them small, strong, and clean. If you are using a backing bar (a flat strip of steel placed behind the gap), ensure it is clamped tightly against the plates with no air gaps. Any space between the plate and the backing bar will trap air and cause inconsistencies.
- Use heavy-duty C-clamps or F-clamps to hold the plates against a flat work surface.
- Check the root opening at both ends after the first tack; the metal will “pull” as it cools.
- Ensure the plates are parallel and not “v-ing” out at the ends.
Tracking Your Preparation Metrics
To overcome plateaus, you need to treat your preparation like a science experiment. I encourage my students to keep a log of their setup times and dimensional accuracy. If it takes you 45 minutes to prep a pair of plates, your goal should be to get that down to 20 minutes while maintaining the same level of precision.
When you have a bad practice session, look back at your prep log. Did you rush the cleaning? Was the land a bit too thin on the left side? By measuring these factors, you can stop blaming your “hands” for errors that were actually caused by your “setup.” This objective measurement is the only way to move from a beginner to an intermediate level of skill.
Sample Practice Log Template
- Material: A36 Mild Steel, 3/8″ thickness.
- Cleaning Method: 36-grit flap disc, acetone wipe.
- Bevel Angle: Checked with protractor (Target 37.5°).
- Root Face (Land): Measured with calipers (Target 3/32″).
- Root Opening: Set with 1/8″ spacer.
- Alignment Check: Zero “high-low” detected with straight edge.
Common Pitfalls in Plate Preparation
Even with the best intentions, small errors can creep into your workflow. One of the most common issues is “rounding” the edges of the land during the cleaning process. If you use a heavy grinding wheel on the land, you might accidentally taper it, making it thinner in some spots. Always use a hand file for the final touch-up on the root face to keep it perfectly flat and uniform.
Another mistake is neglecting the “mill scale” on the back of the plate. Many beginners only clean the beveled side. However, the heat from the process will pull the oxygen and impurities from the backside scale into the joint. I’ve seen beautiful work ruined because the fabricator didn’t spend 30 seconds cleaning the underside of the steel.
- Over-grinding: Taking too much metal off and making the plates too small.
- Inconsistent Bevels: Changing the angle halfway down the plate.
- Poor Tacking: Allowing the plates to “draw” together, closing the root gap.
Advancing to Complex Joint Prep
Once you are comfortable with flat V-groove plates, you should progress to T-joints and lap joints. These require different preparation techniques. For a T-joint, you don’t usually bevel the metal, but you must ensure the vertical member is perfectly square to the horizontal base. Any tilt will change the “fillet” geometry and make it harder to maintain a consistent travel speed.
For lap joints, the main challenge is ensuring the plates are clamped tightly together with no gap between them. An air gap in a lap joint acts as an insulator and can cause the top edge to melt away before the bottom plate even gets hot. Preparation for these joints is less about grinding and more about cleaning the “mating surfaces” where the two plates touch.
Final Review and Quality Checklist
Before you begin any practice session, perform a final “walk-around” of your prepared sample. This is the moment to catch errors before they become permanent. I use a simple “Go/No-Go” checklist to ensure every plate meets my personal standards for quality.
- Visual Shine: Is the metal bright and free of all dark scale within 1 inch of the joint?
- Angle Check: Does the bevel look uniform, or are there “waves” in the grind?
- Land Measurement: Is the root face exactly 3/32″ from top to bottom?
- Gap Consistency: Can I slide my 1/8″ spacer through the entire length of the gap?
- Tack Integrity: Are the tacks small and placed in a way that won’t interfere with the main run?
By following these steps, you are not just “getting ready” to work; you are performing the most critical part of the job. Professional-grade results are built on a foundation of boring, repetitive, and highly precise preparation. When you master the physical mechanics of the setup, you remove the variables that cause frustration, allowing you to focus entirely on your hand-eye coordination and muscle memory.
Frequently Asked Questions
Why is mill scale so bad for my practice sessions?
Mill scale is a layer of iron oxide that forms during the hot-rolling process at the steel mill. It has a much higher melting point than the base steel and acts as an electrical insulator. If you don’t remove it, your arc will be unstable, and the scale can become trapped in the cooling metal, creating weak spots and brittle areas.
Can I use an oxy-acetylene torch to cut my practice plates?
Yes, but it requires much more cleanup. A torch cut leaves behind “slag” and a hardened edge that can be difficult to grind. If you use a torch, you must grind away at least 1/8-inch of the cut edge to reach the unaffected base metal. For beginners, a mechanical cut from a saw is much more consistent.
What is “high-low” and why does it matter?
“High-low” refers to a misalignment where one plate sits higher than the other in the joint. This is a problem because the heat will naturally gravitate toward the “high” edge, causing it to melt faster. This leads to an uneven bead and poor fusion on the “low” side. Proper clamping and tacking are the only ways to prevent this.
How do I stop my plates from warping during the setup?
Metal expands when heated and contracts as it cools. When you place a tack weld, the cooling metal will pull the plates together. To counter this, you can “preset” your plates by gapping them slightly wider at the end you aren’t tacking yet, or by using heavy-duty clamps and a thick backing plate to soak up the heat.
Is a 37.5-degree bevel really necessary for 3/8-inch plate?
While you can fuse thinner metal without a bevel, 3/8-inch is thick enough that you cannot reach the center of the joint without removing some material. The 37.5-degree angle is a standard that provides enough room for your tools to reach the “root” (the bottom) while not requiring an excessive amount of filler metal to fill the “V.”
Should I clean my plates with water after grinding?
No. Water can cause flash rust to form almost instantly. If you need to clean off dust or oils, use a fast-evaporating solvent like acetone or a dedicated brake cleaner (non-chlorinated). Always ensure the solvent has completely evaporated before you begin your work.
How thick should my tack welds be?
Your tacks should be just large enough to hold the plates together against the stress of heat. Usually, a tack that is about 1/2-inch long and no thicker than the land is sufficient. If your tacks are too big, they will act as heat sinks and cause “cold starts” when you try to merge your main run into them.
What happens if my root gap is too small?
If the gap is too small (less than 3/32-inch for a 3/8-inch plate), the heat cannot reach the bottom of the joint. This results in “lack of penetration,” where the two plates are joined at the top but remain separate at the bottom. This is one of the most common reasons for a failed sample.
Do I need to bevel both sides of the plate?
For basic practice, a “single-V” groove (beveling only one side) is standard. “Double-V” grooves (beveling both the front and back) are used for much thicker materials or specific structural applications. Stick to a single-V on 3/8-inch plate until you have mastered the basics of fit-up.
How can I tell if I have removed all the mill scale?
Mill scale is usually dark grey or black and has a dull finish. The base steel underneath is a bright, shiny silver. If you see any dark spots or “swirls” that aren’t reflective, you haven’t ground deep enough. Use a light at an angle to highlight any remaining scale.
(This article was written by one of our staff writers, Thomas Langley. Visit our Meet the Team page to learn more about the author and their expertise.)