Smart Space Saving Storage Hacks for a Small Shop (Methods)
When I set up my first garage workshop in 2013, I had exactly $2,000 and a 12-by-20-foot space that felt more like a closet than a fabrication shop. The financial anxiety was real. I spent weeks staring at floor plans, terrified I would buy a welder I couldn’t power or a saw that would take up too much room. My background as an industrial maintenance technician taught me that efficiency isn’t about how much space you have, but how you use the cubic volume of that space.
Starting a metalworking journey requires a shift in how you view your surroundings. In an industrial setting, we track every square inch because wasted space is wasted money. For a beginner, wasted space usually leads to a cluttered floor, which is a significant safety hazard when handling hot metal and heavy tools. I have helped many hobbyists move past the “analysis paralysis” phase by focusing on a few core principles: verticality, mobility, and rigid record-keeping.
Evaluating the Physical Limits of a Small Fabrication Area
This process involves assessing the square footage and cubic volume of a workshop to determine the maximum capacity for machinery and material storage without compromising safety. You must know your boundaries before you can break them.
When I moved into my second shop, I made the mistake of not measuring the height of my overhead joists. I built a beautiful vertical rack for 20-foot sticks of tubing, only to realize I couldn’t tilt the metal upward to get it into the rack. Now, I use a simple “swing-clearance” rule. Every stationary tool needs a 36-inch safety perimeter, and every storage rack needs a loading path equal to the length of your longest material.
Electrical capacity is the next hurdle. Most residential garages are wired with a single 15A or 20A circuit. If you run a welder and a grinder at the same time, you will trip the breaker. I recommend mapping your breakers before you even buy your first tool. Use a simple spreadsheet to track the peak amperage of each machine.
| Tool Class | Typical Amperage (Start/Run) | Recommended Circuit |
|---|---|---|
| Entry-Level MIG Welder | 15A – 20A | 20A Dedicated |
| 4.5-inch Angle Grinder | 6A – 10A | 15A Standard |
| Benchtop Drill Press | 5A – 8A | 15A Standard |
| Small Air Compressor | 12A – 15A | 20A Dedicated |
| LED Shop Lighting | < 1A | 15A Standard |
Maximizing Vertical Space with Fabricated Steel Racks
This method involves utilizing the height of the workshop by building custom steel frames to hold raw materials and tools off the floor. By moving weight to the walls, you clear the floor for safe movement.
I prefer using 1.5-inch by 1.5-inch angle iron for wall-mounted racks. It is affordable and can be welded into a “ladder” configuration. I once built a rack that held over 500 pounds of steel tubing using only $40 worth of scrap angle iron. The key is to anchor these racks directly into the wall studs using 3/8-inch lag bolts.
According to OSHA-adjacent safety practices, heavy items should be stored between knee and shoulder height. I keep my heaviest plate steel on the lower rungs and lighter aluminum or thin-wall tubing higher up. This prevents the rack from becoming top-heavy and reduces the risk of back injury during retrieval.
- Use 1/8-inch thick angle iron for general storage.
- Space vertical supports every 16 inches to align with studs.
- Weld a 2-degree upward pitch on the arms to prevent material from sliding off.
- Label each rung by material type and thickness to save time during projects.
Ceiling-Mounted Systems for Heavy Tool Accessibility
This approach uses the overhead structural members of a shop to hang rails or pulleys for moving heavy equipment or storing long stock. It turns the “dead air” above your head into a functional storage zone.
In my current shop, I use a C-channel rail system bolted to the ceiling joists. This allows me to hang my welding lead extensions and air hoses. It keeps the floor clear of “trip hazards,” which is a primary concern in the American Welding Society (AWS) safety standards. If you are working in a confined space, a tangled cord is more than an annoyance; it is a fire hazard if it touches a hot workpiece.
You can also fabricate “drop-down” cradles for ladders or long PVC pipes. I use 1/2-inch round bar bent into a “U” shape and threaded at the ends. These are bolted through the joists with large washers. This keeps bulky items out of your line of sight until you actually need them.
Building Custom Under-Bench Sliding Drawer Inserts
This technique creates heavy-duty metal drawers or trays that fit beneath work surfaces to utilize previously wasted floor space. It is the best way to store heavy hand tools like clamps and hammers.
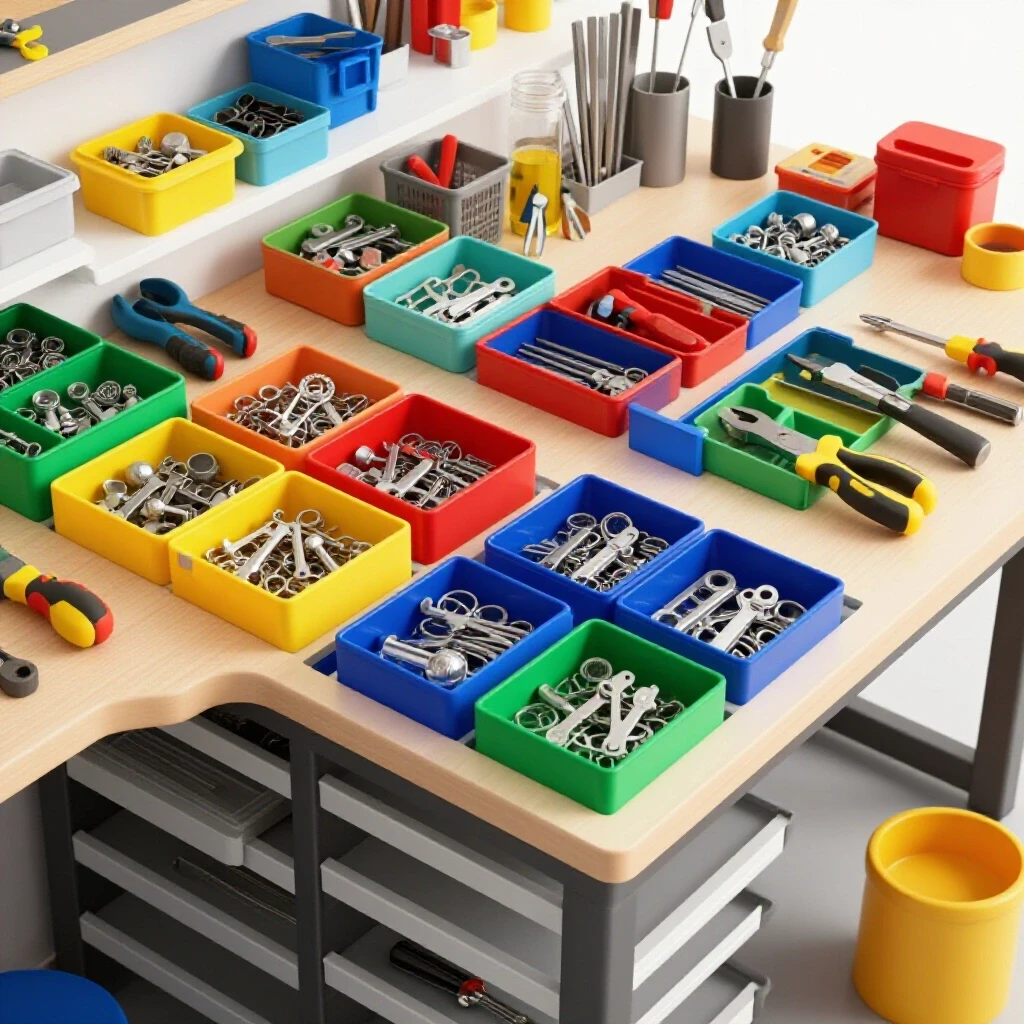
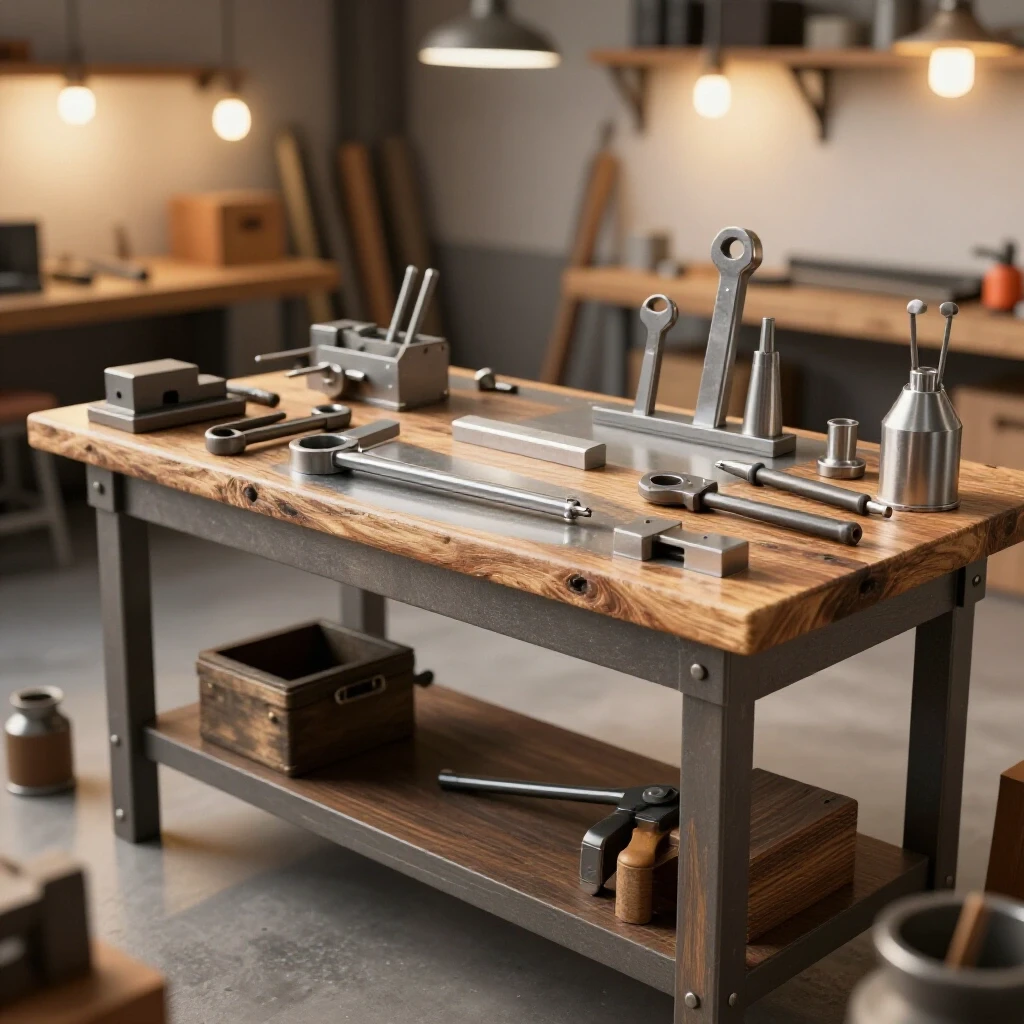
Most beginners buy a workbench and leave the space underneath empty or filled with random boxes. I suggest fabricating sheet metal trays from 14-gauge steel. You can use basic “sliding” physics by welding small pieces of square tubing as rails. I don’t use expensive ball-bearing slides for my heavy scrap metal drawers; I use a simple metal-on-metal slide greased with a bit of lithium grease. It is nearly indestructible and costs almost nothing.
When designing these, I follow a strict 30% rule for the tooling budget. If I spend $1,000 on a machine, I expect to spend $300 on the storage and accessories for it. This includes the steel for the drawers and the hardware to mount them.
- Measure the clear opening under your workbench.
- Subtract 1 inch from the width to allow for rail clearance.
- Weld a frame of 1-inch angle iron for the drawer base.
- Tack weld the sheet metal floor to the frame.
- Install a safety stop at the back of the rail to prevent the drawer from falling out.
Designing a Compact Layout for Safe Metalworking
Strategic placement of tools ensures adequate clearance for material handling and fire safety. A small shop must be divided into “hot zones” and “clean zones.”
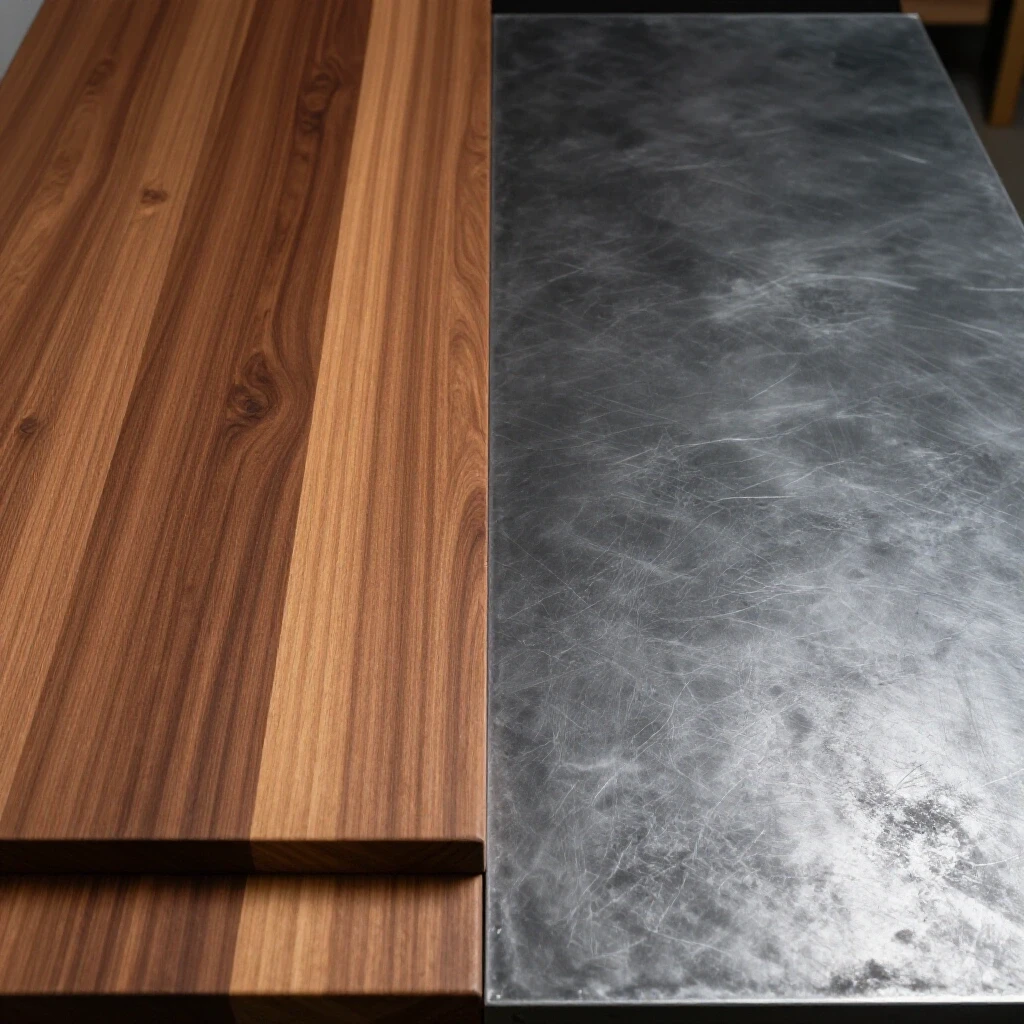
In my first shop, I put my wooden workbench next to my welding area. A stray spark from a grinder nearly started a fire within the first month. Now, I maintain a 5-foot “spark-free” buffer around any flammable materials. My layout follows a linear flow: material enters the shop, is cut at the saw station, moves to the welding table, and finally goes to the grinding/finishing station.
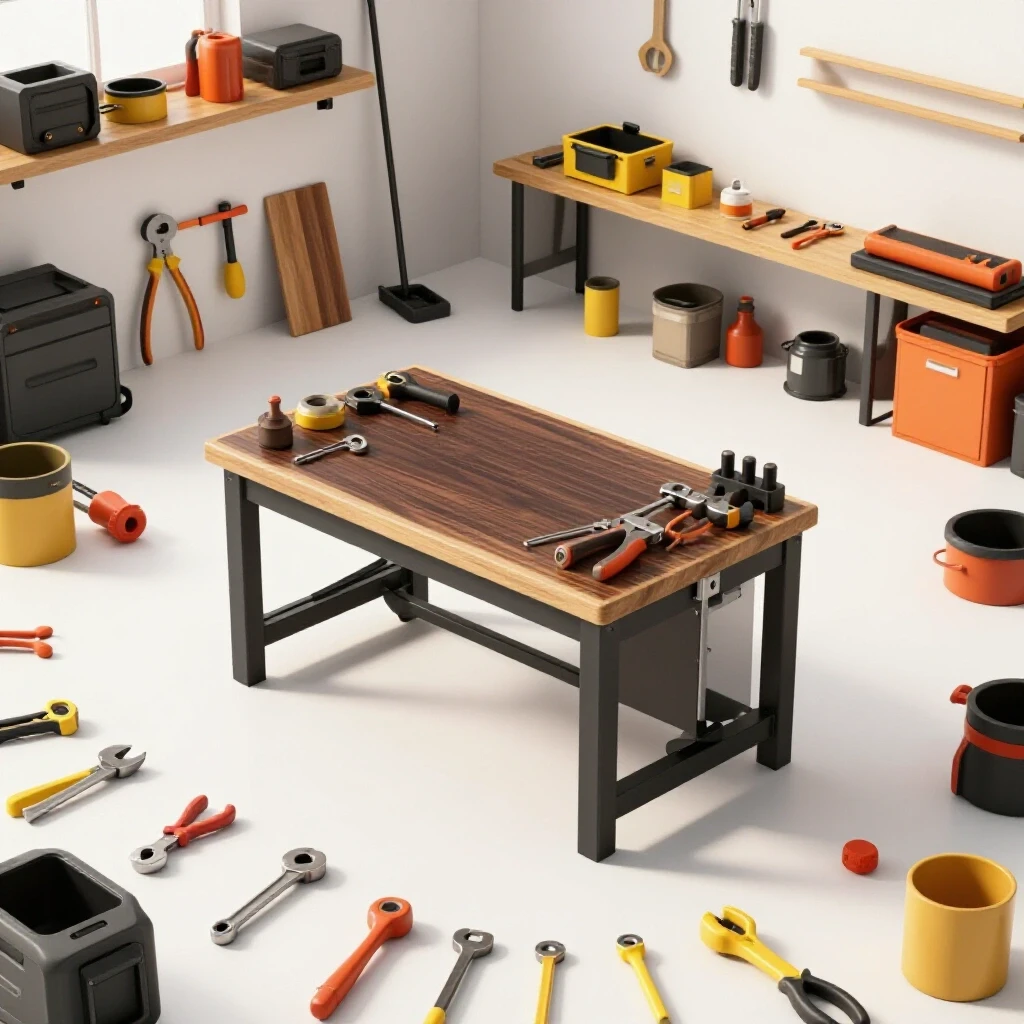
I use a simple tool sequencing strategy to decide what stays and what goes. If a tool isn’t used in at least 20% of my projects, it doesn’t get a permanent spot on the floor. It gets tucked into a vertical rack or an under-bench insert.
| Tool Priority | Frequency of Use | Storage Method |
|---|---|---|
| Angle Grinder | Daily | Wall-mounted Peg |
| MIG Welder | Weekly | Mobile Cart |
| Bench Vice | Daily | Fixed to Bench |
| Cold Saw | Weekly | Fixed to Bench |
| Tube Bender | Monthly | Under-bench Slide |
Ventilation and Air Quality in Confined Spaces
This is the mechanical exchange of air to remove hazardous welding fumes and grinding dust from a small workshop environment. In a small garage, air quality degrades rapidly.
I use a high-velocity exhaust fan that provides at least 1,000 CFM (Cubic Feet per Minute). For a standard one-car garage, this allows for a full air exchange every 5 to 8 minutes. I fabricated a custom hood from light-gauge galvanized sheet metal that sits directly over my welding table. It is connected to a flexible duct that I can move depending on where the smoke is being generated.
Fumes from galvanized steel or certain stainless steel alloys can be toxic. I always refer to the Safety Data Sheets (SDS) for any metal I am working with. If you are on a budget, a box fan in a window is better than nothing, but a dedicated exhaust system is a non-negotiable safety item for me.
Tracking Costs and Prioritizing Tool Acquisitions
A systematic approach to spending ensures essential safety and fabrication tools are purchased before non-essential accessories. I keep a log of every dollar spent to avoid the “budget creep” that kills many hobbyist dreams.
My first shop log shows that I spent $450 on a welder but $150 on a high-quality auto-darkening helmet. This was a deliberate choice. You can’t do good work if you can’t see, and you can’t work at all if you damage your eyes. I recommend allocating your first $2,000 using a 40-30-20-10 ratio: 40% for the primary machine, 30% for safety and measurement, 20% for storage fabrication materials, and 10% for consumables like wire and grinding wheels.
- Primary Machine: $800 (Welder or Multi-process unit)
- Safety/Measurement: $600 (PPE, Squares, Calipers)
- Storage Steel: $400 (Angle iron, Sheet metal, Fasteners)
- Consumables: $200 (Abrasives, Gas, Wire)
Practical Benchmarks for Shop Success
When you are starting out, it is easy to get overwhelmed by the “perfect” shops you see online. My shop has never been perfect. It has evolved. I track the “lifespan” of my layout. Every six months, I evaluate if a specific storage method is actually being used. If a drawer is full of dust, the tool inside is moved to a less accessible area to make room for something I use daily.
I also maintain a safety log. I check my fire extinguishers every month and inspect my grinder guards every time I change a wheel. These small habits, combined with a well-organized space, are what separate a productive fabricator from a frustrated hobbyist.
- Month 1: Focus on power and lighting. Install your 20A circuits.
- Month 2: Build your primary workbench and vertical steel rack.
- Month 3: Acquire your welder and safety gear. Practice first cuts.
- Month 4: Fabricate under-bench storage for your growing tool collection.
- Month 5: Install your ventilation system before starting any large projects.
By following this structured path, you avoid the trap of buying tools you have no place to store. You build the shop around the work, rather than trying to fit the work into a cluttered mess. The goal is a functional fabrication space that respects your budget and your safety.
Frequently Asked Questions
How do I know if my garage floor can handle the weight of heavy steel racks? Most standard residential garage slabs are 4 inches thick and can support approximately 3,000 to 4,000 PSI. A vertical rack made of angle iron that holds 1,000 pounds of steel distributed across three or four studs will not damage the floor. However, always ensure the weight is transferred vertically through the wall studs or legs that sit flat on the concrete.
Can I weld my storage racks using a standard 110V outlet? Yes, most 1/8-inch or 3/16-inch angle iron used for storage can be welded with a 110V MIG or Stick welder. However, ensure you are on a 20A circuit to prevent the breaker from tripping during long beads. For structural storage, a 110V welder is sufficient if you use proper joint preparation, such as grinding a bevel into the edges.
Is it safe to store oxygen or acetylene tanks in a small, enclosed shop? Safety standards suggest storing gas cylinders upright and secured with a chain to a wall or cart. In a small shop, ensure they are kept away from the “hot zone” where sparks fly. If the shop is attached to a house, check local fire codes, as some jurisdictions have specific rules about the volume of pressurized gas allowed in residential spaces.
What is the best way to prevent rust on the steel I store on my custom racks? Raw steel will rust quickly in humid garages. I use a light coat of WD-40 or a dedicated “dry film” rust inhibitor on my material. When it comes time to weld, you must clean this off thoroughly with acetone or a degreaser, as welding through oils creates poor-quality joints and hazardous fumes.
How much clearance should I leave between my ceiling-mounted racks and my head? Safety guidelines generally recommend at least 7 feet of head clearance in work areas. If your ceiling is low, keep ceiling storage restricted to the perimeter of the room, above workbenches or stationary tools, where you are unlikely to walk.
Why shouldn’t I just use heavy-duty plastic bins for my metal scraps? Metal scraps often have sharp, jagged edges and can stay hot for a long time after cutting. Plastic bins will melt or be punctured easily. Fabricating your own steel trays or using old metal ammo cans is much safer and more durable for a metalworking environment.
What thickness of sheet metal should I use for under-bench drawers? For general tool storage, 14-gauge or 16-gauge steel is ideal. It is thick enough to be welded without blowing through the metal, but light enough that the drawer won’t be too heavy to move once it is filled with tools.
Do I really need a dedicated circuit for my grinder? While a grinder doesn’t pull as much power as a welder, it creates a “surge” when it starts. If your lights and grinder are on the same 15A circuit, you might see the lights flicker. It is best to have your high-draw tools on a separate circuit from your lighting so you aren’t left in the dark if a breaker trips.
How do I calculate the CFM needed for my shop ventilation? Multiply the length, width, and height of your shop to get the total cubic feet. For example, a 10x10x8 shop is 800 cubic feet. To get an air exchange every 2 minutes, you would need a 400 CFM fan (800 / 2). For welding fumes, more frequent exchanges are better.
What is the most common mistake beginners make when building their first shop? The most common mistake is buying a “complete” set of tools at once. This leads to a crowded space and a drained budget. Build your storage first, buy your essential tools second, and only buy specialized equipment once a specific project requires it.
(This article was written by one of our staff writers, Michael Thompson. Visit our Meet the Team page to learn more about the author and their expertise.)