Effective Metal Dust Collection for Small Workshops (Tips)
When I set up my first garage shop back in 2013, I had exactly $2,000 in my pocket and a floor covered in grease stains. I spent weeks obsessing over which welder to buy and whether I could afford a decent bench grinder. What I didn’t account for was the fine, black metallic dust that eventually coated every surface, including my wife’s mountain bike and the Christmas decorations stored in the rafters. Managing the debris created by cutting and grinding is often the last thing a beginner thinks about, yet it is one of the most critical factors in maintaining a safe and functional workspace.
The reality of home metalworking is that it is inherently messy and potentially hazardous if you don’t have a plan for the waste. Unlike sawdust, metal particles are heavy, often hot, and can be electrically conductive. If you let this “swarf” settle into the cooling vents of your expensive new welder, you are looking at a very short lifespan for your equipment. My goal is to show you how to build a system that captures these particles at the source without blowing your entire startup budget.
Essential Strategies for Capturing Metallic Debris in Small Spaces
Managing the fine particles generated during grinding and sanding is about source capture and containment. In a small shop, you do not need a massive industrial system; you need a smart approach that uses portable extractors and targeted hoods to keep the air clear. By focusing on where the sparks fly, you can prevent the majority of the mess from ever reaching the rest of your garage.
When you are working with an angle grinder or a bench sander, you are essentially creating a cloud of tiny metal shards and abrasive grit. If left unchecked, these particles hang in the air and eventually settle on everything. I learned early on that a standard household vacuum is not the answer. The fine metal dust can bypass basic filters and even pose a fire risk if hot sparks hit a paper bag. Instead, we look for compact, portable solutions designed to handle the weight and heat of metallic waste.
Portable Extraction Units for the Home Fabricator
A portable extractor is a specialized vacuum or blower unit that is moved from tool to tool to capture debris right where it is created. These units are often rated by their Cubic Feet per Minute (CFM), which tells you how much air they can move. For a small shop, a unit that provides between 100 and 300 CFM is usually sufficient for handheld tools and small benchtop grinders.
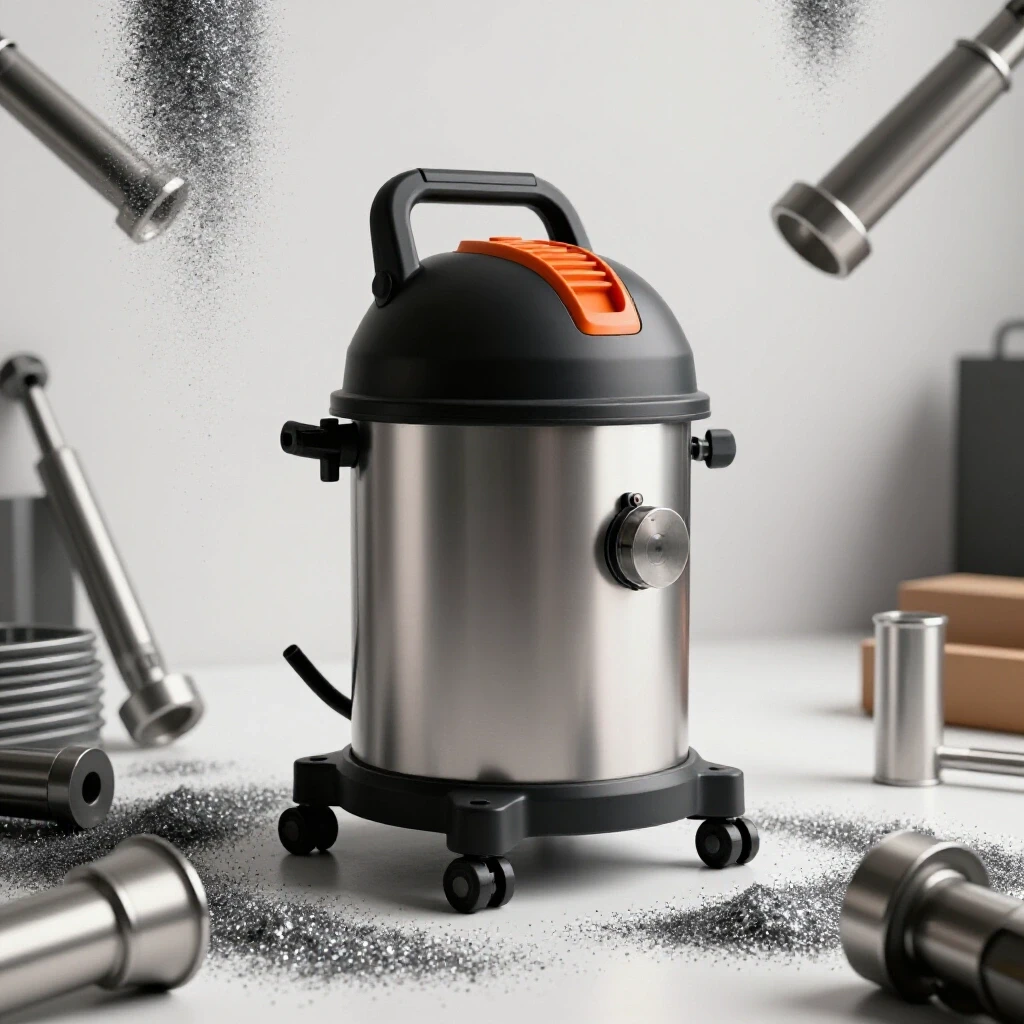
Building on this, you should look for units that offer high-efficiency filtration. While we aren’t aiming for surgical-grade air, a filter that can trap particles down to 5 microns will keep the “black film” off your workbench. Interestingly, many beginners find that a high-quality shop vacuum equipped with a HEPA filter and a flame-resistant hose can serve as a decent entry-point, provided they aren’t sucking up large amounts of glowing hot slag.
Creating Targeted Collection Hoods and Enclosures
A collection hood is a simple shroud or box placed behind or around a tool to catch and direct sparks into an intake hose. These can be purchased as accessories or fabricated from sheet metal as one of your first shop projects. By surrounding the “throw zone” of a grinder, you use the tool’s own momentum to help push the dust into your extraction system.
In my experience, a well-placed hood is more effective than a powerful motor. If you position a 4-inch intake hose directly behind your bench grinder, you can capture up to 80% of the debris before it even hits the floor. As a result, you spend less time sweeping and more time fabricating. This is a classic example of how a little bit of planning can save you significant money on cleaning supplies and tool maintenance over the long run.
Designing a Starter Metal Workshop Layout for Optimal Air Quality
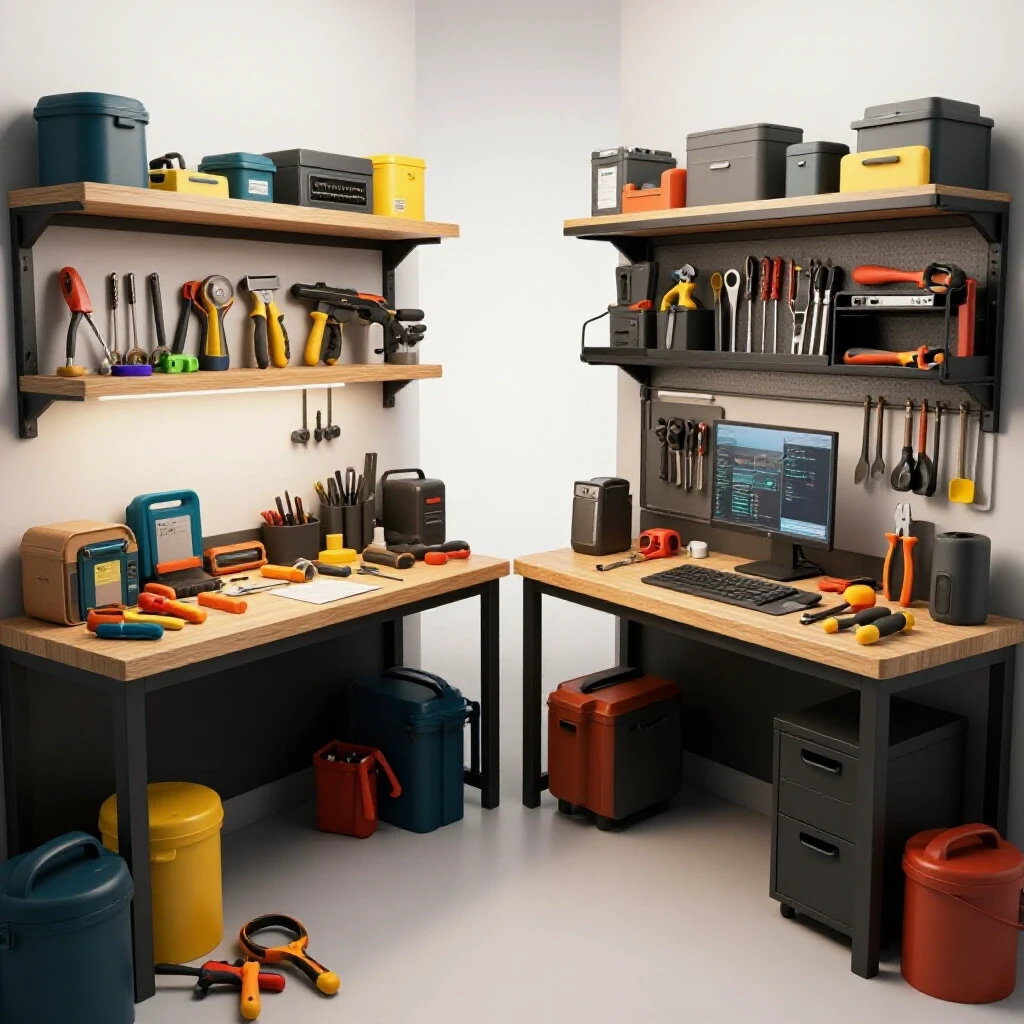
A smart shop layout organizes tools based on how much mess they make and where that mess goes. By grouping “dirty” tools like grinders and saws near a door or a dedicated ventilation point, you can naturally limit the spread of metallic dust. This approach is free and only requires a bit of foresight during your initial setup phase.
When I first laid out my 12×20 garage space, I made the mistake of putting my welding table right next to my grinding station. I quickly realized that the grinding dust was contaminating my clean steel before I could even strike an arc. Now, I advocate for a “zone” system. The “Hot Zone” is where the sparks fly, and the “Clean Zone” is where you do your welding, assembly, and precision measuring.
Establishing the Hot Zone Near Natural Ventilation
The Hot Zone should ideally be located near a garage door or a window. This allows you to use natural cross-ventilation to help pull fine dust out of the shop. If you are working on a budget, a simple 20-inch box fan placed in a window can provide enough airflow to keep the air moving in the right direction while you grind.
Building on this, consider the direction of the sparks. Most grinders throw debris in a specific arc. Aim that arc toward your collection hood or toward the open garage door. I’ve found that even a simple plywood screen placed behind a grinding station can act as a “spark arrester,” stopping the heavy particles from bouncing all over the room. This simple addition keeps your shop organized and reduces the risk of accidental fires in nearby storage bins.
Tool Footprints and Clearance Boundaries
Every tool in your shop needs a “clearance boundary,” which is the space around the machine required for safe operation and maintenance. In a small shop, these boundaries often overlap, but your grinding station needs a hard limit. You want at least three to five feet of clear space around any tool that generates significant sparks or dust to prevent it from settling on flammable materials.
| Tool Type | Typical Footprint (Sq. Ft) | Recommended Spark Clearance | Recommended Extraction Method |
|---|---|---|---|
| Bench Grinder | 2 | 3 Feet | Fixed Rear Hood |
| Angle Grinder | N/A (Handheld) | 5 Feet | Portable Shroud |
| Chop Saw | 4 | 6 Feet | Rear Spark Box |
| Belt Sander | 3 | 4 Feet | Integrated Port |
| Welding Table | 12-18 | 2 Feet | Fume Extractor (Optional) |
Budget Metalworking Tools with Integrated Debris Management
When you are shopping for your first set of affordable fabrication tools, look for models that include built-in dust ports or spark guards. While these features might seem minor, they make it much easier to connect an extraction system later on. It is often cheaper to spend $20 more on a tool with a port than to try and retrofit one later using duct tape and plastic.
I often tell beginners that the true cost of a tool includes the accessories needed to run it safely. A $50 angle grinder is a great deal, but if it doesn’t have a way to manage the dust, you’ll end up spending that saved money on replacement filters for your lungs or your shop vac. Look for tools that follow American Welding Society (AWS) suggestions for safety shielding, as these are usually designed with better debris control in mind.
Why Cheap Abrasives Cost More in the Long Run
It is tempting to buy the cheapest grinding wheels and sanding discs available. However, low-quality abrasives tend to break down much faster, creating a significantly larger volume of dust for the same amount of metal removed. This “shedding” adds more waste to your shop air and requires your extraction system to work harder.
Interestingly, high-quality ceramic or zirconia abrasives last three to five times longer and stay sharper. Because they cut the metal rather than rubbing it, they produce larger “chips” that fall to the ground quickly rather than fine dust that stays airborne. I tracked my costs over a year and found that spending 30% more on premium abrasives actually reduced my total spending by 40% because I used fewer discs and spent less time cleaning.
Tooling-to-Machine Cost Ratios for Beginners
When planning your budget, I recommend a 70/30 split. Spend 70% of your funds on the machines themselves and reserve 30% for high-quality consumables and safety equipment, including debris management. This ensures you aren’t left with a great welder but no way to clean the metal or protect your workspace.
- Safety Gear (10%): ANSI Z87.1 rated eye protection, respirators, and fire-resistant clothing.
- Measuring and Marking (5%): Squares, calipers, and scribes for accurate work.
- Abrasives and Consumables (10%): High-quality discs and wheels that produce less dust.
- Extraction Accessories (5%): Hoses, hoods, and filters for your portable vacuum.
Workshop Electrical Setup Checklists for Safe Operation
One of the biggest hurdles in a residential garage is the electrical capacity. Most home outlets are on a 15-amp or 20-amp circuit. If you try to run a powerful grinder and a dust extractor on the same circuit, you will likely trip the breaker. Understanding your beginner welder power requirements and the draw of your safety equipment is essential for a smooth workflow.
In my first shop, I couldn’t run my vacuum and my saw at the same time. I had to learn how to calculate the “load” on my circuits. If your grinder pulls 12 amps and your vacuum pulls 8 amps, that’s 20 amps total. On a 15-amp circuit, that is a guaranteed shutdown. You must plan your workshop electrical setup checklists to account for these simultaneous loads.
Calculating Circuit Load Limits
A circuit load is the total amount of electricity being pulled by all devices plugged into one breaker. To stay safe, you should never exceed 80% of the breaker’s rating for continuous use. This means on a 20-amp circuit, you really only have 16 amps of “working room.”
- 15A Breaker: Safe limit is 12 Amps.
- 20A Breaker: Safe limit is 16 Amps.
- Welder (120V): Typically pulls 15-20 Amps under load.
- Small Extractor: Typically pulls 5-8 Amps.
As a result, I highly recommend having at least two dedicated circuits in your shop. One circuit handles the “dirty” tools like grinders or the welder, and the other handles your lights and your extraction system. This prevents you from being plunged into darkness in the middle of a cut if a breaker trips.
Managing Power Draw with Tool Sequencing
If you only have one circuit, you have to use tool sequencing. This means you only run one power-hungry machine at a time. While this makes source-capture harder, you can use a “post-work” extraction method. You do your grinding, then immediately turn off the tool and turn on the vacuum to clear the air and the bench. It isn’t as efficient as live capture, but it works within the limits of a standard home electrical setup.
Optimizing Garage Workshop Ventilation on a Budget
While capturing dust at the source is the priority, you still need a way to refresh the air in your shop. This is known as “air exchange.” For a typical two-car garage, you want to be able to move the entire volume of air in the room every 5 to 10 minutes during heavy work. You don’t need a million-dollar HVAC system to achieve this; you just need a basic understanding of airflow.
I use a simple formula to determine how much air I need to move. Multiply the length, width, and height of your shop to get the total cubic feet. If your garage is 20x20x10, that’s 4,000 cubic feet. To exchange that air every 10 minutes, you need a fan or extractor that can move 400 CFM (4,000 divided by 10).
Using Cross-Ventilation for Natural Airflow
Cross-ventilation is the process of opening two points of entry (like a door and a window) to create a natural breeze. If you place your grinding station in the path of this breeze, the fine dust will naturally be carried out of the shop. This is the most affordable way to manage air quality, costing you absolutely nothing in electricity.
Interestingly, the position of the fan matters. You should place the fan in the window blowing out, rather than blowing into the shop. This creates a slight negative pressure that pulls fresh air in through the door and exhausts the contaminated air through the window. This prevents the dust from being swirled around the room and settling in the corners.
Portable Air Cleaners vs. Source Extraction
A portable air cleaner is a box with a fan and a filter that hangs from the ceiling or sits on a bench. While these are great for catching the very fine dust that escapes your hoods, they should not be your only line of defense. Think of source extraction as the “broom” and the air cleaner as the “dustpan.” You need both, but the broom does the heavy lifting.
For a beginner on a budget, I suggest focusing on source capture first. A $100 portable vacuum with a good hood will do more for your shop’s cleanliness than a $300 ceiling-mounted air cleaner. Once your budget grows, adding a secondary air cleaner is a great way to protect your lungs during long fabrication sessions.
Actionable Framework for Shop Safety and Maintenance
Setting up your shop is only half the battle; maintaining it is where the real work happens. I keep a simple safety log and a maintenance schedule to ensure my extraction system is actually working. A clogged filter is just a noisy paperweight, and it won’t do anything to keep your air clean.
I recommend a “Five-Minute Clear” at the end of every work session. This involves running your extraction system or fans for five minutes after you stop grinding to ensure the lingering airborne particles are removed. It is a small habit that makes a massive difference in the long-term cleanliness of your fabrication space.
Weekly and Monthly Maintenance Checklist
- Check Filters: Inspect your vacuum or extractor filters for metal buildup. Shake them out or replace them if they look “blinded” (covered in a solid layer of dust).
- Inspect Hoses: Look for holes or cracks in your extraction hoses. Even a small leak can significantly drop your CFM at the tool.
- Empty Spark Boxes: If you use a DIY spark trap or hood, empty the heavy debris into a metal container. Never put hot metal dust in a plastic trash can.
- Wipe Down Surfaces: Use a damp rag to wipe down your welder and precision tools. This prevents the fine dust from migrating into the internal electronics.
Tool Lifespan and the Cost of Neglect
If you ignore dust management, you will pay for it in tool replacements. I’ve seen $1,000 welders die in two years because the owner let grinding dust get sucked into the cooling fan. Metal dust is abrasive; it acts like sandpaper on the moving parts of your drills, saws, and lathes. By spending a little time on extraction now, you are essentially buying insurance for every other tool in your shop.
| Component | Lifespan with Extraction | Lifespan without Extraction | Replacement Cost (Est.) |
|---|---|---|---|
| Welder Electronics | 10+ Years | 2-4 Years | $500 – $1,500 |
| Drill Press Bearings | 15 Years | 5 Years | $50 – $150 |
| Angle Grinder Motor | 5 Years | 1-2 Years | $60 – $150 |
| Precision Calipers | Lifetime | 3 Years | $40 – $120 |
Practical Next Steps for Your First Shop
Building a functional and clean metalworking shop doesn’t happen overnight. It is a process of small adjustments and constant learning. Start with the basics: get a good pair of safety glasses, a decent respirator, and a plan for where your sparks will go. From there, you can build your extraction system piece by piece as your skills and budget grow.
Don’t let analysis paralysis stop you. It is better to have a simple shop vac and a homemade cardboard hood than to have nothing at all. Every bit of dust you capture is a bit of dust that isn’t in your lungs or in your tools. Stay methodical, track your costs, and always prioritize your safety.
Recommended Resources for Beginners
- Digital Layout Planners: Use free online tools to mock up your garage dimensions before moving heavy benches.
- Power Load Spreadsheets: Create a simple list of every tool’s amp draw to avoid tripping breakers.
- OSHA Safety Guidelines: Review the 1910.94 standards for basic ventilation ideas that can be adapted for home use.
- AWS Safety Sheets: The American Welding Society offers free PDF downloads on managing fumes and dust in small shops.
Frequently Asked Questions
Can I use a regular shop vac for metal grinding dust?
You can, but with caution. You must use a high-quality, fine-dust filter (HEPA is best) and ensure you aren’t sucking up glowing hot sparks. A fire-resistant hose is highly recommended. For heavy grinding, a dedicated extractor with a metal canister is a much safer long-term choice.
How do I know if my ventilation is good enough?
A simple test is the “dust beam” test. In a dark shop, shine a bright flashlight across your workspace while grinding. If you see a thick cloud of dust hanging in the air for more than a minute after you stop, your ventilation is insufficient. You need more CFM or better source capture.
Is metal dust really flammable?
Yes, in very fine concentrations, certain metal dusts (like aluminum) can be explosive, though this is rare in a hobby setting. More commonly, the danger is “smoldering.” Hot sparks can land in a pile of sawdust or a vacuum bag and slowly burn for hours before igniting into a full fire. Always empty your collectors into a metal bin at the end of the day.
What is the best way to clean up metal shavings?
For large shavings (swarf), a heavy-duty shop broom or a magnetic sweeper is best. For the fine dust, a vacuum with a high-efficiency filter is the only way to go. Never use compressed air to blow dust off your clothes or benches, as this just puts the particles back into the air for you to breathe.
Do I need a fume extractor for welding?
If you are welding in a garage with the door open, a simple fan is often enough to move the fumes away from your face. However, if you are doing a lot of flux-core welding or working with galvanized steel, a dedicated fume extractor or a high-quality respirator is essential to protect your health.
How can I stop sparks from damaging my garage floor?
Concrete can actually “spall” or pop if it gets too hot from concentrated sparks. Using a welding blanket or a simple sheet of sacrificial plywood (kept away from direct flames) can protect your floor. Even better, aim your sparks into a metal “spark box” or bucket partially filled with sand.
What are the power requirements for a basic extraction system?
Most small portable extractors pull between 5 and 10 amps. If you are running this on a standard 15-amp household circuit along with a 12-amp grinder, you will likely trip the breaker. Always check the “Full Load Amps” (FLA) on the motor plate of your tools before plugging them in.
How often should I replace my dust filters?
In a busy shop, you should check your filters once a week. If you notice a drop in suction or if the filter looks dark and caked with gray dust, it’s time for a cleaning or replacement. Using a “pre-filter” or a cyclonic separator can extend the life of your main filter significantly.
Can I vent my dust extractor directly outside?
Yes, and this is actually the most effective way to manage air quality. If you can vent the exhaust of your extractor through a wall or window, you remove the fine particles from the building entirely. Just be mindful of where that dust is landing outside—you don’t want to coat your neighbor’s car in iron filings.
Is a respirator necessary if I have a dust collector?
Yes. No extraction system is 100% effective. A P100-rated respirator is your last line of defense against the fine particles that escape your hoods. I wear mine whenever I am doing heavy grinding or sanding, regardless of how well my vacuum is working. It is a small price to pay for long-term lung health.
(This article was written by one of our staff writers, Michael Thompson. Visit our Meet the Team page to learn more about the author and their expertise.)