How to Build a Constant Temp Welding Rod Storage Oven (Fix)
I remember the first time I tried to weld a critical joint on a custom utility trailer frame using some 7018 low-hydrogen rods that had been sitting on my workbench for a month. The arc was unstable, and the resulting bead looked like a piece of porous Swiss cheese. In my 13 years as a prototype technician, that was the day I truly understood that moisture is the enemy of a sound weld. If those rods absorb even a tiny amount of atmospheric humidity, the hydrogen enters the weld pool and leads to cracking or porosity. I realized I didn’t need a fancy industrial setup, but I did need a reliable, insulated environment to keep my consumables dry.
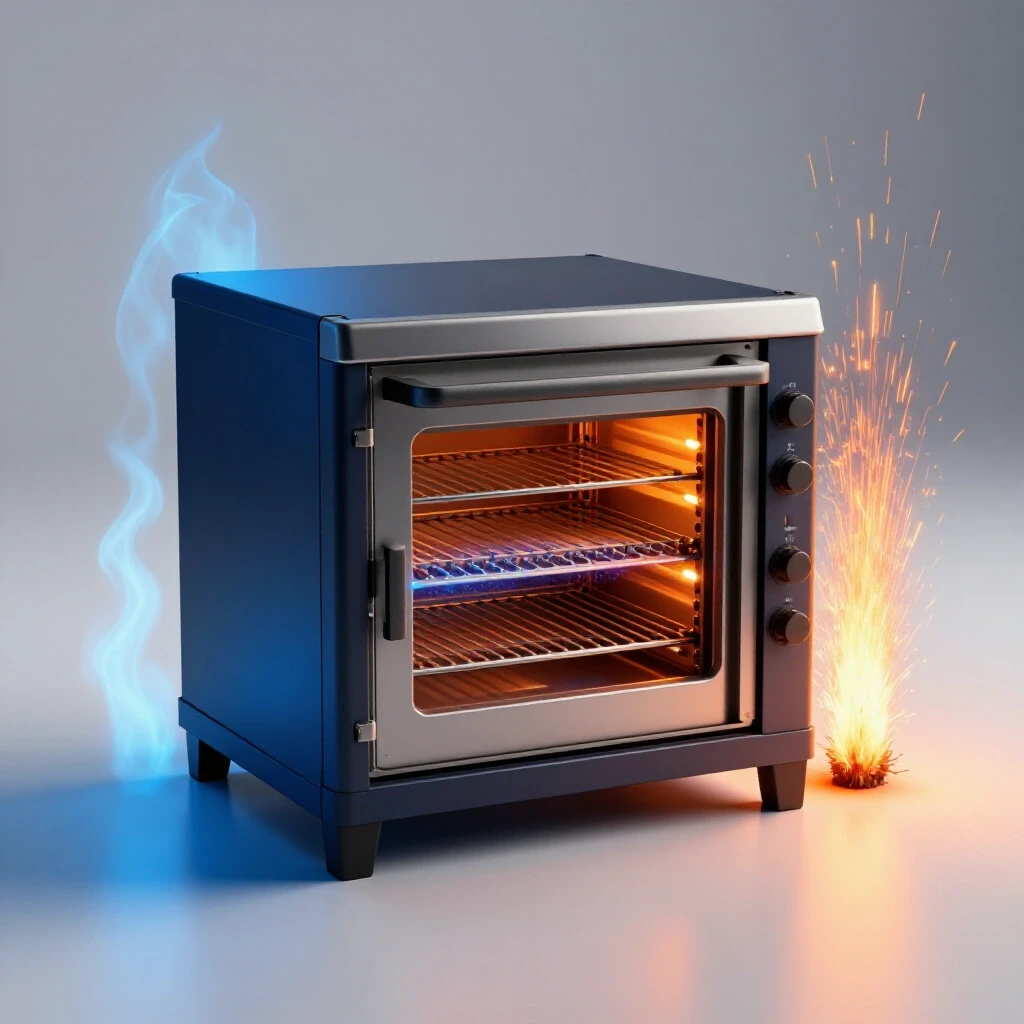
Building a dedicated heated storage unit for your welding electrodes is a project that tests your ability to manage thin-gauge sheet metal and precise heat control. It is a practical exercise in custom fabrication that requires careful layout, smart weld sequencing to prevent warping, and a basic understanding of thermal insulation. When you are working in a home shop, you often deal with fluctuating temperatures and humidity, which makes a controlled storage environment essential for anyone serious about the structural integrity of their builds.
Designing the Enclosure Dimensions and Cutting Lists
Designing the enclosure involves calculating the internal volume needed to house standard five-to-ten-pound electrode cans while leaving enough space for a heating element and proper air circulation. A well-planned design ensures that the heat is distributed evenly throughout the chamber without creating hot spots that could damage the rod coatings.
When I start a project like this, I focus on a “box within a box” concept. The inner chamber holds the rods, while the outer shell provides a protective skin and a cavity for insulation. For a standard hobbyist setup, an internal height of 18 inches is usually sufficient to accommodate 14-inch electrodes with room to spare. I typically aim for a 10-inch by 10-inch footprint for the inner box.
To keep the project manageable, I use 16-gauge cold-rolled steel for the inner box and 18-gauge for the outer skin. Thinner metal is lighter and heats up faster, but it is also much more prone to warping during the welding process. I always create a detailed cut list before I ever touch a grinder. This list accounts for the thickness of the metal and the gaps needed for the corner joints.
- Inner Box Panels: Two sides (10″ x 18″), one back (10″ x 18″), and a top/bottom (10″ x 10″).
- Outer Box Panels: These must be sized roughly 2 inches larger in every dimension to allow for a 1-inch layer of mineral wool insulation on all sides.
- Door Assembly: A double-walled door with a mechanical latch and a high-temperature silicone seal.
Calculating Kerf and Material Layout for Sheet Metal
Calculating kerf involves measuring the width of the material removed by your cutting tool to ensure that your final parts meet the intended dimensions. In custom fabrication, ignoring the kerf can lead to a box that is out of square or panels that don’t meet at the corners, making the welding process significantly more difficult.
In my shop, I use a variety of cutting tools, and each one has a different kerf. If I use a plasma cutter, I expect a kerf of about 0.060 inches. An abrasive chop saw might take out 0.125 inches (1/8th of an inch). When laying out my sheet metal, I mark my lines with a fine-point scribe rather than a thick soapstone. A scribe line is about 0.005 inches wide, which allows for much higher precision.
| Cutter Type | Typical Kerf Width | Dimensional Tolerance |
|---|---|---|
| Plasma Cutter | 0.040″ – 0.060″ | +/- 1/32″ |
| Abrasive Cut-off Wheel | 0.090″ – 0.125″ | +/- 1/16″ |
| Metal Shears | 0.000″ | +/- 0.010″ |
| Band Saw (Portable) | 0.025″ – 0.035″ | +/- 1/32″ |
If you are aiming for a total tolerance of +/- 1/16th inch across the entire build, you must account for these values. For example, if you need a 10-inch panel and your blade is 1/8th inch thick, you can’t just mark 10-inch increments on a sheet of steel. You have to add the blade width to each subsequent measurement to prevent the final pieces from being “short.”
Managing Thermal Expansion and Weld Sequencing
Weld sequencing is the strategic order in which you apply heat to a joint to balance the shrinkage forces that occur as the metal cools. Because thin sheet metal has low mass, it dissipates heat slowly and is highly susceptible to “oil-canning” or twisting if too much heat is applied in one area.
When I began building chassis components, I learned the hard way that a long, continuous bead on thin material is a recipe for disaster. The metal expands as it gets hot, but as the weld cools, it contracts with immense force. To combat this, I use a strict tack-welding and skip-welding strategy.
For the inner chamber of this storage unit, I place small tacks (about 1/8th inch in diameter) every 2 inches along the seams. I never weld more than an inch at a time before moving to the opposite side of the box. This “staggered” approach distributes the heat evenly and helps maintain the squareness of the structure.
- Step 1: Square the panels using a dedicated welding 90-degree jig.
- Step 2: Place tacks at the extreme corners first.
- Step 3: Check for squareness using a machinist’s square or by measuring diagonals.
- Step 4: Place intermediate tacks every 2 inches.
- Step 5: Weld in 1-inch increments, jumping from corner to corner, allowing the metal to be cool to the touch before the next pass.
Building Workshop Jigs for Square Alignment
Workshop jigs and fixtures are temporary structures used to hold workpieces in the exact position required for accurate assembly. For a box-style project, a simple set of corner magnets isn’t enough; you need physical restraints that prevent the metal from pulling as the weld cools.
I often build a simple “L-frame” jig out of 2-inch angle iron. By clamping my sheet metal panels to this heavy, rigid frame, I can ensure that the 90-degree corners stay 90 degrees. If you don’t use a fixture, the angular shrinkage of a fillet weld will naturally pull the two panels toward each other, resulting in a corner that is less than 90 degrees.
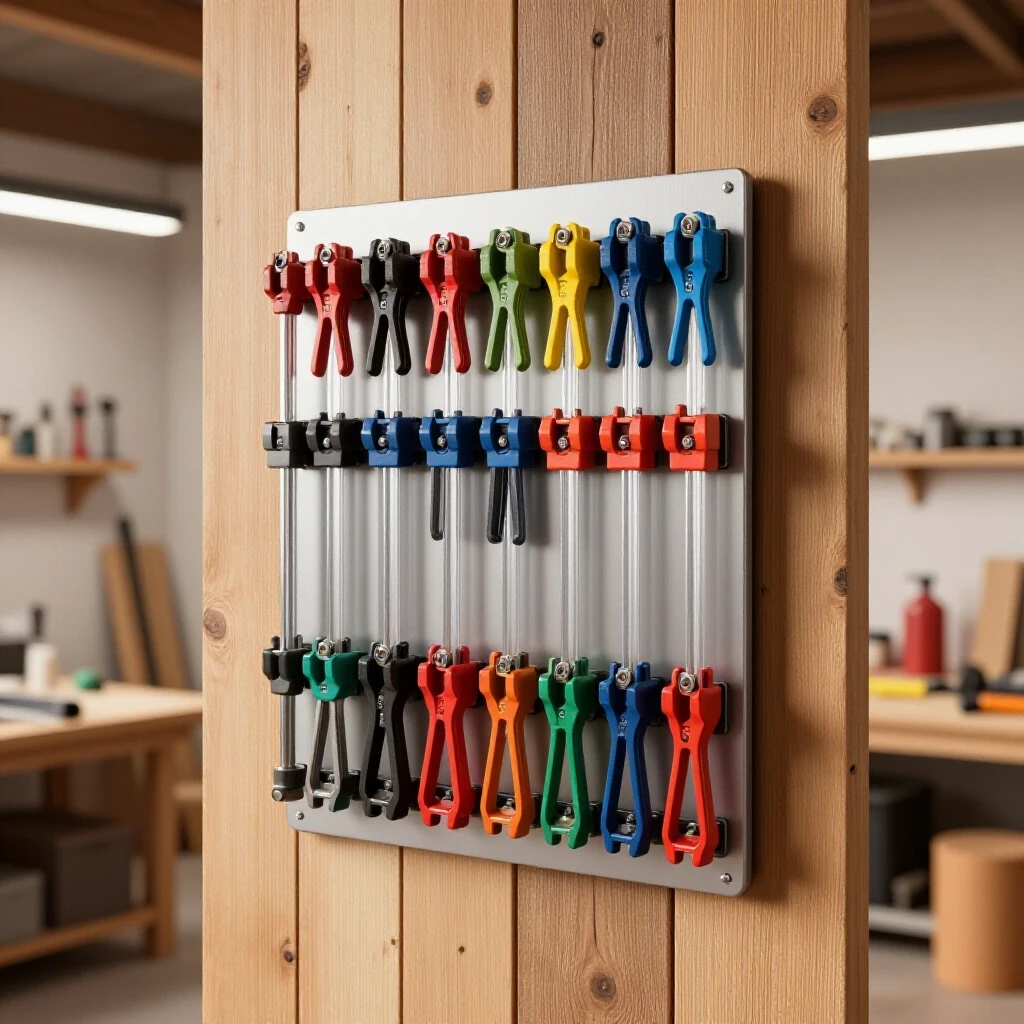
For this project, I recommend using “F-style” clamps with copper pads to avoid marring the steel. I space my clamps roughly 4 inches apart. This provides enough pressure to resist the pull of the cooling weld without crushing the thin-gauge material. If you notice the metal bowing between clamps, you need more clamping points or a stiffer backer bar.
- Layout Fixture: Use a flat welding table or a thick piece of plate steel as your base.
- Backer Bars: Place 1/2-inch thick aluminum bars behind your weld joints to act as heat sinks. Aluminum absorbs heat much faster than steel, which reduces the “heat-affected zone” and minimizes warping.
- Squaring Blocks: Use precisely machined 1-2-3 blocks to check internal corners before committing to final welds.
Integrating the Thermal Control System
The thermal control system consists of a low-wattage heating element and a thermostat designed to maintain a consistent internal temperature between 200°F and 250°F. This temperature range is high enough to drive off moisture but low enough to be safely managed with basic insulation and household power.
In my experience, a simple 100-watt to 150-watt heating element is plenty for a small, insulated box. I’ve seen some builders use heavy-duty incandescent light bulbs, but a dedicated ceramic heating element or a small space heater coil is more durable for long-term use. The key is to mount the element at the bottom of the enclosure to take advantage of natural convection—hot air rises, creating a uniform temperature profile.
To control the heat, I use a basic digital PID controller or a simple mechanical thermostat. These devices are wired in series with the heating element. You set the target temperature, and the controller cycles the power on and off to maintain it.
- Temperature Range: Target 200°F to 250°F (93°C to 121°C).
- Sensor Placement: Place the thermocouple or temperature probe in the middle of the chamber, not directly touching the walls or the heating element.
- Insulation: Use 1-inch thick mineral wool (Roxul) between the inner and outer walls. Mineral wool is fire-resistant and holds its shape better than fiberglass at these temperatures.
- Ventilation: Drill a small 1/4-inch hole at the top of the box to allow moisture-laden air to escape as the rods heat up.
Final Assembly and Door Sealing Techniques
The final assembly phase focuses on the door and the outer skin, ensuring that the unit is airtight enough to retain heat but accessible enough for daily use. A poorly sealed door is the primary reason DIY storage units fail to maintain a constant temperature, leading to wasted energy and inconsistent rod performance.
I build the door using the same “sandwich” method as the walls: an inner panel, a layer of insulation, and an outer panel. The most important part is the seal. I use a high-temperature silicone “D-bulb” gasket. This gasket must be compressed slightly when the door is latched to create an effective thermal break.
For the hinges, I prefer simple steel butt hinges welded to the outer casing. To ensure the door stays shut, I use a draw-pull toggle latch. This type of latch allows you to adjust the closing tension, which is vital as the gasket wears or compresses over time.
- Fit the Gasket: Clean the metal surface with acetone before applying the adhesive-backed silicone seal.
- Align the Latch: Position the latch so that it requires a firm pull to engage. This ensures the gasket is compressed by at least 25% of its height.
- Outer Skin Attachment: I often use pop rivets or small self-tapping screws to attach the outer skin to the internal frame. This avoids the need for more welding on the exterior, which helps keep the finish looking clean and prevents further warping of the outer panels.
Testing and Calibration Benchmarks
Once the build is complete, you must verify that the unit performs as expected. Calibration is the process of checking the internal temperature against a known accurate thermometer to ensure your thermostat is reading correctly.
I usually run a “burn-in” test for 24 hours. I place a digital oven thermometer inside the chamber and monitor it every few hours. I want to see a temperature swing of no more than +/- 5 degrees. If the temperature fluctuates too much, I may need to adjust the PID settings or add more insulation to the door.
- Initial Warm-up Time: The unit should reach 200°F within 30 to 45 minutes.
- Stability Test: After two hours, the temperature should remain steady.
- Surface Temperature: The outer skin of the box should be warm to the touch but not hot enough to burn skin (typically under 120°F). If it’s hotter, your insulation has gaps or is too thin.
Troubleshooting Common Fabrication Obstacles
Even with a solid plan, you will likely encounter issues during the build. Metal is a living material that reacts to every spark and every clamp. Understanding how to fix these errors is what separates a hobbyist from a seasoned fabricator.
If your inner box ends up slightly twisted (out of square by more than 1/8th inch), you can sometimes “pull” it back into shape by strategically heating the opposite corner with a torch, but this is risky. A better approach is to use a mechanical press or a heavy-duty clamp to hold it square while you add a small gusset or a structural brace.
| Problem | Likely Cause | Practical Fix |
|---|---|---|
| Door won’t close flush | Hinge pin misalignment | Shim the hinges or use adjustable hinge pins. |
| Metal “oil-cans” (pops) | Excessive heat in one spot | Add a small stiffener rib or use a hammer and dolly to stretch the edges. |
| Temperature won’t rise | Faulty element or poor seal | Check resistance on the element; inspect the door gasket for gaps. |
| Excessive exterior heat | Insulation compression | Replace compressed insulation; ensure a 1-inch air gap exists. |
One mistake I see often is builders forgetting to account for the thickness of the insulation when sizing the outer box. If you pack the mineral wool too tightly, it loses its R-value (insulating power). It should be snug, but not crushed.
Next Steps for Your Shop Build
Building your own heated storage unit is a rewarding project that pays dividends every time you strike an arc. By controlling the environment where your electrodes live, you eliminate one of the biggest variables in welding quality.
To get started, I recommend sketching your dimensions based on the space you have available in your shop. Buy your 16-gauge and 18-gauge steel in small sheets to keep costs down. Focus on your layout first—measure twice and scribe once. Once you have your panels cut, spend the time to build a solid corner jig. That extra hour of prep will save you ten hours of trying to fix a warped box later.
When the unit is finished, you’ll notice a difference immediately. Your 7018 rods will run smoother, the slag will peel off more easily, and you’ll have the peace of mind knowing that your welds are free from hydrogen-induced cracking. It’s a professional-grade upgrade for a DIY-budget shop.
Frequently Asked Questions
Why can’t I just use a wooden box with a light bulb?
Wood is a poor choice for this application because it is flammable and a poor thermal conductor. At 250°F, some woods can begin to outgas or even char over long periods. A steel enclosure is fire-safe, durable, and reflects heat back into the chamber more efficiently.
What is the best insulation to use for a DIY heated locker?
Mineral wool (often sold under the brand name Roxul) is the gold standard for this. It has a high melting point, provides excellent thermal resistance, and does not irritate the skin as much as fiberglass. Ensure you use at least 1 inch of thickness for the best results.
How do I know if my welding rods have already absorbed moisture?
Look for signs like “fingernailing” (where the coating burns unevenly), excessive spatter, or a visible “bubbling” in the slag. If the rods are 7018 and have been out of a sealed can for more than four hours in a humid environment, they likely need to be baked out.
Is a 100-watt light bulb really enough to heat a metal box?
In a well-insulated box of about 1.5 cubic feet, a 100-watt bulb can often reach 150-180°F. However, for the target range of 200-250°F, a dedicated 150-watt ceramic heating element is much more reliable and efficient.
Can I use this setup to dry out rods that are already wet?
This setup is primarily for storage (keeping dry rods dry). To “recondition” rods that are truly wet, you often need higher temperatures (up to 500-700°F for some 7018 rods), which requires a much more robust industrial oven. This DIY build is for maintaining the “out-of-the-can” dryness.
How much should I expect to spend on materials for this project?
If you source your steel from a local scrap yard or buy small remnants, you can typically build the enclosure for $50-$75. The heating element and PID controller will add another $30-$50. Total project cost is usually under $150.
What happens if I weld the outer skin too tightly to the inner box?
You will create a “thermal bridge.” This means the heat will transfer directly from the inner metal to the outer metal through the points of contact, making the outside of the box dangerously hot and wasting electricity. Always use spacers or minimal contact points between the two shells.
Do I need to ground the metal box?
Yes. Since you are using an electrical heating element inside a metal enclosure, you must ensure the chassis is properly grounded to your shop’s electrical system to prevent a shock hazard in case of a wire failure.
Can I store 6010 or 6011 rods in this oven?
Actually, you shouldn’t. 6010 and 6011 rods require a certain amount of moisture in their cellulose coating to work correctly. If you bake them, the coating can become brittle and fall off, ruining the rod. This oven is specifically for low-hydrogen rods like 7018 or 8018.
How do I prevent the door from warping when I weld the hinges?
Use very short tacks and a “wet rag” heat sink. Place a damp cloth around the hinge area after each tack to pull the heat away quickly. This prevents the thin sheet metal of the door from pulling and ensures the door stays flat against the seal.
(This article was written by one of our staff writers, Robert Kline. Visit our Meet the Team page to learn more about the author and their expertise.)