How to Use Copper Backing Bars for Cleaner Welds (Tutorial)
I remember standing over a custom-built trailer frame early in my career, looking at a series of blown-out holes in a critical butt joint. I had spent hours prepping the metal, but the heat had simply moved faster than my hands could. In that moment, I realized that fabrication isn’t just about sticking two pieces of metal together; it is about managing energy. When we weld, we are essentially trying to control a miniature lightning bolt, and without the right support, that energy can easily destroy the structural integrity of our work.
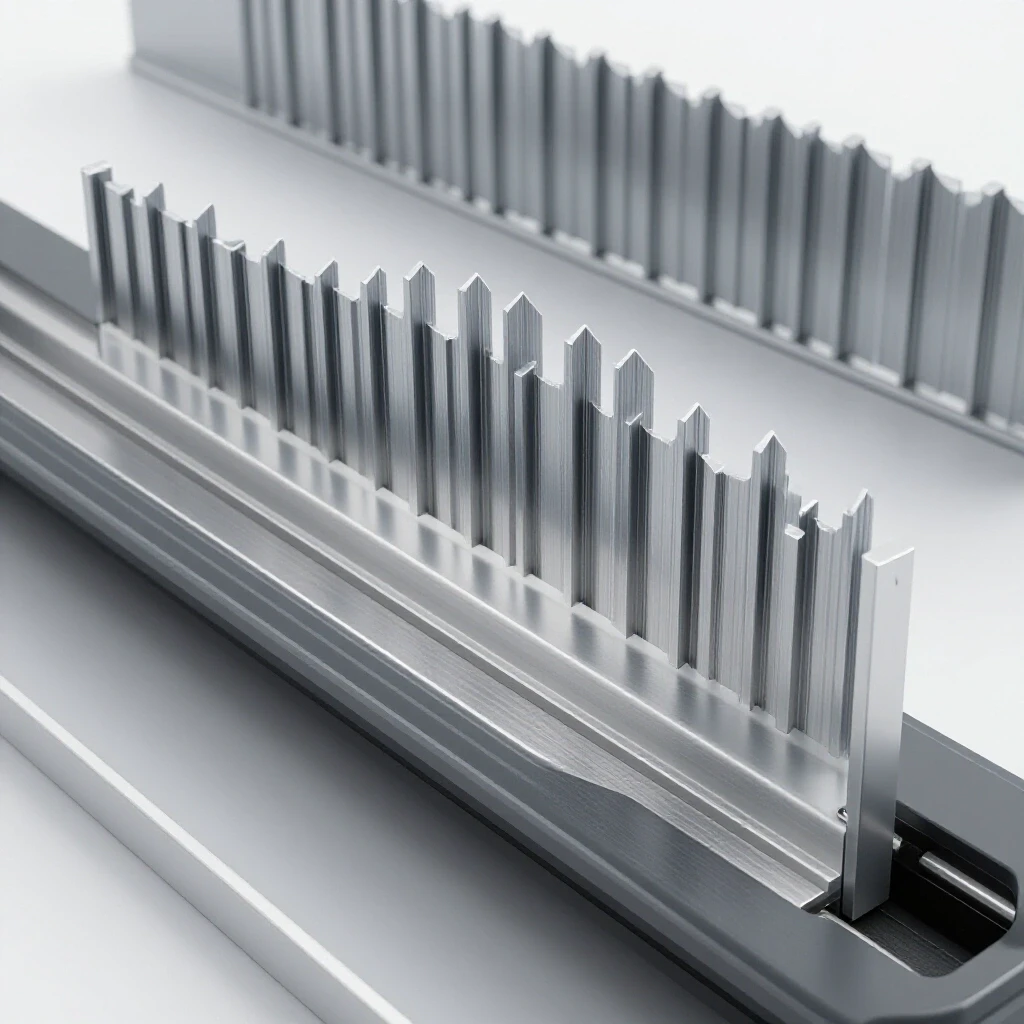
For those of us who build in home shops or small garages, the anxiety of a structural failure is real. We worry about hidden cracks, metal warping out of alignment, or “grapes” of oxidized metal hanging off the back of a joint. Over my 14 years in mechanical engineering and shop floor fabrication, I have learned that one of the most effective ways to mitigate these risks is by using copper backing bars. These tools act as a thermal stabilizer and a physical dam for the molten puddle, ensuring that the root of the weld is as clean and strong as the face.
Managing Heat Distribution and Root Integrity
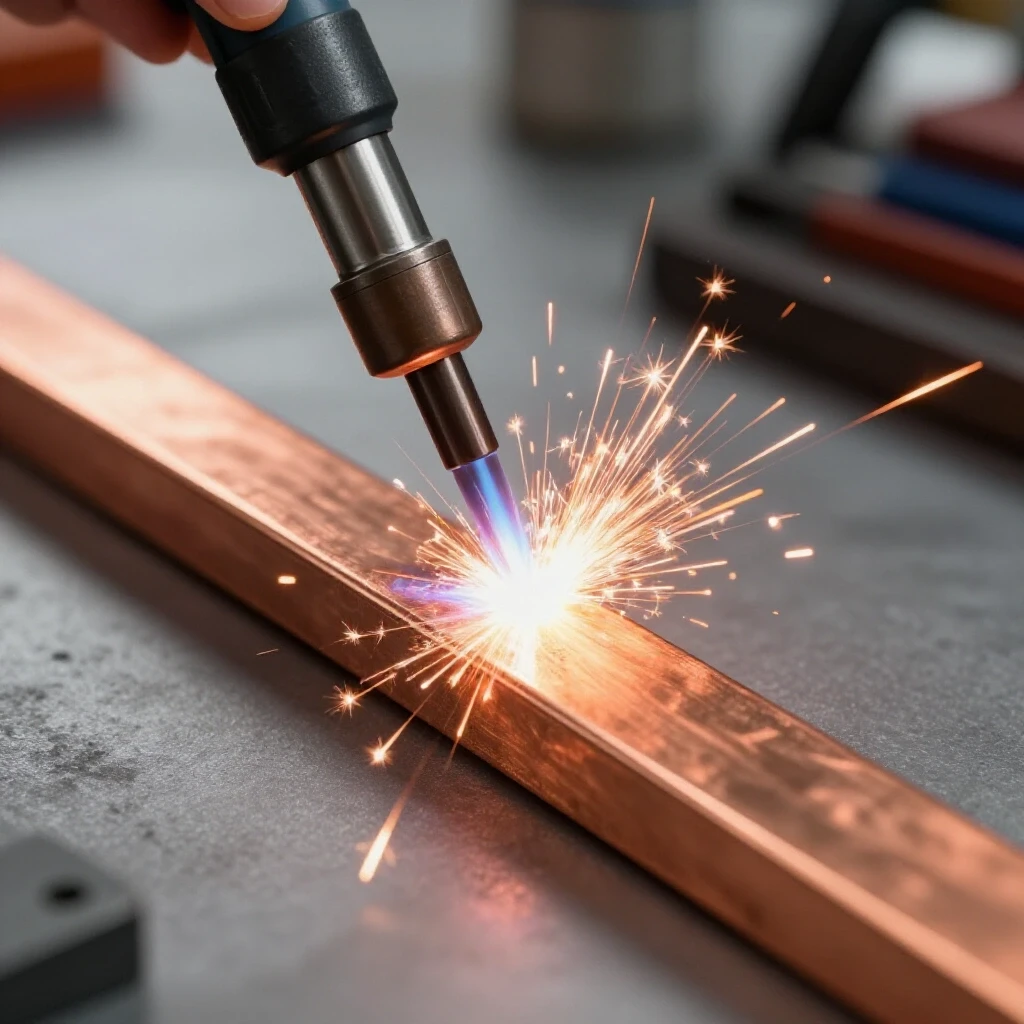
Managing heat distribution and root integrity involves controlling how thermal energy moves through a joint to prevent structural weakening. By using a support material with high thermal conductivity, fabricators can stabilize the molten metal and protect the backside of the weld from atmospheric contamination, resulting in a more predictable and safer structural outcome.
Controlling the Heat-Affected Zone (HAZ)
The heat-affected zone, or HAZ, is the area of base metal that has not melted but has had its microstructure and properties altered by the intense heat of welding. This zone is often the weakest point in a fabrication, where brittle fractures are most likely to occur under load. By placing a copper bar directly behind the joint, you create a path for excess heat to escape. This rapid heat transfer limits the size of the HAZ, preserving the original mechanical properties of the steel and reducing the risk of structural metal load capacity being compromised.
Preventing Burn-Through on Thin Gauges
Burn-through occurs when the weld pool becomes too fluid and gravity pulls it through the bottom of the joint, leaving a hole instead of a bead. This is a common frustration when working with thin-gauge materials where the margin for error is razor-thin. A copper support acts as a solid floor for the molten metal, allowing you to achieve full penetration without the fear of the puddle falling out. This physical containment is essential for maintaining a consistent cross-section, which is a primary requirement for any workshop safety checklist.
Physics of Copper as a Heat Sink
The physics of copper as a heat sink relies on the material’s ability to absorb and dissipate thermal energy much faster than the steel being welded. This property allows the copper to remain solid while the steel melts, providing a temporary mold for the weld root that prevents oxidation and sagging without becoming part of the final weld.
High Thermal Conductivity and Melt Containment
Copper has a thermal conductivity rate nearly eight times higher than that of carbon steel. In practical terms, this means the copper bar pulls heat away from the weld zone so quickly that the copper itself never reaches its melting point. This creates a “chill bar” effect. When the molten steel touches the copper, it solidifies almost instantly at the interface. This creates a smooth, flat root bead that requires no grinding and possesses a much higher structural integrity than a joint left to oxidize in the open air.
Non-Alloying Properties of Copper Supports
One of the most critical reasons we use copper is that it does not readily alloy with steel during the welding process. Unlike a steel backing strip, which becomes a permanent part of the structure, a copper bar can be removed once the metal has cooled. Because the two metals do not fuse, there is no risk of changing the chemical composition of your structural joint. This ensures that the weld remains pure and free from “copper embrittlement,” provided the bar is kept clean and the heat input is managed correctly.
| Property | Carbon Steel | Pure Copper | Impact on Welding |
|---|---|---|---|
| Thermal Conductivity (W/m·K) | ~50 | ~390 | Copper dissipates heat 8x faster |
| Melting Point (°F) | ~2,700 | ~1,980 | Copper stays solid under the arc |
| Yield Strength (PSI) | 36,000 – 50,000 | 10,000 – 30,000 | Steel provides the structure |
| Expansion Rate (in/in/°F) | 6.7 x 10^-6 | 9.4 x 10^-6 | Copper expands more when hot |
Implementation Strategies for Support Bars
Implementation strategies for support bars focus on the precise physical setup and alignment of the copper tool behind the weld joint. Proper fixturing ensures that the backing bar remains in direct contact with the workpieces, which is necessary for effective heat transfer and the prevention of root-side defects like “sugaring” or excessive reinforcement.
Positioning and Fixturing for Root Support
For a copper bar to function correctly, it must be held tightly against the back of the workpieces. Any gap between the steel and the copper will allow atmospheric oxygen to reach the molten root, leading to porosity and oxidation. I often use heavy-duty C-clamps or specialized magnetic fixtures to ensure zero clearance. If you are working on a long seam, ensure the bar is long enough to cover the entire run, as stopping to move the bar mid-weld can introduce thermal shocks and potential stress points in the metal.
Gas Coverage and Shielding Efficiency
While the copper bar provides a physical shield, it also helps optimize the welding gas flow rate. By closing off the back of the joint, the copper bar traps the shielding gas within the weld gap. This creates a small, pressurized chamber of inert gas that protects the molten metal from both sides. This is a key step in welding defect troubleshooting, as it eliminates “sugaring”—the bumpy, oxidized mess often seen on the back of stainless steel welds—and ensures the root is as clean as the face.
Identifying and Preventing Weld Defects
Identifying and preventing weld defects involves using copper backing to eliminate common internal flaws like root porosity, lack of fusion, and excessive warping. By stabilizing the cooling rate and providing a physical boundary for the weld pool, these bars help fabricators avoid the structural inconsistencies that lead to project failure.
Eliminating Root Porosity
Root porosity consists of tiny gas bubbles trapped in the metal as it solidifies, often caused by air being sucked into the back of the joint. When you use a copper backing bar, you effectively seal the back of the weld. This prevents the “venturi effect,” where the force of the welding arc pulls atmospheric air into the root. In my inspections, I have found that joints backed with copper consistently show higher density and fewer inclusions during non-destructive testing than those welded in the open.
Managing Warp and Distortion
Warping is the result of uneven expansion and contraction as metal heats and cools. Because copper acts as a heat sink, it draws heat out of the base metal more rapidly, which reduces the total amount of time the steel stays in a plastic, or deformable, state. This results in less overall distortion across the fabrication. For builders concerned with garage fabrication safety and precision, this means frames stay square and bolt holes stay aligned, reducing the need for forceful “cold-straightening” which can introduce latent stresses into the structure.
| Defect Type | Cause without Backing | Solution with Copper Bar |
|---|---|---|
| Burn-Through | Excessive heat in thin metal | Copper acts as a solid floor |
| Sugaring | Oxygen contamination at root | Copper seals out atmospheric air |
| Root Porosity | Air trapped in the weld pool | Copper traps shielding gas at the back |
| Distortion | Prolonged heat soak | Copper pulls heat away rapidly |
Safety and Workshop Protocols
Safety and workshop protocols when using copper backing bars involve managing the specific hazards associated with high-heat welding and heavy metal handling. This includes ensuring proper ventilation to handle fumes, selecting the correct personal protective equipment (PPE), and maintaining a clean workspace to prevent accidental fires or material contamination.
Fume Management and PPE
Welding on or near copper requires strict adherence to a workshop safety checklist. While copper itself is generally safe, any surface contaminants or oils on the bar can vaporize under the heat of the arc. Always ensure your workspace has a high-quality fume extraction system or a respirator rated for metal fumes. Additionally, because the copper bar can become extremely hot, never handle it without insulated welding gloves, even several minutes after the weld is complete. Always check your PPE shade/rating recommendations; for most MIG or TIG work with copper backing, a Shade 10-13 filter is necessary to protect against the increased arc reflection from the polished copper surface.
- Inspect the copper bar for any deep gouges or steel deposits that could cause sticking.
- Clean the bar with a stainless steel wire brush or abrasive pad to remove oxidation.
- Secure the bar to the back of the joint using high-pressure clamps to ensure zero gap.
- Verify that your welding gas flow rate is between 15–20 CFH for optimal coverage.
- Perform a short test bead on scrap material to check for proper heat sink effect.
- Monitor the temperature of the copper bar; if it begins to glow, allow it to cool before continuing.
A Lesson from the Field: The Support Frame Failure
A few years ago, I was consulted on a project involving a large aluminum support rack. The fabricator had attempted to weld long butt joints without any backing. The result was a series of “cold laps” and significant warping that threw the entire frame out of square by nearly two inches. We had to scrap the material, costing the client thousands in lost time and metal.
When we rebuilt the rack, we utilized heavy 1/2-inch thick copper bars clamped behind every major seam. Not only did the warping drop to less than 1/8 of an inch, but the root penetration was so uniform that the joints required zero internal cleanup. This experience reinforced a vital truth: spending twenty minutes setting up a copper support bar saves four hours of grinding and straightening later. It is a proactive approach to structural metal load capacity that every risk-averse builder should adopt.
Technical Verification Checklist
To ensure your projects meet high safety and quality standards, use this checklist before and after using copper supports:
- Pre-Weld Alignment: Is the copper bar perfectly flush against the steel? (Visual check for gaps).
- Thermal Mass: Is the copper bar at least twice as thick as the material being welded? (Ensures adequate heat sinking).
- Surface Purity: Is the copper free of oil, grease, or moisture? (Prevents hydrogen cracking and porosity).
- Gas Stability: Is the workspace shielded from drafts that could disturb the gas pocket? (Ensures root protection).
- Post-Weld Inspection: Is the root bead flat or slightly convex? (Signs of a healthy, supported weld).
- Distortion Check: Does the part meet the required dimensional tolerances? (Verifies heat control).
Conclusion
Mastering the use of copper backing bars is a significant step toward professional-grade fabrication. By understanding the physics of heat transfer and the importance of root-side protection, you move away from “guessing” and toward a data-driven approach to welding. This technique doesn’t just make your welds look better; it fundamentally changes the structural integrity of your projects by narrowing the heat-affected zone and eliminating common internal defects.
As you move forward, start by incorporating copper supports into your non-critical projects. Observe how the metal reacts and how much less distortion you encounter. Over time, this practice will become a standard part of your workshop safety and quality protocol, giving you the confidence that your builds are safe, straight, and built to last.
FAQ: Using Copper Backing Bars for Structural Integrity
Does the copper bar ever stick to the steel weld? Under normal conditions, copper will not fuse to steel because its melting point is lower and they do not readily alloy. However, if you use excessive heat or a very thin copper bar, the surface can slightly “braze” to the weld. Keeping the copper thick and clean usually prevents this entirely.
Can I use a copper pipe instead of a solid bar? A solid bar is preferred because it has more “thermal mass” to soak up heat. A pipe is hollow and can overheat quickly, leading to warping of the copper itself or even melting through if the arc lingers too long. For structural work, always use a solid copper plate or bar.
How do I clean the copper bar after it gets dirty? Over time, the copper will oxidize and turn black or green. Use a fine-grit sandpaper or a Scotch-Brite pad to bring it back to a shiny finish. Never use a carbon steel wire brush, as this can embed steel particles into the copper, which might then contaminate your future welds.
Will a copper bar work for all types of welding? Copper backing is most effective for MIG (GMAW) and TIG (GTAW) welding. It is less commonly used for Stick (SMAW) because the slag from the electrode can get trapped between the copper and the steel, causing inclusions. It is best suited for processes with a clean, gas-shielded puddle.
Does using a copper bar change the required gas flow? You should maintain your standard welding gas flow rate (typically 15–20 CFH). The copper bar actually makes your gas more efficient by trapping it at the root, so you don’t necessarily need to increase the flow, but you must ensure the seal is tight.
How thick should my copper backing bar be? A good rule of thumb is that the copper should be at least twice as thick as the metal you are welding. If you are welding 1/8-inch steel, use a 1/4-inch copper bar. This ensures the bar can absorb the heat without reaching its own melting point.
Can I use copper backing on aluminum projects? Yes, copper backing is excellent for aluminum. Since aluminum conducts heat very quickly, the copper bar helps stabilize the puddle and prevents the “sink” that often happens when aluminum gets too hot. Just ensure the copper is very clean to avoid contamination.
What happens if there is a gap between the copper and the metal? If there is a gap, oxygen will enter, and you will likely see porosity or “sugaring” on the back of the weld. The heat-sinking effect will also be lost, increasing the risk of burn-through. Always clamp the bar as tightly as possible.
Is it safe to breathe the fumes when the copper gets hot? While copper is not as toxic as galvanized steel, you should never breathe welding fumes. Always use proper ventilation and a respirator. If the copper is clean, the fumes are minimal, but safety protocols should always be followed.
How long will a copper backing bar last? With proper care, a copper bar can last for years. You may eventually need to mill or sand the surface if it becomes pitted from repeated use, but it is a long-term investment for any serious fabricator.
(This article was written by one of our staff writers, James Harlan. Visit our Meet the Team page to learn more about the author and their expertise.)