How to Adjust Drive Belt Tension on Bench Grinders (DIY Fix)
I have spent nearly two decades in fabrication shops, and if there is one thing I have learned, it is that a machine is only as reliable as its simplest component. You might be an expert at troubleshooting weld porosity or resolving complex tool chatter on a mill, but when your bench grinder starts to bog down during a heavy deburring session, the frustration is just as real. It is easy to assume the motor is giving out or the wheel is glazed, but more often than not, the culprit is hidden behind the safety guard: a loose or misaligned drive belt.
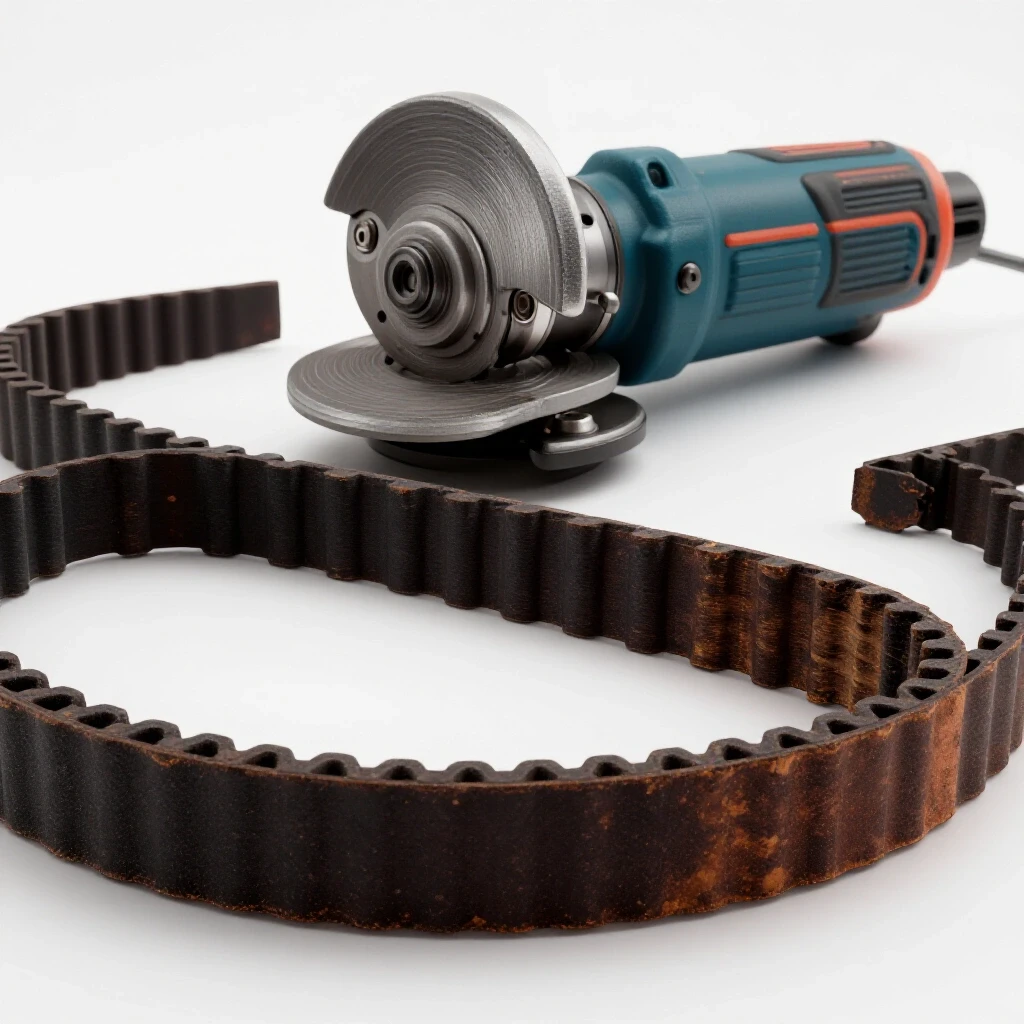
In my experience as a diagnostic specialist, I have seen seasoned fabricators lose hours of productivity because they bypassed a systematic check of their mechanical baselines. We often look for the most expensive problem first—the “electrical gremlin” or the “blown motor”—while ignoring the physical link that transfers power. Adjusting the tension on a bench grinder is a foundational skill that requires a methodical approach. It is not about cranking a bolt until it stops; it is about finding the precise balance where the belt can grip without crushing the bearings.
Establishing a Systematic Diagnostic Framework
A systematic diagnostic framework is a structured approach to problem-solving that moves from the most obvious physical symptoms to the more complex internal issues. It involves observing the machine in motion, isolating specific components, and controlling variables to ensure the root cause is identified rather than just the symptom.
Before you pick up a wrench, you have to understand what the machine is telling you. Mechanical troubleshooting steps always begin with observation. When I approach a grinder that is underperforming, I look for three specific signs of belt-related failure:
- Audible Clues: A high-pitched squeal during start-up or under load almost always indicates a belt that is slipping. Conversely, a deep, rhythmic thumping usually points to a belt that has “taken a set” from sitting too long or a pulley that is out of round.
- Visual Lag: If you can see the motor spinning at full speed but the grinding wheel slows down significantly when you apply pressure to the workpiece, the kinetic transfer is failing. This is a classic symptom of low tension.
- Thermal Feedback: After running the machine for a few minutes, safely feel the area near the pulley housings (with the power off). Excessive heat can indicate either a slipping belt generating friction or a belt that is so tight it is overheating the motor bearings.
By using this metalworking diagnostic guide to isolate the belt from the motor, you prevent yourself from chasing “ghost” problems. I once spent three hours helping a junior fabricator diagnose what he thought was a failing phase in his shop power, only to find that his grinder belt was so loose it was simply “skating” over the drive pulley whenever he pushed a piece of heavy plate against the wheel.
Identifying the Mechanical Baselines of Belt Drive Systems
Mechanical baselines are the “factory-perfect” states of a machine where all components are aligned, tensioned, and lubricated according to engineering standards. For a bench grinder, this means the drive belt has exactly enough friction to turn the wheels under load without causing deflection in the motor shaft.
In the world of metal fabrication fixes, we often talk about tolerances. For a standard V-belt or ribbed belt on a bench grinder, the “sweet spot” for tension is measured by deflection. Deflection is the amount of “give” a belt has when you apply pressure to the center of its longest span.
- Under-tensioned (Loose): Causes slippage, glazing of the belt material, and erratic wheel speeds. This can lead to poor surface finishes and increased tool chatter if you are using the grinder for precision sharpening.
- Over-tensioned (Tight): Puts a massive radial load on the motor and spindle bearings. This will lead to premature bearing failure, which manifests as a loud grinding noise and, eventually, a seized motor.
I recommend a target deflection of 1/2 inch when applying moderate thumb pressure (roughly 5 to 10 pounds of force) to the midpoint of the belt. If the belt moves more than this, it is too loose. If it barely moves at all, it is a ticking time bomb for your bearings.
Troubleshooting Belt Slippage and Power Loss
Belt slippage is the loss of traction between the drive belt and the pulley grooves, resulting in a failure to transfer the motor’s full torque to the grinding wheel. This issue is often caused by low tension, oil contamination, or the natural stretching of rubber compounds over time.
When I am diagnosing power loss, I use a process of elimination. First, I ensure the pulleys are clean. In a fabrication shop, fine metal dust and oil mist can settle on the belt, acting like a lubricant. I have seen cases where “slippage” was actually just a coating of grinding dust.
Tension Comparison Table
| Symptom | Probable Cause | Diagnostic Metric |
|---|---|---|
| High-pitched squeal | Low tension / Glazed belt | Deflection > 0.75 inches |
| Motor bogs, wheel stops | Extreme slippage | Visible belt “flutter” |
| Excessive vibration | Pulley misalignment | Straight-edge deviation > 0.020 inches |
| Hot motor housing | Over-tensioned belt | Deflection < 0.25 inches |
| Rapid belt wear | Worn pulley sheaves | Visible “V” groove rounding |
If the pulleys are clean and the motor is healthy, the next step is to adjust the motor’s physical position. Most DIY-friendly bench grinders utilize a “slotted mount” system. The motor is held in place by four bolts; by loosening these, you can slide the motor further away from the spindle to take up the slack.
Execution: Moving the Motor and Measuring Deflection
The physical adjustment of the motor involves loosening the mounting hardware to allow for linear movement, which increases or decreases the distance between the drive and driven pulleys. This process requires incremental changes to ensure the belt remains centered and the tension stays within the 1/2-inch deflection limit.
I always start by marking the original position of the motor with a scribe or a fine-tip marker. This gives me a “fail-safe” point to return to if my adjustments go sideways.
- Loosen the Mounts: Use a wrench to loosen the four mounting bolts just enough so the motor can slide. Do not remove them.
- Apply Tension: Use a pry bar or a large screwdriver as a lever between the motor base and the grinder frame. Gently nudge the motor back.
- Check Deflection: While holding the tension with the lever, use your other hand to check the belt’s “give.” You are looking for that 1/2-inch mark.
- Snug the Bolts: Tighten two diagonally opposite bolts first. This prevents the motor from “walking” or twisting as you apply final torque.
- Final Torque: Tighten all four bolts to the manufacturer’s specifications, usually around 15-20 ft-lbs for standard bench equipment.
Interestingly, many fabricators forget that belts are made of organic and synthetic polymers that expand with heat. If you set the tension in a freezing shop in January, that belt will behave differently in the heat of July. I always suggest a “warm-up” run of five minutes before doing a final tension check.
Why Pulley Alignment is Critical for Vibration Control
Pulley alignment is the process of ensuring that the drive pulley on the motor and the driven pulley on the grinder spindle are perfectly parallel and on the same vertical and horizontal planes. Misalignment causes the belt to enter the pulley at an angle, leading to rapid wear and resonant vibrations.
If you have ever dealt with tool chatter solutions on a lathe, you know that vibration is the enemy of precision. On a bench grinder, an unaligned belt creates a “side-loading” force. This doesn’t just wear out the belt; it creates a vibration that travels through the spindle and into the grinding wheel. This can cause the wheel to “bounce” against your workpiece, leading to an uneven grind and even contributing to structural alignment faults in the machine’s base.
To check this, I use a simple straight edge. Lay the straight edge across the faces of both pulleys. It should touch at four points: the two outer edges of the motor pulley and the two outer edges of the spindle pulley. If there is a gap at any of these points, your motor is “cocked” at an angle. Even a deviation of 0.015 inches can cause a noticeable hum and heat buildup.
Real-World Case Study: The Mystery of the “Phantom” Vibration
A few years ago, I was called to a custom fabrication shop that was having trouble with their finish quality. They were seeing strange “scallop” marks on their stainless steel welds after grinding. They had already tried different wheels and even replaced the spindle bearings, but the vibration persisted.
When I arrived, I performed a vibrational analysis using a smartphone spectrum analyzer app. I noticed a spike at a frequency that didn’t match the motor’s RPM. This told me the problem was likely the belt. Upon opening the guard, I found the belt was tight—too tight. It had been over-tensioned to stop a minor slip, which had pulled the motor slightly out of alignment.
We reset the motor, aligned the pulleys using a digital dial indicator to within 0.005 inches, and set the deflection to exactly 1/2 inch. The vibration vanished instantly. The lesson here is that more tension is not a substitute for proper alignment.
Actionable Tracking Frameworks for Machine Maintenance
A maintenance tracking framework is a documented history of a machine’s adjustments, part replacements, and performance metrics. Keeping a log allows a fabricator to spot patterns, such as a belt that stretches too quickly, which might indicate an underlying pulley issue or an environmental problem like chemical exposure.
I recommend keeping a simple logbook or a digital spreadsheet near your main workbench. When you perform a mechanical adjustment, record the following:
- Date of Adjustment: Helps track the lifespan of the belt.
- Deflection Measurement: Record the “before” and “after” (e.g., “Started at 1 inch, adjusted to 0.5 inch”).
- Pulley Condition: Note any signs of “glazing” or shiny spots on the pulley grooves.
- Vibration Level: A simple 1-10 subjective scale or a reading from a vibration app.
By tracking these variables, you move from “reactive” repairs to “predictive” maintenance. This is the same logic we use when troubleshooting weld porosity; we look at the gas flow, the wire speed, and the material cleanliness. Treat your machinery with the same level of analytical rigor.
Common Pitfalls and “Rookie” Mistakes to Avoid
In my 18 years of troubleshooting, I have seen the same mistakes repeated across shops of all sizes. The most common is the “crowbar method,” where a fabricator uses excessive force to tension a belt, thinking “tighter is better.” This almost always results in a bent motor shaft or a cracked mounting flange.
Another mistake is ignoring the belt’s “memory.” If a grinder sits unused for six months, the belt will hold the shape of the pulleys. When you turn it on, it will thump. Many people try to “tension out” this thump, but you can’t. The only fix for a belt with a “set” is to replace it or run it long enough for it to warm up and regain its flexibility.
Finally, never use “belt dressing” sprays as a permanent fix. These are tacky compounds that provide a temporary grip but eventually attract dust and grit, turning into an abrasive paste that eats your pulleys. If the belt is slipping, find the mechanical root cause.
Diagnostic Tools and Calibration Checklist
To perform these adjustments correctly, you need a small kit of reliable tools. You don’t need industrial-grade lasers, but you do need accuracy.
- Steel Straight Edge: For checking pulley axial alignment.
- Calibrated Tension Gauge (Optional): If you want to move beyond the “thumb test,” a small spring-loaded tension gauge ensures repeatable results.
- Digital Calipers: Useful for measuring the distance between the motor base and a fixed point on the frame to ensure the motor is sliding squarely.
- Infrared Thermometer: To check for “hot spots” on the motor or spindle housings after a run.
- Vibration App: Use your smartphone to log the “baseline” vibration of the machine when it is running perfectly.
Conclusion: Mastering the Mechanical Link
Taking the time to systematically adjust the drive system on your bench grinder is about more than just fixing a squeak. It is about understanding the relationship between tension, alignment, and tool performance. When your equipment is dialed in, you eliminate the variables that lead to poor finishes, excessive noise, and wasted time.
As you move forward with your fabrication projects, remember that the same analytical mindset you use for complex lathe alignment or isolating resonant harmonics applies to the simplest tools in your shop. By following these steps—observation, isolation, and controlled adjustment—you ensure that your bench grinder remains a reliable partner in your workflow, rather than a source of frustration.
Frequently Asked Questions
How often should I check the belt tension on my grinder? For a tool used daily in a fabrication shop, I recommend a quick “thumb test” once a month. Rubber belts naturally stretch over time, especially during the first 50 hours of use. If you notice any change in the sound of the motor or a delay in the wheels reaching full speed, check it immediately.
What is the “thumb test” for belt deflection? The thumb test involves pressing down on the center of the belt’s longest span between the two pulleys. You should be able to push the belt down about 1/2 inch with moderate pressure. If it moves more than an inch, it’s too loose; if it doesn’t move at all, it’s too tight.
Can a loose belt cause the grinding wheel to vibrate? Yes. A loose belt can “flutter” or whip at high speeds, creating a rhythmic vibration that transfers through the spindle to the wheel. This vibration can ruin the surface finish of your workpiece and, in extreme cases, cause the grinding wheel to develop uneven wear patterns.
Why does my belt keep slipping even after I tensioned it? Check for “glazing.” If a belt has slipped for a long time, the friction has likely “cooked” the rubber, making it hard and shiny. Glazed belts lose their ability to grip the pulley. If the belt looks like polished plastic on the inside, it needs to be replaced regardless of the tension.
How do I know if my pulleys are misaligned? Look for “belt dust”—a fine black powder—inside the belt guard. This is usually a sign that the belt is rubbing against the side of the pulley flange because the motor and spindle are not on the same plane. You can verify this with a straight edge across both pulley faces.
Will over-tightening the belt really damage the motor? Absolutely. Motor bearings are designed to handle a specific “radial load.” When a belt is too tight, it pulls the motor shaft toward the spindle with hundreds of pounds of force. This creates heat and friction inside the bearing, leading to a “burned out” motor that is often expensive to repair.
What should I do if my motor doesn’t have slots for adjustment? Some smaller or older grinders use an “idler pulley” or a “tensioner arm.” In these cases, you adjust the tension by moving the idler wheel against the belt rather than moving the motor itself. The goal of 1/2-inch deflection remains the same.
Does shop temperature affect belt tension? Yes. Cold temperatures make rubber belts stiffer and slightly shorter, while heat makes them more pliable and prone to stretching. If your shop isn’t climate-controlled, you may find you need to make minor adjustments as the seasons change to maintain optimal performance.
Can I use a belt from a different machine if it fits? Only if the “profile” matches. Belts are categorized by their cross-section (e.g., Type A, Type B, or multi-rib). Even if a belt is the right length, if the V-angle doesn’t match your pulley, it will only touch at the very top or bottom, leading to immediate slippage and wear.
Why is my grinder making a thumping sound after sitting all winter? This is called “flat-spotting” or “taking a set.” The belt has hardened into the shape of the pulleys. Usually, running the grinder for 10-15 minutes will warm the rubber enough for it to regain its round shape. If the thumping persists after it’s warm, the belt has likely suffered internal cord damage and should be replaced.
(This article was written by one of our staff writers, Paul Whitaker. Visit our Meet the Team page to learn more about the author and their expertise.)