Adjusting Oxy-Acetylene Torch Oxygen Pressure Safely (Tips)
I have spent the last 18 years walking onto shop floors where machines are screaming, welds are failing, and operators are frustrated. My name is Paul Whitaker, and my job as a diagnostic specialist is to find out why. I have learned that most fabrication failures do not come from a single catastrophic event. Instead, they stem from small variables that drift out of spec. One of the most overlooked variables in any shop using thermal cutting is the precise management of gas delivery.
When a cut edge looks like a hacksaw chewed through it, or when you see excessive dross on the bottom of a steel plate, your first instinct might be to blame the machine’s motion system or the material grade. However, through years of systematic troubleshooting, I have found that the root cause often lies in how we manage the force of the oxidizing stream. If the pressure is not dialed in correctly, you are not just wasting gas; you are introducing thermal instability into your entire fabrication process.
Establishing the Baseline for Oxygen Flow Regulation
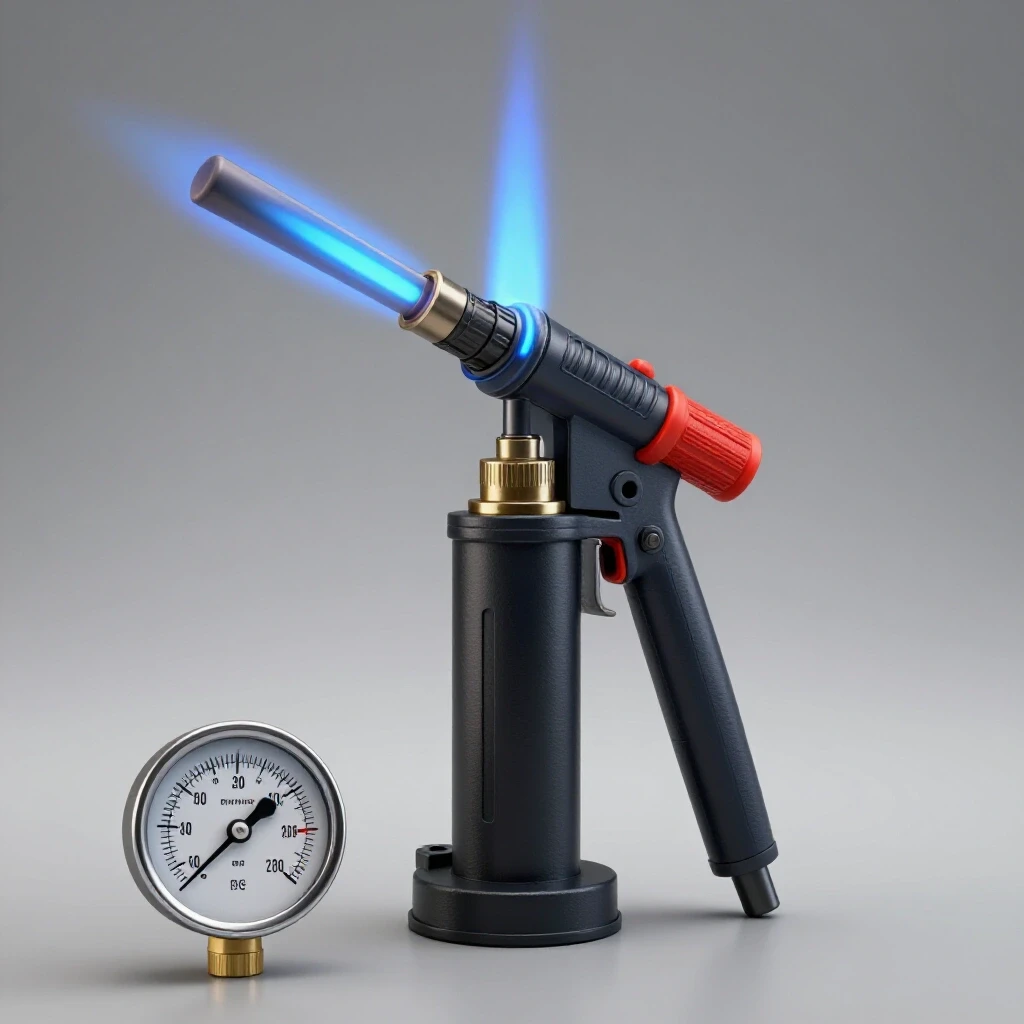
Managing gas flow involves setting the secondary stage of a regulator to deliver a specific volume of gas to the torch head. This ensures the chemical reaction during cutting is sustained without causing turbulence or extinguishing the flame. It requires a firm understanding of how pressure interacts with the internal diameter of your hoses and the orifice of your cutting tip.
In my experience, many fabricators set their regulators by “feel” or by what they remember from a previous job. This is a mistake. Every setup has its own unique resistance. To establish a baseline, you must consult your equipment manufacturer’s charts. For a standard cutting tip, you are typically looking at a range of 20 to 40 psi. If you are working on 1/4-inch plate, you might start at the lower end, whereas 1-inch plate requires more force to clear the molten metal from the kerf.
Setting this baseline is the first step in a metalworking diagnostic guide. If your baseline is wrong, every other adjustment you make—speed, height, or angle—will be an attempt to compensate for a fundamental error. I once spent three days diagnosing what looked like spindle backlash on a CNC gantry, only to find the oxygen pressure was so high it was physically pushing the torch head off its path during the cut.
Why Improper Pressure Causes Cutting Defects and Tooling Vibrations
Incorrect gas force can lead to mechanical instability in the molten pool, creating ripples or slag buildup that mimics machining chatter. High pressure often results in wasted gas and jagged edges, while low pressure fails to clear the kerf efficiently. This imbalance creates a feedback loop that affects the structural integrity of the finished part.
When the oxygen stream is too aggressive, it creates a “venturi effect” that can pull atmospheric air into the cut. This is a common cause of troubleshooting weld porosity before the welding even begins. If the cut edge is heavily oxidized or pitted due to turbulent gas flow, the subsequent weld bead will struggle to bond with the base metal. You end up with tiny gas pockets trapped in the grain structure.
We often talk about tool chatter solutions in the context of lathes or mills, but thermal cutting has its own version of chatter. If the oxygen pressure is inconsistent, the “drag lines” on the cut surface will be uneven. This unevenness can cause the torch to vibrate or “jump” if you are using an automated tracer or a CNC carriage. I always check the regulator’s delivery pressure before I start tearing down a motor controller or checking for gear rack wear.
Systematic Steps for Calibrating Oxygen Delivery Systems
A methodical approach to setting gas levels requires checking for leaks, verifying tip sizes, and adjusting the regulator while the gas is flowing. This dynamic setting accounts for the pressure drop that occurs once the torch valve is opened. It is the difference between static pressure and working pressure, which is a vital distinction in mechanical troubleshooting steps.
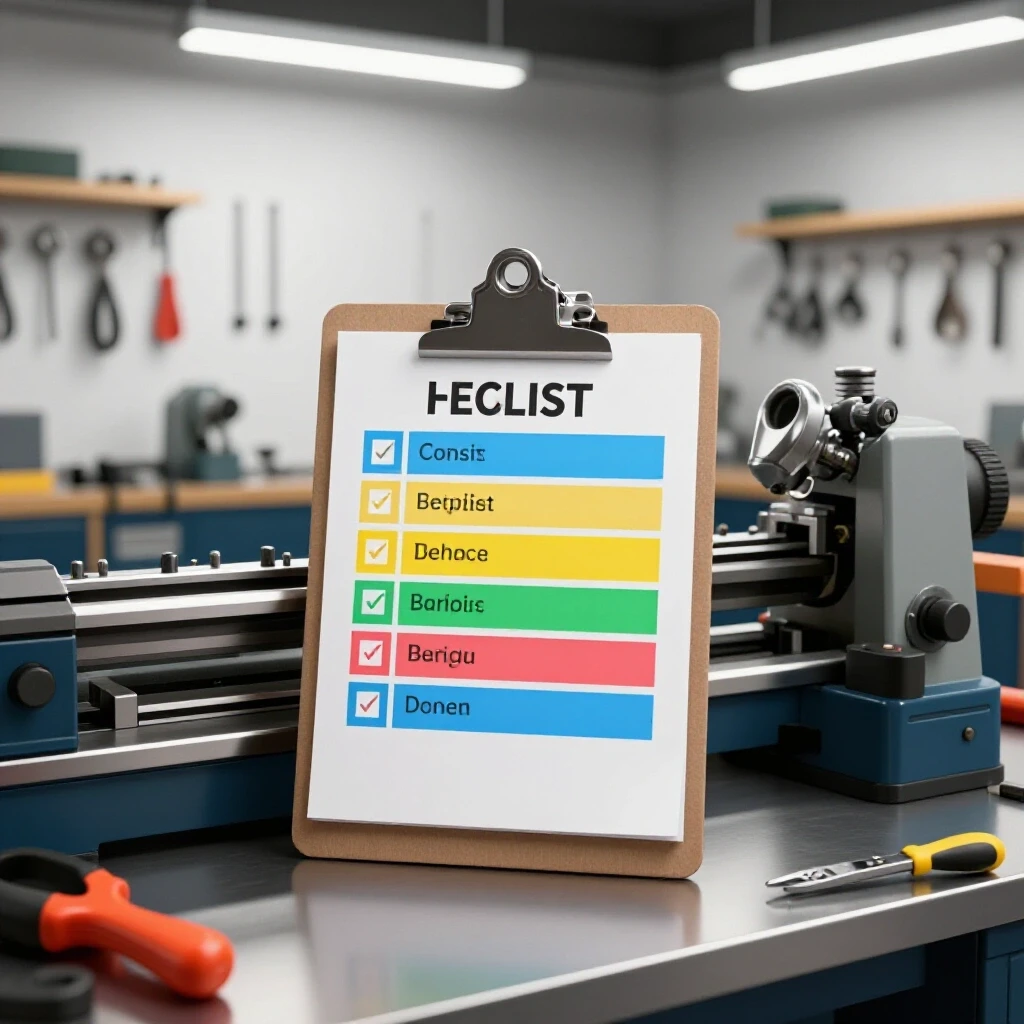
To calibrate your system properly, follow this sequence:
- Inspect the regulator for any signs of physical damage or oil contamination. Never use oil on oxygen equipment.
- Check all connections using a dedicated leak-detection solution or soapy water. Look for growing bubbles at the regulator inlet, the hose crimps, and the torch valves.
- Verify that your tip size matches the plate thickness you are cutting. A #0 tip and a #2 tip require vastly different flow rates.
- Open the oxygen valve on the torch body completely. This is the “dynamic” state.
- Slowly turn the regulator adjustment screw clockwise until the gauge reaches your target value (e.g., 30 psi).
- Close the torch valve and observe the gauge. If the needle continues to climb, you have a “creeping” regulator that needs repair.
By adjusting the pressure while the gas is actually flowing, you ensure that the torch receives the exact force needed at the moment of impact. I have seen many fabricators set their pressure at 40 psi with the torch closed, only to have it drop to 25 psi the moment they start cutting. That 15 psi drop is enough to cause a “stall” in the oxidation process, leading to a failed cut and wasted material.
Diagnosing Pressure Drops and Regulator Creep
Pressure drop occurs when the gauge reading falls significantly once flow begins, often indicating a restriction in the line or an undersized regulator. Regulator creep happens when pressure rises past the set point while the torch is closed, signaling internal seat failure. Both issues can ruin a precision fabrication job and create safety hazards.
In my diagnostic logs, I use a simple table to track these issues. If I notice the cut quality degrading over an eight-hour shift, I look for these specific readings:
| Symptom | Gauge Behavior | Likely Root Cause |
|---|---|---|
| Jagged cut edges | Rapid needle vibration | Damaged regulator diaphragm |
| Incomplete penetration | Pressure drops > 5 psi during flow | Clogged tip or kinked hose |
| Blown out kerf | Pressure spikes at start | Regulator “creep” or seat wear |
| Porosity in weld prep | Unstable low pressure | Internal blockage or leak |
If you see a pressure drop of more than 2 to 3 psi when you open the torch valve, your delivery system is struggling. It could be a 50-foot hose that is too narrow for the volume required, or a flash-back arrestor that is partially clogged with carbon. Identifying these “electrical gremlins” of the gas world requires patience and a systematic bypass test—swapping out one component at a time until the pressure stabilizes.
Real-World Case Study: Solving Porosity in Heavy Plate Cuts
A few years ago, I was called to a shop that was struggling with 2-inch thick A36 steel plate. They were getting massive amounts of porosity in their sub-arc welds. They had already replaced their welding wire, changed the flux, and even ground the edges of the plate to a shiny finish. The problem persisted. I decided to look at their oxygen setup.
They were using a heavy-duty torch but were running their oxygen at 60 psi, which was way above the manufacturer’s recommendation for that tip size. This excessive pressure was creating a turbulent “roaring” flame that was embedding oxides deep into the vertical face of the cut. Even though they ground the surface, the heat-affected zone (HAZ) was contaminated.
We performed a systematic test: * We reduced the oxygen pressure to 35 psi. * We increased the pre-heat time by 10 seconds to compensate for the lower gas force. * We used a digital dial indicator to ensure the torch was perfectly perpendicular (within 0.005 inches).
The result was a glassy, smooth cut surface. When the welding team ran their passes, the porosity disappeared. The lesson here is that more pressure is not always better. Sometimes, the “brute force” approach to metal fabrication fixes actually creates more problems than it solves.
Integrating Diagnostic Tools for Precision Gas Management
Modern fabrication requires more than just looking at an analog dial. To truly master gas management, you should integrate digital tools into your routine. These tools help you move away from guesswork and toward data-driven decisions that minimize downtime and material waste.
- Digital Pressure Gauges: These provide accuracy down to 0.1 psi, which is essential for thin-gauge brazing or precision cutting where a 2 psi variance can change the kerf width.
- Infrared Heat Tracking: Use an IR thermometer to check the temperature of the regulator body. If it is icing up, your flow rate is too high for the regulator’s capacity, causing a massive pressure drop.
- Smartphone Vibration Analyzers: You can use these apps to detect if your gas delivery is causing harmonic vibrations in the torch gantry.
- Flow Meters: Unlike pressure gauges, these measure the actual volume of gas moving through the line (CFH). This is the gold standard for troubleshooting weld porosity issues related to gas coverage.
I always keep a maintenance history planner for my gas equipment. Every six months, I test the “lock-up” pressure of my regulators. This involves setting the pressure, closing the torch, and waiting five minutes. If the pressure rises by more than 1 or 2 psi, that regulator is flagged for a rebuild. This kind of preventative diagnostic work is what separates a master fabricator from someone who is constantly fighting their equipment.
Troubleshooting Mechanical Alignment and Gas Interaction
Structural alignment faults are often blamed on the machine frame, but the way gas interacts with the metal can actually pull a part out of alignment. If your oxygen pressure is too high on one side of a V-groove, the uneven cooling rates will cause the plate to warp. This is especially true on long rips of plate steel.
When I perform a lathe alignment checklist or a mill calibration, I also look at how the thermal stresses are being managed. If you are cutting a long strip and the part is “bowing,” check your gas settings. High-pressure oxygen generates more heat through the exothermic reaction. By lowering the pressure to the minimum required for a clean cut, you reduce the total heat input.
This is a critical part of mechanical troubleshooting steps. You aren’t just fixing a machine; you are managing the physics of the material. If you can control the pressure, you can control the heat. If you can control the heat, you can maintain your tolerances within that 0.002 to 0.010 inch range that high-quality fabrication demands.
Practical Tips for Maintaining System Integrity
To keep your shop running at peak efficiency, you must treat your gas delivery system as a precision instrument. This means avoiding common rookie mistakes like using the wrong hose grade or ignoring a flickering gauge needle. Here are some actionable benchmarks for your daily setup:
- Hose Inspection: Check for cracks every morning. A leak that drops your pressure by only 1 psi can change the chemistry of your cutting flame.
- Tip Maintenance: Use a tip cleaner religiously. A partially blocked orifice will cause a pressure backup at the regulator, giving you a false reading of high pressure while the torch is actually starving for gas.
- Regulator Positioning: Ensure the regulator is mounted securely. Vibrations from nearby machinery can cause the internal springs to oscillate, leading to “pulsing” oxygen delivery.
- Pressure Graduation: Always adjust your pressure upwards. If you need to go from 35 psi down to 30 psi, back the screw out completely and then dial it back up to 30. This sets the internal diaphragm tension more accurately.
By following these systematic diagnostic methodologies, you take the “magic” out of the process. You are no longer guessing why a cut failed; you are looking at the data, checking your gauges, and isolating the variables. This is how you reduce frustration and get your equipment back online with minimal downtime.
FAQ on Managing Oxygen Delivery and Pressure
What is the ideal oxygen pressure for cutting 1/2-inch steel? For most standard torches with a #1 or #2 tip, the ideal range is between 25 and 35 psi. However, you should always check the specific flow chart for your brand of tip, as orifice sizes vary between manufacturers.
How do I know if my oxygen pressure is causing weld porosity? If the cut edge produced by the torch is heavily pitted, has deep vertical gouges, or shows a thick layer of black oxide, it is likely that excessive or turbulent oxygen pressure was used. This contamination can be carried into the weld pool if not ground away properly.
Can high oxygen pressure cause my torch to vibrate? Yes. If the gas velocity exceeds the capacity of the tip’s design, it creates turbulence. This turbulence can cause high-frequency vibrations in the torch head, which may look like tool chatter on the finished cut surface.
Why does my oxygen pressure drop when I press the cutting lever? This is known as “dynamic pressure drop.” It happens because the gas starts moving, and friction within the hoses and fittings creates resistance. Always set your final pressure while the cutting oxygen lever is fully depressed.
What is regulator “creep” and is it dangerous? Creep occurs when the internal valve seat of the regulator fails to close completely. The pressure on the low side will slowly rise until it matches the tank pressure. This can rupture hoses or damage the torch and is a sign the regulator needs immediate repair.
Is it okay to use a 100-foot hose for my torch setup? Longer hoses create more friction, leading to a significant pressure drop. If you must use a long hose, you may need to increase the regulator setting by 5 to 10 psi to ensure the correct pressure reaches the torch, or switch to a larger diameter hose (e.g., 3/8-inch instead of 1/4-inch).
How often should I check for leaks in my gas system? I recommend a “soapy water” leak check every time you change a tank or if the equipment has been sitting idle for more than a few days. Small leaks are the leading cause of inconsistent pressure readings.
What should I do if my regulator freezes up during a long cut? Icing on the regulator indicates that the gas is expanding too rapidly for the regulator’s flow capacity. You may need a heavy-duty or high-flow regulator, or you might need to manifold two oxygen tanks together to share the load.
Can I use the same oxygen pressure for brazing as I do for cutting? No. Brazing typically requires much lower pressures, often in the 3 to 5 psi range, depending on the tip. Using cutting-level pressures for brazing will blow the filler metal out of the joint and could extinguish the flame.
Why is my gauge needle fluttering while I cut? A fluttering needle usually indicates a failing regulator diaphragm or an obstruction in the line. It can also be caused by a “dirty” tank of gas. If the fluttering is severe, it will cause visible ripples in your cut.
Does temperature affect my oxygen pressure settings? Yes, gas pressure changes with temperature. If you set your pressure in a cold shop in the morning, you may find the pressure has increased by several psi as the shop warms up in the afternoon. Always re-verify your settings if the ambient temperature changes significantly.
How do I troubleshoot a “popping” sound in the torch? A popping sound often means the gas velocity is too low to keep the flame outside the tip. This can happen if your oxygen pressure is set too low for the tip size you are using. Check your charts and ensure you aren’t starving the flame.
(This article was written by one of our staff writers, Paul Whitaker. Visit our Meet the Team page to learn more about the author and their expertise.)