How to Control Grinding Spark Dust in Garage Shops (DIY Fix)
I have spent over two decades refining the flow of my workshop. In the early years, I moved from a basic corner setup to a high-output environment featuring a CNC plasma table and a complex 3-phase power system. One lesson I learned the hard way is that as you scale up, the small problems become big bottlenecks. For a fabricator, few things are as destructive to a professional workflow as the fine metallic swarf and hot sparks generated by handheld abrasive grinding.
When I first integrated my CNC system, I noticed my electronics were acting up. The culprit was fine iron dust settling on the circuit boards. I realized that if I wanted to run a professional-grade micro-manufacturing operation, I had to treat air quality as a core part of my shop layout. Managing these particulates is not just about cleanliness; it is about protecting your capital investments and keeping your material flow moving without constant stops for cleaning.
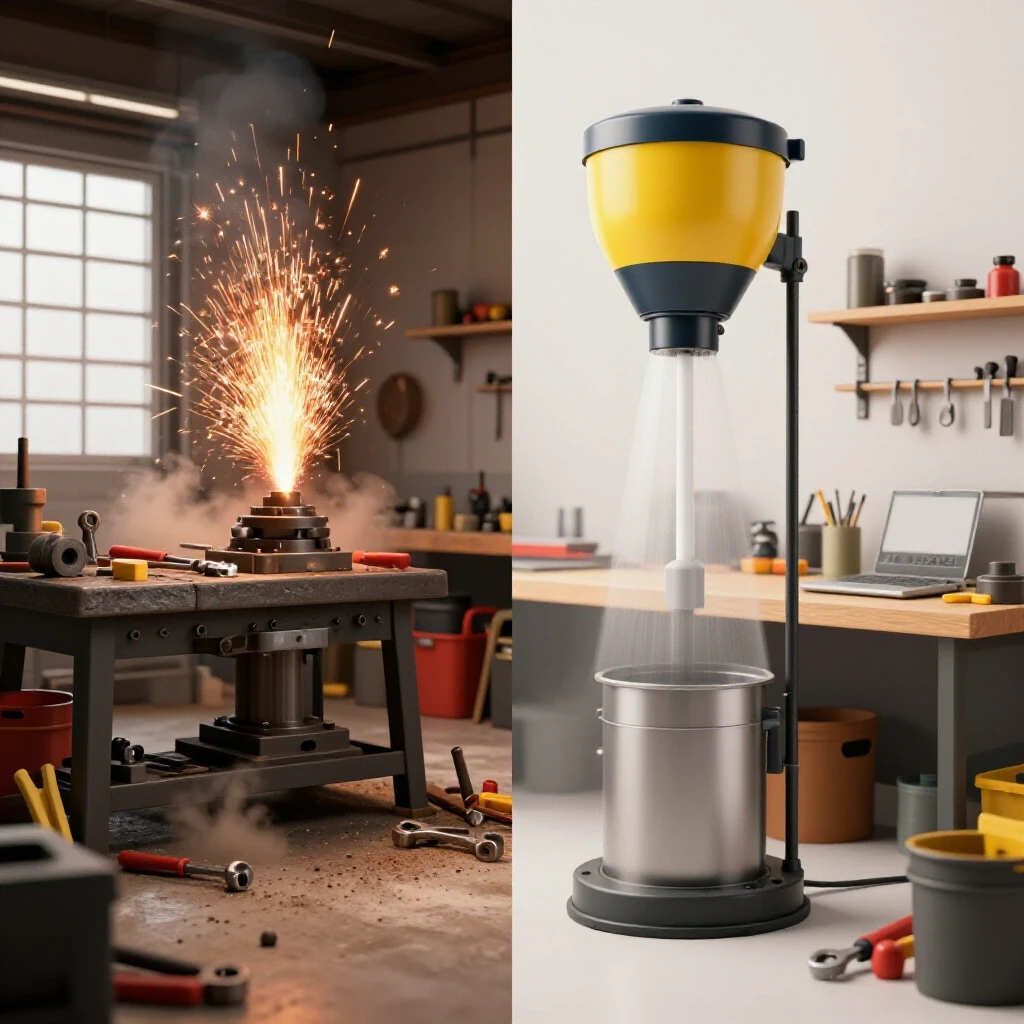
The Physics of Spark Migration in Advanced Workshop Layouts
Managing the movement of metallic debris involves understanding how air currents and tool rotation carry heavy particles across a floor plan. In a dense shop layout, these particles can travel surprisingly far, landing on precision surfaces or entering the cooling vents of expensive machinery.
When you are planning a workshop evolution, you have to look at the “travel path” of your waste. In my shop, I categorize waste into three zones: the drop zone, the drift zone, and the suspension zone. The drop zone is where the heavy sparks land. The drift zone is where medium-weight dust settles within ten feet. The suspension zone is the fine, invisible dust that stays in the air and finds its way into your CNC gantry rails.
By identifying these zones, you can strategically place your manual grinding station away from your sensitive electronics. I found that placing my grinding bench near a dedicated exterior wall allowed me to build a localized extraction system. This prevented the “grit-drift” that was previously shortening the life of my linear bearings.
Mapping Material Flow to Minimize Debris Spread
Material flow is the path a raw piece of steel takes from the rack to the finished product. To keep a shop efficient, you want a linear path that prevents “back-tracking,” which often leads to cross-contamination of clean and dirty zones.
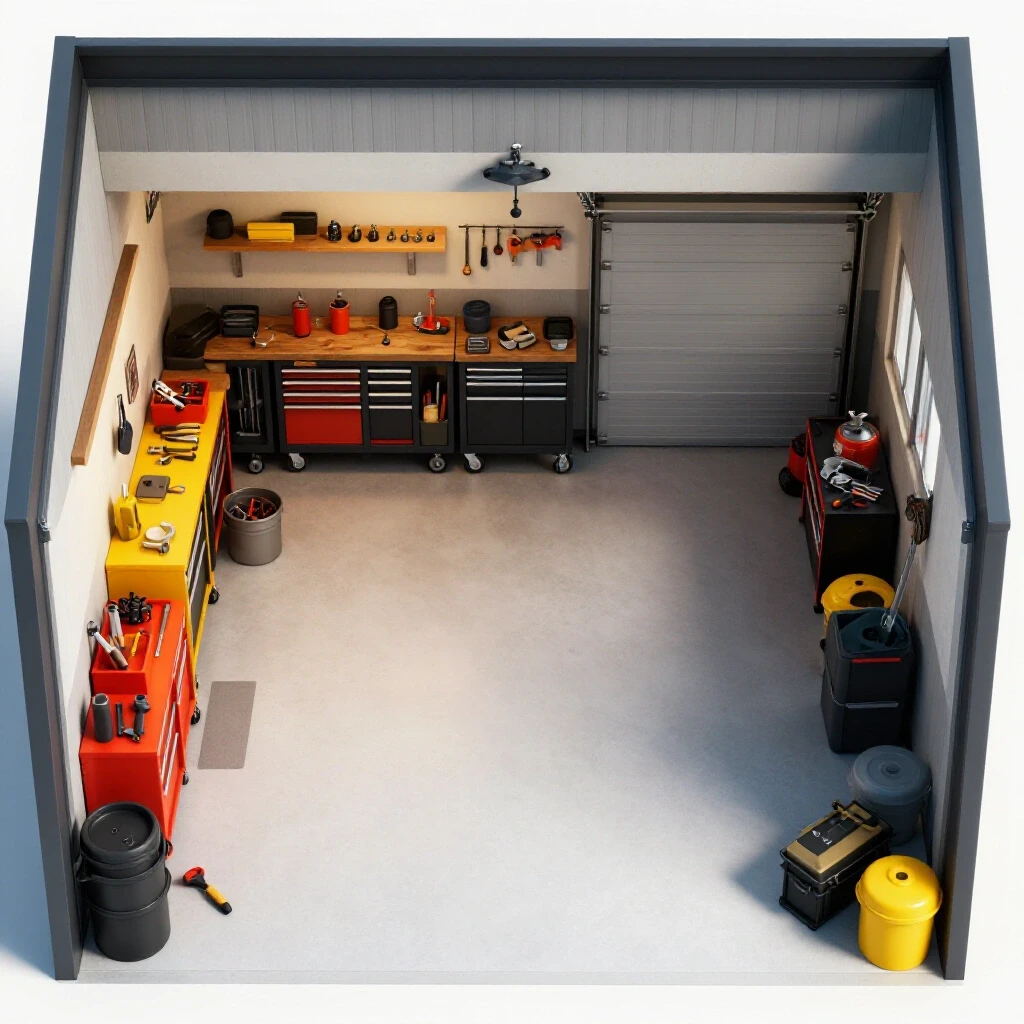
In a high-output garage shop, you should aim for a “U-shaped” or “Straight-line” flow. If your grinding station is in the middle of the shop, you are essentially spraying dust over every other stage of production. I redesigned my layout so that all abrasive work happens in a dedicated “dirty cell.” This cell is the only place where I use handheld grinders, and it is positioned right before the parts move to the assembly or welding area.
| Layout Feature | Impact on Particulate Control | Efficiency Rating |
|---|---|---|
| Centralized Grinding | Spreads dust to all machines | Low |
| Perimeter Dirty Cell | Contains sparks to one wall | High |
| Open-Floor Grinding | Requires whole-shop cleaning | Very Low |
| Shielded Workstation | Blocks line-of-sight spark travel | Medium-High |
Engineering a Low-Cost Source Capture System for Ferrous Grinding
Source capture is the process of catching dust at the exact point it is created before it has a chance to enter the general shop air. For the advanced fabricator, building a custom DIY hood is often more effective than buying a generic small-scale collector.
I built my primary extraction hood using 20-gauge galvanized sheet metal I had left over from a ducting project. The goal was to create a “capture velocity” of at least 100 to 150 feet per minute (FPM) at the work surface. This velocity ensures that even the heavier sparks are pulled into the ducting rather than bouncing off the bench and onto the floor.
When you design your hood, keep the opening as small as possible while still allowing for tool movement. A smaller opening increases the “suction” or static pressure at the face of the hood. I used a simple tapered design that transitions from a 24-inch wide mouth down to a 6-inch round duct. This transition is critical; if the angle is too steep, you create turbulence that kills your airflow efficiency.
Fabricating Custom Extraction Hoods from Hardware Store Stock
Building your own extraction components allows you to tailor the system to your specific bench height and tool usage. You can use standard HVAC boots and transitions found at most hardware stores to save time on complex geometry.
I started with a standard 10-inch to 6-inch HVAC reducer. I then riveted flat “wings” of sheet metal to the wider end to create a flared intake. To ensure a tight seal, I used high-temperature silicone sealant on every joint. This is a small detail, but air leaks in your ducting can reduce your total CFM (Cubic Feet per Minute) by up to 20%.
- Use 20 or 22-gauge sheet metal for durability.
- Seal all seams with foil tape or silicone.
- Mount the hood on a sliding track to adjust for different part sizes.
- Incorporate a “spark baffle”—a simple metal plate angled at 45 degrees—to prevent hot embers from hitting the filter directly.
Selecting Fans and Filters for Optimal Particulate Removal
The heart of any DIY air management system is the fan motor and the filtration media. For a garage-based shop, you need a fan that can handle the “static pressure” of pulling air through a filter and several feet of ducting.
I recommend using a high-velocity inline centrifugal fan. Unlike standard “box fans” or cheap axial fans, centrifugal fans are designed to push air through resistance. For a single-operator grinding station, a fan rated for 800 to 1,200 CFM is usually sufficient. This provides enough volume to clear the air without requiring a massive 3-phase power upgrade just for ventilation.
I use a cheap, washable furnace filter as a “pre-filter” to catch the heavy sparks and large chips. Behind that, I run a higher-rated MERV 11 or MERV 12 pleated filter to catch the fine metallic dust. This setup protects the fan motor and ensures the air returning to the shop is clean.Calculating CFM and Duct Static Pressure for Small Shops
Understanding the math behind airflow helps you avoid the mistake of buying a fan that is too weak for your duct run. Static pressure is the resistance the fan must overcome, measured in inches of water gauge (WG).
A typical DIY setup with six feet of 6-inch ducting and two filters will usually have a static pressure of around 1.5 to 2.0 inches WG. If you look at a fan’s “performance curve” (usually found on the box or manufacturer website), you want to make sure it still moves at least 600 CFM at that pressure. If the fan is only rated for “free air,” its performance will drop significantly once you attach a filter.
- Measure the total length of your ducting.
- Count every 90-degree bend as 5 to 10 feet of “effective length.”
- Choose a duct diameter that maintains a velocity of 3,500 FPM to keep metal dust from settling in the pipe.
- For a 6-inch duct, this means you need about 700 CFM of actual flow.
Integrating DIY Air Management into a CNC-Centric Workflow
As you transition to more automated equipment, like a CNC plasma table, your manual grinding needs change. You are often “cleaning up” tabs or smoothing edges on dozens of parts at a time, which creates a high volume of dust in a short period.
In my shop, I integrated the grinding station’s power switch into my main “work cell” sequence. When I finish a CNC run and move to the deburring bench, the extraction system is already running. This habit prevents the “quick grind” mistake where you think you don’t need the fan for just one part, only to find a layer of dust on your CNC rails ten minutes later.
This integration also involves protecting your 3-phase power converters. Many of us use rotary or digital phase converters to run industrial mills or lathes in a home shop. These units are very sensitive to metallic dust, which can cause internal short circuits. By keeping your grinding debris contained, you are directly protecting the electrical heartbeat of your shop.
Benchmarks for Air Quality and Maintenance
Maintaining a clean environment requires a schedule. Even the best DIY system will fail if the filters are clogged with iron filings. I keep a simple log near my grinding station to track “on-time” hours for the fan.
- Daily: Empty the heavy spark tray at the bottom of the hood.
- Weekly: Vacuum the pre-filter to remove large chips.
- Monthly: Inspect the main pleated filter; replace if it shows signs of grey/black loading.
- Quarterly: Check the ducting for “settled” dust pockets, especially near bends.
| Maintenance Task | Frequency | Estimated Time |
|---|---|---|
| Spark Tray Cleanout | Daily | 2 Minutes |
| Pre-Filter Vacuum | Weekly | 5 Minutes |
| Main Filter Swap | Monthly | 10 Minutes |
| Duct Inspection | Quarterly | 30 Minutes |
Designing the Physical Layout for Maximum Efficiency
The placement of your air handler and ducting can either create a smooth workflow or a physical bottleneck. In a garage, space is a premium, so I prefer “overhead” ducting runs that keep the floor clear for material handling.
I mounted my fan and filter box to the ceiling joists using rubber vibration isolators. This keeps the noise level down and saves floor space for my welding carts and material racks. The ducting drops down vertically to the grinding bench, staying out of the way of my main walking paths.
When planning your layout, ensure you have at least a 3-foot “access zone” around your grinding station. This allows you to handle larger workpieces without bumping into other machines. If your shop is tight, consider a fold-down “grinding shelf” that integrates directly into the extraction hood. When not in use, the shelf folds up, and the floor space is reclaimed.
Avoiding Common Errors in DIY Air Systems
One of the most common mistakes I see is the use of flexible “dryer vent” hose for metallic dust. The internal ridges of flex-hose cause massive friction loss and provide places for heavy metal dust to accumulate. Always use smooth-walled rigid pipe—either galvanized steel or thick-walled PVC.
If you use PVC, you must address the risk of static electricity. While we are dealing with metal sparks, the movement of air and dust through plastic pipe can build up a static charge. I ran a bare copper wire through the inside of my PVC lines and grounded it to the machine frame. This simple step prevents those annoying static shocks and reduces the risk of fine dust “clinging” to the pipe walls.
- Avoid sharp 90-degree elbows; use two 45-degree bends instead.
- Do not undersize the duct; 6-inch is the minimum for effective metal dust transport.
- Never vent directly into a shared living space or a finished attic.
- Ensure the fan motor is “totally enclosed fan-cooled” (TEFC) to prevent dust from entering the motor itself.
Practical Steps for System Commissioning
Once your system is built, you need to test it before relying on it for high-volume production. I use a simple “smoke test” to see how well the hood captures air. You can use a small incense stick or a specialized smoke pen to visualize the air movement around your grinder.
If the smoke isn’t being pulled into the hood from at least 6 to 8 inches away, your capture velocity is too low. You may need to block off part of the hood opening or upgrade to a more powerful fan. I also recommend checking the temperature of your filters after a long grinding session. If they feel hot to the touch, you need to increase the distance between the grinding spark source and the filter media to allow the sparks more time to cool.
This commissioning phase is also the time to check your electrical load. If turning on the extraction fan causes your lights to flicker or trips the breaker when your CNC is running, you may need to pull a dedicated 20-amp circuit for the ventilation system. In my shop, I made sure the air system was on a separate circuit from my sensitive electronics to avoid electrical “noise” interference.
Next Steps for Your Workshop Evolution
Building a dedicated system for managing abrasive debris is a major step toward a professional-grade shop. It changes the environment from a “hobby garage” to a “production facility.”
- Identify your “dirty zone” and clear the floor space.
- Sketch a hood design based on your most common workpiece size.
- Source a centrifugal fan with at least 800 CFM capacity.
- Fabricate the hood and install rigid ducting.
- Set a recurring calendar reminder for filter maintenance.
By taking these steps, you protect your machinery, improve your personal health, and create a workspace that can handle the demands of advanced fabrication.
Frequently Asked Questions
Can I use a standard shop vacuum for grinding dust? A shop vacuum has high suction but very low air volume (CFM). While it works for small spots, it cannot capture the wide spray of sparks from a 4.5-inch or 7-inch angle grinder. For effective control, you need the high volume of a dedicated fan and hood system.
Is it safe to use wood dust collectors for metal? Generally, no. Wood dust is highly flammable, and mixing hot metal sparks with wood flour in a collector is a major fire risk. If you use a wood-style collector, it must be thoroughly cleaned of all wood debris, and you must use a metal “spark trap” or “drop box” before the air reaches the filter bag.
How do I prevent my filters from catching fire? The best DIY fix is a “spark baffle” or a “drop-out box.” This is a section of the ducting where the air slows down, allowing heavy, hot sparks to fall into a metal tray before they reach the flammable filter media. Keeping the filter at least 4 to 6 feet away from the spark source also helps.
What is the best material for DIY ducting? Rigid galvanized “snap-lock” pipe used for HVAC is excellent. It is smooth, fire-resistant, and easy to ground. Avoid thin aluminum “flex” ducting as it tears easily and restricts airflow.
How much CFM do I really need? For a standard workbench setup, aim for 800 to 1,000 CFM. If you are doing heavy grinding with large 7-inch or 9-inch grinders, you may need to move up to 1,200 or 1,500 CFM to ensure all particulates are captured.
Do I need to vent the air outside? Venting outside is the most effective way to remove fine dust, but it also removes your heated or cooled shop air. If you vent inside, you must use high-quality filters (MERV 11+) to ensure you aren’t just recirculating the finest, most dangerous particles back into your lungs.
Can I use PVC pipe for my ducting? Yes, but you must ground it. Use Schedule 40 PVC and run a grounding wire through the interior. Note that some local codes may prefer metal ducting for fire safety in “dirty” environments.
How often should I clean the spark trap? In a high-output shop, you should empty the spark tray daily. Metal dust is heavy; if it builds up in the tray, it can restrict airflow and eventually become a fire hazard if mixed with any oils or combustibles.
What is the most common mistake in DIY setups? Under-sizing the fan is the biggest error. People often use a cheap “booster fan” meant for HVAC vents, which has almost zero ability to pull air through a filter. Always look for a centrifugal or “mixed flow” fan.
How do I know if my system is working? The “flashlight test” is a simple way. Turn off the shop lights and shine a bright LED flashlight across your workbench while grinding. If you see clouds of dust drifting away from the hood, your capture velocity is too low.
(This article was written by one of our staff writers, Edward Sinclair. Visit our Meet the Team page to learn more about the author and their expertise.)