How to Build a Custom Water Table for Plasma Cutters (Plan)
I remember the first time I sat down to calculate why my side-hustle wasn’t actually making money. I had spent sixteen years in metalworking, but transitioning from a hobbyist to a business owner was a wake-up call. I was doing the work, but at the end of the month, the bank account didn’t reflect the sweat I’d put in. Most small shop owners face this same wall: we are great at the craft but struggle with the “shop math” that keeps the lights on.
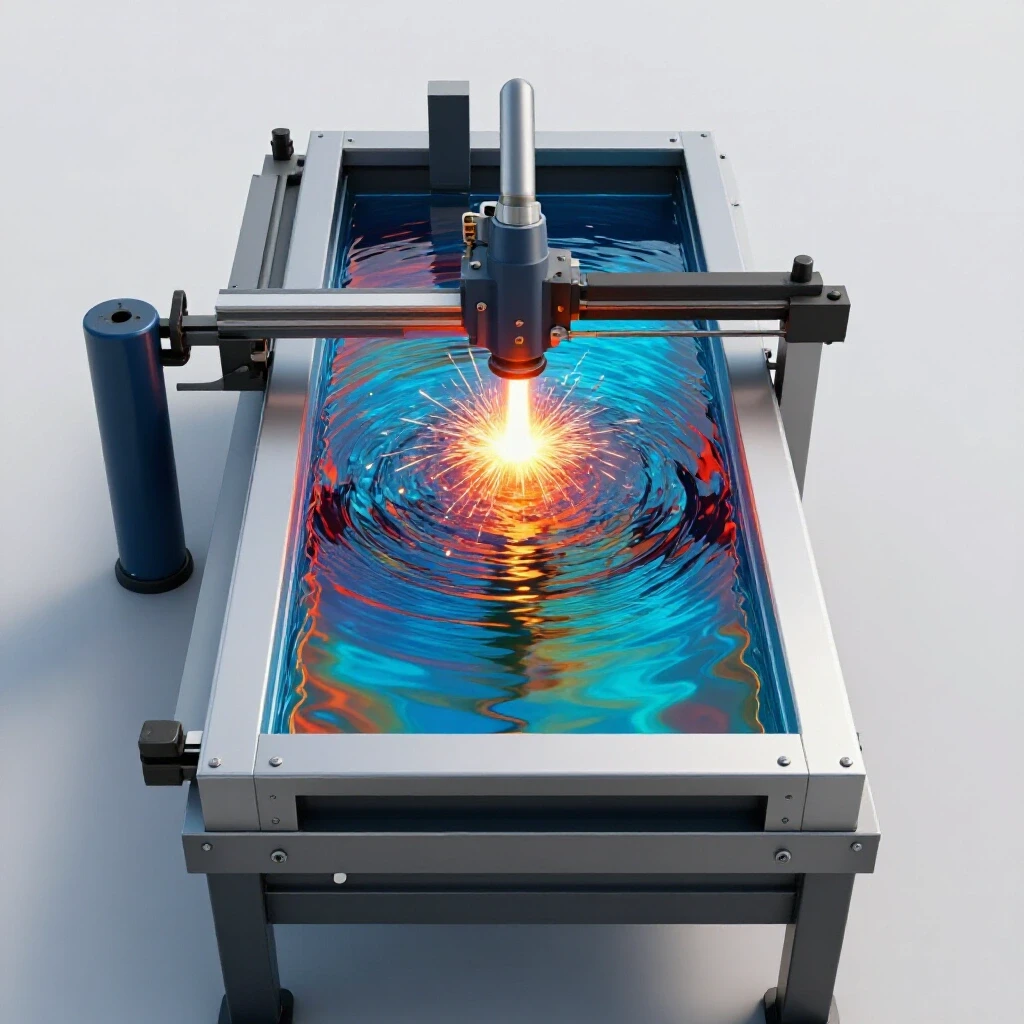
One of the most common projects for a growing shop is building a fluid-based fume suppression system for thermal cutting. It seems simple enough to weld up a steel basin, but if you don’t track the material expenses, the gas for your welder, and the opportunity cost of your time, you might find that your “cost-saving” DIY project actually cost you a week’s worth of billable client work. In this guide, I’ll walk you through the financial realities of fabricating your own shop equipment, focusing on the metrics that matter for long-term profitability.
Establishing a Profitable Shop Rate for Fabrication Projects
A shop rate is the hourly fee you must charge to cover every expense and generate a profit. It is not just a random number based on what the guy down the street charges; it is a calculated figure that includes your rent, utilities, insurance, and equipment depreciation.
When I talk to side-hustlers, they often tell me they charge $40 an hour because it feels like a lot compared to their day job. However, once you factor in the “hidden” costs of running a business, that $40 often disappears before you even pay yourself. For a small fabrication shop, a realistic hourly rate usually falls between $65 and $120 per hour, depending on your local market and the complexity of your equipment.
To find your rate, you need to add up your annual overhead and divide it by your billable hours. Remember, you aren’t billable 40 hours a week. You spend time quoting, cleaning, and sourcing material. If you aim for 20 billable hours a week, that’s roughly 1,000 hours a year to cover all your costs.
- Fixed Overhead: Rent, insurance, and software subscriptions.
- Variable Costs: Electricity, heating, and small shop supplies like rags or cleaners.
- Labor: What you would have to pay someone else to do your job.
- Profit Margin: The extra 10–20% that stays in the business for future growth.
Calculating the ROI of Shop-Built Equipment
Return on Investment (ROI) measures how much money or time a tool saves you compared to what it cost to acquire. For a custom-built cutting basin, the ROI comes from reduced cleanup time, better air quality, and the ability to take on higher-precision jobs without heat-warping the workpiece.
When you decide to build your own shop infrastructure, you are essentially acting as your own client. You need to estimate the project just like a paying job. If a commercial version of a fume-capture tank costs $2,000, and your materials plus labor (at your shop rate) equal $2,500, you are technically losing money by building it yourself.
However, the “hidden” ROI often lies in customization. A shop-built basin can be sized exactly for your workspace or include specific drainage features that a mass-produced unit lacks. I always tell my clients to look at the payback period. If a new table saves you 30 minutes of grinding dross per job, and you do five jobs a week, you save 130 hours a year. At an $85/hour shop rate, that’s over $11,000 in recovered time.
Tool Amortization and Life Cycles
Amortization is the process of spreading the cost of an expensive tool over its useful life. If you spend $800 on steel for a tank that will last ten years, the “cost” is only $80 per year. This helps you understand how much of each job’s revenue needs to be set aside to eventually replace the equipment.
| Expense Item | Initial Cost | Estimated Life | Annual Burden |
|---|---|---|---|
| Main Tank Steel (1/4″ Plate) | $650 | 10 Years | $65 |
| Support Slats (Replaceable) | $150 | 1 Year | $150 |
| Drainage Plumbing | $100 | 5 Years | $20) |
| Initial Protective Coating | $120 | 3 Years | $40 |
Material Selection and Sourcing for Heavy Metal Projects
Choosing the right materials is a balance between durability and upfront cost. For a fluid-based cutting basin, using 3/16-inch or 1/4-inch mild steel is standard because it provides the rigidity needed to hold several hundred pounds of water without bowing or leaking over time.
In my experience, sourcing is where most small shops lose their margin. If you buy your steel from a local “hobby” metal yard, you might pay a 50% premium over a commercial service center. To keep your side-hustle metalworking profitable, you need to establish a relationship with a primary steel supplier.
Ask for “drops” or remnants if you are building a smaller basin. Often, you can find a 4×4 or 4×8 sheet of 1/4-inch plate at a significant discount because it was an off-cut from a larger industrial order. When calculating your fabrication job costing, always include a 10–15% material markup to cover the time spent driving to the supplier and the cost of fuel.
Choosing Plate Thickness for Longevity
- 1/8-inch (11 gauge): Too thin for large spans; prone to warping during the welding process.
- 3/16-inch: A good middle ground for medium-sized tables (up to 4×4 feet).
- 1/4-inch: The professional standard; provides excellent structural integrity and resists corrosion longer.
Managing Consumables and Hidden Expenses
Consumables are the items that get used up during a project, such as welding wire, shielding gas, and grinding discs. In a plasma cutting environment, the water itself and the chemicals you add to prevent rust and bacteria growth are also consumables that must be tracked.
Many shop owners ignore these small costs, but they can easily eat 5–10% of a project’s budget. For example, if you are welding a large tank, you might go through half a bottle of 75/25 shielding gas. If you don’t account for that $30–$50 expense in your bid, it comes directly out of your profit.
I recommend a “consumable burden factor.” This is a flat percentage (usually 5–8%) added to every quote to cover these “invisible” materials. It’s much easier than counting every inch of welding wire.
Consumable Tracking Checklist
- Welding Gas: Track the PSI before and after a major build.
- Abrasives: Note how many flap discs are used for edge prep and finishing.
- Chemical Additives: Factor in the cost of plasma-specific water treatments (sodium nitrite or commercial anti-corrosives).
- Electricity: While small for a single job, heavy welding and compressor use can spike a residential utility bill.
Estimating Labor and Opportunity Cost
Labor is the most expensive part of any fabrication project, and it is also the most frequently underestimated. When planning a custom basin build, you have to account for layout, cutting, tacking, full welding (which must be watertight), and leak testing.
In my consulting work, I see a recurring mistake: owners don’t track their “non-arc” time. Moving heavy plates, setting up sawhorses, and even cleaning the shop floor after the build are all part of the project’s labor cost. If you spend 15 hours on a build but only “felt” like you worked for 10, your shop rate is effectively lower than you think.
Use a simple time-tracking app or a physical logbook. If you find that building a custom tank takes you 25 hours, and you could have been doing 25 hours of $90/hour repair work for a client, the “true” cost of your build includes that $2,250 in lost revenue. This is why small metal shop pricing must be disciplined.
Designing for Maintenance and Post-Job Profitability
A well-designed shop tool should make you money, not cost you time in maintenance. For a fluid-capture system, the biggest maintenance hurdle is cleaning out the “sludge” or slag that accumulates at the bottom. If your design doesn’t include a sloped floor or a large-diameter drain, you will spend hours shoveling out wet metal dust.
Every hour you spend cleaning your equipment is an hour you aren’t fabricating for a customer. I suggest building in a “settling area” or using a removable grate system that allows for quick cleaning. This foresight directly impacts your long-term shop efficiency.
When I look at the economics of fabricating versus purchasing, the ability to design for “zero-downtime” maintenance is a huge win for the custom-built route. You are building a tool that fits your specific workflow, which reduces your overhead burden over the next several years.
Maintenance Metrics to Monitor
- Slat Replacement Frequency: Note how many hours of cutting it takes before the support slats are notched beyond use.
- Evaporation Rates: Track how often you need to refill the tank, as this affects the concentration of your rust inhibitors.
- Cleaning Time: If it takes more than two hours to clear the slag, your design may need a revision to be truly profitable.
Tools and Resources for Financial Management
To stay profitable, you need to move away from “guesstimating” and toward data-driven decisions. There are several tools that can help you manage the financial side of your shop while you focus on the fabrication.
- QuickBooks or FreshBooks: Essential for tracking expenses and sending professional invoices that include material markups.
- Estimation Spreadsheets: Create a template where you can plug in linear inches of weld and square footage of steel to get an instant baseline cost.
- Time Tracking Apps (like Toggl): Use these to see exactly where your day goes—you might be surprised how much time “small” tasks take.
- Metal Weight Calculators: These help you estimate the shipping or delivery costs of heavy plates before you order.
Building a Custom Job Quote Checklist
Before you start any major shop project or client job, go through this checklist to ensure you haven’t missed a hidden cost. This is the difference between a side-hustle that pays for itself and one that drains your personal savings.
- Material Cost: Include a 15% markup for sourcing and handling.
- Consumable Burden: Add 5–8% for gas, wire, and abrasives.
- Machine Charge: A small hourly fee ($5–$15) specifically for the wear and tear on your welder or cutter.
- Labor Hours: Estimate the total time, then add a 20% “buffer” for unforeseen issues.
- Overhead Allocation: Ensure your shop rate covers your rent and utilities for the duration of the project.
Conclusion: Turning Shop Improvements into Financial Wins
Building your own equipment is a rite of passage for many fabricators, but it must be approached with the mindset of a business owner. By calculating your true shop rate, tracking every consumable, and respecting the value of your time, you transform a simple steel tank into a strategic investment. The goal is to create a workspace that is not only functional but also financially optimized. When you master the math behind the metal, you stop “working for the shop” and start making the shop work for you.
Frequently Asked Questions
What is the best steel thickness for a DIY fluid-capture basin?
For most small to mid-sized shops, 3/16-inch or 1/4-inch mild steel is the best choice. 1/4-inch plate offers superior rigidity and will resist the corrosive effects of water and heat for a much longer period, making it more cost-effective over its 10-year life cycle.
How do I calculate the “machine charge” for my plasma cutter?
Take the total cost of the machine and divide it by the number of hours you expect it to last (its life cycle). If a $2,000 cutter lasts 2,000 hours, your machine charge is $1.00 per hour. Add this to your shop rate to ensure you have funds to replace the unit when it eventually fails.
Why should I add a markup to materials I buy for a project?
A material markup (usually 10–20%) covers the time you spend researching prices, driving to the supplier, loading the truck, and the “carrying cost” of the money you spent before the client pays you. It is a standard business practice to ensure these logistical costs don’t eat your profit.
How often should I replace the support slats in my cutting table?
This depends on your workload, but most side-hustlers find they need to flip or replace slats every 6 to 12 months. Tracking this as a recurring consumable expense ensures you aren’t surprised by the $150–$200 cost of new flat bar when the time comes.
Can I use regular water, or do I need chemical additives?
Using plain water will cause your steel tank to rust rapidly and can lead to bacterial growth (smelly water). Using a specialized anti-corrosive additive is a necessary business expense that protects your investment and prevents the workpiece from rusting after it is cut.
Is it cheaper to build a table or buy a pre-made one?
If you only look at the cost of steel, building is cheaper. However, if you value your labor at a professional shop rate (e.g., $85/hr), you may find that the “total cost” of a DIY build is similar to a commercial unit. The advantage of building is the ability to customize the dimensions and features to fit your specific shop layout.
How do I factor in the cost of electricity for heavy welding projects?
For a small shop, electricity is usually treated as part of your “fixed overhead.” However, if you are doing a massive project with high-amperage welding for several days, you may want to add a small “utility surcharge” to that specific quote to cover the spike in your energy bill.
What is the biggest mistake people make when pricing fabrication work?
The most common error is failing to account for “non-arc time.” This includes material handling, cleanup, quoting, and administrative work. If you only charge for the time the torch is on, you are likely losing money on every job.
How do I handle drainage in a custom-built water basin?
A large-diameter drain (1 inch or larger) with a high-quality ball valve is essential. I recommend sloping the floor of the tank toward the drain to make it easier to wash out the heavy metal sludge that accumulates. This reduces maintenance time and keeps your shop productive.
Should I paint the inside of my water table?
Most fabricators leave the inside raw or use a specialized epoxy coating. Standard spray paint will quickly peel due to the heat of the plasma arc and the constant submersion. Using a proper water treatment chemical is generally more effective at preventing internal corrosion than paint.
(This article was written by one of our staff writers, Michael Hargrove. Visit our Meet the Team page to learn more about the author and their expertise.)