How to Build a Protected Wall Rack for Layout Tools (Plan)
After eighteen years of pulling pre-war lathes out of damp basements and rescuing cast-iron drill presses from scrap heaps, I have learned that the most important part of any vintage machinery restoration is the precision of the layout. When you are working to bring a machine back to factory tolerances, your measuring tools—your squares, calipers, and scribes—are your eyes. However, a restoration shop is a harsh environment filled with grinding dust, cast iron grit, and chemical vapors. Protecting these instruments is not just about organization; it is about preserving the accuracy of your work.
The Foundation of a Restorer’s Precision Storage System
Establishing a dedicated area for measuring instruments is the first step in ensuring that your classic tool alignment remains consistent over time. This involves more than just hanging tools on a wall; it requires a structural plan that uses durable materials like angle stock and sheet metal to create a barrier against the debris of a working shop.
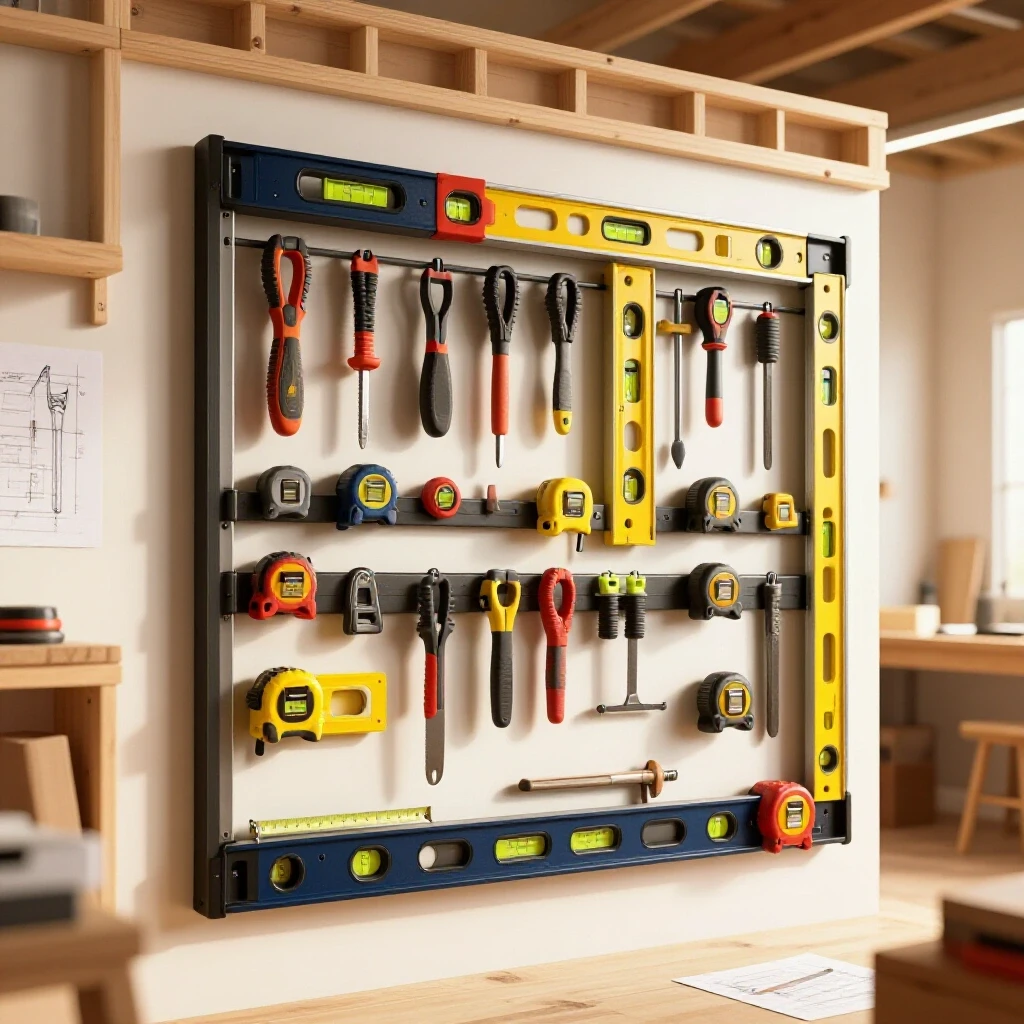
In my experience, many restorers focus so much on the heavy castings that they neglect the very tools used to measure them. I remember restoring a 1930s milling machine where the previous owner had kept his precision squares in an open wooden box. The humidity and shop dust had pitted the reference surfaces, making them useless for checking the squareness of the mill’s column. A shielded wall-mounted enclosure prevents this degradation, keeping your most sensitive gear clean and ready for high-precision tasks.
Evaluating Material Selection for Shop-Built Enclosures
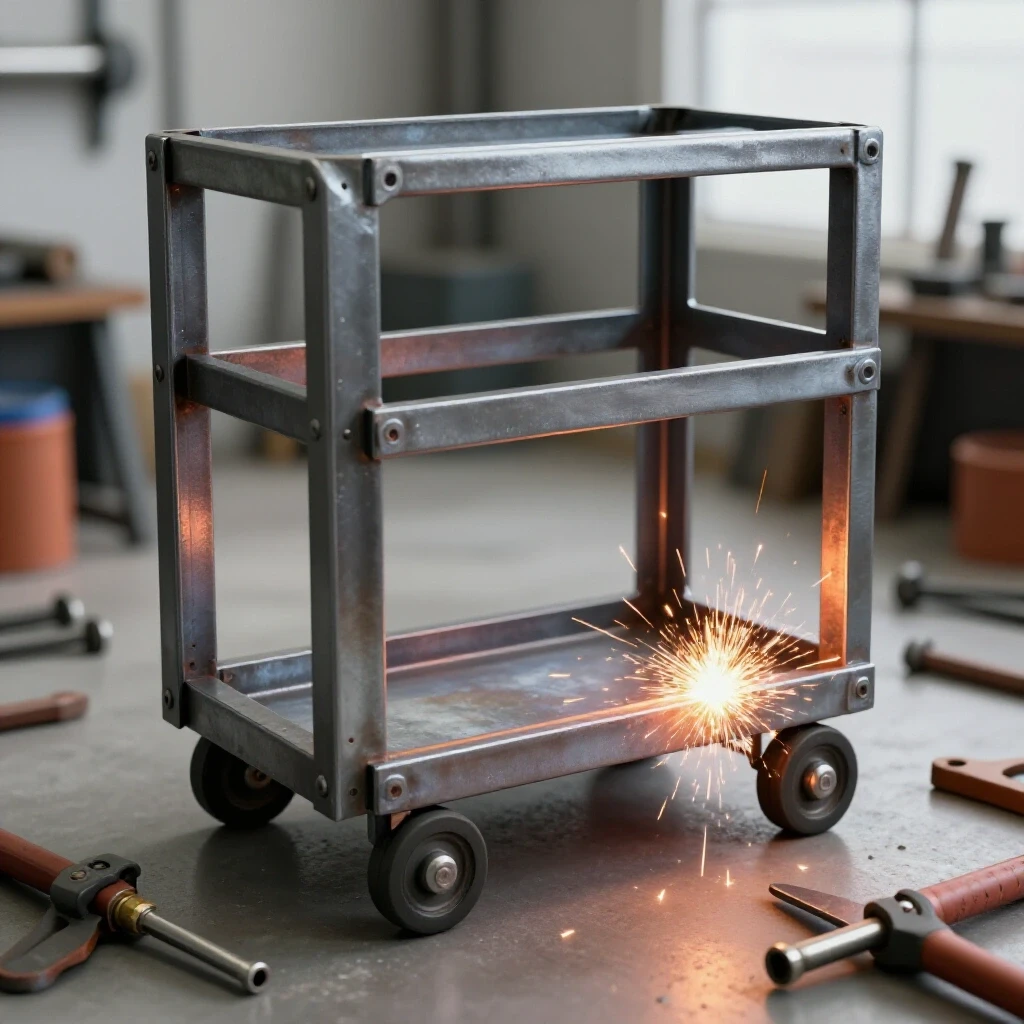
Choosing the right materials for your tool housing is a balance between structural rigidity and the need for a non-reactive environment. For a restorer, using heavy-gauge sheet metal for the backing and angle iron for the frame provides the necessary heft to prevent warping, which is vital when you are storing heavy layout tools.
- Angle Stock (1″ x 1″ x 1/8″): Provides a rigid skeleton that won’t flex under the weight of large cast-iron squares.
- Sheet Metal (16-18 Gauge): Offers a smooth, easy-to-clean surface that can be treated with rust inhibitors to protect the tools it holds.
- Fasteners: Stick to standard SAE threads or even vintage patterns if you want the rack to match the aesthetic of your machines.
- Protective Liners: Use oil-impregnated felt or high-density foam to prevent metal-to-metal contact, which can cause galvanic corrosion over long periods.
Why Seized Cast Iron Screws Crack Under Force—And How to Formulate a Real Thermal Release Plan
When fabricating your storage solution, you may find yourself using salvaged components or older hardware that has seized. Understanding the relationship between different metals and how they react to heat is essential for any vintage machinery restoration project where disassembly is required.
Cast iron is notoriously brittle and does not handle uneven tension well. If you are trying to remove a frozen bolt from a piece of vintage shop equipment, a “brute force” approach usually ends with a snapped casting. Instead, I use a combination of penetrating oils (a 50/50 mix of ATF and acetone works wonders) and localized heat. By heating the surrounding metal rather than the bolt, you expand the “hole,” breaking the bond of the rust. Always allow the piece to cool naturally; quenching hot cast iron can lead to internal stresses and cracks.
Strategic Disassembly for Metalworking Projects
Before you begin building or restoring any shop fixture, you must map out how the components fit together. This prevents the common mistake of “painting yourself into a corner” where a final fastener is inaccessible due to the order of assembly.
- Document Everything: Take photographs from every angle before a single screw is turned.
- Labeling: Use a numbering system for parts. I prefer stamped metal tags for long-term projects.
- Thread Identification: Use a thread pitch gauge to determine if you are dealing with National Coarse (NC), National Fine (NF), or an obsolete pattern like Whitworth.
- Hardware Storage: Keep all original fasteners in indexed bins, even if you plan to replace them, as they serve as your primary reference for sourcing.
Comparing Rust Removal Methods for Precision Components
Restoring classic cast iron requires removing machinery rust without damaging the base metal. For a tool rack or the tools themselves, you must choose a method that preserves the integrity of the reference surfaces.
| Method | Best For | Pros | Cons |
|---|---|---|---|
| Electrolysis | Large castings, heavy rust | Non-destructive, reaches crevices | Requires 12V DC setup, messy |
| Evapo-Rust | Precision tools, small parts | Safe for skin, no metal loss | Can be expensive for large baths |
| Wire Brushing | Rough exterior surfaces | Fast, inexpensive | Can round off sharp edges |
| Manual Scraping | Flat reference surfaces | High precision, removes high spots | Extremely labor-intensive |
Implementing an Electrolysis Bath for Heavy Corrosion
Electrolysis is a favorite in my shop because it is a “lazy” way to achieve professional results. It uses a 12V DC power source (like a manual battery charger) and a sacrificial anode to pull the rust off the part and onto the anode.
To set this up for your metal components, fill a plastic tub with water and add about one tablespoon of washing soda (sodium carbonate) per gallon. Submerge your part (the cathode) and connect it to the negative lead. Connect the positive lead to a piece of scrap steel (the anode). When you turn on the power, you will see bubbles—this is the oxygen and hydrogen separating. Within 12 to 24 hours, the rust will have turned into a black sludge that can be easily wiped away, leaving the original gray iron underneath.
Servicing Legacy Bearings and Obsolete Thread Patterns
In many vintage machinery restoration tasks, you will encounter babbitt bearings or sleeve bearings. These are not like modern ball bearings; they are poured or machined to fit a specific shaft. If your layout tools involve older mechanical movements, you must understand these clearances.
Babbitt bearing pouring is a lost art that involves melting a lead-tin alloy and pouring it into a mold around the shaft. For a shop rack that might include a small manual winch or pivoting arm, a simple bronze sleeve bearing is often more practical. I aim for a clearance of 0.001 to 0.002 inches. This allows for a thin film of oil to support the load without allowing the shaft to “slop” around. If you find yourself needing to replace a bolt with an obsolete thread, you may need to use a lathe to cut a custom thread, matching the TPI (threads per inch) of the original hole.
The Art of Machinery Hand Scraping for Flatness
When building a high-end storage solution for layout tools, the mounting surfaces must be flat. Machinery hand scraping is the process of using a hand tool to remove minute amounts of metal from high spots on a surface.
We measure the quality of a scraped surface in PPI (Points Per Inch). For a standard shop fixture, 10–15 PPI is sufficient. For a precision surface plate or a lathe bed, you might aim for 20–40 PPI. You check your progress by applying a thin layer of “Engineers’ Blue” (Prussian Blue) to a known flat reference and rubbing it against your workpiece. The blue transfers to the high spots, which you then scrape away. It is a meditative, albeit tiring, process that ensures your tools sit perfectly true against their mounting points.
Alignment Testing Checklist for Fabricated Fixtures
Once your shielding enclosure is assembled, you must verify that it is aligned correctly. A rack that is out of plumb or level will cause tools to slide or put unnecessary stress on delicate hinges.
- Check for Square: Use a known-good machinist square on the internal corners.
- Verify Level: Use a precision level (0.0005″ per foot rating) to ensure the horizontal members are true.
- Test Door Swing: If your enclosure has sheet metal doors, ensure they swing freely without binding, which indicates a racked frame.
- Inspect Fastener Tension: Ensure all bolts are torqued evenly to prevent the frame from twisting over time.
- Check Seal Integrity: If you are using a dust seal, ensure it makes full contact around the perimeter of the opening.
Sourcing Legacy Parts and Materials
Finding the right components for a restoration project often feels like detective work. When I am looking for parts for an old machine or building a specialized rack, I don’t just look at hardware stores.
- Scrap Yards: Excellent for finding thick-walled angle iron and heavy plate.
- Online Communities: Forums dedicated to vintage machinery restoration are gold mines for tracking down original manuals or specific fastener dimensions.
- Custom Fabrication: Sometimes, the only way to get a part is to make it. This is where your restored lathe and mill become the most valuable tools in your shop.
- Water-Based Chelators: Modern chemicals like Evapo-Rust have changed the game, allowing us to soak delicate parts without the risk of the acid-pitting common with older methods.
Maintaining Physical Safety with Heavy Gear
Working with heavy cast iron and steel requires a different safety mindset than woodworking. A 50-pound casting doesn’t just fall; it crushes. When moving components for your storage project, always use mechanical advantages like a shop crane or a heavy-duty cart.
I have seen too many restorers try to “muscle” a part into place, only to end up with a back injury or a cracked casting. If a part feels too heavy, it is. Use soft-faced hammers (brass or dead-blow) when assembling metal parts to avoid marring the surfaces. Always wear eye protection when using a wire wheel or an electrolysis bath, as the splashing liquids can be caustic.
Case Study: Rescuing a 1940s Layout Table
A few years ago, I found a layout table that had been sitting in a leaky shed for decades. It was covered in a thick layer of “scale” rust—the kind that flakes off in chunks. Most people would have scrapped it, but the underlying casting was sound.
I started by using a needle scaler to remove the heavy scale, then moved to a chemical rust remover. Once the bare metal was exposed, I found that the top was warped by nearly 0.030 inches. I spent three weeks hand-scraping that surface back to within 0.001 inches of flat. That table now serves as the primary assembly point for my precision storage projects. It taught me that with enough patience, almost any piece of classic iron can be saved.
Final Assembly and Preservation Principles
The final step in creating your protected tool environment is the application of a durable finish. For vintage machinery, I prefer a high-quality machinery enamel. It resists oils and coolants and provides a “thick” look that matches the aesthetics of pre-war equipment.
Before painting, the metal must be perfectly clean. I use a wax and grease remover, followed by a high-zinc primer. This creates a sacrificial layer that prevents rust from creeping under the paint if it gets chipped. Once the paint is cured, I apply a thin coat of paste wax to the non-painted surfaces. This is a simple, effective way to keep the metal bright and rust-free for years.
Frequently Asked Questions
What is the best way to remove rust from a precision square without losing accuracy? The safest method is using a chemical chelator like Evapo-Rust. Unlike acids, it only reacts with the iron oxide (rust) and will not eat away the healthy base metal. This ensures that the ground edges of your square remain sharp and true. Avoid using any abrasives like sandpaper or wire wheels on reference surfaces.
How do I know if a piece of vintage machinery is worth restoring? Look for “fatal” flaws like large cracks in the main castings or missing proprietary gears that cannot be easily fabricated. If the machine is mostly complete and the “ways” (the sliding surfaces) aren’t deeply gouged, it is usually a good candidate. Always factor in the cost of bearings and the time required for scraping.
Can I use a standard battery charger for electrolysis? You need a manual battery charger, not a modern “smart” charger. Smart chargers require a battery’s feedback to start charging and won’t recognize the electrolysis bath as a load. If you only have a smart charger, you can sometimes “trick” it by connecting a small battery in parallel with the bath.
What is “backlash,” and how do I fix it in older tools? Backlash is the “play” or lost motion in a threaded assembly, like a lead screw. It is caused by wear in the threads of the screw or the nut. You can often reduce it by adjusting a “split nut” if the machine has one, or you may need to machine a new nut from bronze to match the worn screw.
Why is hand scraping better than grinding for flat surfaces? While grinding can make a surface very smooth, it can also introduce heat that warps the part. Hand scraping creates thousands of tiny “oil pockets” that prevent two flat metal surfaces from sticking together (wringing). This is essential for the smooth movement of machine slides.
What should I use to lubricate the hinges and slides on my tool rack? Avoid using standard grease, which attracts dust and grit. Instead, use a “Way Oil” (like ISO 68). It contains tackifiers that help the oil stick to vertical surfaces and provides excellent lubrication for slow-moving metal parts.
How do I identify a mystery thread on an old machine? You need a thread pitch gauge and a micrometer. Measure the outside diameter of the bolt and count the number of threads per inch. Then, consult a vintage thread chart. You may find it is an obsolete standard like the American National Thread, which preceded the modern Unified Thread Standard.
Is it safe to paint over old machinery paint? Older machines often used lead-based fillers and paints. If the original paint is flaking, it should be removed safely using chemical strippers rather than sanding, which creates toxic dust. If the original finish is stable, you can clean, degrease, and scuff-sand it before applying a modern topcoat.
What is the most common mistake in machinery disassembly? Not taking enough notes. It may seem simple when you take it apart, but six months later, you won’t remember which way a specific shim was oriented. Use a dedicated notebook to record every measurement and sequence.
How can I prevent my tools from rusting inside the new rack? Include a vapor corrosion inhibitor (VCI) canister inside the enclosure. These emit a dry vapor that coats the metal surfaces and prevents oxidation. Additionally, keeping your tools lightly wiped down with a dedicated tool oil provides a physical barrier against moisture.
What gauge of sheet metal is best for a shop-built cabinet? I recommend 16-gauge sheet metal. It is thick enough to be welded or riveted without warping excessively, and it provides enough structural integrity that the doors won’t feel “tinny” or flimsy.
How do I check the squareness of a large frame? The most accurate way is the 3-4-5 method or by measuring the diagonals. If the distance from the top-left corner to the bottom-right corner is exactly the same as the top-right to the bottom-left, your frame is square. For smaller assemblies, a high-quality machinist square is the standard.
(This article was written by one of our staff writers, Richard Beaumont. Visit our Meet the Team page to learn more about the author and their expertise.)