Simple Pre-Weld Check Sheets to Reduce Workshop Errors (Fix)
I have spent more than 20 years refining the way metal moves through a shop. My journey began in a cramped garage with a single buzz box welder and a hand-me-down grinder. Today, my operations involve CNC plasma systems, complex material handling, and lean manufacturing workflows that I once thought were reserved for large factories. Through these two decades, I have learned that the difference between a profitable day and a frustrating one often comes down to what happens before the arc is even struck.
When you scale a shop from a hobby to a professional operation, the stakes change. You are no longer just making a single bracket; you are managing a production flow. I have seen talented fabricators struggle because they focus only on the welding process itself while ignoring the preparation. A single error in joint alignment or a piece of metal that was not cleaned properly can lead to hours of rework. This is why I rely on systematic verification routines to ensure every project starts on solid ground.
Optimizing Workshop Layout for Precision Fit-Up
A workshop layout is the physical map of your production efficiency. It dictates how far you have to carry heavy sheets of steel and how much room you have to square up a frame. If your layout is cluttered, your ability to perform accurate pre-weld measurements and alignments will suffer significantly.
In my early years, I wasted countless hours moving tools out of the way just to clear a space for a large assembly. I finally realized that material travel paths must be linear. Ideally, raw material should enter one side of the shop, move through the cutting and cleaning stations, and arrive at the welding table without ever doubling back. This reduces the physical fatigue that leads to sloppy prep work and ensures that your verification steps happen in a logical order.
| Layout Type | Material Travel Distance | Error Risk | Throughput Potential |
|---|---|---|---|
| Random/Stationary | High | High | Low |
| U-Shaped Flow | Moderate | Low | Medium |
| Linear/Straight-Line | Low | Minimal | High |
To improve your workflow, I suggest mapping your floor with a 3-foot minimum access zone around every major machine. This “buffer zone” is not just for safety; it provides the necessary clearance to use squares, levels, and clamps without hitting a wall or another tool. When you have the room to move, you are much more likely to take the time to verify your joint gaps and angles properly.
Engineering the Electrical Foundation for Consistent Arcs
Stable power is the backbone of any high-output fabrication shop. When I integrated my first CNC plasma table and high-amperage TIG welder, I quickly hit the limits of my residential electrical service. Fluctuating voltage or an unbalanced phase can cause erratic arc behavior, which ruins the very fit-up you spent an hour perfecting.
For those of us running industrial-grade equipment in smaller spaces, a 3-phase power converter is often a necessity. I prefer rotary phase converters for their ability to handle the high-surge demands of a welder starting up. However, you must monitor your phase balance. If the voltage between legs varies by more than 5%, your equipment may not perform consistently.
- Rotary Phase Converter: Uses a generator motor to create a third leg of power. It is robust and handles heavy loads well.
- Digital Phase Converter: Uses solid-state electronics to provide very clean power, though often at a higher initial cost.
- Static Converter: Generally not recommended for welding, as it only provides 3-phase power during the start-up phase.
Before you start a production run, checking your power supply should be part of your routine. I keep a digital multimeter near my main panel to verify that my legs are balanced. This simple check ensures that the settings on my machine actually produce the results I expect, preventing cold laps or excessive penetration caused by power drops.
Managing Air Quality and Fume Extraction for Better Joint Integrity
Air quality is often overlooked as a technical requirement for quality fabrication. However, dust and particulates in the air can settle on cleaned metal surfaces, introducing contaminants into the weld pool. Furthermore, a shop filled with smoke makes it difficult to see your alignment marks, leading to avoidable errors.
I designed my own high-volume clean air filtration system after realizing that a standard shop vac was not enough. For a scaling shop, you should aim for a system that can move 1,000 to 2,000 CFM (Cubic Feet per Minute). This ensures that fumes are pulled away from the work zone immediately. I use a multi-stage cyclone dust collection system for my grinding station and a dedicated downdraft table for my CNC plasma cutter.
- Calculate Duct Static Pressure: Use a calculator to ensure your blower can handle the friction loss of your pipe runs.
- Use Smooth-Walled Pipe: Avoid flexible ribbing where possible, as it creates turbulence and reduces airflow.
- Position Hoods Correctly: Fume extraction is most effective when the intake is within 12 inches of the arc.
By maintaining a clean environment, you protect your lungs and your work. When the air is clear, you can see the fine details of your joint fit-up. You are also less likely to rush through your pre-ignition checks because you aren’t fighting a cloud of grinding dust or welding smoke.
Integrating CNC Workflows into Your Pre-Weld Verification
The transition to CNC machinery is a major milestone for any advanced shop owner. It allows for a level of repeatability that hand-cutting cannot match. However, automation introduces its own set of challenges. If your gantry is out of square or your tooling files are incorrect, you will produce a batch of parts that are consistently wrong.
When I set up my CNC plasma line, I learned that “homing” the machine is the most critical pre-work step. I use a standardized gantry leveling routine every morning. I also verify my “torch height control” (THC) settings against the thickness of the material I am using. Even a 0.5mm error in height can change the kerf width, which affects how your parts fit together during the welding phase.
- Stepper Motors: Good for basic setups but can lose steps if they hit an obstruction.
- Servo Motors: Feature closed-loop feedback, meaning the machine knows exactly where it is at all times.
- CAD/CAM Integration: Ensure your lead-ins and lead-outs are positioned so they don’t interfere with critical joint surfaces.
Before I hit the “start” button, I always run a dry test. This allows me to see the path the torch will take without actually cutting. It is a five-minute verification that has saved me thousands of dollars in wasted material. If the parts don’t fit perfectly after they are cut, the welding process becomes a nightmare of filling gaps and grinding down excess metal.
Implementing Standardized Prep Protocols to Minimize Rework
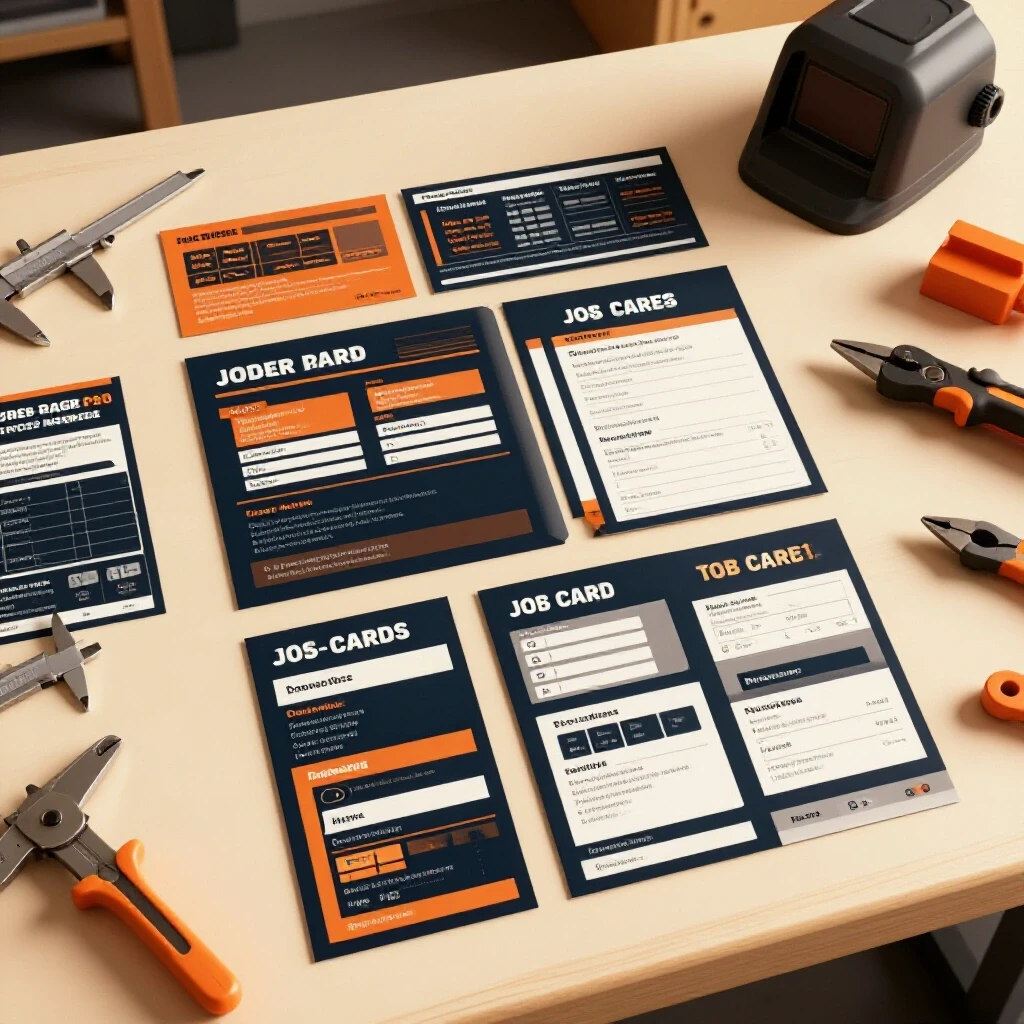
The most effective way to reduce errors is to have a written list of steps that must be completed before you pick up the torch. In a busy shop, it is easy to forget to degrease a joint or check a square. I use a simple laminated sheet at each workstation that walks me through the essential preparation tasks.
This protocol starts with material identification. I verify that the alloy and thickness match the project requirements. Next, I focus on surface preparation. For aluminum, this means using a dedicated stainless steel brush that has never touched carbon steel. For steel, it means grinding back mill scale at least one inch from the weld zone.
| Prep Task | Purpose | Tool Required |
|---|---|---|
| Mill Scale Removal | Prevents porosity and inclusions | Flap Disc / Grinder |
| Degreasing | Removes oils that cause arc instability | Acetone / Clean Rag |
| Joint Squaring | Ensures structural dimensions are met | Machinist Square |
| Tack Welding | Holds alignment during final welding | Welder (Low Power) |
I also include a safety sequence in my routine. This includes checking that my auto-darkening lens is functioning, ensuring my fire extinguisher is accessible, and verifying that no flammable materials are near the spark zone. These steps might seem basic, but they are the foundation of a professional workflow. When you treat preparation with the same respect as the final weld, your quality will skyrocket.
Scaling Your Fabrication Shop Through Systematic Discipline
Scaling a shop is not just about buying bigger machines; it is about managing the complexity that comes with higher volume. As you move from one-off projects to small-batch manufacturing, the cost of an error multiplies. If you discover a mistake after welding ten units, you have lost a full day of productivity.
I track my shop metrics religiously. I look at “setup time” versus “arc time.” My goal is always to reduce the time spent looking for tools or fixing bad fit-ups. By investing in better material handling—like jib cranes or heavy-duty carts—I reduce the physical burden on myself and my team. This keeps us sharp and focused on the verification steps that matter.
- Amortization: Calculate the cost of new machinery over 3-5 years to ensure it pays for itself in efficiency.
- Floor Load Ratings: Ensure your concrete can handle the weight of a 4×8 CNC table and several tons of steel.
- Workflow Optimization: Constantly look for bottlenecks. If you are always waiting for parts to be cleaned, you need a better cleaning station.
The transition to a semi-professional space requires a shift in mindset. You have to stop thinking like a hobbyist who “fixes it as they go” and start thinking like a manufacturer who “gets it right the first time.” This discipline is what allows a home-based shop to compete with larger commercial facilities. It all starts with those few minutes of checking your work before you ever start the machine.
Leveraging Technology for Better Shop Management
In today’s manufacturing environment, even small shops can benefit from cloud-based tools. I use simple software to track my material inventory and project timelines. This prevents the “emergency” trips to the local steel yard that disrupt my workflow. Knowing exactly what material you have on hand allows you to plan your cutting and welding sequences more effectively.
I also utilize digital angle finders and laser levels for my pre-weld alignments. These tools provide a level of precision that a standard tape measure cannot reach. When I am building a large frame, I use a laser to project a perfectly straight line across the floor. This allows me to shim my welding table or the workpiece itself to ensure everything is on the same plane.
- Digital Angle Finders: Essential for verifying bevels and complex miter joints.
- Laser Cross-Line Levels: Perfect for squaring up large assemblies over long distances.
- Inventory Tracking: Prevents delays and ensures you are using the correct material for the job.
By integrating these technologies into your daily routine, you create a “paper trail” of quality. You know that the power was stable, the air was clean, the CNC was homed, and the joints were prepared to a specific standard. This data-driven approach removes the guesswork from fabrication and builds a reputation for excellence.
Frequently Asked Questions
How do I know if my 3-phase converter is properly balanced? You should use a multimeter to measure the voltage between each of the three legs (A-B, B-C, and C-A). In a well-balanced system, these readings should be within 2% to 5% of each other. If the “manufactured leg” from a rotary converter is significantly higher or lower than the utility legs, it can cause modern inverter welders to throw an error code or perform poorly.
What is the best way to clean mill scale off hot-rolled steel? I recommend using a 40 or 60-grit flap disc on an angle grinder. Unlike a grinding wheel, a flap disc is less likely to gouge the metal. You must remove the dark, flaky scale until you see shiny, bright metal. This is crucial because mill scale has a much higher melting point than the steel beneath it, which can cause lack of fusion.
Why is my CNC plasma cutter leaving a lot of dross on the bottom of parts? Dross is usually a result of incorrect cutting speed or torch height. If you are going too slow, “low-speed dross” forms a thick, hard bead. If you are going too fast, “high-speed dross” is thin and difficult to remove. Check your manufacturer’s cut charts and verify your torch height before every cut to minimize this.
How much CFM do I really need for a small welding booth? For a standard 4×4 foot welding area, you should aim for a minimum of 1,000 CFM. This provides enough air velocity to capture fumes before they reach your breathing zone. If you are doing a lot of grinding, you may want to increase this to 1,500 or 2,000 CFM to handle the heavier dust particles.
Can I use a standard shop vacuum for my dust collection? A shop vac is designed for high vacuum but low volume (CFM). It is okay for small hand tools, but it will not effectively clear the air in a fabrication shop. You need a dedicated dust collector with a larger impeller to move the volume of air required for welding fumes and grinding dust.
What is the “homing” process on a CNC machine and why does it matter? Homing tells the machine’s computer exactly where the gantry is located in relation to the table. Without homing, the machine may try to move past its physical limits, causing a crash. Verifying your home position is a vital pre-weld step to ensure your parts are cut in the correct location on the sheet.
How do I prevent my welding table from warping over time? The best way is to avoid excessive heat input directly into the table. Use stand-offs or “acorn” style platens if possible. If you are welding directly on the table, use a heavy-duty top (at least 1/2 inch or 3/4 inch thick) and distribute your heat by moving around the workpiece rather than staying in one spot.
What is the most common mistake in joint preparation? The most common mistake is failing to remove oils or coatings from the metal. Even “clean” looking cold-rolled steel often has a thin layer of protective oil. If you don’t use a solvent like acetone to degrease the joint, that oil will vaporize and cause porosity (tiny bubbles) in your weld.
How often should I check the squareness of my fabrication table? I check mine once a month or after any particularly heavy project. Floors can settle, and heavy pounding on a table can move it out of level. A quick check with a precision level and a large framing square ensures that your table isn’t the reason your projects are coming out crooked.
Is it worth it to upgrade to servo motors on a CNC table? If you are running a high-output shop where downtime is expensive, yes. Servos have encoders that talk back to the computer. If the torch hits a piece of tip-up slag, the machine knows it missed its mark and will stop. Stepper motors will just keep trying to move, which ruins the part and potentially the torch.
What is the best way to organize my pre-weld tools? I use a “shadow board” or a dedicated cart that stays right next to the welding table. It holds my squares, clamps, degreaser, wire brushes, and markers. If you have to walk across the shop to find a tool, you are less likely to use it, which leads to shortcuts and errors.
How do I manage the electrical load of multiple machines running at once? You need to calculate your “diversity factor.” It is unlikely that every machine will be under full load at the exact same second. However, you should ensure your main breaker can handle the combined “idle” draw plus the largest machine’s peak draw. If you find yourself tripping breakers, it’s time for a sub-panel upgrade.
(This article was written by one of our staff writers, Edward Sinclair. Visit our Meet the Team page to learn more about the author and their expertise.)