Smart Ways to Organize and Reuse Metal Scrap Offcuts (Guide)
When I first transitioned from a weekend hobbyist to a professional fabricator, I treated my scrap pile like a graveyard. It was a messy heap in the corner where expensive drops of cold-rolled steel and aluminum went to be forgotten. I quickly learned that in a small metalworking business, that pile isn’t just waste; it represents unrecovered overhead and lost profit. If you are managing a side-hustle or a small shop, every square inch of your floor space has a monthly cost, and every ounce of metal you’ve paid for should contribute to your bottom line.
The struggle for most fabricators in the 35 to 55 age bracket isn’t the skill of welding or cutting. It is the transition from “spending money on a hobby” to “generating a return on investment.” Pricing your work accurately requires a deep understanding of your shop’s financial ecosystem. This includes how you manage the remnants of previous jobs. By organizing your leftover metal pieces and finding ways to reuse them, you turn a storage problem into a strategic advantage.
Establishing a Profitable Shop Rate Through Material Efficiency
A shop rate is the hourly dollar amount you must charge to cover all expenses and provide a reasonable profit. It is the foundation of side-hustle metalworking and ensures you aren’t working for less than minimum wage after expenses.
Many new shop owners pick a number out of thin air, like $50 an hour, because it “feels” right. In reality, your true shop rate should be calculated by adding your total monthly overhead—rent, power, insurance, and tool depreciation—to your desired personal hourly wage. For most small shops, this landing zone is typically between $65 and $120 per hour. If you are using disorganized piles of metal that force you to hunt for pieces for twenty minutes, you are burning your shop rate on non-productive time.
| Expense Category | Monthly Estimate (Example) | Impact on Hourly Rate (100 hrs/mo) |
|---|---|---|
| Shop Rent/Mortgage | $800 | $8.00 |
| Utilities (Power/Gas) | $150 | $1.50 |
| Insurance & Licensing | $100 | $1.00 |
| Tool Depreciation | $200 | $2.00 |
| Desired Wage | $5,000 | $50.00 |
| Total Base Rate | $6,250 | $62.50 |
Efficiency in your material storage directly lowers your “non-billable” time. Every minute spent digging through a bin is a minute you aren’t welding. By categorizing your offcuts by thickness and alloy, you reduce the time spent on fabrication job costing because you know exactly what material you have on hand before you even start a quote.
Understanding the Burden of Shop Overhead
Overhead represents the ongoing costs of operating your business that cannot be directly billed to a single project. This includes everything from the lightbulbs in your ceiling to the floor space occupied by your metal racks.
If your shop is 500 square feet and your rent is $1,000, each square foot costs you $2 per month. If a messy pile of unsorted metal takes up 20 square feet, that pile is costing you $40 a month in “rent” alone. This is why organizing your remnants isn’t just about tidiness; it’s about reclaiming expensive real estate. When you move those pieces into vertical racks or divided bins, you minimize the footprint and maximize the value of your shop space.
Mapping Machinery Amortization and ROI
Amortization is the process of spreading the cost of an expensive tool over its useful life to understand its daily or hourly cost. If you buy a $3,000 TIG welder and expect it to last five years, it costs you roughly $50 per month regardless of whether you use it.
To achieve a positive return on investment (ROI), that machine needs to be running. I’ve found that using metal offcuts to build custom jigs and fixtures for your machines can significantly speed up your production time. A jig is a custom-made tool that holds your workpiece in the exact same position every time. By using “free” scrap to build these, you reduce the setup time for repeat jobs, which helps pay off your machinery faster.
Managing Your Metal Remnant Inventory for Maximum ROI
Remnant inventory refers to the usable pieces of metal left over after a primary cut has been made from a full-length stick or sheet. Managing this inventory ensures you don’t buy new material when you already have the required dimensions in stock.
In my 16 years of consulting, I have seen shops lose thousands of dollars because they didn’t realize they had a 12-inch piece of heavy-wall tubing tucked away. They ordered a new 20-foot stick instead. To avoid this, you need a system that categorizes pieces by three main factors: alloy type, material thickness, and length.
Categorizing by Alloy and Shape
Different metals have different values and uses. Mixing aluminum offcuts with stainless steel or mild steel is a recipe for contamination and wasted time. I recommend using a color-coding system. A quick swipe of spray paint on the end of a cut piece can tell you exactly what it is months later.
- Mild Steel: No color or black.
- Aluminum: Blue or green.
- Stainless Steel: Red or yellow.
Once color-coded, group your shapes. Keep your square tubing separate from your flat bar and your round stock. This allows you to visually scan your inventory while you are calculating shop rates for a new bid. If you can see you have enough flat bar remnants to finish a bracket job, you can bid more competitively or keep a higher margin.
Storage Solutions for Small Shop Environments
Effective storage for small metal shop pricing strategies involves getting the metal off the floor. Vertical racks are excellent for pieces longer than three feet, while divided bins or buckets work best for “shorts”—pieces under 12 inches.
I often suggest building a “drop bin” near your primary cutting station. This bin should have dividers for different thicknesses. For example, one slot for 1/8-inch plate and another for 1/4-inch plate. Using magnetic strips on the side of your workbench is another great way to hold small, frequently used offcuts like gussets or tabs. These simple organizational tools prevent the “search and rescue” missions that kill productivity.
Building In-House Shop Organizers Using Existing Offcuts
Using leftover materials to create shop infrastructure is one of the smartest ways to lower your initial capital investment. Instead of buying expensive commercial shelving, you can fabricate your own.
When you use remnants to build your own racks, you are essentially practicing your craft while improving your business’s efficiency. I call this “productive practice.” It allows you to test new welding settings or cutting techniques on material that has already been paid for by a previous client.
Creating Vertical Racks and Divided Bins
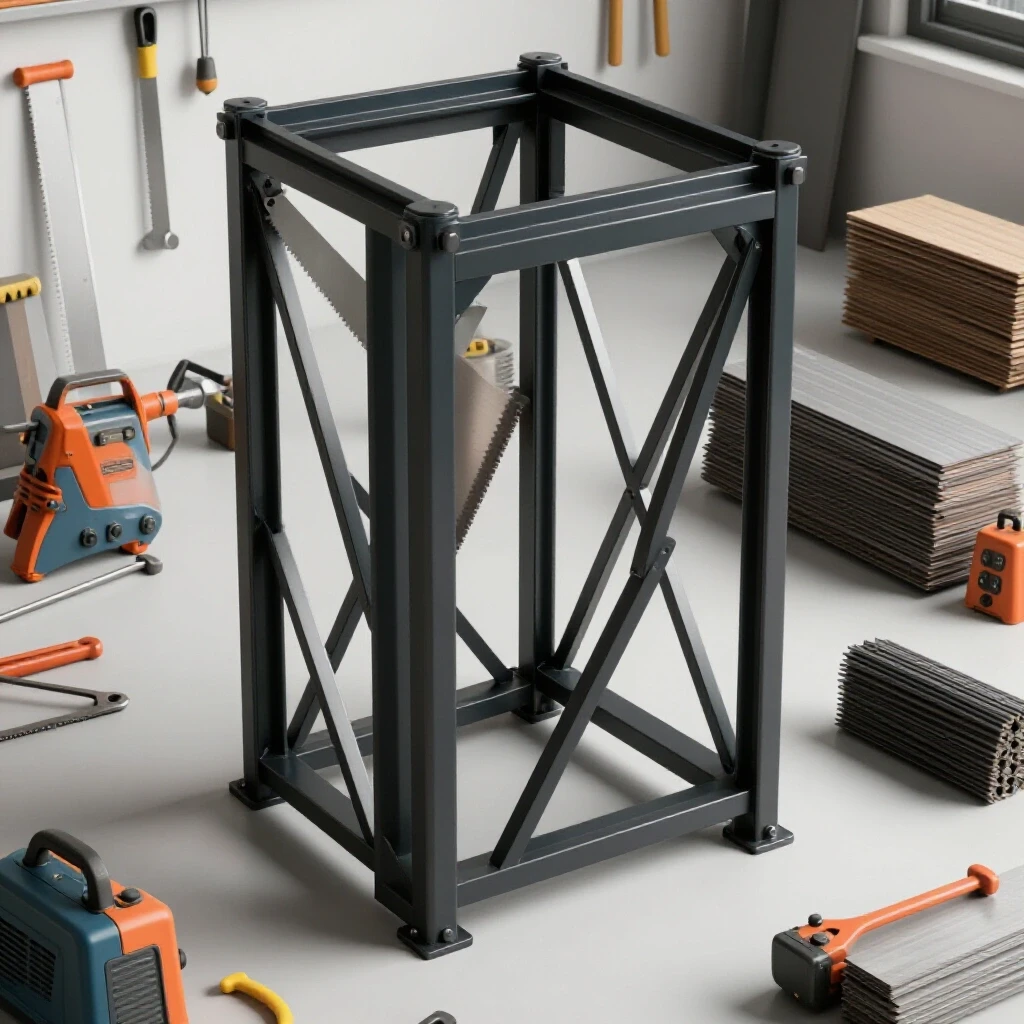
Vertical storage is the gold standard for small shops. You can weld a simple A-frame rack using 1-inch square tubing offcuts. By adding horizontal rungs, you create “shelves” for different lengths of metal.
Divided bins can be made from scrap sheet metal or even old plastic buckets reinforced with metal bands. The key is to label them clearly. If you have a bin labeled “1/4-inch Plate – Under 6 inches,” you know exactly where to look when you need a small mounting tab. This level of organization is what separates a profitable side-hustle from a chaotic hobby.
Utilizing Magnetic Strips and Hand Tools
For very small pieces, like thin strips of sheet or small rounds, magnetic strips are invaluable. You can mount these to the wall or the side of a tool chest. It keeps the pieces visible and prevents them from getting buried at the bottom of a heavy bin.
Using basic hand tools like a square, a scribe, and a set of calipers to sort these pieces ensures accuracy. When you are performing fabrication job costing, knowing that your “scrap” is accurately measured allows you to treat it as “pre-processed” inventory. This reduces the time you spend at the saw for the next job.
Integrating Scrap Reuse into Your Fabrication Job Costing
Fabrication job costing is the process of estimating the total cost of a project, including materials, labor, and overhead, to determine a final price. Reusing offcuts can significantly impact your profitability in this area.
One of the biggest mistakes I see is fabricators giving away “scrap” for free. If you used a piece of 2×2 tubing that was left over from a previous project, you should still charge a portion of its value. I typically recommend charging 50% to 75% of the current market rate for remnants. This covers the “storage and organization fee” and pads your profit margin.
Calculating Exact Material Markup Percentages
A material markup is a percentage added to the cost of raw materials to cover the time spent sourcing, handling, and storing them. For small shops, a standard markup is 20% to 50%.
| Material Type | Sourcing Effort | Recommended Markup |
|---|---|---|
| Full Sticks (New) | High (Travel/Delivery) | 30% – 50% |
| Large Remnants | Low (In-stock) | 20% – 30% |
| Small Offcuts (Tabs/Gussets) | Minimal | 50% (Flat fee per piece) |
If you are using small metal shop pricing models, you must account for the “consumable burden factor.” This is the cost of welding wire, shielding gas, and grinding disks used to turn that scrap into a finished part. I usually add a 5% to 10% burden factor to the total material cost to cover these hidden expenses.
Why Hidden Consumables Bleed Small Shop Profits
Welding consumable tracking is often overlooked. A spool of wire or a bottle of argon might last a month, but it isn’t free. If you don’t track these, they quietly eat into your hourly rate.
I once consulted for a guy who was wondering why his bank account was empty despite being busy. We looked at his “minor” expenses. He was spending $150 a month on flap discs and $80 on gas, but he never included those in his quotes. He was essentially paying his customers to let him work. By tracking these consumables and adding them to your job bids, you ensure your side-hustle stays in the black.
Analyzing Post-Job Profits and Material Sourcing Strategies
At the end of every project, you should perform a post-job reconciliation. This is where you compare your original estimate to what you actually spent. If you estimated two hours and it took four, you need to know why.
Often, the variance comes from material waste. If you find yourself with a pile of 3-foot offcuts that you can’t use, your sourcing strategy might be wrong. Sometimes it’s cheaper to buy a specific length from a local supplier than to buy a full 20-foot stick and have 12 feet of “dead” capital sitting on your rack.
Bulk Metal Sourcing vs. Remnant Usage
Sourcing material in bulk can save you money on the per-foot price, but only if you have a use for the whole piece. For a side-hustle, cash flow is often more important than the absolute lowest price.
- Bulk Sourcing: Best for high-volume, repeat jobs where the material is used quickly.
- Remnant Usage: Best for custom, one-off projects or small repairs where buying a full stick would kill the profit margin.
I suggest keeping a “cut list” for every project. This list tells you exactly what you need. Before you call the steel yard, check your organized remnant racks. If you can fulfill 20% of your cut list from your offcuts, that is 20% less cash leaving your pocket for that job.
Using ROI Calculators for Equipment Upgrades
Before buying a new piece of equipment, like a cold saw or a plasma table, use a metal business ROI calculator. You need to know how many jobs it will take to pay for that tool.
If a new saw costs $1,500 and it saves you 10 minutes of cleanup per cut, and your shop rate is $75/hour ($1.25/minute), you are saving $12.50 per job. You would need to do 120 jobs to break even on the tool. If you use your scrap to build a better stand or an outfeed table for that saw, you increase its efficiency even further, shortening the payback period.
Practical Frameworks for Tracking and Pricing
To keep your shop organized and profitable, you need simple tools. You don’t need complex software; a few well-designed spreadsheets or even a dedicated notebook will do.
- Material Inventory Log: A simple list of what you have in your remnant racks, updated once a month.
- Consumable Tracker: A sheet near your welder where you mark down when you start a new roll of wire or a new bottle of gas.
- Job Estimate Template: A consistent form that includes material cost, markup, consumable burden, and labor hours.
- Quote Checklist: A final check to ensure you haven’t forgotten things like shop supplies (rags, cleaner, markers) or delivery fees.
By using these frameworks, you remove the guesswork from your business. You stop being a hobbyist who hopes to make money and start being a professional who knows they are making money.
Benchmarks for Small Shop Success
How do you know if you are doing well? Use these industry benchmarks for small-scale fabrication:
- Profit Margin: Aim for 20% to 35% after all expenses and your own wage are paid.
- Material Waste: Keep your “unusable” scrap (pieces too small for any use) under 5% of your total material weight.
- Shop Rate Realization: You should be billing at least 70% of the time you spend in the shop. The other 30% is for maintenance, cleaning, and organizing.
If your numbers are far off these benchmarks, it is time to look at your organization. Usually, the “leak” in the budget is found in the time spent looking for tools or the money spent on material you already had.
Next Steps for Your Metalworking Business
The first step to optimizing your shop’s financial health is to stop the bleeding. Spend one Saturday cleaning out your scrap pile. Sort it, color-code it, and get it off the floor.
Once your materials are organized, start tracking every penny. Use the shop rate formulas we discussed to re-evaluate your current pricing. Don’t be afraid to raise your rates if the data shows you are losing money on consumables or overhead. Your customers are paying for your expertise and your equipment; make sure they are actually covering the cost of both.
Finally, look at your “waste” as an opportunity. Every bracket, jig, or small part you can make from a remnant is a boost to your ROI. In the world of small-shop fabrication, the person who manages their “trash” the best is usually the one who stays in business the longest.
Frequently Asked Questions
How do I decide if a piece of metal is “scrap” or a “remnant”?
A remnant is any piece of metal that is large enough to be used in a future project, typically anything over 6 inches for bars or 4×4 inches for plates. Scrap is anything smaller, bent, or heavily corroded that should be set aside for a recycling center.
Should I charge the customer for the full stick of metal if I only use half?
Yes, if the remaining half is a size you don’t commonly use. You are essentially charging them for the “convenience” of you sourcing and storing that material. If it is a very common size, you might charge for the material used plus a 30% markup.
What is the best way to track welding gas usage for a single job?
Since it’s hard to measure exactly, use a “consumable burden.” Calculate the cost of a full tank and estimate how many hours of arc time it provides. Add a flat hourly “gas fee” (e.g., $5-$10 per hour of welding) to your quote.
How do I organize very short pieces of round stock?
Use small bins or even heavy-duty magnetic tool holders mounted at eye level. Group them by diameter so you can quickly grab what you need for spacers or pins.
Is it worth my time to weld small offcuts together to make a longer piece?
Usually, no. The labor cost of prepping, welding, and grinding the joint will almost always exceed the cost of buying a new piece of metal. Only do this for non-structural shop fixtures or if you are in an absolute pinch.
How often should I update my material pricing?
In a volatile market, check your local steel supplier’s prices once a month. If their prices go up 10%, your material quotes should go up 10% immediately to protect your margins.
What is the most common hidden cost in a small metal shop?
Abrasives. Flap discs, grinding wheels, and cutoff wheels are expensive and wear out quickly. Most side-hustlers under-price these by 50% or more.
How do I calculate depreciation on a used machine?
Estimate how many more years the machine will realistically last. Divide the price you paid by the number of months in that period. That is your monthly depreciation cost.
Should I use specialized software for my shop inventory?
For a small side-hustle, a simple spreadsheet is usually better. It’s free, customizable, and doesn’t require a monthly subscription that eats into your profits.
How do I handle “friend and family” pricing while staying profitable?
Never cut your shop rate. Instead, offer to let them provide the material or help with the “grunt work” like cleaning or grinding. This keeps your business’s financial foundations intact.
(This article was written by one of our staff writers, Michael Hargrove. Visit our Meet the Team page to learn more about the author and their expertise.)