How to Properly Deburr Metal Edges Safely and Fast (Guide)
In my fourteen years of inspecting industrial steel and managing shop floor fabrication, I have noticed a recurring theme: the most catastrophic structural failures rarely start with a massive error. Instead, they begin with a microscopic flaw. I have stood over fractured heavy equipment frames where the root cause was a single stress riser—a tiny, overlooked metal burr that acted as a starting point for a crack. For those of us working in a garage or a small custom shop, the stakes are just as high. Whether you are building a utility trailer or a custom workbench, the way you treat your metal edges determines the longevity and safety of the entire build.
Edge preparation is more than just a finishing touch; it is a fundamental step in ensuring structural metal load capacity. When we cut metal using a bandsaw, a cold saw, or a plasma cutter, the process displaces material. This displacement creates a sharp, raised ridge known as a burr. If left alone, these ridges interfere with the fitment of joints, create hotspots for fatigue, and pose a severe laceration risk. My goal is to help you move past the “good enough” mindset and adopt a rigorous approach to cleaning these edges that prioritizes both speed and structural integrity.
The Mechanics of Edge Deformations and Structural Risk
Edge preparation involves removing the deformed metal remnants left by cutting processes to ensure clean contact surfaces and eliminate stress risers.
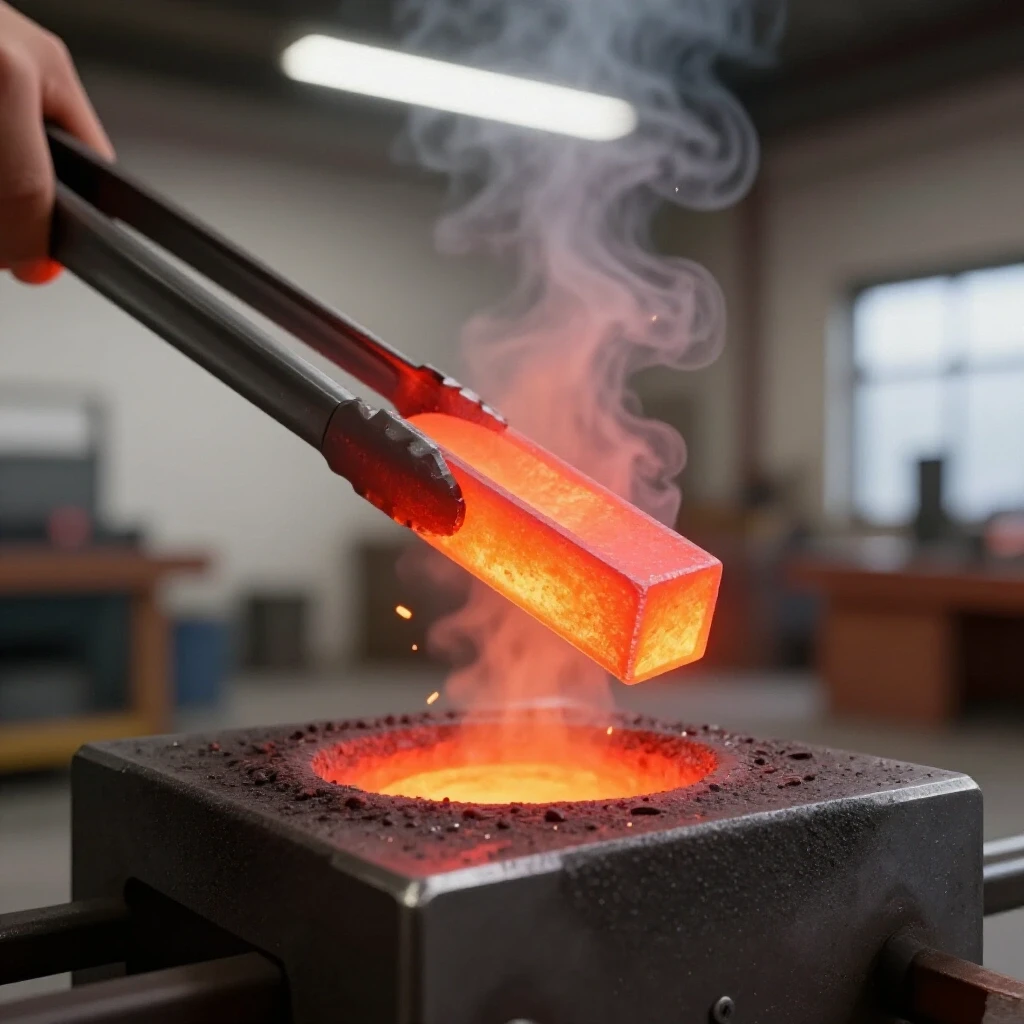
When you cut through a piece of mild steel with a tensile strength of 50,000 PSI, the tool exerts immense pressure. As the blade exits the cut, it doesn’t just disappear; it pushes a small amount of metal along with it. This is a burr. In the world of mechanical engineering, we view these as “stress risers.” A stress riser is any sharp notch or irregularity that concentrates force in one small area. Under a load, a smooth edge distributes stress evenly, but a burr or a jagged edge invites the metal to fail prematurely.
There are three primary types of edge deformations you will encounter in your workshop:
- Rollover Burrs: These are the most common, usually formed when a saw blade pushes the metal over the edge of the cut.
- Poisson Burrs: These occur when the material is compressed, causing it to bulge sideways, often seen after heavy drilling.
- Tear Burrs: These happen when the material is literally torn away, common in punching or shearing operations.
If you ignore these, you are inviting structural instability. For example, if you are bolting two plates together and a burr prevents them from sitting flush, you lose the friction-grip that the bolt relies on. This leads to “bolt shear,” where the fastener takes the full force of the load instead of the friction between the plates.
Essential Workshop Safety Checklist for Edge Finishing
A safety framework ensures that the mechanical removal of metal shards does not lead to eye injuries, lacerations, or respiratory issues from fine particulates.
Before you pick up a file or a grinder, you must address the environment. I have seen more “near-miss” incidents during edge cleanup than during actual welding. The chips produced during deburring are often razor-sharp and can travel surprising distances. In a garage fabrication safety context, your layout must account for “hot zones” where metal slivers might land.
Use this checklist before starting any edge refinement:
- Eye Protection: Use Z87+ rated safety glasses. If using power tools, a full-face shield is mandatory.
- Hand Protection: Wear Level 3 or higher cut-resistant gloves. Standard leather work gloves are often insufficient against fine, needle-like metal splinters.
- Respiratory Care: Use an N95 mask or a P100 respirator when using abrasive pads or power tools to avoid inhaling metallic dust.
- Workholding: Secure the workpiece in a heavy-duty vise. Never attempt to deburr a loose piece of metal held in your hand.
- Cleanliness: Keep a bench brush or a shop vacuum nearby. Never use your bare hand to sweep away metal shavings.
| PPE Item | Rating/Standard | Primary Protection |
|---|---|---|
| Safety Glasses | ANSI Z87.1+ | High-velocity impact |
| Work Gloves | ANSI/ISEA Level A3+ | Laceration and puncture |
| Face Shield | ANSI Z87.1 | Full face coverage from sparks |
| Respirator | N95 or P100 | Fine metallic dust inhalation |
Selecting the Right Tools for Precision Edge Refinement
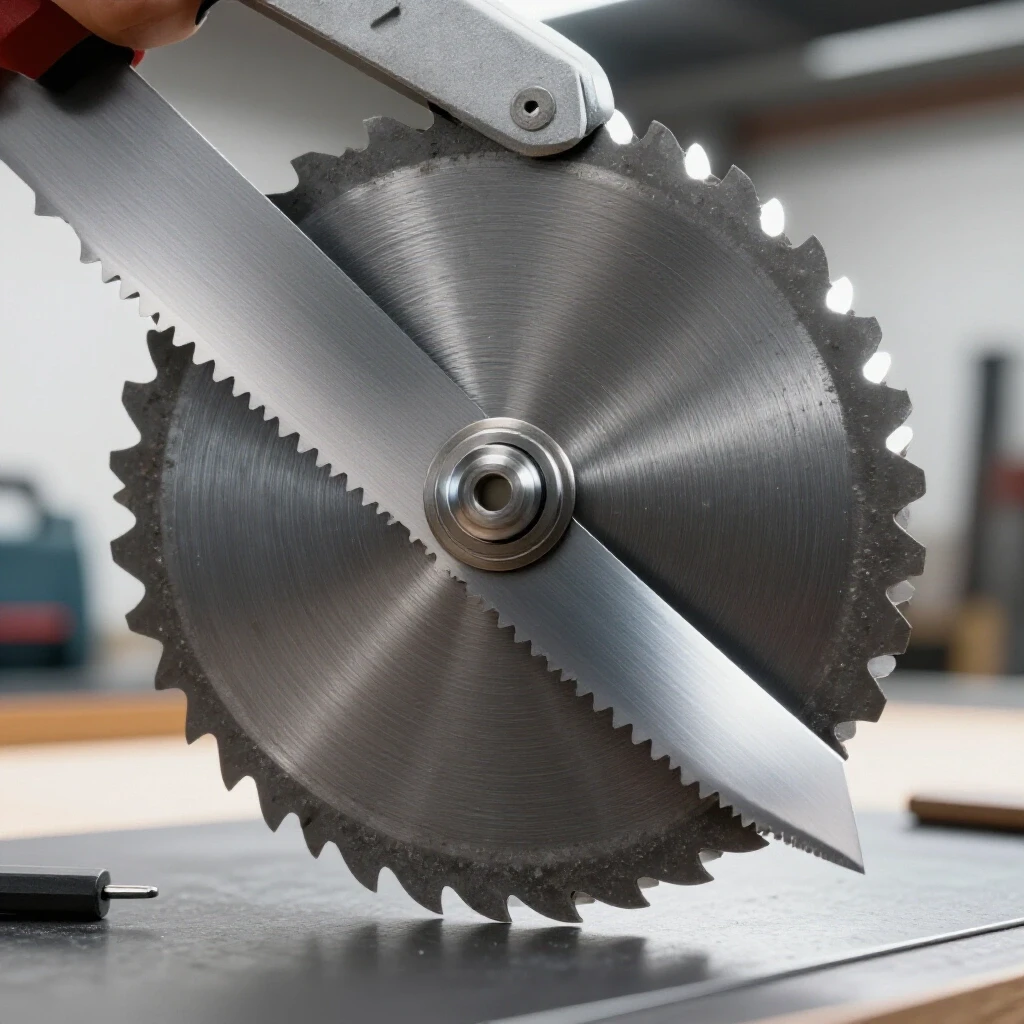
Choosing between manual files, swivel blades, and rotary bits depends on the material hardness and the specific geometry of the cut edge.
In my shop, I categorize tools by the type of edge they produce. For a risk-averse fabricator, the goal is a consistent, repeatable result. You don’t need a massive industrial machine; you need a few high-quality manual and low-power tools.
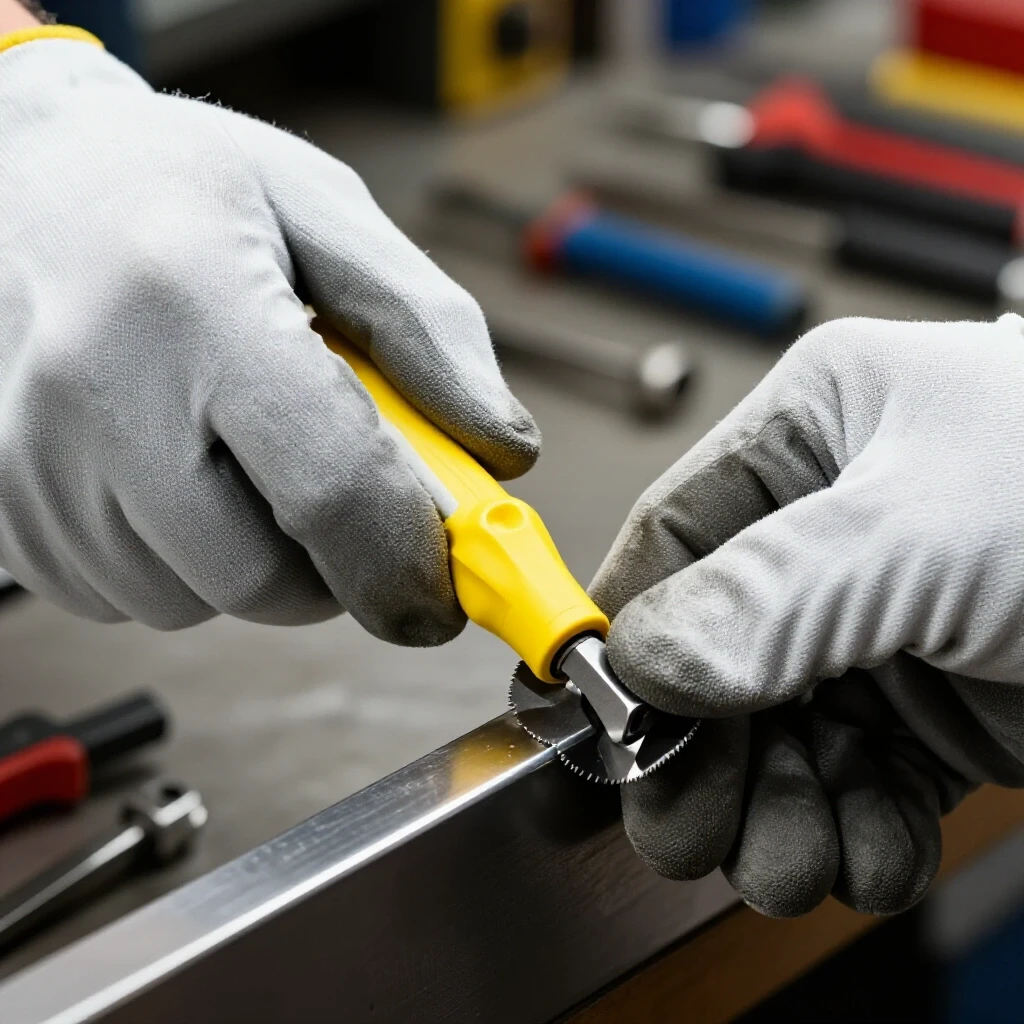
Manual Swivel Blades
These are excellent for holes and curved edges. The blade rotates freely in a handle, allowing you to follow the contour of the metal. They are particularly effective on aluminum and mild steel. However, they require a steady hand; if you apply too much pressure, the blade can “chatter,” leaving a wavy surface that is difficult to fix.
Hand Files
The humble hand file remains one of the most reliable tools in my kit. For structural steel, a “bastard cut” file removes material quickly, while a “smooth cut” file provides a refined finish. Always use a file handle; an exposed tang is a puncture wound waiting to happen if the file catches and kicks back.
Rotary Burrs and Abrasive Pads
For faster material removal, a die grinder with a carbide burr is effective. However, this is where the risk of “gouging” increases. If you remove too much material, you might thin the metal below its required design thickness, compromising the structural metal load capacity. Abrasive flap discs (60 to 80 grit) are a safer middle ground for external edges.
Material-Specific Strategies for Stress Reduction
Different metals like aluminum and stainless steel respond uniquely to friction and pressure, requiring specific speeds and abrasive grits to prevent surface contamination.
Not all metals behave the same way under the pressure of a deburring tool. In my 14 years of fabrication, I have learned that treating stainless steel like mild steel is a recipe for a ruined workpiece and a broken tool.
- Mild Steel: Generally forgiving. You can use standard carbon steel files and carbide burrs. It has a predictable yield strength, and as long as you remove the sharp edge, the risk of stress cracking is low.
- Aluminum: This is a “gummy” metal. It tends to clog files and abrasive discs quickly. Use a lubricant (like a wax stick) or tools specifically designed for non-ferrous metals. If a file clogs, it will stop cutting and start “smearing” the metal, which can hide cracks rather than remove them.
- Stainless Steel: This material work-hardens. If you use a dull tool or too much friction, the surface becomes incredibly hard, making further work nearly impossible. Use high-quality cobalt or carbide tools and maintain a consistent, firm pressure to “cut” rather than “rub.”
How Improper Edge Finishing Leads to Welding Defect Troubleshooting
Residual burrs can trap oxides and moisture, leading to porosity and poor penetration in the heat affected zone of a structural weld.
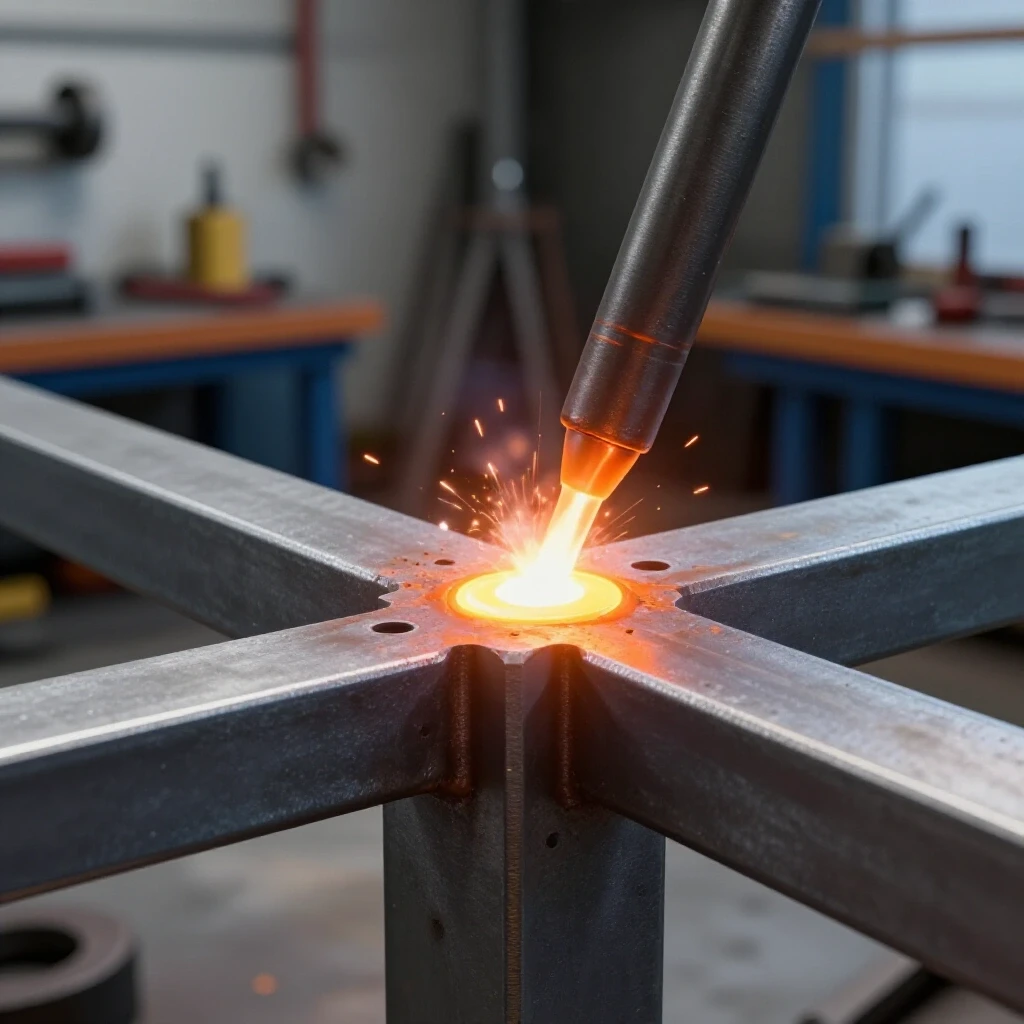
If you are a welder, edge preparation is your first line of defense against failure. I have performed countless dye-penetrant and ultrasonic tests on welds that failed inspection. A frequent culprit is “lack of fusion” at the root of the joint. When you leave a burr on the edge of a plate, it creates a tiny gap or a “trap” where shielding gas cannot reach.
This trapped air leads to welding gas flow rate issues at the micro-level, causing porosity—tiny bubbles in the weld metal. Furthermore, the burr itself is often covered in oils or oxides. When the welding arc hits that burr, it melts the contaminants into the weld pool. This weakens the heat affected zone (HAZ), the area of the parent metal that is modified by the heat of the weld. A clean, deburred edge ensures that the weld nugget fuses perfectly with the base metal.
Step-by-Step Execution for Safe and Rapid Edge Smoothing
A systematic approach to removing sharp edges involves sequential passes, proper tool angles, and consistent pressure to achieve a uniform radius.
To achieve a professional result without wasting hours, follow this workflow:
- Secure the Piece: Clamp the metal in a vise with the edge facing up. If the piece is long, use supports to prevent vibration, which causes tool chatter.
- The Initial Break: Use a coarse file or a 60-grit flap disc at a 45-degree angle. Your goal is to “break” the sharp corner. Two or three firm passes are usually enough.
- The Longitudinal Pass: After breaking the edge, run your tool along the length of the cut. This removes any “wire edges” (thin ribbons of metal) that the first pass might have created.
- Internal Radiuses: For holes, use a swivel deburring tool. Rotate it 360 degrees with light, even pressure. If the hole is for a structural bolt, ensure you don’t create a chamfer so deep that it reduces the bearing surface for the bolt head.
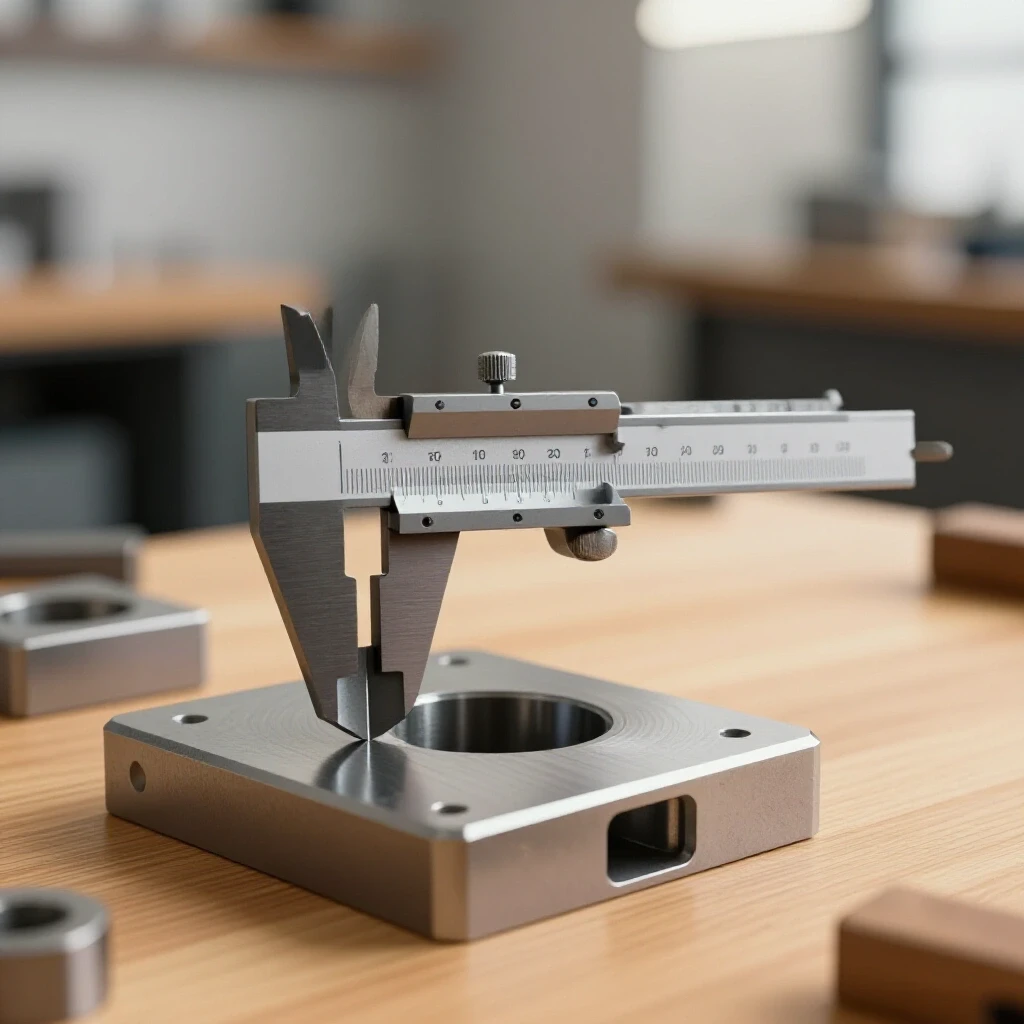
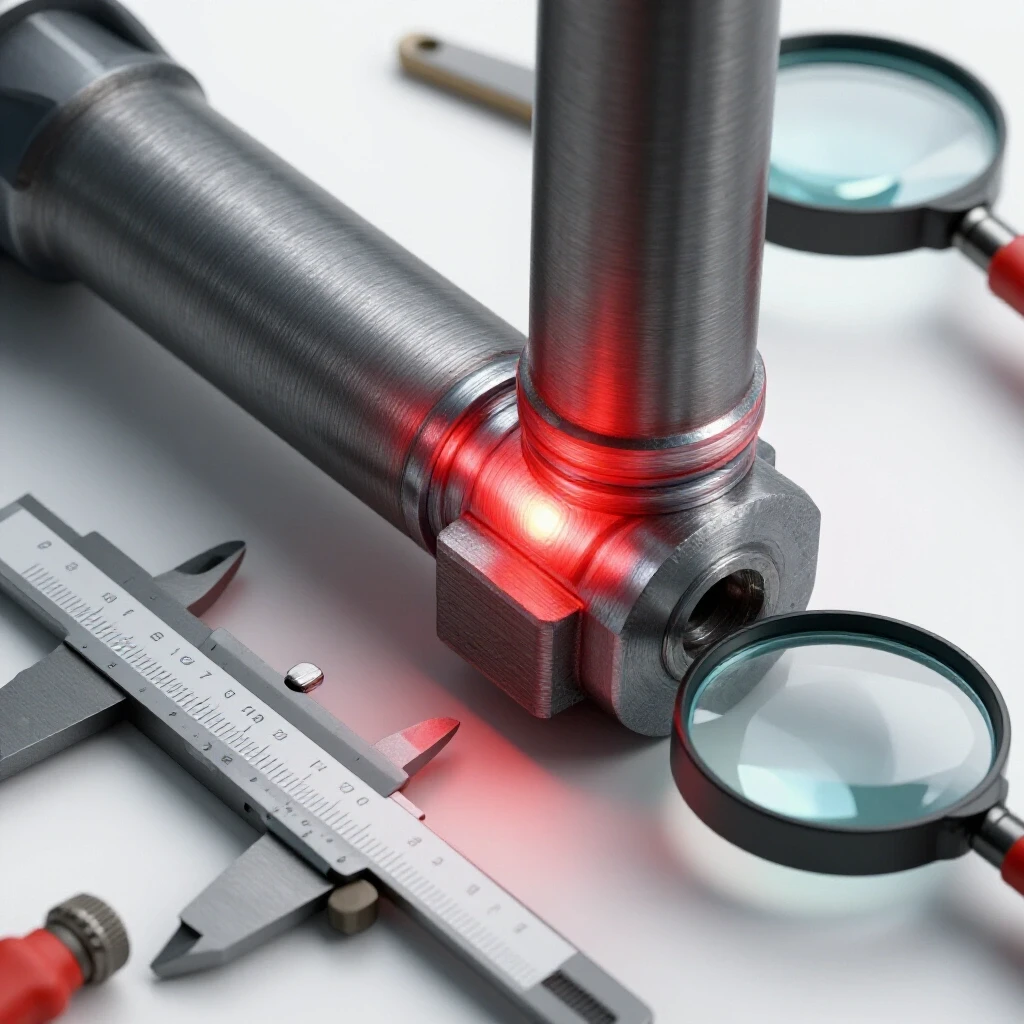
- Final Inspection: Use a flashlight to look for reflections. A burr will catch the light differently than a smooth edge. For a final check, use a piece of scrap cloth. If the cloth snags on the edge, the edge is still too sharp.
Analyzing Failed Joints: A Case Study in Stress Risers
Reviewing real-world structural failures highlights how microscopic edge defects can propagate into catastrophic cracks under cyclic loading.
Years ago, I inspected a heavy-duty equipment trailer that had developed a crack in the main C-channel frame. The welder was experienced, and the weld beads looked perfect. However, when we ground the weld back to find the root of the crack, we discovered a “tear burr” from the original shearing process that had never been removed.
The burr had created a microscopic void at the base of the weld. Over months of road vibration and heavy loading, that void acted as a “crack initiation point.” The metal reached its fatigue limit much faster than it would have with a clean edge. This is why I emphasize that “clean” is a structural requirement, not an aesthetic one. In structural design, we often use a safety factor of 2:1 or 4:1, but those margins assume the material is free of defects. A single burr can effectively reduce your safety margin to zero.
Actionable Edge Quality Checklist for Fabricators
To ensure your projects meet industrial standards, use this checklist for every joint before assembly:
- [ ] Visual Check: No visible “overhanging” metal on the cut edge.
- [ ] Tactile Check: Edge feels smooth to a gloved hand (or a piece of cloth).
- [ ] Fitment Check: Parts sit perfectly flush with no gaps greater than 1/32 of an inch.
- [ ] Contamination Check: Edge is free of the “smearing” often caused by dull abrasive discs.
- [ ] Hole Integrity: Bolt holes are deburred on both the entry and exit sides.
- [ ] Cleanliness: All metal chips and dust have been vacuumed from the joint area.
By following these steps, you are doing more than just “cleaning up” your work. You are practicing the same level of rigor that we use in heavy industrial fabrication. You are ensuring that your structural designs are predictable and that your workshop remains a safe place to build.
Frequently Asked Questions
Why is it dangerous to use my hand to check for burrs? Even with gloves, a sharp metal burr can act like a needle, piercing the fabric and entering your skin. These slivers are often contaminated with shop oils and can cause deep infections. Always use a visual aid or a piece of fabric to test for edge smoothness.
Can I use a standard bench grinder for all my deburring needs? While a bench grinder is fast, it is difficult to control on large or complex parts. It also tends to generate significant heat, which can affect the temper of high-carbon steels or cause thin sections to warp. Manual tools or handheld abrasives offer much better precision for structural work.
How do I know if I have removed too much material? In structural applications, you should only remove the burr and perhaps a very small “break” or radius (usually around 0.5mm to 1mm). If you create a large chamfer, you are reducing the cross-sectional area of the metal, which lowers its load-bearing capacity.
What is the best way to clean up aluminum burrs without clogging my tools? Use a dedicated non-ferrous file or a carbide burr with wide “flutes.” Applying a small amount of aluminum-cutting wax or even WD-40 to the tool can prevent the metal from welding itself to the teeth of the file.
Does deburring really prevent rust? Indirectly, yes. Paint and powder coating struggle to adhere to sharp, jagged edges. The coating will pull away from a sharp corner as it cures, leaving a thin spot where moisture can penetrate. A slightly rounded or deburred edge allows for a uniform coating thickness, significantly improving corrosion resistance.
Is there a difference between “deburring” and “chamfering”? Yes. Deburring is the removal of unwanted material (the burr) to make the edge safe and smooth. Chamfering is the intentional cutting of a beveled edge, often at a 45-degree angle, to prepare a joint for a full-penetration weld or to help a bolt lead into a hole.
How often should I replace my deburring blades? As soon as you feel the tool “skipping” or requiring more pressure to cut. A dull blade is dangerous because it is more likely to slip and cause an injury. In my shop, if a blade doesn’t cut with light pressure, it goes in the scrap bin.
What should I do if a burr is in a hard-to-reach internal corner? Small needle files or specialized “pen” style deburring tools with curved blades are designed specifically for tight spaces. If those don’t work, a small piece of emery cloth wrapped around a dowel can provide the necessary reach.
(This article was written by one of our staff writers, James Harlan. Visit our Meet the Team page to learn more about the author and their expertise.)