How to Test the Limits of Budget Hand Tools Safely (Guide)
For over 15 years, my workshop has been a laboratory for both high-end machinery and budget-friendly hand tools. I have spent thousands of hours logging the performance of everything from industrial saws to the humblest pair of hardware-store pliers. In my experience, the biggest frustration for a fabricator isn’t necessarily a cheap tool—it is a tool that fails unexpectedly because its true limits were never understood. Marketing specs often promise the world, but in a real-world metalworking environment, those claims rarely hold up under the pressure of a deadline. I have learned that the only way to avoid mid-project disasters is to systematically evaluate your equipment before it’s needed for a critical task.
Defining Material Limits for Manual Shop Equipment
Understanding the physical boundaries of your tools involves identifying the point where a tool can no longer perform its function without permanent damage. This process requires a clear look at the steel quality, the geometry of the tool, and the manufacturer’s intended use-case versus your actual workshop needs.
In my early years of small-scale manufacturing, I treated every tool as if it were over-engineered. I quickly learned that budget tools are often designed for “average” household use, not daily fabrication. To bridge this gap, I started applying the same rigor I use for welder buying guides to my manual tools. I look for the “yield point”—the moment a metal tool stops springing back to its original shape and stays bent.
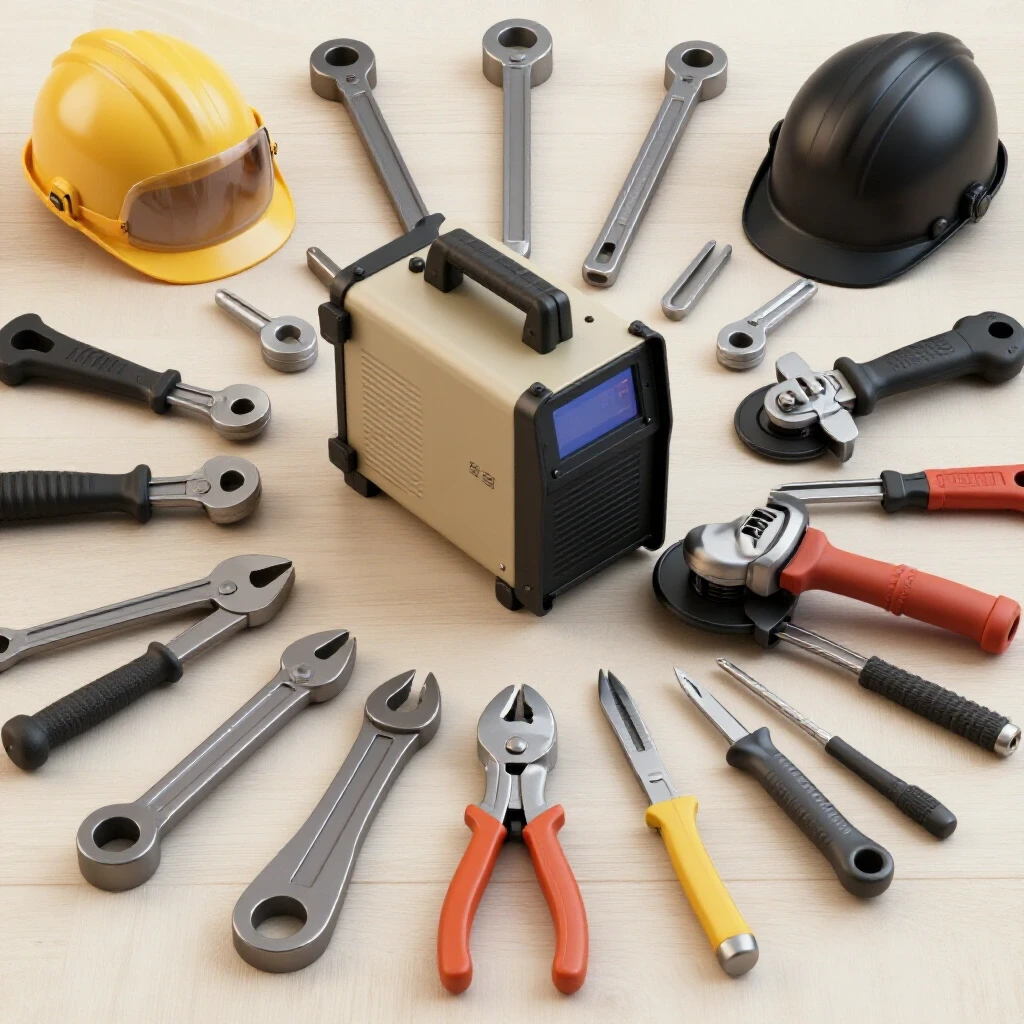
When you pick up a budget wrench or pair of pliers, the first thing to check is the finish. A thick, sloppy chrome plating often hides porous castings or poor heat treatment. I use a simple “ring test” by tapping the tool against a solid anvil. A high-quality tool will have a clear, high-pitched ring, while a tool with internal voids or soft steel will sound dull. This is your first metric for reliability.
Incremental Stress Evaluation for Gripping and Cutting Tools
Testing the threshold of entry-level gripping tools involves applying gradual pressure to see how the jaws and pivots respond under load. By slowly increasing the force on a sacrificial piece of material, you can observe jaw deflection or pivot slop before the tool actually breaks or slips.
I keep a detailed log of how my pliers perform under specific tasks, such as bending 12-gauge steel wire. When I test a new budget brand, I don’t just squeeze as hard as I can. I use a controlled approach. I start by gripping a piece of mild steel and applying 25% of my maximum grip strength. I check for jaw alignment. Then I move to 50%, then 75%.
Interestingly, many budget pliers will show “jaw splay” at about 60% of their capacity. This is where the tips of the jaws no longer meet because the handles are flexing. If I see this, I note it in my maintenance journal. It tells me that this tool is not suitable for high-torque assembly. It’s better to find this out on a test bench than when you are trying to hold a hot piece of metal near a welding arc.
- Pivot Stability: Check for side-to-head movement when the tool is fully open.
- Teeth Hardness: Attempt to grip a hardened bolt; if the tool’s teeth flatten, the steel is too soft for fabrication.
- Handle Comfort: Note if the plastic grips slide off under 50 lbs of pulling force.
Assessing Striking Tool Integrity and Handle Stability
Evaluating the durability of hammers and punches requires checking the security of the head-to-handle connection and the hardness of the striking face. A safe test involves controlled strikes on a soft lead or wood block to monitor for vibration, handle shifting, or face chipping.
I once had a budget ball-peen hammer head fly off during a simple assembly task because I hadn’t checked the wedge. Now, my protocol for any new striking tool involves a “soak-in” period. I use the tool for light tapping on a leather sandbag for the first hour of its life. This allows the handle and head to settle.
I also look at the striking face. Most budget hammers use a lower grade of carbon steel that may be improperly tempered. If the face starts “mushrooming” (deforming at the edges) after only a few dozen hits on mild steel, it is a safety hazard. Those deformed edges can chip off and become high-velocity projectiles. I use a fine-tooth file to check the hardness of the face; if the file bites deeply with little effort, the hammer is too soft for long-term shop use.
| Tool Metric | Budget Tier Expectation | Professional Tier Expectation |
|---|---|---|
| Steel Grade | Unknown/Carbon Steel | S2, V, or Cr-V Alloy |
| Finish | Thick Chrome/Paint | Satin or Polished Chrome |
| Pivot Tolerance | 0.5mm – 1.0mm play | < 0.1mm play |
| Handle Material | Single-dip PVC | Multi-component Ergonomic |
| Warranty | 90 Days / Limited | Lifetime / No Questions |
Performance Metrics for Manual Abrasion and Shaping Tools
Testing the limits of files and rasps involves measuring their “cut rate” on a standard material and checking for tooth clogging or premature dulling. A reliable file should remove a consistent amount of material per stroke without the teeth breaking off when used on harder alloys.
In my workshop, files are treated as consumables, but their lifespan varies wildly. When I bring in a new set of budget files, I perform a “ten-stroke test.” I take a 1-inch bar of 1018 mild steel and count how many grams of material are removed in ten full-length strokes. This provides a baseline for its cutting efficiency.
As a result of these logs, I’ve found that many budget files actually cut quite well initially, but their “duty cycle”—the time they stay sharp—is about 30% of what a premium Swiss-made file offers. If a file starts “skating” over the metal instead of biting, I stop immediately. Pushing harder on a dull file only leads to hand fatigue and potential injury if the file slips.
Establishing Safety Margins During High-Torque Manual Tasks
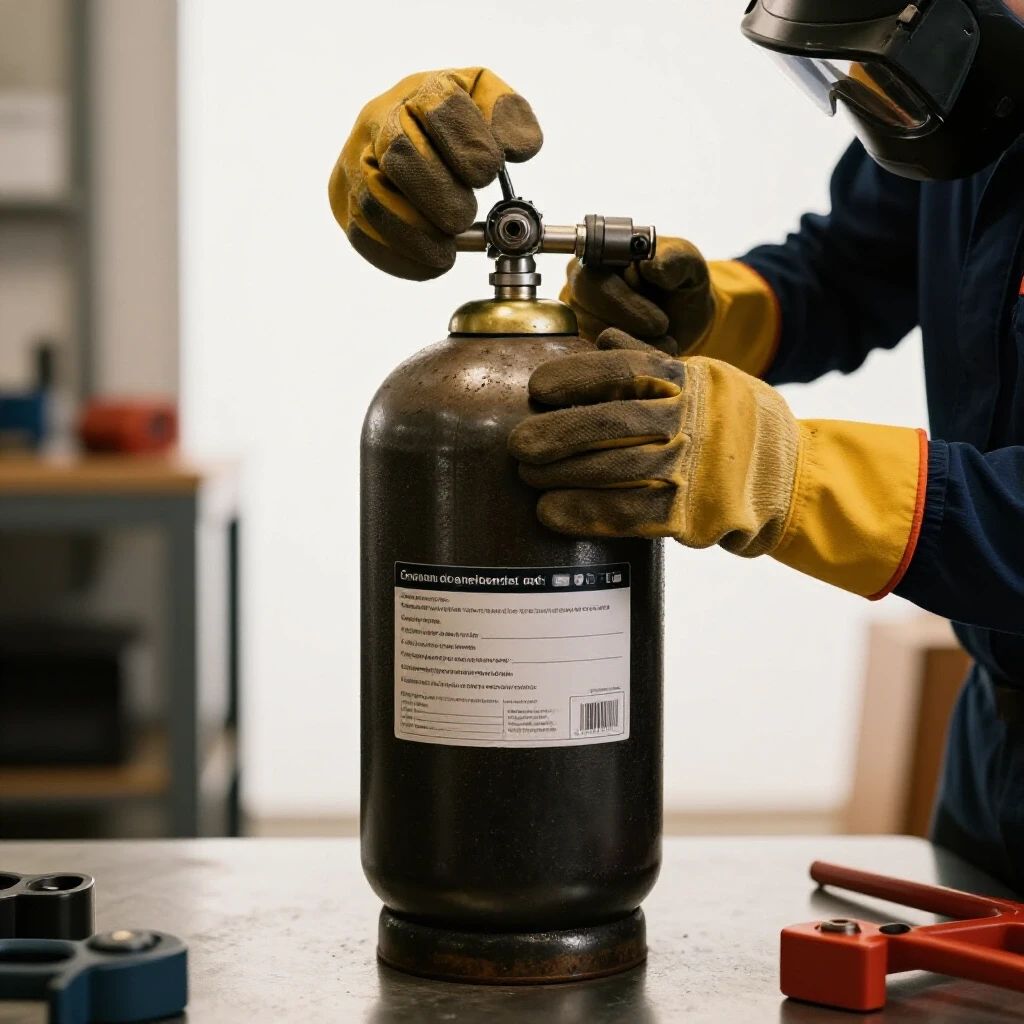
Safety protocols for testing budget tools focus on minimizing the risk of sudden failure through the use of proper PPE and stable work surfaces. Always assume a budget tool might fail during its first high-load test, and position your body to avoid the “snap-back” zone.
When I am testing the torque limit of a budget wrench, I never pull toward my face. I always push with an open palm. This is a lesson I learned after a cheap 14mm wrench snapped, and my knuckles met the edge of a steel workbench. Building on this, I always use a bench vise to hold the workpiece during a test. Never try to “hand-hold” a piece of metal while testing the limits of a tool’s grip.
Interestingly, the failure point of most budget tools is not the steel itself, but the ergonomics. If a tool is painful to use at 80% load, you will naturally jerk or twist it to find a better angle. This “off-axis” loading is what usually causes a tool to shatter. If the tool feels uncomfortable, it’s already failing the test for a professional fabricator.
Long-Term Maintenance and Tooling Investment Strategies
A systematic approach to tool ownership involves logging every failure and repair to calculate the true cost of the equipment. By tracking how many hours a tool lasts before it deforms, you can make better decisions on when to buy budget and when to invest in premium brands.
I use a simple spreadsheet to track my garage machinery maintenance and hand tool replacements. Every time a tool breaks or is retired due to wear, I log the purchase price and the estimated hours of use. This “cost-per-hour” metric is eye-opening. Often, a $30 pair of pliers that lasts 500 hours is much cheaper than a $10 pair that fails after 20 hours of hard use.
- Date of Purchase: Note the vendor and price.
- Initial Inspection: Log any defects in finish or alignment.
- First Failure Point: Record what task caused the tool to flex or slip.
- Repair Attempts: Note if the tool could be sharpened or if the handles were re-glued.
- Final Retirement: Record the total “active hours” the tool provided.
Practical Benchmarks for Workshop Readiness
Before you commit a budget tool to a long-term project, it should pass a basic “shop readiness” checklist. This ensures that the tool won’t let you down when you are in the middle of a complex fabrication task.
- Visual Alignment: Do the jaws meet perfectly at the tip and the base?
- Thermal Check: Does the tool get uncomfortably hot in your hand during repetitive use? (This indicates high friction in the pivot).
- Deformation Recovery: After a heavy squeeze, does the handle return to its original shape?
- Surface Integrity: Is the plating flaking off? (Flakes can get into welds or eyes).
By following these protocols, you can safely navigate the world of affordable tools. You don’t always need the most expensive brand, but you do need to know exactly where your tools will give up. This data-driven approach turns a “cheap” tool into a known variable in your workshop, allowing you to work with confidence and precision.
FAQ
How do I know if a budget tool is safe to use for a heavy task? Perform an incremental load test. Start by using the tool at about 25% of the force you think the task requires. Observe the tool for any bending or “springiness.” If the tool feels solid, increase the force to 50%. If you notice any permanent deformation or if the tool feels “spongy,” it has reached its limit and is not safe for that specific task.
What is the most common failure point for budget pliers? The pivot pin is usually the weakest link. In budget tools, this pin is often made of softer steel or is not properly peened. Under high load, the pin can bend or shear, causing the jaws to misalign. Always check for side-to-side play in the handles before and after a heavy pull.
Can I sharpen budget files to make them last longer? Generally, no. Most budget files are case-hardened, meaning only the outer “skin” of the teeth is hard. Once that layer wears down, the soft core of the tool is exposed. While you can clean them with a file card (a stiff wire brush), attempting to sharpen the teeth with acid or grinders usually results in a tool that performs poorly.
Why does the chrome plating on cheap tools matter for safety? Cheap chrome plating often becomes brittle. When the tool flexes under load, the chrome can crack and flake off. These flakes are incredibly sharp and can cause eye injuries or get embedded in your skin. If you see plating starting to peel, it’s a sign the tool’s base metal is flexing more than the finish can handle.
How can I tell if a hammer head is properly hardened? A simple way is to use a “rebound test.” Drop a small steel ball bearing onto the face of the hammer from a height of about 10 inches. On a properly hardened face, the ball should bounce back at least 60-70% of the height. If it barely bounces, the steel is soft and will likely mushroom or dent during use.
Is it worth keeping a maintenance log for tools that only cost $10? Yes, because it helps you identify patterns. If you find yourself replacing the same $10 tool every three months, you are spending $40 a year plus the time spent going to the store. A $50 professional version that lasts five years is a much better investment. The log proves this with data rather than guesswork.
What should I do if a tool deforms during a test? Stop using it for that task immediately. A tool that has “yielded” (stayed bent) is structurally compromised. The metal has been stretched, and it will now be much weaker at that point. You can keep it for very light-duty tasks, but it should never be trusted for high-torque or safety-critical work again.
Does “Drop Forged” always mean a tool is high quality? Not necessarily. “Drop forged” simply refers to the manufacturing process where the metal is hammered into a die. While generally better than cast tools, the quality still depends on the grade of steel used and the heat treatment after forging. Many budget tools are drop forged from low-grade carbon steel, which is still prone to bending.
How do I test the “bite” of a new wrench safely? Place a Grade 8 bolt in a sturdy bench vise. Put the wrench on the bolt head and apply gradual pressure while watching the “flats” of the wrench. If the wrench starts to open up or “round” the corners of the bolt at low pressure, the tolerances are too loose. This tool will likely slip and cause an injury during a real repair.
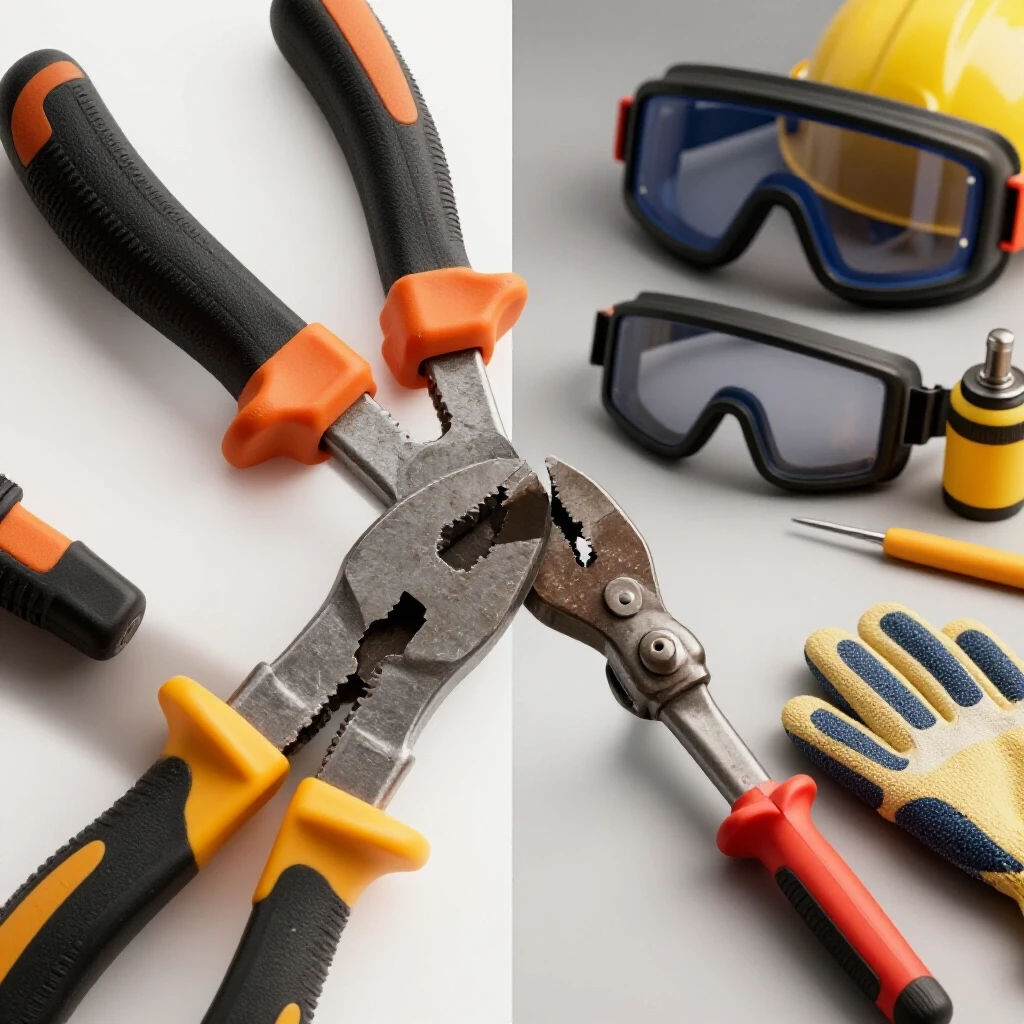
What PPE is essential when testing the limits of manual tools? At a minimum, you should wear impact-rated safety glasses and leather work gloves. If you are testing striking tools like hammers or punches, a face shield is recommended in case of metal chipping. Always ensure your work area is clear of clutter so that if a tool slips, you don’t fall into other sharp objects.
(This article was written by one of our staff writers, David Reynolds. Visit our Meet the Team page to learn more about the author and their expertise.)