Safe Metal Fabrication Practices for Garage Setups (Guide)
I have spent the last 15 years in a 24-by-24-foot garage, surrounded by the smell of ozone and the sound of grinding wheels. In that time, I have filled dozens of maintenance journals with data on how tools actually perform when the marketing gloss wears off. I have seen budget welders melt their internal cooling fans and high-end grinders kick back because of a poorly designed grip. Most tool reviews tell you how a machine looks out of the box, but they rarely tell you if it will still be safe and functional after 500 hours of heavy use.
My background in small-scale manufacturing taught me that safety and reliability are two sides of the same coin. A tool that fails unexpectedly is a tool that puts you at risk. Whether it is a thermal overload sensor that fails to trip or a power cord that frays after a year of being stepped on, these mechanical failures lead to shop hazards. I want to share the data I have gathered from my own workshop logs to help you build a setup that is as durable as it is secure.
Analyzing Electrical Infrastructure for Stable Workshop Power
Electrical infrastructure refers to the wiring, circuit breakers, and outlets that deliver energy to your machinery. In a residential setting, this involves understanding how much current your tools draw and ensuring your garage can handle the load without overheating wires or tripping breakers constantly.
When I first set up my shop, I assumed a standard 20-amp circuit was enough for a small MIG welder. My maintenance logs quickly showed otherwise. I noticed the lights flickering and the welder’s arc becoming unstable. After measuring the voltage drop at the outlet, I realized I was losing 15% of my power through undersized wiring. This is a major safety concern because heat builds up in the walls long before a breaker might pop.
For any serious metalwork, you need to look at the NEMA (National Electrical Manufacturers Association) ratings on your tools. Most quality welders require a NEMA 6-50P plug for 240V service. If you are running on 120V, you are likely pushing the tool to its absolute limit, which increases the risk of a thermal failure. I recommend installing a dedicated sub-panel if you plan on running a welder and an air compressor at the same time.
- Dedicated Circuits: Always run your welder on its own circuit to prevent overloading shared lines.
- Wire Gauge: Use 6-gauge or 8-gauge copper wire for 50-amp 240V circuits to minimize heat and power loss.
- Voltage Monitoring: Use a simple plug-in voltmeter to ensure your shop stays within 5% of the target voltage under load.
| Tool Type | Amperage Draw (Typical) | Recommended Circuit | Safety Risk of Undersized Power |
|---|---|---|---|
| Small MIG Welder | 20A – 30A (240V) | 50A Dedicated | Transformer overheating, arc instability |
| 4.5-inch Grinder | 6A – 12A (120V) | 20A Shared | Motor burnout, cord fatigue |
| 14-inch Chop Saw | 15A (120V) | 20A Dedicated | Breaker nuisance trips, blade slowing |
| Air Compressor | 15A (240V) | 30A Dedicated | Pressure switch failure, motor stall |
Understanding Duty Cycles and Thermal Protection Realities
A duty cycle is a measurement of how many minutes out of a ten-minute period a machine can operate at a specific output before it must cool down. Thermal protection is the internal safety switch designed to shut the machine off before the heat destroys the motor or transformer.
Manufacturers often hide their duty cycle ratings in fine print. I once owned a “pro-sumer” welder that claimed 200 amps of power. However, my logs showed that at 200 amps, the duty cycle was only 10%. This meant I could only weld for 60 seconds before the machine needed nine minutes of rest. If I pushed it past that minute, the internal components reached temperatures that could degrade the insulation on the wires.
When you are researching new equipment, look for the duty cycle at the amperage you will actually use. If you are welding 1/4-inch steel, you need a machine that can handle that load for at least 3 or 4 minutes (30% to 40% duty cycle). Buying a machine with a higher duty cycle than you think you need is a safety investment. It ensures the internal cooling fans and heat sinks can handle the stress without reaching critical failure points.
- Check the Label: Look for the data plate on the back of the machine, not the marketing sticker on the front.
- Cooling Efficiency: Inverter-based tools generally have better thermal management than older transformer units.
- Environmental Factors: Remember that a 40% duty cycle rated at 70 degrees Fahrenheit will drop significantly if your garage is 95 degrees in the summer.
Designing a Hazard-Resistant Workspace Layout
Workspace layout involves the strategic placement of tools, workbenches, and storage to minimize movement risks and manage shop byproducts like sparks and dust. A good layout creates clear paths and separates “hot” zones from “clean” zones to prevent fires and tripping.
In my early years, I had my welding table right next to my wood storage. One afternoon, a stray spark from a grinder landed in a pile of sawdust. I didn’t notice it for twenty minutes until I smelled smoke. Now, my shop follows the “35-foot rule.” I keep all flammable materials at least 35 feet away from where I am cutting or welding, or I use certified welding blankets to shield them.
You should also consider the “triangle of movement” between your metal rack, your cutting station, and your welding bench. If you have to carry heavy 20-foot sticks of tubing across a cluttered floor, you are asking for a back injury or a tipped-over tool. I use heavy-duty locking casters on all my benches. This allows me to rearrange the shop based on the size of the project, ensuring I always have a clear exit path in case of an emergency.
- Spark Zones: Use non-combustible barriers like sheet metal or welding curtains to contain sparks.
- Flooring: Keep concrete floors clear of oil and grease, which can ignite or cause slips.
- Lighting: Install high-output LED shop lights to ensure you can see your work clearly through a welding helmet or safety glasses.
- Clear Exits: Never block your main garage door or side entry with material racks or heavy machinery.
Selecting Personal Protective Equipment Based on Performance Metrics
Personal Protective Equipment (PPE) consists of the wearable gear designed to protect your eyes, skin, and lungs from the hazards of metalworking. This includes welding helmets, gloves, aprons, and respirators that must meet specific safety standards like ANSI Z87.1 or NIOSH.
I have tracked the lifespan of various PPE brands in my maintenance logs. I found that cheap, “one-size-fits-all” welding gloves usually fail at the seams after about 40 hours of use. In contrast, high-quality goatskin or heavy cowhide gloves often last over 150 hours while providing better dexterity. Dexterity is a safety feature; if you can’t feel what you are doing, you are more likely to drop a hot piece of metal or fumble a tool.
Look for a rating of 1/20,000 of a second or faster. My logs show that slower sensors lead to “eye flash” or significant eye strain by the end of a long day. Also, check the optical clarity rating. A rating of 1/1/1/1 is the gold standard, providing a clear view that prevents you from making mistakes that could lead to structural weld failures.- Respirators: Always wear a P100 rated mask under your welding hood, especially when working with galvanized steel or stainless steel.
- Clothing: Stick to 100% cotton or leather. Synthetic fabrics like polyester can melt to your skin in a fire.
- Footwear: Steel-toe or composite-toe boots are mandatory. I once dropped a 40-pound plate of steel; my boots are the only reason I still have ten toes.
Managing Air Quality and Ventilation in Confined Spaces
Ventilation is the process of moving fresh air into your workspace while removing contaminated air, such as welding fumes and grinding dust. In a garage, this is critical because fumes can quickly reach toxic levels in a small, enclosed volume.
Many hobbyists think opening the garage door is enough. My air quality monitor proved that wrong. Even with the door open, a “dead zone” of fumes often hangs right in the corner where I do my welding. I installed a high-volume exhaust fan that pulls 1,200 CFM (Cubic Feet per Minute). For a standard two-car garage, you want to be able to exchange the entire volume of air every 5 to 10 minutes.
If you are doing a lot of grinding, you also need to manage “swarf”—the tiny metal particles that fill the air. These are not just bad for your lungs; they are also bad for your tools. Metal dust is conductive. If it gets sucked into your welder’s cooling vents, it can short out the circuit boards. I use a dedicated shop vacuum with a HEPA filter attached directly to my stationary grinders to catch dust at the source.
- Fume Extraction: Use a flexible “snorkel” arm or a high-powered fan placed to pull fumes away from your face, not across it.
- Air Exchange Calculation: (Garage Length x Width x Height) / 5 = Required CFM for the fan.
- Filter Maintenance: Clean or replace your respirator filters every 40 hours of use, or sooner if breathing becomes difficult.
Safe Handling and Maintenance of High-RPM Handheld Tools
High-RPM tools, such as angle grinders and die grinders, are handheld machines that spin at speeds often exceeding 10,000 RPM. Because of these high speeds, any mechanical failure or loss of control can result in serious injury or equipment damage.
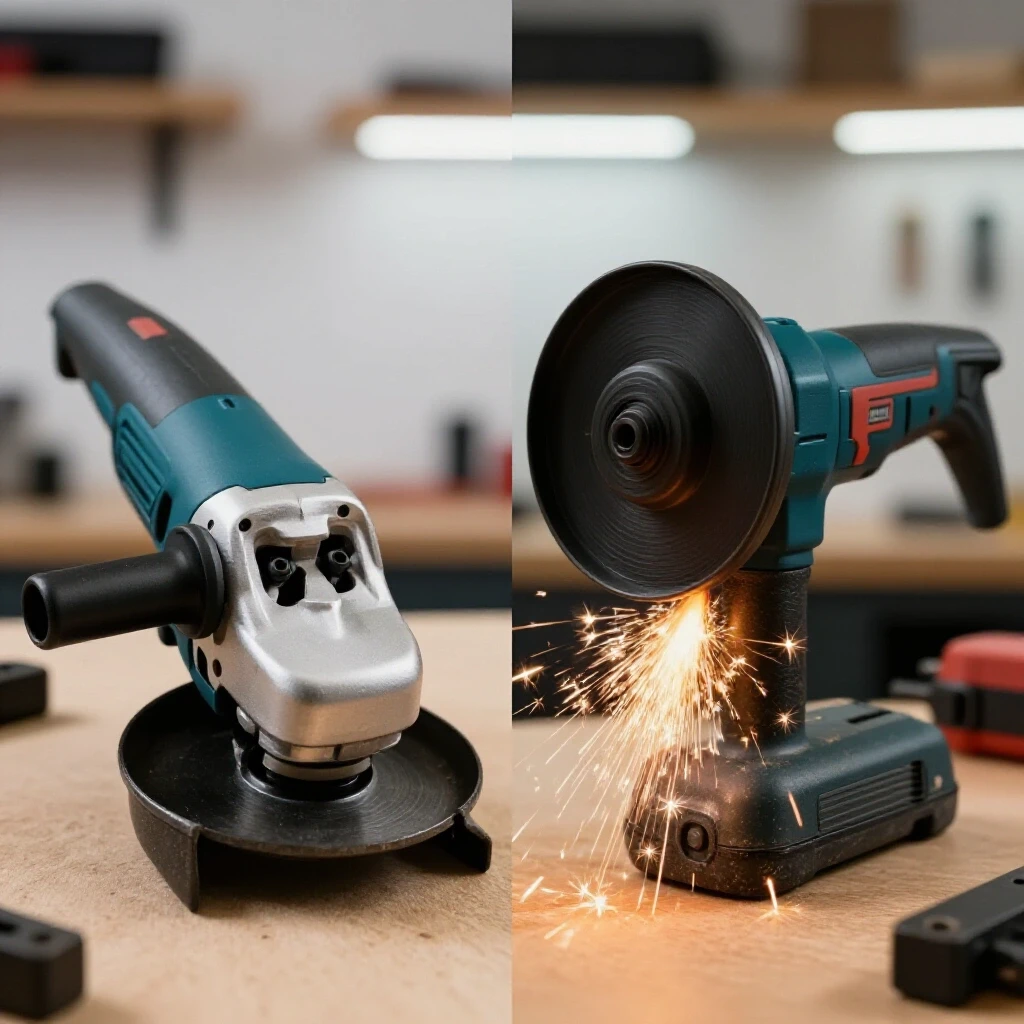
The angle grinder is statistically the most dangerous tool in the shop. In my 15 years of logs, I have noted that most grinder issues stem from two things: removing the guard and using the wrong disc. I never remove the guard. It is designed to deflect fragments if a disc shatters. I have seen a “cheap” cutting disc explode; the guard saved my hand from the shrapnel.
Maintenance is also a safety factor. I check the brushes on my grinders every 100 hours of runtime. If the brushes wear down too far, the motor can arc and seize, causing the tool to jerk out of your hands. Also, pay attention to the “spindle lock.” If it feels gritty or loose, the gears inside are wearing out. A tool that vibrates excessively is a tool that will cause long-term nerve damage to your hands.
- Disc Ratings: Ensure the RPM rating on the disc is higher than the RPM rating on the grinder.
- Two-Handed Grip: Never operate a grinder with one hand. The torque from a “kickback” is too strong to control with a single hand.
- Cord Inspection: Check the cord near the base of the tool for cracks or exposed wires before every use.
Fire Prevention and Combustible Management Protocols
Fire prevention involves identifying potential ignition sources and having the right tools on hand to stop a fire before it spreads. In a metal shop, sparks can travel 35 feet and smolder in hidden areas for hours.
I keep three fire extinguishers in my garage: one by the welder, one by the exit door, and one by the workbench. I use Class ABC extinguishers, which are effective on wood, liquid, and electrical fires. I also have a dedicated “fire watch” period. After I finish my last weld of the day, I stay in the shop for at least 30 minutes. I use this time to clean up and check for any signs of smoke or heat.
Another often-overlooked fire hazard is the storage of oily rags. If you use solvent to clean your metal before welding, those rags can spontaneously combust if left in a pile. I use a UL-listed metal oily waste can with a self-closing lid. It is a small investment that prevents a catastrophic house fire.
- Extinguisher Inspection: Check the pressure gauges on your extinguishers every month. Shake them to prevent the powder inside from packing down.
- Clear Bench Policy: Never weld on a wooden bench without a thick steel plate or fire-resistant board on top.
- Battery Safety: If you use cordless tools, store the chargers on a non-combustible surface like a metal shelf.
Tracking Tool Wear and Maintenance Logs for Safety
A maintenance log is a written or digital record of every repair, inspection, and hour of use for your machinery. Tracking this data allows you to predict when a tool might fail and replace parts before they become a hazard.
I use a simple spreadsheet to track my major tools. I record the date of purchase, the warranty period, and every time I change a part. For example, my logs showed that my bandsaw blade guides needed adjustment every 50 hours of cutting. By sticking to this schedule, I prevent the blade from snapping, which is a significant safety risk.
This data also helps you when it comes time to upgrade. If your logs show that you are spending $200 a year on repairs for a budget-brand saw, it makes financial sense to buy a higher-quality model. You aren’t just buying a tool; you are buying a lower “total cost of ownership” and a higher margin of safety.
- Digital Manuals: Keep a folder on your phone or computer with PDFs of all your tool manuals for quick reference on torque specs and part numbers.
- Hour Meters: Install a cheap vibration-activated hour meter on your large tools to track actual usage accurately.
- Warranty Tracking: Note the expiration date of your warranties. If a tool starts acting up a month before the warranty ends, you can get it fixed for free.
| Maintenance Task | Interval (Runtime Hours) | Why It Matters for Safety |
|---|---|---|
| Inspect Grinder Brushes | 100 Hours | Prevents motor seizure and kickback |
| Check Welder Wire Liner | 50 Hours | Prevents wire bird-nesting and arc wandering |
| Clean Air Compressor Tank | Every Use (Drain Water) | Prevents tank corrosion and explosion risk |
| Tighten Bandsaw Bolts | 20 Hours | Prevents blade misalignment and breakage |
Establishing a Long-Term Reliability Framework
Building a safe and reliable garage shop is not something that happens overnight. It requires a shift in mindset from “buying the cheapest tool” to “investing in a system.” By focusing on high-quality electrical infrastructure, understanding the thermal limits of your gear, and keeping meticulous records, you can avoid the frustrations of unexpected breakdowns.
Start by auditing your current setup. Check your wire gauges, look at your duty cycles, and make sure your PPE is up to standard. The goal is to spend more time fabricating and less time worrying about whether your equipment is going to fail. A well-maintained shop is a productive shop, and a data-driven approach to safety is the best way to ensure you can keep building for years to come.
Frequently Asked Questions
Can I use a standard extension cord with my welder?
Generally, no. Most household extension cords are 14-gauge or 16-gauge, which cannot handle the high amperage a welder draws. This causes a massive voltage drop, which makes the welder work harder and generates dangerous heat in the cord. If you must use one, it should be a dedicated 8-gauge or 10-gauge “welder extension cord” no longer than 25 feet.
How do I know if my grinder guard is set correctly?
The guard should be positioned between your face and the grinding disc. It should cover at least 180 degrees of the disc’s circumference. If you have to move the guard to see your work, you are likely holding the tool at the wrong angle. Adjust the guard so the sparks are directed away from you and any flammable materials.
Why does my auto-darkening helmet flicker?
Flickering is often caused by low batteries or blocked sensors. Most helmets have two to four sensors; if you are welding in a tight spot and a sensor is blocked, the lens may turn clear. It can also happen if you are welding at very low amperages (like TIG) and the sensitivity is not turned up high enough.
Is a dust mask enough for grinding metal?
A simple paper dust mask is rarely enough. Metal grinding produces fine particulates that can bypass the edges of a cheap mask. A half-face respirator with P100 (pink) filters provides a much better seal and filters out 99.9% of airborne particles, including the hazardous dust from stainless steel or painted surfaces.
How often should I replace my welding gloves?
You should replace them the moment you see a hole or a failed seam. Heat can shrink leather, making it brittle and prone to cracking. If the leather feels hard and stiff, it will no longer protect you from UV radiation or heat effectively. My logs show that high-use gloves usually need replacing every 3 to 6 months.
What is the safest way to store gas cylinders?
Cylinders should always be stored upright and secured with a chain to a wall or a sturdy welding cart. If a cylinder falls and the valve breaks off, it can become a rocket capable of punching through brick walls. Always keep the protective cap on when the cylinder is not in use or being moved.
Why is my welder’s thermal overload light turning on?
This happens when you exceed the machine’s duty cycle. The internal temperature has reached a point where the electronics are at risk of melting. When this light comes on, do not turn the machine off immediately. Leave it on so the internal fans can continue to circulate air and cool the components down faster.
Can I weld in a garage with a wooden floor?
It is highly discouraged. Sparks and hot slag can easily get trapped in cracks in the wood and start a fire hours after you have left the shop. If you must work over wood, you should cover the entire work area with a thick layer of fire-resistant material, such as cement board or a heavy-duty welding mat, and keep a fire extinguisher within arm’s reach.
(This article was written by one of our staff writers, David Reynolds. Visit our Meet the Team page to learn more about the author and their expertise.)