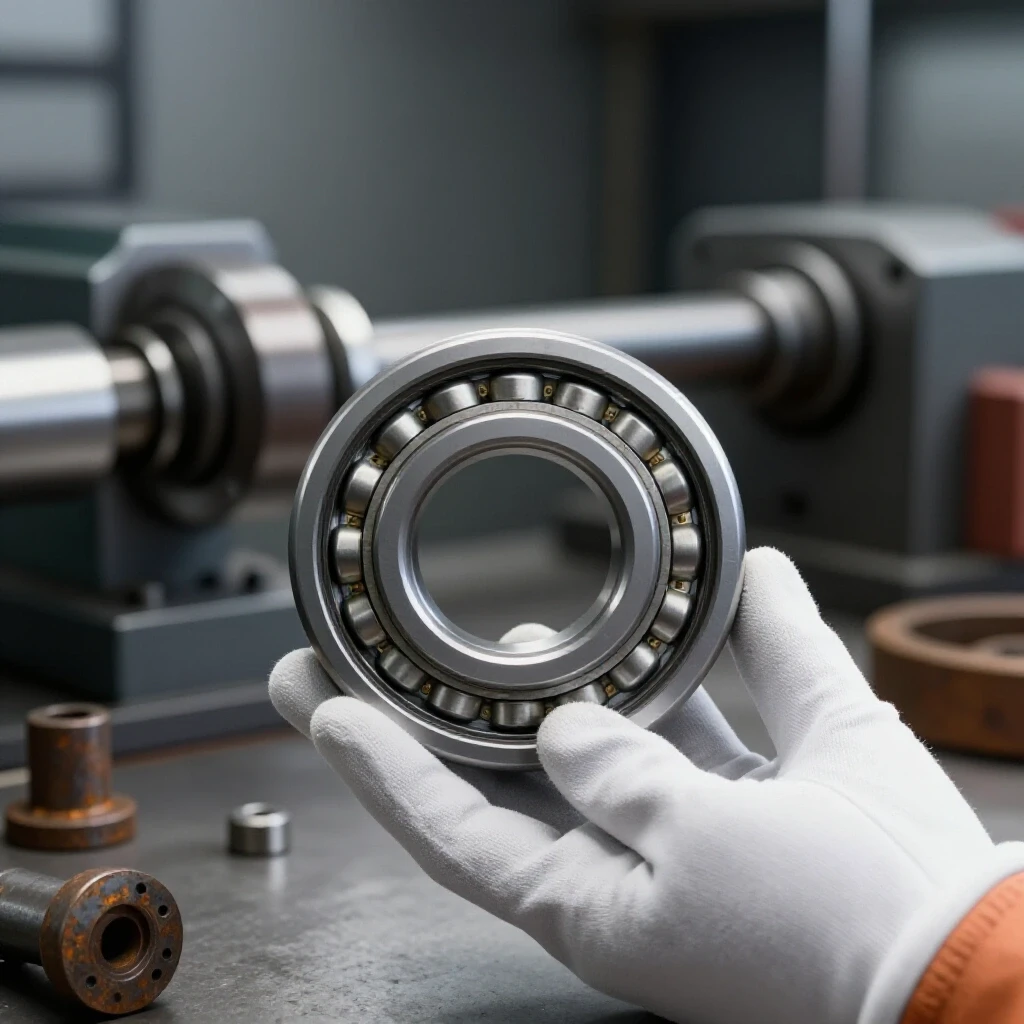
How to Inspect and Clean a Sticky Metal Lathe Chuck (Fix)
There is a specific kind of silence in a workshop when you first set an old, seized piece of iron on the bench. Over the last 18 years, I have brought more than 40 pieces of vintage machinery back to life. Some were easy. Others, like a 1940s-era 10-inch scroll chuck I found in a leaky shed, required every bit of patience I possessed. When a manual workholding device becomes stiff or “sticky,” it is rarely a sign of a broken tool. Usually, it is a sign of a tool that has been neglected.
Restoring classic cast iron is about more than just making things look shiny. It is about preserving mechanical history and ensuring that the tool can still hold a part within a thousandth of an inch. A sticky chuck is dangerous because it provides a false sense of security. If the jaws do not move freely, they might not be gripping your workpiece with the full force of the scroll. In this guide, I will walk you through my methodical process for evaluating, stripping, and reviving these essential workshop components.
Diagnosing Mechanical Resistance in Manual Workholding
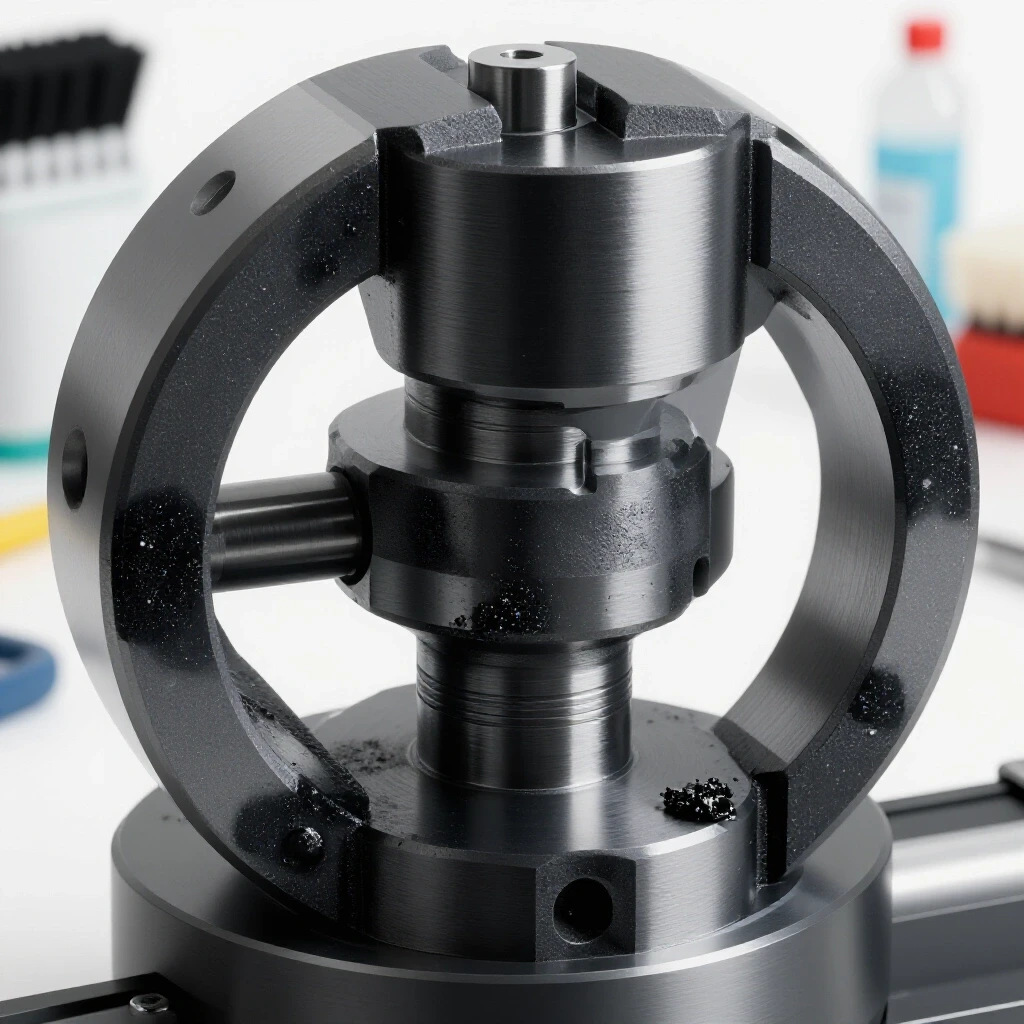
Mechanical resistance occurs when internal friction prevents the smooth movement of the jaws and scroll. This is often caused by a mixture of fine metal chips, known as swarf, and old oil that has turned into a thick varnish. Identifying the source of the bind is the first step toward a successful rescue.
In my experience, restorers often mistake a mechanical bind for a broken gear. However, most vintage machinery restoration projects reveal that the “break” is actually just decades of “lathe honey”—that sticky, polymerized oil that acts like glue. Before you apply force, you must understand what is happening inside the casting. If the chuck key feels “spongy” or hits a hard stop, you are likely dealing with debris trapped in the scroll threads.
Identifying Dried Lubricants and Metal Swarf
Swarf consists of the tiny metal curls and dust produced during the machining process. When these particles mix with way oil or grease, they migrate into the internal tracks of the chuck. Over time, the oil evaporates, leaving behind a hard, abrasive paste that can score precision surfaces.
If you cannot turn the chuck key by hand with moderate pressure, do not reach for a “cheater bar” or a hammer. Cast iron is brittle. I once saw a beautiful 3-jaw chuck ruined because a restorer tried to force a seized scroll, resulting in a cracked internal gear tooth. Instead, use a penetrating oil and let time do the work.
Systematically Taking Apart a Seized Scroll Chuck
Disassembly is the most critical phase of any machine rescue. This is where you map out how the parts fit together and ensure you do not lose obsolete fasteners. A methodical teardown prevents damage to the soft internal components that are difficult to replace.
When I begin a teardown, I always use a dedicated parts tray. For a standard 3-jaw or 4-jaw chuck, you are looking at the body, the jaws, the scroll plate, and the pinion gears. Each part has a specific orientation. Many vintage chucks have “serial numbers” stamped on the jaws and the slots. These must match during reassembly to maintain the factory’s original precision.
Managing Obsolete Fastener Patterns During Teardown
Old machinery often uses thread patterns that are no longer standard in modern hardware stores. If you strip a screw on a pre-war tool, you may have to fire up another lathe just to make a replacement. This is why using the correct driver is vital.
Many older American-made chucks use Bristol or early Allen head screws that may have rounded out over the years. If a fastener is stuck, I use a combination of heat and vibration. A small butane torch can expand the metal just enough to break the bond of rust. I avoid using impact drivers on small internal components, as the shock can shatter the hardened steel of the scroll.
| Method | Best For | Risk Level |
|---|---|---|
| Penetrating Oil | General rust and dried oil | Low – Requires time |
| Heat (Propane Torch) | Breaking chemical bonds/thread locker | Medium – Can affect temper |
| Ultrasonic Cleaning | Removing hidden swarf from small gears | Low – Very effective |
| Manual Scraping | Removing heavy, hardened scale | Medium – Can scratch surfaces |
Removing Corrosion and Hardened Grime from Precision Surfaces
Once the chuck is apart, you will likely see a mess of black sludge and orange rust. Removing machinery rust requires a balance between chemical power and physical care. You want to strip the grime without removing the base metal that defines the tool’s accuracy.
I prefer a “preservation-first” approach. This means I start with the mildest solvent possible. For most sticky chucks, a long soak in mineral spirits or a dedicated degreaser will soften the “lathe honey.” If there is heavy structural corrosion on the exterior, I might use an electrolysis bath, but I never put the precision-ground jaws or the scroll in such a bath, as it can occasionally cause hydrogen embrittlement in high-carbon steels.
Solvent Selection for Vintage Machinery Restoration
Solvents are chemicals used to dissolve oils and greases. For a restoration, you need something that cuts through organic buildup but does not leave a residue that will attract more dust later.
- Mineral Spirits: My go-to for general cleaning. It is inexpensive and effective at breaking down old grease.
- Acetone: Good for final degreasing, but it evaporates quickly and can be harsh on your skin and lungs.
- Kerosene: An old-school choice that provides a bit of lubrication while cleaning, though the smell persists for a long time.
- Ultrasonic Solution: If you have an ultrasonic cleaner, a water-based alkaline solution can vibrate the swarf out of the deep grooves of the scroll.
Reconditioning Internal Components for Smooth Operation
After cleaning, you must inspect every surface for burrs or scoring. A “burr” is a small, raised piece of metal caused by a hit or a chip being crushed. Even a burr that is only 0.002 inches tall can make a chuck feel “crunchy” or tight.
I use a fine-grit India stone to lightly “kiss” the flat surfaces of the jaws and the internal tracks of the chuck body. You aren’t trying to remove metal; you are just leveling the high spots. If you see deep scoring on the scroll, it is a sign that the chuck was operated while dirty. While you cannot easily remove deep scores, you can smooth the edges so they don’t catch.
Evaluating Scroll and Pinion Wear
The scroll is the spiral-geared plate that moves the jaws in unison. The pinions are the small gears you turn with the chuck key. Inspect the teeth of the pinions for “chipping.” If a tooth is missing, the chuck will have a dead spot.
Check the “backlash” in the pinions. Backlash is the amount of play or movement between mating gears. While some play is normal in older tools, excessive movement suggests the chuck has seen a hard life. If the scroll itself is warped, the chuck may never hold a part truly “on center,” which we call “runout.”
Selecting Modern Lubricants for Classic Tool Alignment
One of the biggest mistakes I see in machinery restoration is using the wrong grease during reassembly. Many people use thick, sticky automotive grease. This is a mistake. Automotive grease is designed to stay put in high-heat environments like wheel bearings, but in a lathe, it just catches metal chips and turns into a grinding paste.
For a manual chuck, I recommend a dry film lubricant or a very light application of molybdenum disulfide (moly) grease. Moly grease has “platelets” that slide over each other, providing excellent lubrication even under the high pressure of a tightened jaw.
Why Molybdenum Disulfide is Preferred
Molybdenum disulfide is a solid lubricant. It fills the microscopic pores of the cast iron and steel. This creates a slippery surface that stays effective even if the oil carrier eventually dries out.
When applying grease, less is more. I use a small acid brush to apply a thin, translucent layer to the scroll and the back of the jaws. If you can see “globs” of grease, you have used too much. Excess grease will fly out of the chuck when you turn on the lathe, creating a mess and attracting more swarf into the mechanism.
Reassembling for Maximum Grip Precision
Putting the chuck back together is where you verify your work. This is the moment when you see if the “stickiness” is gone. If you have cleaned every groove and deburred every surface, the jaws should slide into their slots with almost no effort.
Remember the numbering I mentioned earlier. Jaw #1 must go into slot #1. If you mix them up, the jaws will not meet in the center, and your work will wobble. I always start the scroll and wait for the “click” as the first tooth of the jaw drops into the spiral. This ensures all three or four jaws are timed correctly.
Testing for Smoothness and Runout
Once reassembled, turn the chuck key through the full range of motion. It should feel smooth and consistent from the fully open to the fully closed position. If you feel a “tight spot,” stop. There may still be a piece of debris or a burr you missed.
- Check for “Float”: The jaws should have a tiny bit of wiggle when loose but should be rock solid when tightened.
- Verify Centering: Put a piece of ground drill rod in the chuck and use a dial indicator to check the runout. For a vintage 3-jaw chuck, a runout of 0.003 to 0.005 inches is often acceptable. For a 4-jaw, you should be able to dial it in to zero.
- Wipe Down: Clean the exterior with a light coat of way oil to prevent flash rust.
Maintaining Your Restored Equipment
A restored chuck is a precision instrument. To keep it from becoming sticky again, I’ve developed a simple maintenance routine. After every job, I use compressed air (carefully, so as not to blow chips deeper into the tool) or a vacuum to remove swarf.
Every few months, I back the jaws out completely, wipe the tracks, and apply a fresh, thin layer of moly grease. This small effort prevents the “lathe honey” from ever forming again. It ensures that the tool you worked so hard to save remains a reliable part of your shop for the next several decades.
Practical Tracking for the Home Shop
I find it helpful to keep a small logbook for my machines. I note when I last cleaned the chuck and what lubricant I used. This is especially helpful if you have multiple lathes or a variety of workholding tools like collet chucks and faceplates.
- Date of Service: When the teardown occurred.
- Lubricant Used: Helps track if a specific grease is attracting too much dust.
- Runout Measurement: Tracks if the chuck is wearing out over time.
- Notes on Parts: If you noticed a chipped tooth, write it down so you aren’t surprised later.
Final Steps in Your Restoration Journey
Bringing an old lathe chuck back to life is a rewarding experience. It teaches you about the “fit and finish” that was common in the era of master machinists. You have saved a piece of history from the scrap heap and saved yourself the cost of a modern, often lower-quality, replacement.
The next time you find a piece of “frozen” iron, don’t walk away. With the right solvents, a bit of heat, and a lot of patience, you can restore almost any manual tool to its former glory. Your shop is not just a place to make things; it is a place to preserve the tools that make making possible.
Frequently Asked Questions
Why does my chuck feel tight even after I cleaned it?
This is often due to a “timed” assembly error or a hidden burr. Ensure the jaws are in their correct slots. Even a tiny metal chip trapped in the scroll can cause a tight spot. Re-inspect the grooves with a magnifying glass.
Can I use WD-40 to lubricate my lathe chuck?
No. WD-40 is a “Water Displacer,” not a long-term lubricant. It will evaporate and leave behind a film that can actually become sticky over time. Use a dedicated machine oil or moly grease.
What should I do if the jaws are stuck and won’t come out?
Soak the entire assembly in a 50/50 mix of ATF (Automatic Transmission Fluid) and Acetone. This is one of the most effective penetrating oils for seized machinery. Let it soak for 24 to 48 hours before trying to move the scroll again.
How do I know if my chuck is too worn to restore?
If the “bell-mouthing” is severe, meaning the jaws only grip at the back and not the front, the chuck may need professional grinding. However, for most hobbyist work, a thorough cleaning solves 90% of grip issues.
Is it safe to use a wire wheel on the internal scroll?
I advise against it. A wire wheel can be too aggressive and round off the sharp edges of the scroll threads. Use a stiff nylon brush or a brass brush with solvent instead.
What is the best way to remove “lathe honey” or dried oil?
A soak in mineral spirits or odorless paint thinner is the standard. For very stubborn, hardened varnish, an ultrasonic cleaner with a degreasing solution works wonders by reaching into the internal cavities.
How much runout is normal for a vintage 3-jaw chuck?
On an older, used chuck, 0.003″ to 0.006″ is common. If you need more precision, you should use a 4-jaw independent chuck where you can manually center the workpiece to 0.0005″ or better.
Should I oil or grease the pinions?
A very light coat of moly grease on the gear teeth is best. Avoid heavy oil, as it will drip out of the pinion holes and onto the floor or the operator when the lathe is spinning.
Can I use a heat gun to loosen the chuck?
Yes, a heat gun is safer than a torch for beginners. It can soften old grease enough to allow the scroll to turn. Just be careful not to overheat the metal to the point where it changes color, which indicates you are affecting the temper.
Why are there numbers stamped on my chuck jaws?
These numbers (1, 2, 3) correspond to the slots in the chuck body. Each jaw is ground to fit its specific slot perfectly. Mixing them up will result in poor accuracy and a “crunchy” feel when opening or closing the chuck.
(This article was written by one of our staff writers, Richard Beaumont. Visit our Meet the Team page to learn more about the author and their expertise.)