Essential Clamps You Need for Welding and Fabrication (Tips)
When I set up my first garage shop in 2013, I had a strict $2,000 budget and a lot of ambition. I quickly realized that buying a welder was only half the battle. The real challenge was keeping the metal from moving while I worked on it. Without the right way to secure your workpieces, even the most expensive welder cannot produce a straight or square joint. This guide focuses on the manual tools you need to hold your projects together safely and accurately.
Many beginners experience a form of analysis paralysis when looking at tool catalogs. It is easy to feel overwhelmed by the sheer variety of options. However, you do not need every tool at once. By following a structured plan and focusing on versatile, manual workholding devices, you can build a highly functional space. We will look at how to prioritize your purchases, manage your workshop layout, and ensure your setup meets basic safety standards without overspending.
Assessing Your Workspace and Power Limits
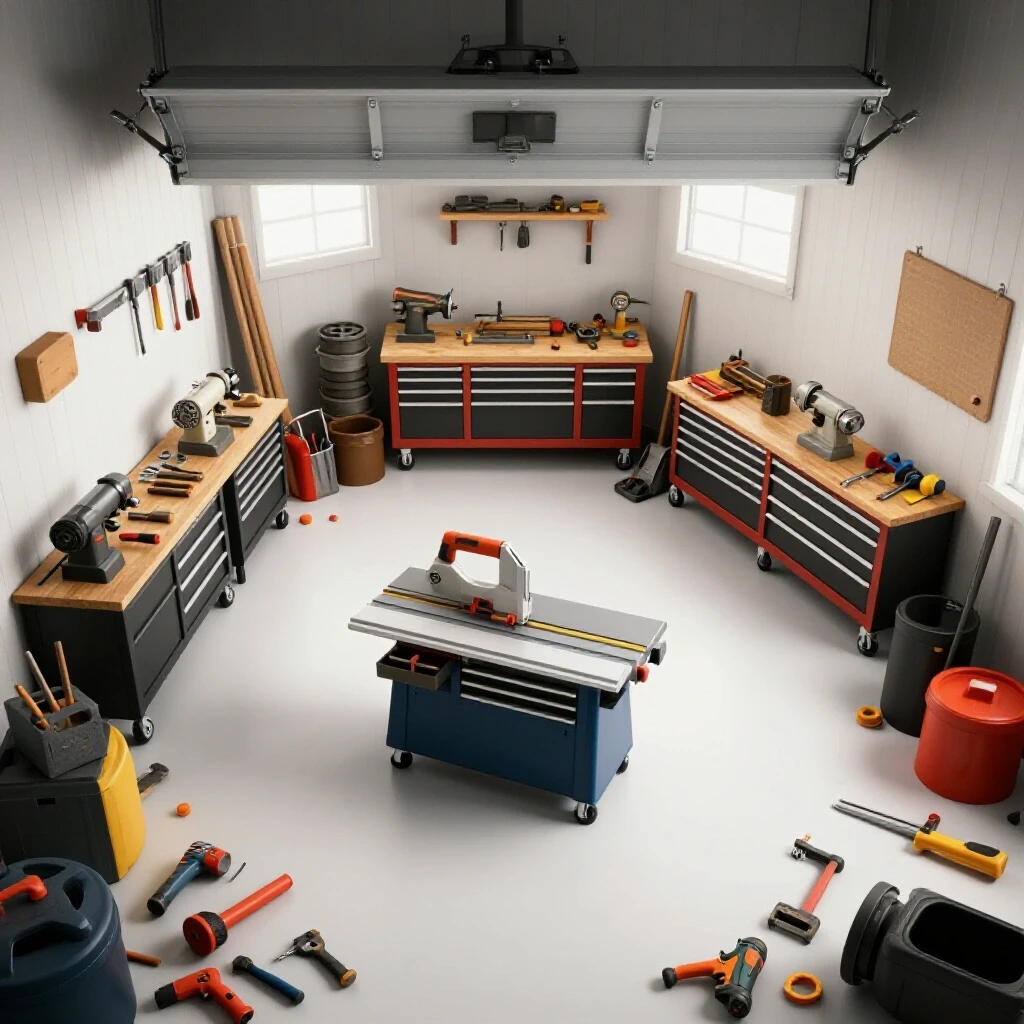
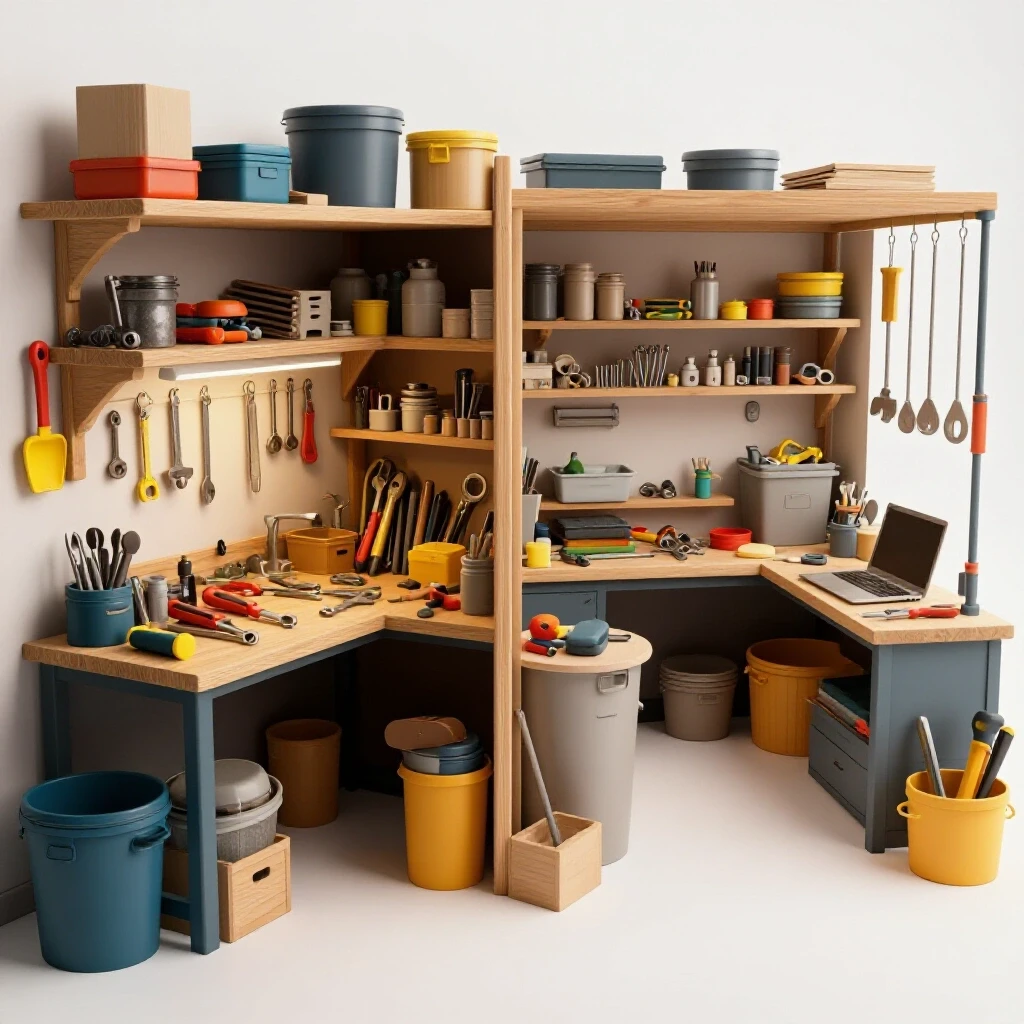
A starter metal workshop layout requires more than just floor space for your tools. You must consider how you will move around your workbench and whether your electrical system can handle the load. Proper planning prevents you from outgrowing your space too quickly and keeps your environment safe from electrical fires or tripping hazards.
Before you buy your first set of manual grips, look at your circuit breaker. Most residential garages run on 15A or 20A circuits. A basic welder can easily pull 15A to 20A on its own. If you run a grinder or a bright light on the same circuit, you might trip the breaker. I recommend mapping your outlets and labeling which ones share a circuit. This simple step is a core part of any workshop electrical setup checklist. It ensures you never lose power in the middle of a critical joint.
- Physical Clearance: Leave at least 3 feet of space around your primary workbench.
- Circuit Dedicated: Ideally, run your welder on its own 20A or 50A circuit.
- Fire Safety: Keep flammable materials at least 35 feet away from your work zone as per standard safety practices.
The Foundation of Workholding: Heavy-Duty C-Style Grips
Manual C-shaped tools are the workhorses of any fabrication space because they provide immense closing pressure. These tools consist of a solid frame and a threaded screw that tightens against the material. They are essential for pulling warped metal flat against a table or holding two thick plates together for a deep penetration weld.
I often tell beginners that if they can only afford one type of tool, it should be the standard C-clamp. In my first shop, I relied on four 6-inch models for almost every project. They are slow to adjust, but they do not slip. When you are dealing with heavy steel, that reliability is worth the extra time it takes to turn the screw. Always look for models with a copper-plated screw to prevent welding spatter from sticking to the threads.
| Tool Type | Primary Use | Budget Priority |
|---|---|---|
| 6-inch C-Clamp | Heavy pressure and thick plate | High |
| 11-inch Locking C-Pliers | Fast tack welding and reach | High |
| F-Style Bar Clamp | Long reach and quick sliding | Medium |
| Magnetic Square | Holding 90-degree angles | Medium |
| Pipe Clamp | Very long spans (frames/gates) | Low |
Using Locking Pliers for Rapid Positioning
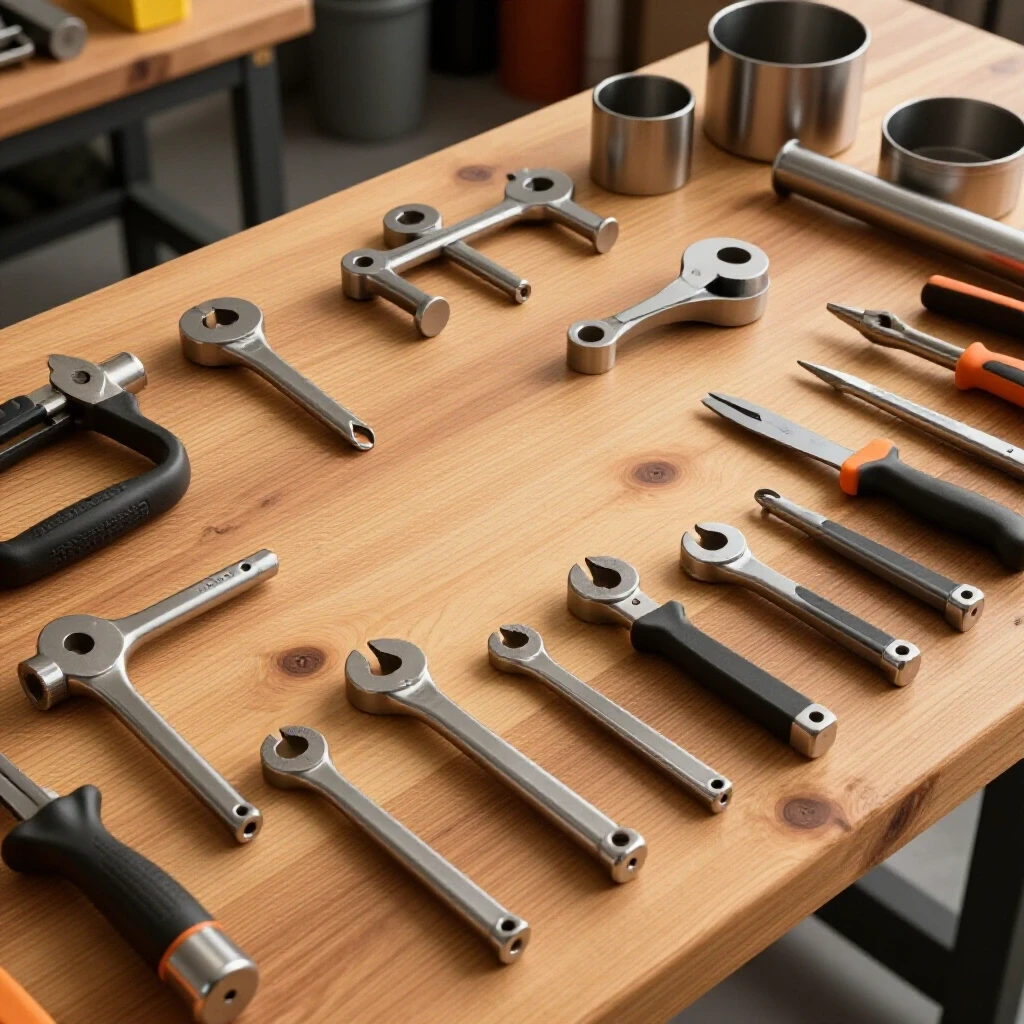
Locking pliers are handheld tools that use a toggle mechanism to snap shut with a specific amount of force. They are much faster to use than threaded clamps because you can set the width once and then click them onto multiple parts of the same thickness. This speed makes them perfect for the “tack and check” phase of fabrication.
In a small garage shop, these are often the most-used items in your kit. I prefer the version with large, U-shaped jaws because they can reach over obstacles like angle iron or tubing. Interestingly, using these tools allows you to keep one hand free to steady the metal while the other hand locks the piece in place. This improves your workflow and reduces the frustration of parts shifting right as you pull the trigger on your torch.
Choosing Between Flat and Swivel Pads
When selecting locking tools, you will notice some have flat metal jaws while others have small, pivoting pads at the tips. Swivel pads are better for irregular shapes or tapered pieces of metal. Flat jaws are better for sheet metal where you want to distribute the pressure evenly to avoid marking the surface. For a budget metalworking tools list, start with two swivel-pad locking pliers as they offer the most versatility.
Managing Long Spans with Bar and Pipe Tools
Bar clamps feature a long rail with one fixed jaw and one sliding jaw that locks into place. They are designed for projects that are too wide for a standard C-clamp, such as building a table frame or a gate. These tools allow you to apply pressure across several feet of material while keeping the assembly flat.
When I was building my first welding table, I didn’t have the budget for expensive long-reach tools. I turned to pipe clamps instead. These consist of two jaw fixtures that you thread onto a standard piece of black iron pipe from the hardware store. This is a brilliant way to save money because you can buy one set of jaws and various lengths of cheap pipe to handle any size project.
- Versatility: You can swap a 2-foot pipe for a 6-foot pipe in seconds.
- Cost: Pipe jaws are often 40% cheaper than dedicated long-bar tools.
- Storage: Pipes can be stored vertically in a corner to save floor space.
The Role of Magnetic Fixtures in Squaring Joints
Magnetic squares are blocks of permanent magnets encased in steel plates, shaped into various angles like 45, 90, and 135 degrees. They act as a “third hand” by sticking to your metal workpieces and holding them in the correct orientation. This allows you to check your alignment before you apply any mechanical pressure.
However, there is a common pitfall with magnets that every beginner should know. Magnets can interfere with the welding arc, a phenomenon known as arc blow. This causes the molten metal to splatter or wander away from the joint. To avoid this, use the magnet to tack the pieces together, then remove the magnet before finishing the full weld. This keeps your work square without ruining the quality of your bead.
Safety and Heat Resistance Standards
When you are working with heat, your tools must be able to withstand high temperatures. Cheap tools often have plastic handles or thin coatings that melt or off-gas toxic fumes. I always check that my workholding gear is all-metal or has heat-resistant grips. Following American Welding Society (AWS) suggestions, you should also ensure your tools are clean of oil or grease before welding to prevent fires.
Allocating Your Tooling Budget Effectively
It is tempting to buy the cheapest tools available to fill up your toolbox quickly. However, I have found that a “buy once, cry once” approach works better for foundational equipment. I recommend allocating about 30% of your total startup budget to high-quality safety gear and workholding tools. This ensures that your primary machines, like your welder or grinder, can perform at their best.
| Budget Category | Allocation % | Reason |
|---|---|---|
| Primary Welder | 40% | Core machine for the shop |
| Safety Gear (PPE) | 15% | OSHA-compliant protection |
| Manual Clamping Tools | 15% | Accuracy and joint fitment |
| Grinding and Prep | 15% | Material cleaning and finishing |
| Consumables | 15% | Wire, gas, and abrasives |
Building on this, you should keep a meticulous record of your costs. Use a simple spreadsheet to track what you buy and where you bought it. This habit, which I picked up as an industrial technician, helps you see where your money is going and makes it easier to claim warranties if a tool fails prematurely.
Workshop Ventilation and Airflow Needs
A garage workshop ventilation system is not just about comfort; it is a safety requirement. Welding produces fumes that can be harmful if they build up in a confined space. Even if you are just using manual tools to prep your metal, grinding dust can fill the air quickly. You need a way to exchange the air in your shop regularly.
For a standard two-car garage, you should aim for a fan that can move at least 1,000 to 2,000 Cubic Feet per Minute (CFM). I started by placing a high-velocity floor fan in an open side door to pull fresh air in, while a window fan at the back pushed the fumes out. This creates a cross-breeze that carries particles away from your face. Always position yourself so the wind is blowing the smoke away from your helmet.
- Identify Air Intake: Use a door or window to let fresh air enter.
- Position the Fan: Place the exhaust fan as close to the welding area as possible.
- Check Flow: Use a small piece of tissue paper to see if the air is actually moving toward the exit.
Setting Up Your First Fabrication Bench
Your workbench is the heart of your shop. It provides a flat surface where all your manual gripping tools will do their work. For metalworking, a wooden bench is a fire hazard. You need a steel-topped surface. If you are on a budget, you can buy a thick sheet of steel and bolt it to a sturdy wooden frame, provided you cover the wood with a fire-resistant barrier.
A good bench height is usually around 34 to 36 inches, which is standard for most standing tasks. Ensure the top has an overhang of at least 2 to 3 inches on all sides. This overhang is critical because it gives you a place to attach your C-clamps and locking pliers. Without an overhang, you will find yourself constantly struggling to find a place to grip your work.
Common Pitfalls to Avoid in Your First Year
One of the biggest mistakes I see beginners make is over-clamping. It is possible to apply so much pressure that you actually deform the metal or the tool itself. You only need enough force to stop the metal from moving. Another mistake is neglecting tool maintenance. Threaded tools should be lightly oiled with a dry lubricant to keep them turning smoothly without attracting grinding dust.
- Avoid Plastic: Never use clamps with plastic bodies or triggers near welding heat.
- Check for Square: Don’t assume your tool is perfectly 90 degrees; always verify with a machinist’s square.
- Grounding: Always attach your welder’s ground clamp directly to the workpiece or a clean spot on the metal table.
Final Steps for a Functional Shop
Once you have your basic manual tools and a safe layout, the next step is practice. Start with small projects that require simple 90-degree joints. This will teach you how metal shrinks and pulls when it cools, and you will learn exactly where to place your grips to counteract that movement.
Remember to keep your shop organized. A clean shop is a safe shop. Use a shadow board or a dedicated drawer for your workholding tools so you can find them quickly. As you gain experience, you will naturally realize which specific tools you use most often, and you can then invest in higher-end versions of those items.
Frequently Asked Questions
How many clamps do I actually need to start? For most small projects, a set of four 6-inch C-clamps and two 11-inch locking C-pliers is sufficient. This allows you to hold a square frame at all four corners or secure a long piece of steel at two points while you work in the middle.
Can I use woodworking clamps for metal fabrication? Generally, no. Woodworking clamps often have plastic components or wood handles that will melt or burn. Furthermore, they usually lack the high closing pressure needed to straighten thick steel. Stick to all-metal tools designed for heat.
Why does my metal move even when it is clamped down? Steel expands when heated and contracts when it cools. This “thermal pull” is incredibly strong. To prevent movement, use a technique called tack welding. Apply small spots of weld at the corners first, check for square, and then finish the full bead.
What is the best way to clean spatter off my tools? If you use copper-plated screws, the spatter should pop off easily with a wire brush. For unplated steel, you can apply a light coat of anti-spatter spray or even a bit of nozzle gel to the threads before you start welding.
Should I buy expensive name-brand tools right away? Not necessarily. For manual workholding, many mid-range tools are excellent for hobbyist use. Focus on the material quality (forged steel versus cast iron) rather than the brand name. Save your big investments for your welder and safety gear.
Is a magnetic square enough to hold a joint for welding? A magnet is great for holding a part in place while you get your hands ready, but it does not provide mechanical pressure. It won’t pull a gap closed. Use the magnet for alignment, but use a mechanical clamp for the actual tacking and welding.
How do I prevent my clamps from marking the metal? If you are working on a finished surface or thin sheet metal, use small scraps of flat steel between the tool jaw and your workpiece. This “sacrificial” metal distributes the pressure and prevents the tool from leaving an indentation.
What size pipe should I use for pipe clamps? Most standard pipe clamp fixtures are designed for 1/2-inch or 3/4-inch black iron pipe. The 3/4-inch version is significantly stiffer and is better for heavy-duty fabrication where you don’t want the pipe to bow under pressure.
How often should I inspect my workholding tools? Check your tools before every project. Look for cracked welds on the frames, stripped threads on the screws, or bent handles. A failing tool can release suddenly, which is a major safety hazard when you are dealing with hot or heavy metal.
Where is the best place to buy budget-friendly tools? Estate sales, auctions, and local classifieds are gold mines for manual tools. Since these items are made of solid steel, they can last for decades. A bit of surface rust can usually be cleaned off with a wire wheel, making a used tool as good as new.
(This article was written by one of our staff writers, Michael Thompson. Visit our Meet the Team page to learn more about the author and their expertise.)