How to Inspect Fabrication Assemblies Before Final Weld (Fix)
In my fourteen years navigating the floor of various fabrication shops, I have learned that the most expensive mistakes are rarely made during the welding process itself. Instead, they occur in the quiet moments before the arc is struck. I remember a specific project early in my career—a heavy equipment trailer frame—where I rushed the fit-up. I assumed my magnets and clamps had held everything true. Once the final beads cooled, the entire frame had pulled nearly half an inch out of square. That error didn’t just cost me time; it taught me that structural integrity is a product of the inspection performed before the metal ever gets hot.
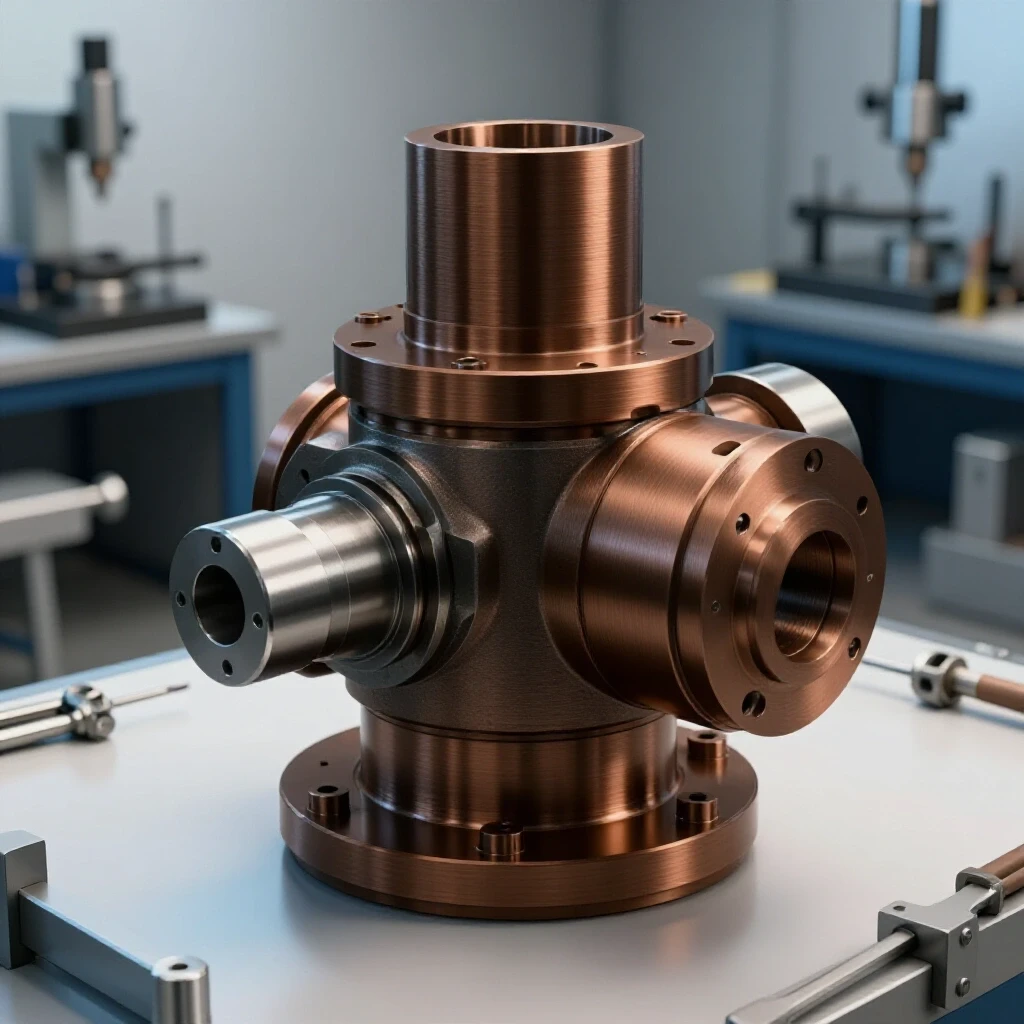
Pre-weld verification is the process of confirming that every component in an assembly is positioned, cleaned, and secured according to the design specifications. It is the final gatekeeper against structural failure. When we talk about inspecting an assembly before the final fix, we are looking for the subtle misalignments and improper gaps that lead to internal stress and joint weakness. For those of us who value technical accuracy, this stage is where we transition from a collection of parts to a unified structure.
The Criticality of Dimensional Accuracy Verification
Dimensional accuracy verification involves measuring every length, width, and depth of the assembled components against the original blueprint to ensure they fall within acceptable tolerances. This step identifies cumulative errors where small deviations in individual parts add up to a significant structural discrepancy.
In my experience, the “stack-up” of tolerances is the silent killer of precision projects. If three parts are each off by just 1/32 of an inch, your final assembly is nearly 1/8 of an inch out of spec. I always begin by verifying the overall envelope of the assembly. For a rectangular frame, this means measuring the diagonals. If the distance from the top-left corner to the bottom-right corner matches the opposite diagonal within 1/32 of an inch, the assembly is square.
I also pay close attention to the orientation of individual members. It is easy to flip a C-channel or an angle iron the wrong way during a complex build. I physically mark the “face” of each piece during the dry-fit stage. Using a high-quality machinist’s square, I check that vertical members are plumb relative to the base. Even a one-degree lean can drastically change how a load travels through a joint, potentially leading to a structural failure under stress.
- Verify overall length, width, and height.
- Check diagonals for squareness (aim for less than 1/16-inch variance).
- Confirm all sub-components are oriented correctly according to the plan.
- Ensure hole alignments match for any future bolt-on attachments.
Analyzing Joint Fit-Up and Gap Management
Joint fit-up analysis is the inspection of the space between two meeting metal surfaces to ensure the gap is consistent and appropriate for the thickness of the material. Proper gap management is essential because it dictates how well the filler metal will penetrate the root of the joint.
When I inspect a joint, I am looking for “daylight” where there should be none, or a lack of space where a root opening is required. According to American Welding Society (AWS) standards, a gap that is too wide can lead to “burn-through” or excessive distortion, as the cooling weld metal shrinks and pulls the parts together. Conversely, a gap that is too tight prevents the weld from reaching the back of the material, leaving an internal void that acts as a stress riser.
For most structural steel projects using 1/4-inch plate, I look for a root opening of approximately 1/16 to 1/8 of an inch if a full-penetration weld is required. I use feeler gauges or a specialized “taper gauge” to measure these openings. If I find a gap that varies from one end of the joint to the other, I know the parts are not cut straight or the clamping pressure is uneven. This must be corrected before the final fix, or the resulting weld will have inconsistent strength.
| Material Thickness | Recommended Root Gap | Maximum Allowable Gap |
|---|---|---|
| 1/8″ (3.2mm) | 0″ to 1/16″ | 3/32″ |
| 1/4″ (6.4mm) | 1/16″ to 3/32″ | 1/8″ |
| 1/2″ (12.7mm) | 3/32″ to 1/8″ | 3/16″ |
| 1″ (25.4mm) | 1/8″ to 5/32″ | 1/4″ |
Structural Alignment and Geometric Tolerance
Structural alignment refers to the precise positioning of components so that their centerlines and load-bearing surfaces meet exactly as designed. Geometric tolerance is the allowable limit of variation in the shape and form of the assembly, such as flatness or parallelism.
I often see fabricators focus so much on the joint itself that they forget to look at the “planarity” of the entire assembly. If you are building a table frame, all four corners must sit on the same plane. I use a precision straightedge or a laser level to check for any “winding” or twisting in the frame. If one corner is lifted, the assembly is under internal tension before you even start.
Another critical check is the alignment of load-bearing members. In a T-joint, the vertical member should be centered on the horizontal member unless the design specifies an offset. If the vertical piece is off-center, it creates an eccentric load. This means the force isn’t pushing straight down; it’s trying to “peel” the joint apart. I use a center finder and a scribe to mark the exact landing zone for every structural member during the pre-weld inspection.
- Check for twisting or “wind” across long spans using a string line.
- Ensure parallel members are equidistant at both ends.
- Verify that load-bearing centerlines intersect at the designated points.
- Use a digital protractor to confirm all angles match the design (e.g., 45-degree miters).
Surface Preparation and Contaminant Detection
Surface preparation inspection is the process of verifying that the areas to be joined are free of oxides, oils, moisture, and coatings. This is vital because contaminants can become trapped in the molten metal, causing porosity—tiny bubbles that weaken the joint from the inside.
I have a strict rule in my shop: the “one-inch rule.” I inspect the metal to ensure that at least one inch of surface area surrounding the joint has been cleaned to “white metal.” This means removing all mill scale, which is the dark, flaky layer found on hot-rolled steel. Mill scale has a higher melting point than the base steel and can cause “lack of fusion” if it isn’t ground away.
I also look for invisible contaminants. If the metal was marked with an oily crayon or a permanent marker, those hydrocarbons must be removed with a solvent like acetone. Even moisture from humidity can be a problem. If I see any condensation, I know I need to dry the assembly. A clean surface should look bright, silvery, and slightly textured from the grinding disc, providing the perfect foundation for the final joining process.
- Inspect for mill scale or rust within one inch of the joint.
- Check for oil, grease, or cutting fluid residues.
- Ensure all galvanizing or paint has been completely removed.
- Look for “arc strikes” or tool marks that could act as crack starters.
Fixturing and Tack Weld Integrity
Fixturing and tack weld inspection involves checking the temporary methods used to hold the assembly together to ensure they are strong enough to resist the forces of thermal expansion. Tack welds are small, temporary joins that maintain alignment until the final beads are placed.
I treat tack welds with the same respect as the final weld. A common mistake is making tacks that are too small; they can snap as the metal moves, leading to a sudden loss of alignment. On the other hand, tacks that are too large or “humpy” interfere with the final pass. I inspect each tack to ensure it is “feathered”—ground down at the ends so the final weld can flow over it smoothly.
I also check my fixtures. Clamps should be tight enough to hold the part but not so tight that they prevent the metal from “breathing” slightly as it heats up. I look for any signs that a part has shifted during the tacking process. If a tack weld has cracked or if a clamp has slipped, I stop immediately. It is much easier to cut a small tack and realign a part than it is to grind out a six-inch structural bead later.
- Ensure tacks are placed every 2 to 4 inches on long seams.
- Verify tacks are small enough to be consumed by the final weld but large enough to hold.
- Check that clamps are not obstructing the path of the joining tool.
- Confirm that “strongbacks” or temporary braces are secure.
Pre-Weld Verification Tools and Checklists
To perform a rigorous inspection, you need a specific set of tools designed for measurement and verification. Relying on your eyes alone is a recipe for structural failure, as the human brain is surprisingly good at “correcting” small visual errors that are physically significant.
I keep a dedicated inspection kit on my workbench. It includes a 12-inch combination square, a set of feeler gauges, a digital caliper, and a “bridge cam” gauge for measuring fillet weld sizes and joint preparation angles. I also use a high-intensity LED flashlight to peer into tight corners where shadows might hide a gap or a patch of rust.
Before I move to the final stage of any project, I go through a physical checklist. This mental “reset” prevents the “completion bias” that makes us want to finish a project even when we know something is slightly off. If I find an error, I document it and fix it. In the world of fabrication, “good enough” usually isn’t, especially when structural loads are involved.
- Bridge Cam Gauge: Used to check the angle of the bevel and the depth of the root opening.
- Feeler Gauges: Essential for measuring consistent gaps between thin materials.
- Hi-Lo Gauge: Specifically designed to check internal alignment of pipes or mismatched plate heights.
- Precision Straightedge: For identifying bows or warps in long structural members.
- Acetone and Lint-Free Rags: For the final wipe-down of the joint surfaces.
Real-World Case Study: The Misaligned Base Plate
A few years ago, I was inspecting a set of structural columns for a mezzanine. The fabricator had tacked the base plates onto the columns but hadn’t checked the “squareness” in both axes. When I arrived, the columns looked straight to the naked eye. However, using a large framing square, I discovered that three of the four columns were leaning by 1/8 of an inch over a 12-inch span.
This might seem minor, but at the top of a 10-foot column, that 1/8-inch lean would have resulted in a 1.25-inch misalignment. The beams connecting the columns would not have fit, and the entire structure would have been under constant lateral stress. Because we caught this during the pre-weld inspection, the fix was simple: we snapped the tacks, realigned the plates, and re-secured them. This saved the shop three days of rework and thousands of dollars in wasted material.
Summary of Key Inspection Metrics
When you are standing over your assembly, ready to begin, keep these benchmarks in mind. They represent the difference between a project that lasts a lifetime and one that fails prematurely.
- Linear Tolerance: +/- 1/16″ for most general fabrication.
- Angular Tolerance: +/- 0.5 degrees.
- Gap Consistency: No more than 1/32″ variance along the length of the joint.
- Surface Cleanliness: Bright metal finish with zero visible oil or scale.
- Tack Size: Approximately 2 to 3 times the thickness of the material in length.
By treating the pre-weld phase as a formal inspection process, you remove the guesswork from your fabrication. You aren’t just joining metal; you are verifying a design. This disciplined approach is what separates the intermediate builder from the master fabricator.
Frequently Asked Questions
How much gap is too much when fitting up two pieces of steel? Generally, if the gap exceeds the thickness of the material you are joining, it is too wide. For structural work, any gap wider than 1/8 of an inch on 1/4-inch material usually requires the part to be recut or a “backer bar” to be used, as wide gaps significantly increase the risk of distortion and internal defects.
Can I leave mill scale on the metal if I am using a process that “burns through” it? While some processes are more tolerant of scale, you should never leave it on structural joints. Mill scale is an oxide that can cause “cold lap,” where the weld sits on top of the metal rather than fusing with it. Always grind to bright metal for a reliable joint.
What is the best way to check if a large frame is twisted? The most effective method is using “winding sticks.” Place two perfectly straight bars across opposite ends of the frame and sight across them with your eye. If the bars are not parallel to each other, the frame is twisted. You can also use a laser level to project a reference line across the structure.
Why do my parts move out of alignment even after I have clamped them? This is usually due to the force of the tack welds cooling. As the molten metal in a tack weld solidifies, it shrinks and pulls the parts toward the tack. To prevent this, use “opposite side tacking” or slightly “over-set” the joint in the opposite direction to allow for the pull.
How do I check for “internal” fit-up issues on closed sections like square tubing? For closed sections, you must rely on external measurements and “witness marks.” Scribe lines on the outside of the tubing that represent the internal wall locations. This allows you to verify that the internal faces are aligned even when you cannot see them.
Is it okay to use magnets for final alignment? Magnets are excellent for holding parts in place during the initial setup, but they should not be relied upon for final alignment during welding. The magnetic field can interfere with the arc, and the heat from welding can demagnetize them, causing the part to shift suddenly. Use mechanical clamps for the final fix.
What should I do if my joint fit-up has a “high-low” condition? A “high-low” condition occurs when the surfaces of the two parts are not flush. If the difference is more than 10% of the material thickness, you should grind a taper on the thicker piece to create a smooth transition. This ensures the load travels through the joint without creating a stress concentration point.
How do I ensure my diagonal measurements are accurate on a large assembly? Use a steel tape measure and ensure it is pulled tight with no “sag.” Have a second person hold the end precisely on the corner. For maximum accuracy, measure from the same point on the tape (e.g., the 1-inch mark) rather than relying on the “hook” at the end, which can have slight play.
Does the sequence of tack welding matter for assembly alignment? Yes, it is critical. Always tack from the center outward or use a staggered pattern to distribute the heat evenly. Tacking one side completely before the other will almost always pull the assembly out of square.
What is the most common surface contaminant that people miss? Moisture and “invisible” oils from skin or compressed air lines are the most common. Even if the metal looks clean, a quick wipe with acetone or denatured alcohol right before welding is a cheap insurance policy against porosity.
(This article was written by one of our staff writers, James Harlan. Visit our Meet the Team page to learn more about the author and their expertise.)