How to Ream Custom Pin Holes in Carbon Steel (DIY Tutorial)
I’ve spent the last 18 years in shops where a thousandth of an inch is the difference between a machine that runs for a decade and one that shakes itself to pieces in a week. I remember a specific afternoon early in my career, trying to fit a pivot pin into a custom-fabricated loader arm. I had drilled the hole, but the pin wouldn’t go. I forced it with a sledgehammer, only to have the pin seize halfway through. I had to cut the whole assembly apart and start over. That failure taught me that finishing a hole isn’t just about making it bigger; it’s about a systematic diagnostic process to ensure geometry, surface finish, and alignment are all perfect.
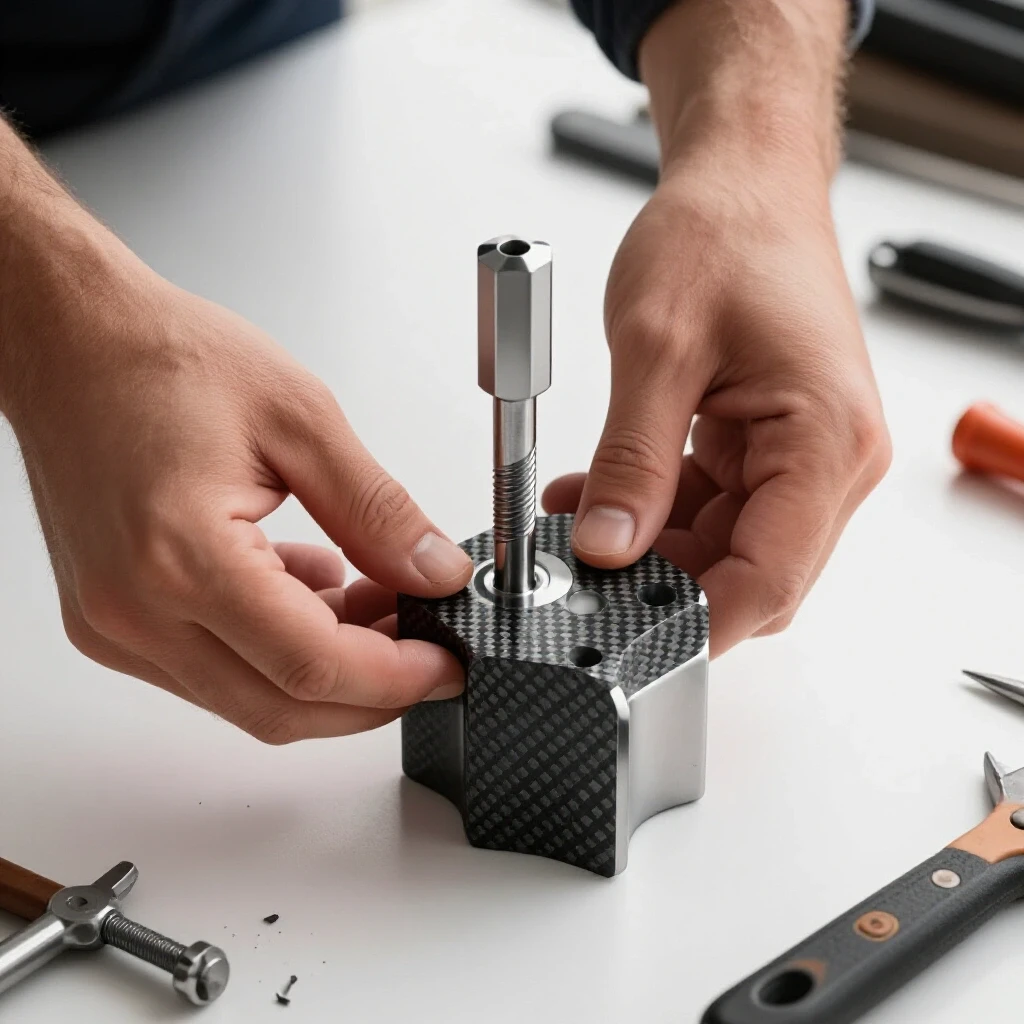
When you are working with carbon steel in a home shop or a small maintenance bay, you don’t have the luxury of high-end automated centers. You have your eyes, your ears, and a few manual tools. Troubleshooting these processes requires a “detective” mindset. You have to look at the chips, listen to the hum of the tool, and feel the resistance in the handle. If a hole comes out oval or the finish looks like a plowed field, there is a specific mechanical reason for it. My goal is to help you find that reason before you ruin a workpiece.
Establishing a Diagnostic Foundation for Precise Bore Finishing
This diagnostic stage involves identifying why a hole fails to meet specifications by analyzing tool geometry, machine rigidity, and material behavior. Before you even touch a reamer to metal, you must understand the “why” behind the tool’s design and how it interacts with the carbon steel.
In my experience, most errors happen because we treat a reamer like a drill bit. It isn’t. A drill is a roughing tool designed to clear path; a reamer is a finishing tool designed to shave microscopic amounts of material to achieve a specific diameter. If your drill is walking or your spindle has play, the reamer will follow those errors rather than correcting them.
I always start by mapping the diagnostic path. This means checking the “input” variables: – Is the machine base level and stable? – Is the workpiece clamped so it cannot vibrate? – Is the pre-drilled hole sized correctly for the final pass?
If you skip these checks, you are just guessing. I’ve seen guys spend hours trying to fix “tool chatter” when the real issue was a loose bolt on the drill press table. We start with the foundation and work our way up to the cutting edge.
Identifying and Isolating Variables in Manual Hole Preparation
Before the final finishing cut, you must analyze the pilot hole for centering errors, taper, and surface finish issues that could compromise the final fit. This is where the “troubleshooting weld porosity” mindset comes in handy—you are looking for defects in the “base” before you apply the “finish.”
When you drill a hole in carbon steel, the drill bit often creates a slightly triangular shape or a tapered path. If you try to finish this hole without correcting these issues, your pin will never sit straight. I use a simple rule: the pre-drilled hole should be between 0.010 and 0.015 inches smaller than the final size. If you leave too much material, the reamer will “clog” and tear the metal. If you leave too little, the tool will rub and dull instantly.
- Mechanical Troubleshooting Step: Measure the top and bottom of your drilled hole with a caliper. If the bottom is smaller than the top, your drill is dull or your feed pressure is too high, causing the bit to deflect.
- Isolating Surface Defects: Look inside the hole with a flashlight. If you see “tearing” or rough ridges, your drill speed was likely too high, or you lacked lubrication. These ridges can deflect a reamer, leading to an off-center bore.
| Defect Symptom | Likely Root Cause | Diagnostic Test |
|---|---|---|
| Oversized Hole | Spindle Runout | Check spindle with a dial indicator; look for wobble. |
| “Rifled” Finish | Excessive Speed | Reduce RPM by 50% and check if chips change shape. |
| Tapered Bore | Workpiece Shift | Check clamps for movement; ensure table is square to spindle. |
| Rapid Tool Wear | Lack of Lubrication | Check if chips are turning blue (sign of extreme heat). |
Why Tool Chatter Ruins Precision Fits and How to Isolate Rigid Harmonic Vibrations
Chatter is a resonant vibration that creates a “wavy” or “multi-lobed” finish inside the bore, often caused by incorrect speeds, lack of rigidity, or tool harmonics. It is the sound of a process failing in real-time.
In my years of troubleshooting, I’ve found that chatter is often a “feedback loop.” The tool hits a hard spot, it deflects, it springs back, and it hits the next spot even harder. To stop it, you have to break that cycle. On a manual bench setup, this often means slowing down.
To diagnose chatter, I use a simple “touch and listen” method. If the machine is screaming, the frequency is too high. If you feel a rhythmic thumping in the handle, the feed is too heavy or the tool is catching.
- Check for Spindle Play: With the machine off, grab the chuck and try to wiggle it. If you feel even 0.002 inches of movement, your bearings are worn. This play allows the reamer to “orbit” rather than spin on a true center.
- Verify Clamping Rigidity: I once spent two hours chasing chatter only to find the vise wasn’t bolted to the table—it was just held by its own weight. Always use at least two heavy-duty bolts.
- Adjust the Speed: Reaming should be done at roughly half the speed of drilling the same size hole. If you are drilling at 500 RPM, ream at 250 RPM.
- Analyze the Feed: You need a steady, firm downward pressure. If you hesitate, the tool will rub and start to vibrate.
Managing Lubrication and Thermal Expansion in Carbon Steel
Carbon steel generates significant friction heat during metalworking; proper fluid selection prevents the hole from “shrinking” onto the tool or tearing the metal fibers. This is a metallurgical issue that many fabricators overlook.
When carbon steel gets hot, it expands. If you ream a hole while the part is hot, the hole will be the correct size at that moment. However, once the steel cools, it will contract, and your pin will no longer fit. This is a “thermal trap” that has ruined many custom builds.
I always use a high-quality cutting oil, preferably one with high sulfur content. Sulfur acts as a high-pressure lubricant that prevents the “chips” from welding themselves back onto the reamer flutes—a process called “built-up edge.”
- Diagnostic Tip: If you see “galling” (smeared, shiny patches of metal) inside the hole, your lubrication has failed. The metal is literally tearing off the walls and sticking to the tool.
- Measurement Standard: Aim to keep the workpiece cool enough to touch with a bare hand. If it’s too hot to hold, stop and let it cool before the final 0.005 inches of the cut.
Troubleshooting Weld Porosity and Hard Spots in Reaming Path
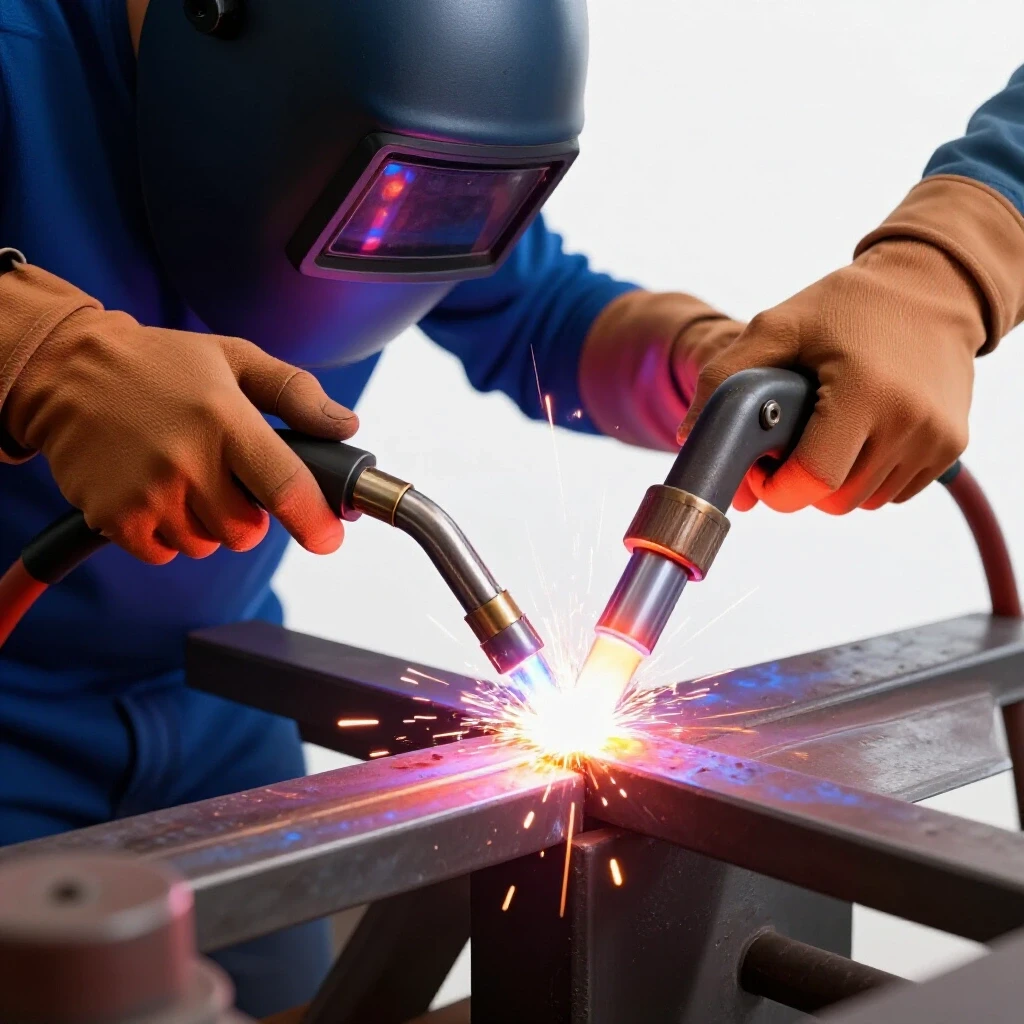
If you are reaming a hole through a section that was recently welded, you may encounter “hard spots” or “porosity.” Troubleshooting weld porosity in this context is vital because these defects can snap a brittle reamer instantly.
Porosity—tiny gas pockets in the weld—acts like a series of “potholes” for the reamer flutes. When the flute hits a pocket, it loses support and then slams into the other side. This causes “micro-chipping” on the tool’s edge.
- Identify the Source: If the reamer catches only in the welded area, check your welding logs. Was the shielding gas flow correct (typically 20-30 CFH)? Did you clean the mill scale off the carbon steel?
- Isolate the Hardness: Heat-affected zones (HAZ) around a weld can be much harder than the base carbon steel. If the reamer won’t cut, you may need to “anneal” or soften the area with a torch, or use a carbide-tipped reamer.
- Visual Inspection: Before reaming, use a magnifying glass to look for tiny holes in the weld bead. If you see them, the internal structure is likely compromised.
Step-by-Step Troubleshooting for Interference and Sliding Fits
This is the systematic process of checking the final diameter against the pin to ensure the mechanical connection functions as intended. You are looking for a specific “feel” or a specific measurement on a dial indicator.
There are two main types of fits we deal with in carbon steel fabrication: – Sliding Fit: The pin rotates freely but has no “wobble.” Usually, the hole is 0.001 to 0.002 inches larger than the pin. – Interference (Press) Fit: The pin must be driven in with a hammer or press. Usually, the hole is 0.0005 to 0.001 inches smaller than the pin.
To achieve these, you must use a “Go/No-Go” diagnostic approach. I use the pin itself as a gauge. If the pin enters the hole easily for the first 1/8th of an inch but then binds, the hole is likely tapered or has a burr at the entry.
- The Deburring Sequence: Never check a fit without deburring. A tiny “lip” of metal at the edge of the hole can make a perfect hole feel too small. Use a 90-degree countersink tool or a hand deburring blade to remove the sharp edge.
- The “Feel” Test: A proper sliding fit should feel “suctioned.” If you pull the pin out quickly, you should hear a “pop.” This indicates that the air gap is minimal and the geometry is perfectly round.
Practical Tooling and Calibration Checklist
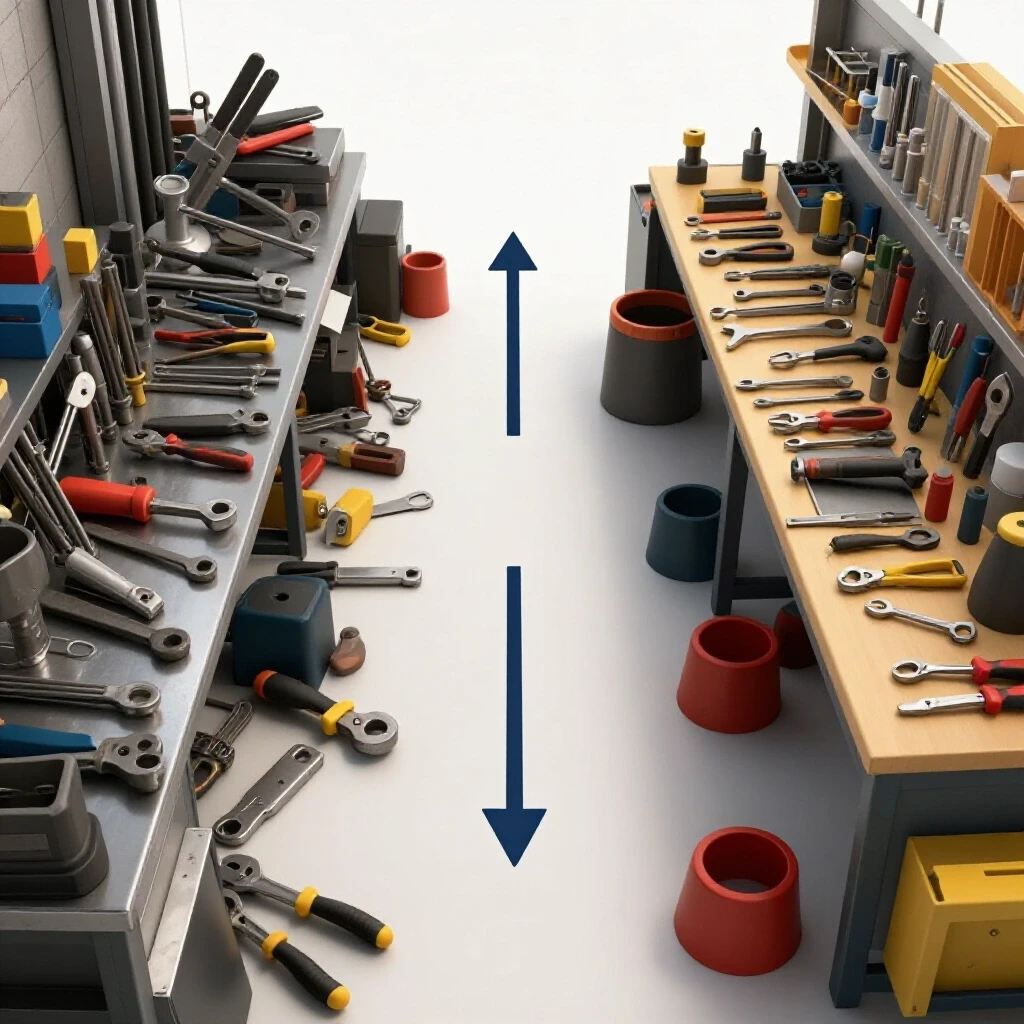
To maintain a high level of diagnostic accuracy, your tools must be in top condition. I keep a dedicated “finishing kit” that stays separate from my roughing tools. If a reamer gets tossed in a drawer with files and hammers, the cutting edges will get nicked, and it will never cut a clean hole again.
- Digital Dial Indicator: Use this to check the “runout” of your drill press spindle. Aim for less than 0.003 inches.
- Telescoping Gauges: These allow you to measure the inside of the hole and then transfer that size to a micrometer.
- Sulphurized Cutting Oil: Keep this in a needle-nose bottle for precise application.
- Stone for Reamer Maintenance: If a reamer has a small nick, a fine Arkansas stone can sometimes “dress” the edge, though this is a temporary fix.
- Vibration App: Use a smartphone app to measure the frequency of your bench setup while it’s running. If you see a massive spike in the “Z-axis” (up and down), your table or spindle is vibrating excessively.
Case Study: Resolving a “Ghost” Vibration in a Bench Setup
A few years ago, I was helping a fellow fabricator finish a set of custom hinges for a heavy gate. Every time he tried to ream the 1/2-inch holes, the machine made a terrifying rattling sound, and the holes came out “hexagonal” rather than round.
We started our systematic diagnostic process: – Step 1 (Isolation): We swapped the reamer for a new one. The problem persisted. (Ruled out tool defect). – Step 2 (Rigidity): We checked the vise. It was tight. (Ruled out workpiece movement). – Step 3 (Vibration Analysis): I noticed that the drill press motor was missing a mounting bolt. This caused the whole head of the machine to “pulse” at a specific RPM.
By replacing that $0.50 bolt, the “ghost” vibration vanished. The “hexagonal” holes were actually the result of the machine head vibrating in a pattern that timed perfectly with the flutes of the reamer. This is why we troubleshoot the system, not just the tool.
Final Diagnostic Benchmarks for Carbon Steel Bores
When you finish a hole, you need to know if it’s “good.” In the world of industrial repair, we use specific benchmarks to determine if a part is salvaged or scrapped.
- Ovality Tolerance: The difference between the widest and narrowest part of the hole should be less than 0.001 inches.
- Surface Finish: The walls should look like a mirror or have a very fine “satin” finish. If you can feel ridges with your fingernail, the feed was too fast.
- Alignment: If you are reaming through two plates that must line up, a “test bar” (a long, straight rod of the pin diameter) should slide through both simultaneously without binding.
If your hole fails these benchmarks, don’t just “wiggle” the reamer to make it bigger. That creates a “bell-mouthed” hole that will fail under load. Instead, go back to the diagnostic path: check your spindle, check your speed, and check your lubrication.
Frequently Asked Questions
Why does my reamer get stuck halfway through the hole? This is usually caused by “chip packing” or thermal expansion. If you aren’t clearing the chips, they get squeezed between the tool flutes and the hole wall. In carbon steel, this creates immense friction, the metal expands, and it “grabs” the tool. Always back the tool out frequently to clear chips and apply fresh oil.
Can I use a reamer to move a hole’s location? No. A reamer follows the existing hole. If your pilot hole is 1/16th of an inch off-center, your finished hole will be 1/16th of an inch off-center. To move a hole, you must use a boring bar or a bridge-reamer, though the latter is still prone to following the original path.
How do I know if my reamer is too dull to use? Look at the “land”—the thin flat area behind the cutting edge. If the land looks shiny or “rolled over,” it’s rubbing rather than cutting. Also, if the tool requires significantly more downward pressure than usual to make progress, it’s time to replace it.
What is the best way to ream a hole by hand without a drill press? Use a “T-handle” reamer wrench and go very slowly. The key is to keep the tool perfectly perpendicular to the workpiece. I often use a “guide block”—a piece of scrap with a perfectly square hole—to keep the reamer aligned as it enters the carbon steel.
Why is my finished hole larger than the reamer itself? This is almost always due to “runout.” If your chuck or spindle is wobbling, the reamer is effectively “swinging” in a circle larger than its diameter. Another cause is “built-up edge,” where bits of steel weld to the tool, making it effectively wider.
How much material is “too much” to remove with a manual reamer? For carbon steel, anything over 0.015 inches is pushing it. Removing too much material puts excessive torque on the tool, which can lead to breakage or a very poor surface finish. If you need to enlarge a hole by 1/8th of an inch, use a series of drill bits first, leaving only the final 0.010 for the reamer.
Does the number of flutes on the reamer matter? Yes. For manual troubleshooting, an odd number of flutes (like 5 or 7) is often better because it prevents “resonant harmonics.” Even-numbered flutes can sometimes set up a vibration pattern where each flute hits the “path” left by the previous one, leading to chatter.
What should I do if I find porosity while reaming a weldment? Stop immediately. Clean the hole with compressed air and inspect it. If the porosity is deep, the structural integrity of the pin fit is at risk. You may need to grind out the weld, re-weld with better gas coverage, and start the drilling/reaming process over.
How do I prevent the reamer from “chattering” at the very end of the cut? As the reamer starts to break through the bottom of the hole, it loses the “pilot” support of the hole walls. Lighten your downward pressure and increase the flow of lubricant. This prevents the tool from “grabbing” the exit burr and vibrating.
Can I ream carbon steel dry? You can, but you shouldn’t. Carbon steel is prone to “work hardening.” Without oil, the heat generated by the cut can actually make the surface of the hole harder than the tool itself, leading to instant tool failure and a ruined workpiece.
Why does my pin fit in one side of the hole but not the other? This indicates a “tapered” hole. This happens if your drill press table isn’t square to the spindle or if the reamer was allowed to “tilt” during the cut. Use a square to check your setup and ensure the workpiece is perfectly flat.
How do I remove a broken reamer from a hole? This is a nightmare scenario. Since reamers are hardened tool steel, you cannot drill them out. You may have to use a “bolt extractor” if there’s a grab point, or carefully shatter the reamer with a center punch and pick out the pieces. Prevention—through proper lubrication and speed—is always better.
(This article was written by one of our staff writers, Paul Whitaker. Visit our Meet the Team page to learn more about the author and their expertise.)