How to Weld for a Clean and Professional Finish (Guide)
When I first sat down at a welding bench twelve years ago, I expected the process to be a simple matter of pointing a torch and pulling a trigger. I quickly learned that producing a sleek, high-quality bead is less about the machine and more about the person holding the torch. My early attempts resulted in what many call “popcorn welds”—lumpy, inconsistent, and covered in gray soot. I realized then that I needed a systematic way to track my progress, much like an athlete tracks their lap times.
This journey from a frustrated beginner to a consistent fabricator taught me that high-quality results come from a blend of physics and muscle memory. You are not just melting metal; you are managing a tiny, high-heat fluid system in real-time. By focusing on your body mechanics, understanding how heat interacts with different thicknesses, and logging your practice sessions, you can move past the plateaus that stop most hobbyists. This guide provides the framework I used to refine my own hand-eye coordination and achieve industrial-grade results in a home shop.
Mastering Body Mechanics for Torch Stability
Body mechanics refers to how you position your limbs and torso to maintain a steady hand and a fluid range of motion during a weld.
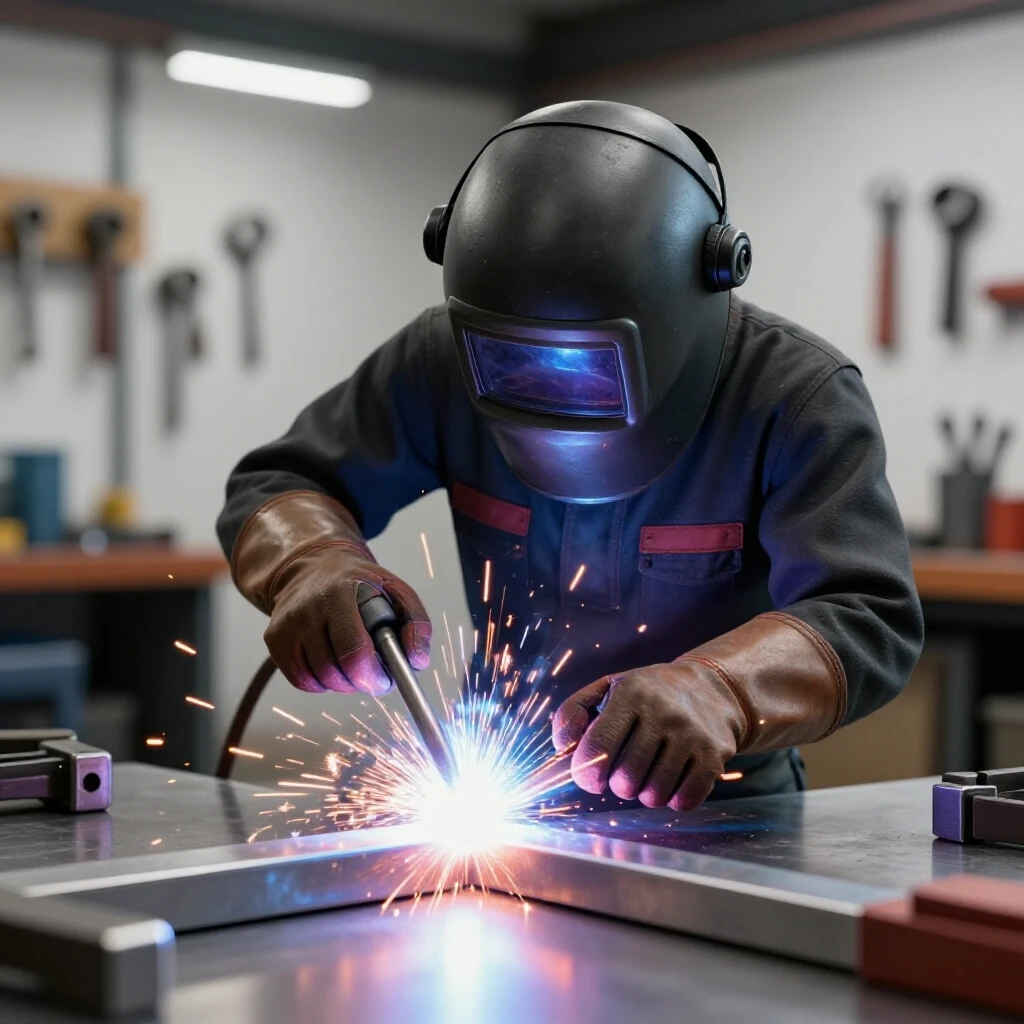
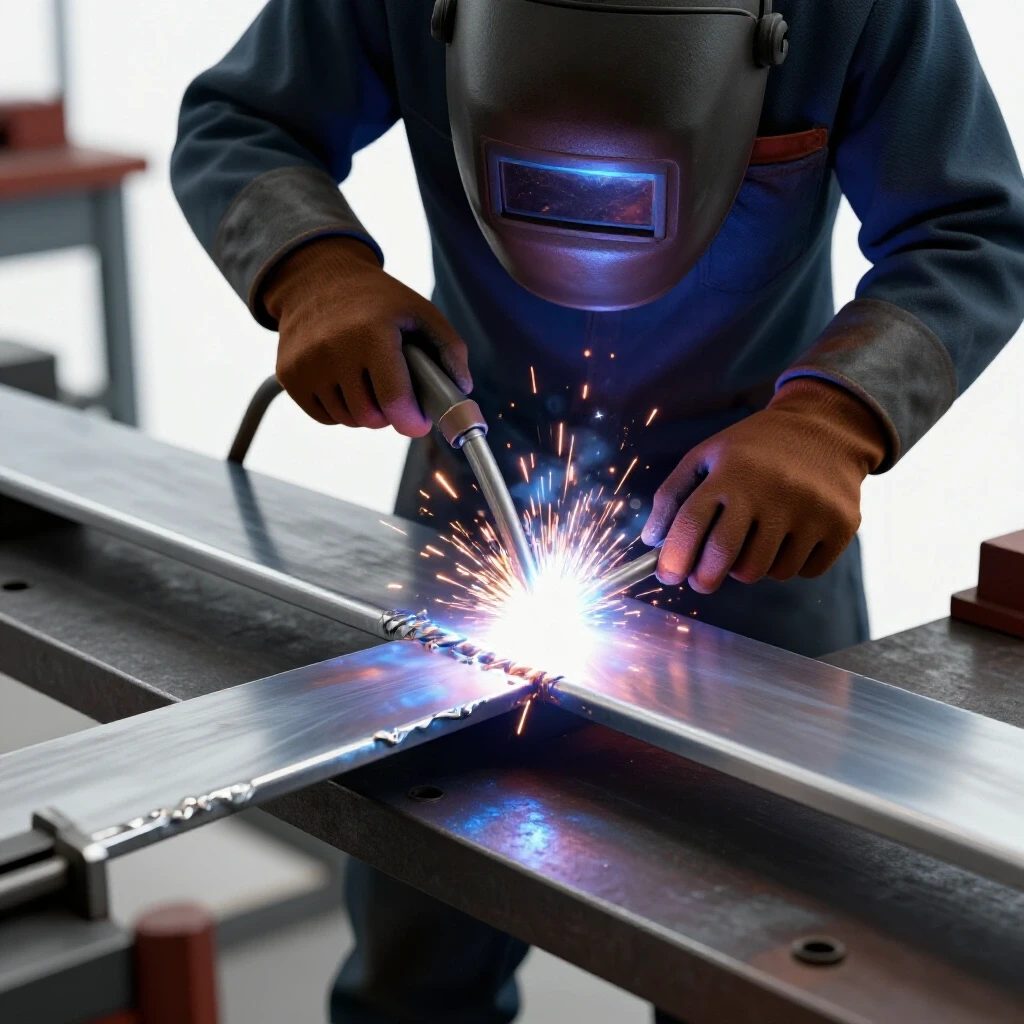
The most common mistake I see in new fabricators is “free-handing” the torch. If your arm is hanging in the air, every heartbeat or slight muscle twitch will show up in the bead. To produce a professional-looking result, you must find a way to brace yourself. I call this the “Rule of Three Points.” Always try to have your feet planted, your hip or elbow leaned against the table, and your steadying hand resting near the joint.
Think of your body as a tripod. When I am working on a long T-joint, I don’t just move my wrist; I slide my entire body along the table. This keeps the torch angle identical from the start of the plate to the end. If you only move your wrist, the angle of the torch changes as you reach further away, which alters the heat input and ruins the uniformity of the bead.
The Art of the Brace
Bracing is the physical act of using a stationary object to support your welding hand or arm to eliminate unwanted tremors.
I often use a “finger drag” technique. By resting the pinky finger of my glove on the workpiece or a nearby firebrick, I create a tactile guide. This allows me to maintain a consistent distance between the torch and the metal, often referred to as the arc length. In my practice logs, I noted that my consistency improved by 40% once I stopped trying to hover the torch and started using the table for support.
Reading the Puddle to Control Heat Input
Reading the puddle is the ability to visually monitor the molten pool of metal and adjust your speed or angle based on its shape and behavior.
The weld puddle is your primary feedback loop. If the puddle becomes wide and starts to sag, you are moving too slowly or your heat is too high. If it stays narrow and doesn’t “wet out” or flow into the edges of the metal, you are moving too fast. A professional finish requires a puddle that is roughly 1.5 to 2 times the width of your electrode or wire.
Interestingly, the puddle tells you exactly what is happening with your penetration. A “D-shaped” puddle usually indicates a good balance of heat and speed. If the puddle looks like a pointed oval, you are likely outrunning your heat, which leads to a lack of fusion. I spent weeks just watching the puddle without even using filler rod, just learning how the liquid metal reacts to the arc’s force.
Understanding Fluid Tension
Fluid tension in welding is the way molten metal holds itself together or flows into a joint based on heat and surface cleanliness.
When you see the metal “pull” toward the edges of your joint, you have achieved proper wetting. This is a sign that the base metal is hot enough to accept the molten filler. If the metal beads up like water on a waxed car, your heat is too low or your metal is dirty. Mastering this visual cue is the difference between a weld that looks like it’s sitting on top of the metal and one that is truly part of the structure.
Setting Baseline Machine Parameters for Consistency
Machine parameters are the specific voltage, amperage, and wire feed settings that dictate the energy output of your welding power source.
Before you even strike an arc, your settings must be in the “ballpark.” For a clean finish, you cannot rely on the door chart of your welder as the final word. Those charts are starting points. I recommend a “test-and-tune” session every time you start a new project. Use a scrap piece of the exact same material and thickness to dial in the machine.
For MIG welding, the relationship between voltage (heat) and wire feed speed (filler volume) is critical. If your wire is “stuttering” against the plate, your wire speed is too high for that voltage. If the arc is melting the wire back into the copper tip, your speed is too low. In my shop, I keep a logbook of every setting that produced a high-quality bead on specific thicknesses, which saves me hours of guesswork.
| Material Thickness | Process | Voltage/Amps | Wire Speed / Rod Size | Resulting Bead Width |
|---|---|---|---|---|
| 1/8″ (3.2mm) | MIG | 18.5V | 210 IPM | 1/4″ |
| 1/8″ (3.2mm) | TIG | 125A | 3/32″ Rod | 3/16″ |
| 1/4″ (6.4mm) | MIG | 21.0V | 350 IPM | 3/8″ |
| 1/4″ (6.4mm) | TIG | 180A | 1/8″ Rod | 5/16″ |
The Role of Shielding Gas Flow
Shielding gas flow is the measured volume of inert gas (like Argon or CO2) used to protect the molten puddle from atmospheric contamination.
Too much gas can be just as bad as too little. Excessive flow creates turbulence, which pulls air into the puddle and causes porosity—those tiny holes that look like Swiss cheese. For most indoor shop work, a flow rate of 15 to 20 cubic feet per hour (CFH) is the “sweet spot.” I always check my regulator by listening for a soft hiss; a loud roar usually means I’m wasting gas and risking a dirty weld.
Preparing Clean Zones for Maximum Fusion
A clean zone is the area around a joint that has been stripped of all mill scale, rust, oil, and paint to expose shiny, bare metal.
You cannot get a professional finish on dirty metal. Period. Even “clean” looking hot-rolled steel has a layer of gray mill scale that is highly resistive to electricity. If you try to weld over it, the arc will wander, and you’ll end up with spatter everywhere. I use a flap disc on an angle grinder to clean at least one inch back from the weld area on both sides of the joint.
When I was learning, I skipped this step often because I was in a hurry. My welds were always gray and brittle. Once I started treating “the prep” as 70% of the job, my beads became shiny and silver. For stainless steel, this is even more critical; even the oils from your skin can cause issues, so I always wipe the joint down with acetone before I begin.
Removing Mill Scale and Oxides
Mill scale is a hard, flaky layer of iron oxide that forms on the surface of hot-rolled steel during the manufacturing process.
Using a 40 or 60-grit flap disc is the most efficient way to remove this layer. You should grind until the metal looks like a mirror. If you see any dark spots or “pepper” in the metal, keep grinding. Those spots are trapped impurities that will float into your puddle and create “floaters,” which are black specks that ruin the aesthetic of a finished bead.
Developing a Steady Travel Speed Pattern
Travel speed is the rate at which you move the torch along the joint, measured in inches per minute (IPM).
Consistency is the hallmark of a pro. If you speed up and slow down, your bead will look like a snake that just ate a meal—thick in some spots and thin in others. To master this, I use a metronome or a mental count. For MIG welding, a common target is 8 to 12 inches per minute.
I often tell my students to practice “dry runs.” Move the torch along the joint without turning the machine on. Watch your hand. Does it snag? Do you hit your elbow on a clamp? If you can’t make the movement smoothly while the machine is off, you certainly won’t do it while blinded by a 5,000-degree arc.
Travel Speed Parameters and Visual Cues
| Speed Observation | Visual Result | Physical Correction |
|---|---|---|
| Too Fast | Narrow, “ropy” bead with no penetration | Slow down; wait for the puddle to reach the edges. |
| Too Slow | Wide, flat bead; potential burn-through | Increase hand speed; watch for the puddle sagging. |
| Just Right | Uniform ripples; consistent width | Maintain the current rhythm and brace your arm. |
Mastering Torch and Electrode Angles
Torch angle is the relationship between the torch and the workpiece, usually divided into the “travel angle” and the “work angle.”
The “work angle” is typically 90 degrees to the joint, while the “travel angle” is how much you lean the torch in the direction you are moving. For MIG welding, a 10 to 15-degree “push” angle (leaning the torch toward the direction of travel) helps you see where you are going and provides a flatter bead. A “drag” angle (leaning away) provides deeper penetration but a narrower, more built-up bead.
In TIG welding, the angle is even more sensitive. If you lay the torch too flat, you will lose gas coverage and the arc will become unstable. I spent a month just focusing on keeping my torch at a consistent 15-degree angle. I even taped a small wedge to my practice table to remind me of what that angle felt like in my hand.
Work Angle vs. Travel Angle
The work angle ensures that the heat is distributed evenly between the two pieces of metal. In a T-joint, if you point the torch more toward the bottom plate, the top plate won’t melt properly, leading to a defect called “cold lap.” You want the arc to bite into both pieces of metal equally.
- T-Joint Work Angle: 45 degrees.
- Lap Joint Work Angle: 60 to 70 degrees toward the bottom plate.
- Butt Joint Work Angle: 90 degrees (straight up).
Structured Practice Drills for Muscle Memory
Practice drills are repetitive exercises designed to isolate and improve specific manual skills like hand steadiness or filler rod timing.
Don’t just start building a project. Start with “bead-on-plate” drills. Take a flat piece of 1/4″ steel and run straight lines across it. Your goal is to make ten lines that look identical. Once you can do that, move to overlapping the beads by 50%. This builds the muscle memory needed for multi-pass welds.
I track my drills using a simple checklist. I note the date, the settings, and a self-grade from 1 to 10. If I get three “9s” in a row, I allow myself to move to a more difficult joint, like a vertical-up fillet weld. This gamification of the learning process prevents the “plateau” feeling where you feel like you aren’t getting better.
The Five-Step Practice Progression
- Bead-on-Plate: Focus solely on travel speed and straight lines.
- Horizontal Lap Joints: Learn how to manage heat on an edge without melting it away.
- T-Joints (Fillet Welds): Practice the 45-degree work angle and managing the “corner” heat.
- Out-of-Position (Vertical): Learn how to fight gravity by adjusting your hand speed.
- Timed Full Joints: Combine all skills to weld a 6-inch joint in a specific timeframe.
Self-Assessing Joint Defects for Continuous Improvement
Self-assessment is the process of visually inspecting your own welds for common flaws like undercut, porosity, or overlap.
To get a professional finish, you must be your own harshest critic. I use a magnifying glass and a bright light to look at my beads. One common defect is “undercut,” which looks like a small groove or valley at the toe of the weld. This is usually caused by too much heat or an incorrect torch angle. If I see undercut, I know I need to either lower my voltage or spend less time “dwelling” on the edges of the joint.
Another common issue is “overlap” or “cold lap,” where the weld metal just sits on the surface without fusing. This is a sign of low heat or moving too fast. By identifying these defects early, you can adjust your technique before you’ve completed a whole project with sub-par joints.
Common Visual Defects and Causes
- Porosity: Small holes caused by wind, dirty metal, or low gas flow.
- Undercut: A notched groove at the edge of the weld caused by high heat or fast travel.
- Spatter: Small balls of metal stuck to the plate, usually caused by incorrect MIG voltage/wire speed balance.
- Cratering: A dip at the very end of the weld; solve this by “back-stepping” or lingering for a second before stopping the arc.
Using Video Review to Break Through Plateaus
Video review involves recording your welding process with a specialized lens or camera to analyze your hand movements and puddle behavior.
One of the biggest breakthroughs in my career came when I started filming my practice sessions. When you are welding, you are focused on the arc, and you often miss what your body is doing. When I watched the footage, I realized my hand was shaking every time I reached the four-inch mark because my elbow was hitting my ribs.
You don’t need expensive gear. A smartphone with a #10 welding lens held over the camera can capture the puddle clearly. Watching yourself in slow motion allows you to see exactly when the puddle gets too hot or when your torch angle wanders. It’s like a professional golfer analyzing their swing.
Actionable Tracking Framework: The Weld Log
To move from a beginner to a professional, you need data. I recommend keeping a dedicated notebook in your shop. Every time you sit down to practice, record the following:
- Date and Time: Helps track how many “hood hours” you are actually putting in.
- Material and Thickness: (e.g., 1/8″ Mild Steel).
- Machine Settings: (Voltage, Wire Speed, or Amperage).
- The Goal: (e.g., “Maintain 15-degree push angle”).
- The Result: (e.g., “Good penetration but had some undercut at the end”).
- The Correction: (e.g., “Next time, speed up at the end of the plate”).
This log becomes a personal textbook. When you haven’t welded 1/4″ aluminum in six months, you can look back and see exactly what settings worked, rather than wasting an hour of gas and metal trying to figure it out again.
Refining the Finish: Post-Weld Cleaning
Post-weld cleaning is the final step where you remove discoloration, slag, or minor spatter to give the workpiece a polished appearance.
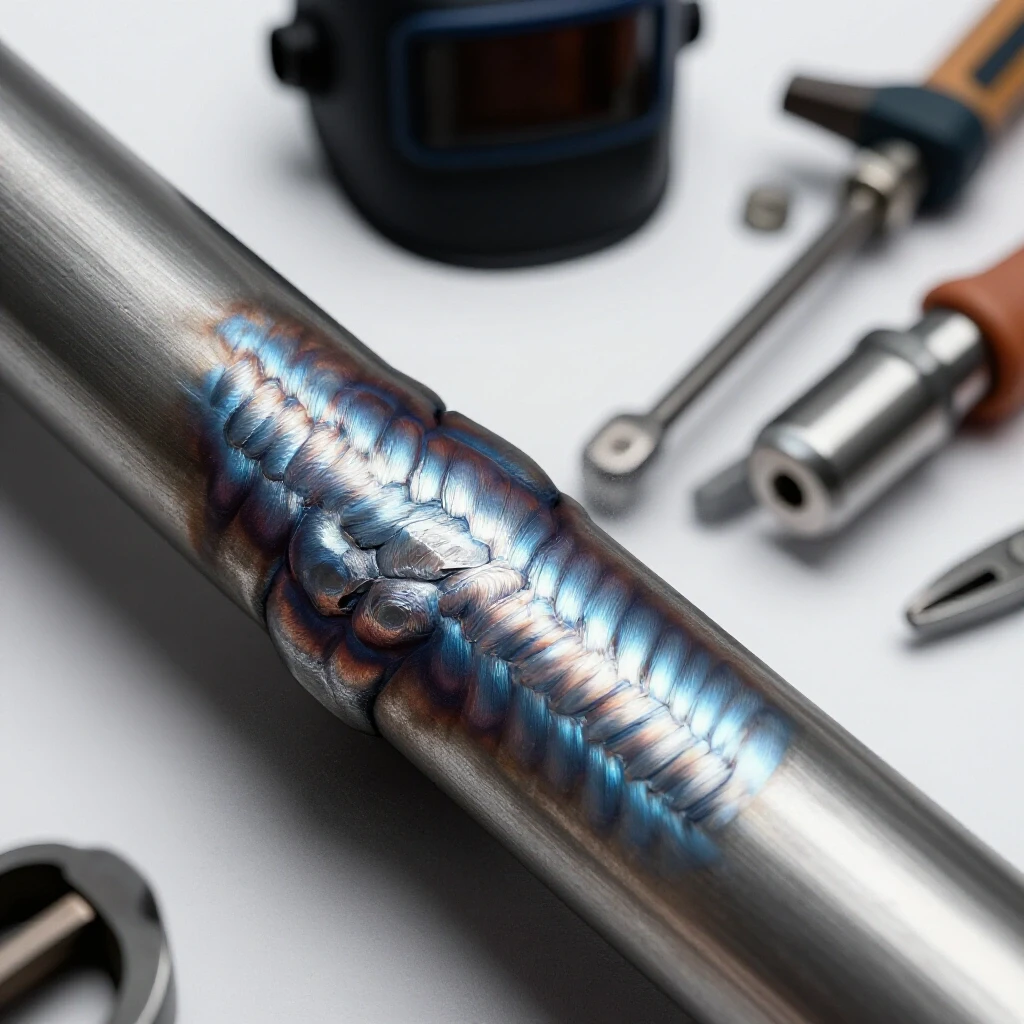
Even a great weld can look “amateur” if it’s covered in soot or heat tint. For mild steel, a quick pass with a stainless steel wire brush while the metal is still warm will remove most surface oxides and make the bead pop. For stainless steel, you might use a “pickling paste” or an electrochemical cleaner to restore the chromium oxide layer and bring back the silver shine.
I avoid using heavy grinding wheels on the weld itself unless the design specifically calls for a flush surface. A professional weld should be beautiful enough to stand on its own. If you find yourself reaching for the grinder to “hide” your welds, it’s a sign that you need to go back to the bead-on-plate drills.
Conclusion: The Path to Consistency
Achieving industrial-grade results in your home shop is not a matter of luck or “natural talent.” It is the result of deliberate, structured practice. By treating every weld as a data point, you can identify the specific physical habits—like a wandering torch angle or an inconsistent travel speed—that are holding you back.
I spent years making mistakes before I realized that the secret was in the preparation and the posture. Start by cleaning your metal until it shines. Brace your body like a tripod. Watch the puddle like a hawk. If you commit to these fundamentals and log your progress, the “clean finish” you’re looking for will become a natural byproduct of your routine. The next step is simple: grab a scrap plate, set your machine, and start your first 10-inch bead-on-plate drill.
FAQ: Refining Your Technique
Why does my MIG weld have so much spatter even when my settings look right? Spatter is often caused by a “long arc,” meaning your torch is too far from the metal. Try to maintain a 3/8″ to 1/2″ distance between the copper tip and the workpiece. Also, ensure your metal is ground to a shiny finish; mill scale is a leading cause of spatter.
How do I stop my TIG welds from turning gray and dull? Gray TIG welds are usually a sign of overheating. You are either moving too slowly or using too many amps. Try increasing your travel speed or using a larger ceramic cup to provide better gas coverage over the cooling metal.
What is the best way to practice keeping a steady hand? Practice “dry runs” without the arc. Follow a line on a piece of paper with your torch. If you can’t keep the torch perfectly on the line while you can see clearly, you won’t be able to do it under the hood.
Is a “push” or a “pull” technique better for a clean finish? For MIG on thin materials, a “push” angle usually results in a flatter, cleaner-looking bead with less risk of burning through. “Pulling” or “dragging” is better for thick plate where you need maximum penetration, but it tends to leave more soot.
How can I tell if I have good penetration without cutting the metal? Look at the back side of the plate. For 1/8″ material, you should see a slight discoloration or a small “heat tint” line that follows the path of your weld. If the back of the plate looks untouched, you likely didn’t get full fusion.
Why does my weld puddle keep “running away” from me? This usually happens in a T-joint when the vertical piece gets hotter than the flat piece. Gravity pulls the puddle down. Point your torch slightly more toward the vertical piece to “hold” the puddle in place with the arc force.
How often should I clean my welding nozzle? Every 10 to 15 minutes of arc time. Spatter builds up inside the nozzle and blocks the gas flow, leading to porosity. Use nozzle gel or a pair of welper pliers to keep it clear.
Can I get a professional finish with a cheap flux-core welder? Yes, but it requires much more post-weld cleaning. Flux-core naturally produces slag and more spatter. You can achieve a clean look by using anti-spatter spray before welding and a wire wheel on a grinder immediately after.
What is the most important metric to track in my practice log? Travel speed consistency. If you can master moving at exactly 10 inches per minute every time, your beads will automatically look 100% more professional.
How do I know when I’m ready to move from practice plates to real projects? When you can produce five identical, defect-free beads in a row on a practice joint. If you are still getting “lucky” with one good weld out of three, you need more hood time.
(This article was written by one of our staff writers, Thomas Langley. Visit our Meet the Team page to learn more about the author and their expertise.)