Recommended Metalworking Tools for DIY Home Projects (Tips)
I have spent the last 15 years in a 20×20 garage, tracking every minute of tool runtime in dog-eared maintenance journals. My background in small-scale manufacturing taught me a hard lesson early on: the specifications printed on the side of a tool box rarely align with the reality of a hot July afternoon in the shop. I have seen “heavy-duty” grinders smoke out within three months and “precision” drill presses develop enough runout to ruin a week’s worth of work.
Most reviews you find online are based on a few hours of use, often right out of the box. They focus on the ergonomics of the handle or the color of the plastic. In my shop, I look at the brushes, the thermal protection resets, and the cost per hour of operation. When you are choosing equipment for a home workspace, you are not just buying a tool; you are investing in a long-term relationship with a piece of mechanical hardware. Understanding how to look past the marketing gloss and into the actual engineering is the only way to avoid the cycle of “buy, break, and replace.”
Decoding Motor Performance and Electrical Requirements
In the context of home fabrication, motor performance defines how long a tool can run under load before the internal components begin to degrade. Most residential workshops operate on standard 120V or 240V circuits, which places a hard ceiling on the amount of work a tool can realistically perform without tripping a breaker or melting its own insulation.
What is a Duty Cycle?
A duty cycle is the percentage of time a tool can operate within a ten-minute period without overheating. For example, a tool with a 40% duty cycle can run for four minutes but then requires six minutes of cooling time. In a home shop, exceeding this limit doesn’t just trip a thermal switch; it causes incremental damage to the motor windings that shortens the tool’s total lifespan.
Understanding Motor Insulation Classes
Motor insulation classes tell you how much heat the internal wiring can handle before the protective coating fails. Most consumer-grade tools use Class A or Class B insulation, while professional-grade portable tools often move into Class F. When you are pushing a tool through thick steel plate, that heat builds up rapidly.
| Insulation Class | Maximum Operating Temperature | Common Tool Application |
|---|---|---|
| Class A | 105°C (221°F) | Budget hand drills, light-duty fans |
| Class B | 130°C (266°F) | Standard DIY grinders, small sanders |
| Class F | 155°C (311°F) | Professional portable band saws |
| Class H | 180°C (356°F) | Industrial stationary motors |
When I evaluate a new piece of equipment, I check the nameplate for the insulation class. If I know I will be performing long, continuous cuts, I refuse to buy anything below Class B. Using a Class A tool for heavy grinding is a recipe for a mid-project failure that leaves you with a dead motor and a half-finished part.
Selecting Reliable Portable Cutting Equipment
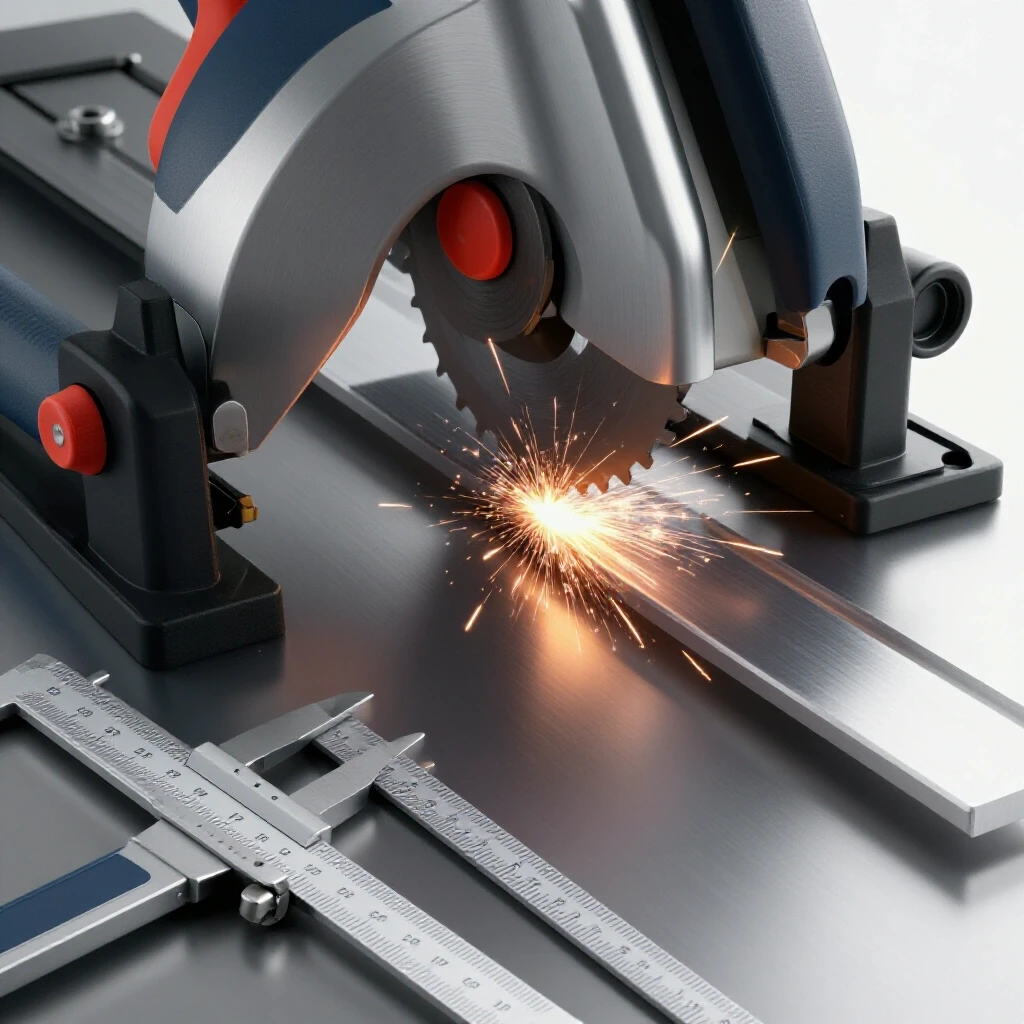
Cutting metal in a home shop requires a balance between portability and precision. While industrial shops use massive cold saws, the DIY fabricator usually relies on portable band saws or angle grinders. These tools face the highest levels of wear because they are exposed to metallic dust and high friction.
Portable Band Saws vs. Abrasive Saws
Portable band saws use a continuous loop blade to cut through material. They are significantly quieter and cleaner than abrasive chop saws. However, their reliability depends heavily on the tracking mechanism. In my logs, I’ve found that budget band saws often use plastic tracking pulleys that warp after 50 hours of use, causing the blade to pop off repeatedly.
Abrasive saws are simpler but harder on the operator and the environment. They use high-speed friction to melt through metal, creating a massive amount of dust. This dust is conductive. If your tool doesn’t have “sealed” or “epoxy-coated” motor windings, that metallic dust will eventually bridge the electrical gaps in your motor, leading to a catastrophic short.
Why Gearbox Lubrication Matters
The gearbox is the heart of any cutting tool. In many low-cost portable saws, manufacturers use a thin, low-quality grease that separates under heat. Once the oil separates from the thickener, the gears run dry. I make it a habit to check the gearbox of any new tool after the first 20 hours of use. If the grease looks like liquid or has turned black, I replace it with a high-temperature synthetic grease to prevent premature gear tooth wear.
- Key Metric: Look for tools with a “soft start” feature. This reduces the initial torque spike, which protects both the gears and your home’s circuit breakers.
- Maintenance Tip: Blow out the motor vents with compressed air after every hour of cumulative use to prevent dust buildup.
Performance Metrics for Precision Drilling
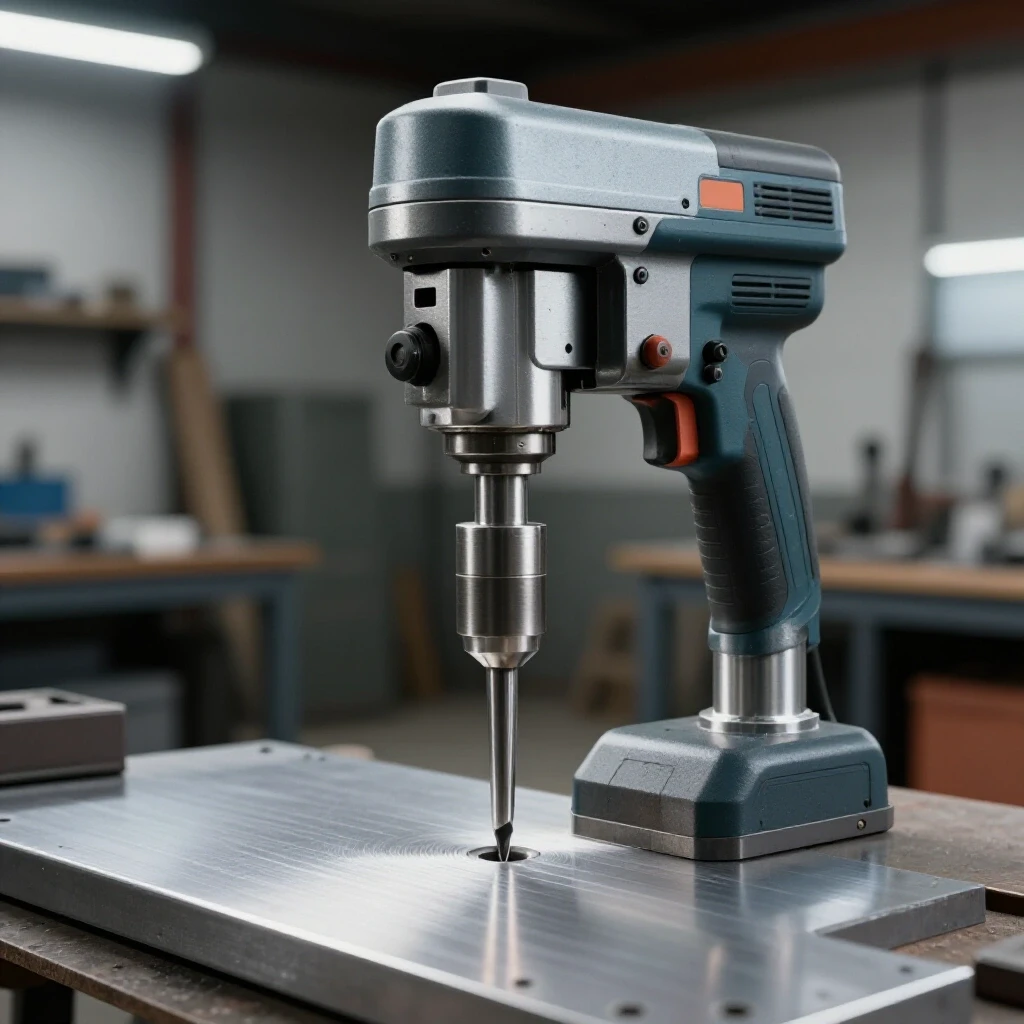
Drilling through metal is vastly different from drilling through wood. It requires high torque at low speeds. Many DIY-focused drills are designed for high-speed applications, which actually causes metal to work-harden, making it nearly impossible to finish the hole.
Evaluating Torque and Runout
Torque is the rotational force the drill applies. Runout is the amount of “wobble” at the tip of the drill bit. In a home shop, high runout (anything over 0.005 inches) will cause drill bits to snap and holes to be oversized. When I test a new drill press or hand drill, I use a dial indicator to measure the spindle runout before I ever pull the trigger.
The Reality of Chuck Durability
Most entry-level drills come with keyless chucks made of plastic and thin steel. For metalworking, these often fail because they cannot provide enough clamping force to stop a bit from spinning when it catches on the exit of a hole. I prefer keyed chucks for any stationary equipment. They allow for a much higher “bite” on the bit, which is essential when you are stepping up to 1/2-inch or larger holes in steel plate.
- Check the Quill Travel: Ensure the drill has enough vertical movement for your deepest projects.
- Inspect the Bearings: High-quality tools use sealed ball bearings; budget options often use bushings that wear out and create slop.
- Verify Speed Ranges: For metal, you need speeds as low as 200-300 RPM. If a drill’s lowest speed is 600 RPM, it is likely designed for wood and will burn up your bits.
Managing Heat and Wear in Grinding Tools
The angle grinder is perhaps the most-used tool in a fabrication shop, and it is also the most frequently replaced. Because these tools run at 10,000+ RPM, the bearings and brushes are under constant stress. My maintenance journals show that the average “consumer” grinder lasts about 120 hours of actual trigger time before the brushes need replacing.
Brushless vs. Brushed Motors
Modern brushless motors are a significant upgrade for DIYers. They lack the carbon brushes that spark and wear down, which reduces internal heat and eliminates a common failure point. While they cost more upfront, my data shows they typically last three to four times longer than brushed models in high-dust environments.
Thermal Overload Protection
A common frustration is a tool that shuts off in the middle of a cut. This is the thermal overload protection doing its job. Cheap tools often lack this, meaning the motor simply melts instead of shutting down. I look for tools with an “electronic clutch” or “overload sensor.” This feature has saved me hundreds of dollars by preventing me from pushing a tool past its engineering limits.
- Daily Check: Feel the gear housing. If it’s too hot to touch comfortably, the tool needs a 15-minute break.
- Operational Tip: Never use the “lock-on” switch for heavy grinding. If the tool kicks back or the motor bogs down, you need to be able to release the trigger instantly.
Manual Bending and Forming Equipment
For sheet metal and small bar stock, manual tools are often more reliable than powered ones because they have fewer moving parts. However, they are subject to massive structural stresses. A manual bender used to shape 1/4-inch flat bar can exert thousands of pounds of pressure on its pivot pins.
Pivot Point Maintenance
In my shop, I’ve found that the most common failure in manual benders is “galling” at the pivot point. This happens when two metal surfaces rub together under high pressure without lubrication, causing them to essentially weld themselves together on a microscopic level.
I use a molybdenum-disulfide grease on all pivot points. This grease contains solid lubricants that stay in place even when the oil is squeezed out by the pressure of a bend. If you see metal shavings or “dust” around a pivot pin, it is a sign of immediate failure.
Material Capacity Realities
Manufacturers often rate their benders for “Max Capacity,” but this usually refers to the absolute limit the tool can handle once. For long-term reliability, I follow the “80% Rule.” If a tool is rated for 2-inch wide by 1/4-inch thick steel, I try not to exceed 1.5-inch by 3/16-inch for daily use. This preserves the structural integrity of the frames and prevents the “spring-back” issues that occur when a tool’s frame begins to flex.
| Tool Type | Maintenance Interval | Key Action |
|---|---|---|
| Manual Bench Brake | Every 50 bends | Lubricate hinge pins and check alignment bolts |
| Bar Bender | Every 20 bends | Clean pivot pin and apply high-pressure grease |
| Sheet Metal Shears | Every 100 cuts | Check blade gap and hone edges |
| Tube Notcher | Every 10 cuts | Apply cutting oil to the hole saw teeth |
Creating a Long-Term Tool Maintenance Log
The secret to avoiding unexpected breakdowns is tracking. I keep a simple digital spreadsheet for every major tool in my shop. This allows me to see patterns. For instance, if I notice I am replacing the blade on my portable band saw every 15 hours of use, I know I might be applying too much pressure or using the wrong TPI (teeth per inch) for the material.
What to Track in Your Log
- Date of Purchase and Warranty End: This is vital for making claims before it’s too late.
- Runtime Hours: I use a simple “clicker” or a vibration-activated hour meter on larger tools.
- Consumable Usage: How many grinding discs or drill bits are you consuming? High consumption often points to poor tool technique.
- Repair Costs: Once the repair costs reach 50% of the tool’s replacement value, it’s time to retire it.
The “Total Cost of Ownership” Calculation
Don’t just look at the price tag. Calculate the cost per hour. A $100 grinder that lasts 50 hours costs $2.00 per hour. A $250 professional-grade grinder that lasts 300 hours costs $0.83 per hour. In the long run, the “expensive” tool is actually the budget-friendly choice.
Practical Steps for Evaluating New Purchases
When you are standing in the store or looking at an online listing, ignore the “Amps” rating for a moment. Amps are a measure of electrical draw, not necessarily work output. A poorly designed motor can draw 15 Amps but waste half of it as heat.
The Five-Point Inspection Checklist
- Weight and Balance: Heavier isn’t always better, but in stationary tools, weight usually indicates cast-iron components rather than stamped steel.
- Cord Quality: A stiff, plastic cord will crack in a cold garage. Look for rubberized (SJOW or SOOW) cords that remain flexible.
- Vibration Levels: Excessive vibration in a hand tool leads to user fatigue and indicates poor internal balancing, which will destroy bearings.
- Parts Availability: Before buying, search for “replacement brushes” or “replacement switch” for that specific model. If you can’t find them easily, the tool is a disposable item.
- The “Sound” Test: A healthy tool should have a consistent hum. Any high-pitched whining or rhythmic clicking indicates gear misalignment or bearing issues.
Conclusion
Building a capable home workshop is a marathon, not a sprint. By focusing on mechanical metrics like insulation classes, duty cycles, and pivot point maintenance, you move from being a consumer to being a shop manager. My 15 years of logs have proven that the most reliable tools aren’t always the ones with the most features; they are the ones with the best thermal management and the most accessible replacement parts.
Take the time to document your tool usage and perform preventative maintenance. It might seem tedious to grease a pivot pin or blow out a motor vent, but these small actions are what separate a shop that produces high-quality work from a shop that is constantly sidelined by equipment failure.
Frequently Asked Questions
What is the most common cause of motor failure in home metalworking tools?
Heat is the primary killer. This usually stems from exceeding the tool’s duty cycle or allowing metallic dust to clog the cooling vents. When the internal temperature rises above the motor’s insulation rating, the protective coating on the copper windings melts, causing an electrical short.
Why do my drill bits dull so quickly even on a good drill press?
This is usually caused by incorrect surface speed. Most DIYers run their drills too fast. For steel, you need high pressure and low RPM. If the bit is “rubbing” instead of “cutting,” it generates friction heat that destroys the tempered edge of the bit.
Is a brushless motor really worth the extra cost for a hobbyist?
Yes, especially in metalworking. Because brushless motors are sealed and have no sparking brushes, they are much more resistant to the conductive metal dust that typically destroys brushed motors in a fabrication environment.
How can I tell if a tool is actually “professional grade”?
Look at the warranty and the parts list. Professional tools usually offer longer warranties and have detailed “exploded view” diagrams with individual part numbers available for purchase. If the manufacturer doesn’t sell replacement brushes or gears, it’s a consumer-grade, disposable tool.
What does “NEMA” mean on a motor nameplate?
NEMA stands for the National Electrical Manufacturers Association. A NEMA rating ensures the motor meets specific standards for frame size, mounting, and performance. Seeing a NEMA rating is a good sign of standardized engineering.
How often should I change the grease in my grinder’s gearbox?
For a tool used in a home shop, I recommend checking the grease every 50 hours of trigger time. If you do a lot of heavy grinding that gets the tool hot, you may want to replace the factory grease with a high-quality synthetic grease once a year.
Can I run a 240V tool on a standard household outlet?
No. A standard household outlet is 120V. Running a tool on the wrong voltage will either prevent it from starting or cause immediate, permanent damage to the electronics. You must have a dedicated 240V circuit installed by an electrician.
What is “runout” and why does it matter for my projects?
Runout is the deviation of a rotating tool from its theoretical axis. If a drill press has high runout, the bit will wobble. This leads to inaccurate holes, broken bits, and poor surface finishes on your metal parts.
Why does my portable band saw blade keep jumping off the track?
This is usually due to poor blade tension or worn tracking tires. Check the rubber tires on the internal pulleys for grooves or debris. Also, ensure you are using the correct blade tension specified by the manufacturer.
Should I prioritize a higher Amp rating when buying a grinder?
Not necessarily. A higher Amp rating means the tool pulls more power, but if the motor is inefficient, that power just becomes heat. Focus on the “Output Watts” or the “Insulation Class” to see how much of that power is actually being turned into work.
How do I store my tools to prevent rust in a damp garage?
Keep your tools off the concrete floor, which holds moisture. Use a light coat of machine oil or a dedicated corrosion inhibitor on all unpainted metal surfaces. For power tools, storing them in sealed plastic bins with silica gel packets can significantly reduce internal corrosion.
What is the “80% Rule” for metalworking machinery?
The 80% Rule suggests that you should only operate a tool at 80% of its maximum rated capacity for regular work. This provides a safety margin that prevents structural fatigue and overheating, ensuring the tool lasts for years rather than months.
(This article was written by one of our staff writers, David Reynolds. Visit our Meet the Team page to learn more about the author and their expertise.)