How to Repair and Maintain a Metal Chop Saw Safely (Guide)
I’ve spent the better part of two decades smelling hot metal and ozone in small-scale fabrication shops. Over those 15 years, I’ve learned that the shiny red or yellow paint on a new tool doesn’t tell you anything about how it will behave after 400 hours of cutting thick-walled square tubing. Most tool reviews you find online are essentially “unboxing” videos where the tool is used once and then put away. In my shop, tools are investments that must pay for themselves through reliability and precision.
When I first started out, I fell for the marketing hype. I bought a saw based on its peak horsepower rating, only to have the motor burn out three months later because I didn’t understand the difference between peak power and continuous duty cycles. Since then, I’ve kept meticulous maintenance journals, logging every brush change, every pivot point lubrication, and every dollar spent on replacement parts. This data-driven approach has saved me thousands in avoided downtime and informed my garage machinery maintenance strategies.
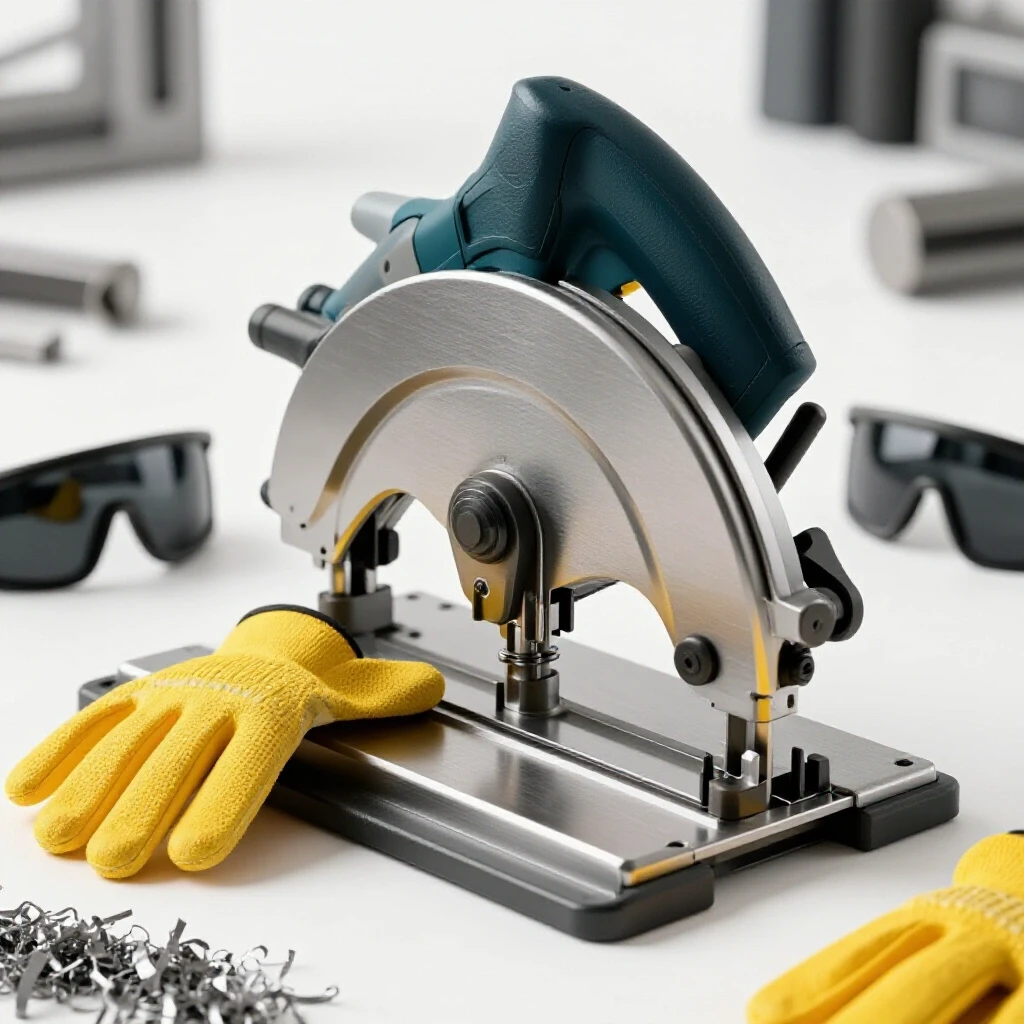
Maintaining abrasive cutting tools isn’t just about making them last longer; it’s about ensuring they remain safe and accurate. A saw that vibrates excessively or has a loose fence isn’t just a nuisance—it’s a hazard. By following a systematic approach to tool care, you can bypass the shallow marketing specs and focus on the real-world durability that keeps a shop profitable.
Analyzing Motor Specifications and Performance Realities
Understanding the technical data behind a tool’s motor is the first step in predicting its lifespan. This involves looking beyond simple horsepower claims to evaluate insulation classes, amperage draw, and thermal protection. These metrics determine how long a saw can run under heavy loads before internal components begin to degrade.
Decoding NEMA Motor Insulation Classes
In my experience, the motor is the heart and the most expensive failure point of any metalworking tool. Most consumer-grade saws use Class A or Class B insulation, which can handle temperatures up to 221°F or 266°F respectively. However, if you are looking for a tool that survives 10-hour workdays, you want to see Class F or Class H ratings. These higher classes use better resins and materials that prevent the copper windings from shorting out when the tool gets hot during heavy cutting sessions.
The Truth About Duty Cycle Explanations
Marketing materials often boast about “15 Amp Motors,” but they rarely mention the duty cycle. A duty cycle is the amount of time a tool can run under full load within a ten-minute period without overheating. For many abrasive saws, the duty cycle is around 25% to 40%. This means for every two and a half minutes of hard cutting, the motor needs seven and a half minutes of cooling. Pushing past these limits is why most “budget” saws fail within the first year of heavy use.
- Class B Insulation: Rated for 130°C (266°F) total temperature.
- Class F Insulation: Rated for 155°C (311°F) total temperature.
- Duty Cycle Metric: 40% at 15A means 4 minutes on, 6 minutes off.
- Power Factor Correction: High-end inverters use this to ensure the motor draws power efficiently, reducing heat.
Why Amperage Ratings Can Be Misleading
I have logged saws that claim 15 amps but trip 20-amp breakers consistently. This is often due to a poor “power factor,” which is essentially a measure of how effectively the motor converts electrical current into mechanical work. When researching your next purchase, look for tools with high-efficiency ratings or soft-start features. Soft-start reduces the initial surge of current, which preserves the life of the switch and the motor windings over hundreds of start-stop cycles.
Systematic Inspection and Cleaning for Longevity
Regular upkeep involves more than just wiping off the table; it requires a deep dive into the areas where abrasive grit accumulates. Metal dust is conductive and abrasive, making it the primary enemy of bearings and motor windings. A structured cleaning schedule prevents premature wear and ensures the tool remains accurate.
The Impact of Abrasive Dust on Internal Components
Abrasive saws generate a massive amount of fine metallic dust and phenolic resin from the wheels. This dust is magnetically attracted to the motor’s armature. If left unchecked, it acts like sandpaper, grinding away at the protective coating on the copper wires. I make it a habit to use compressed air to blow out the motor housing after every significant project. This simple five-minute task can easily double the life of your motor.
Lubrication and Pivot Point Maintenance
The pivot point where the saw head meets the base is a common failure area that many fabricators ignore. If this joint becomes stiff or develops “slop,” your cuts will never be square. I use a dry PTFE lubricant here rather than standard grease. Wet grease attracts metal shavings, creating a grinding paste that will quickly wallow out the pivot pin.
- Weekly: Blow out motor vents with compressed air (max 30 PSI to avoid damaging fan blades).
- Monthly: Check pivot pin for lateral movement and apply dry lubricant.
- Quarterly: Inspect the base for cracks or metal fatigue near the mounting bolts.
- Bi-Annually: Verify the spring tension on the head return mechanism.
Cleaning the Vise and Fence Assembly
The vise is the most abused part of the saw. Over time, the threads of the lead screw get packed with metal chips, leading to stripped threads. I use a stiff wire brush to clean the threads every time I change a blade. A clean vise ensures that the material is held securely, which prevents the blade from grabbing and shattering—a major safety risk that can lead to expensive repairs.
Evaluating Abrasive Wheel Integrity and Drive Systems
The relationship between the cutting disc and the drive spindle is the heart of the tool’s performance. Proper mounting, checking for arbor runout, and monitoring belt tension (on belt-driven models) are essential for smooth operation. These steps minimize vibration, which is a leading cause of bearing failure and poor cut quality.
Checking for Spindle Runout and Bearing Wear
Vibration is the “silent killer” of power tools. If you feel excessive shaking in the handle, it’s likely due to a bent spindle or worn bearings. You can check this by removing the blade and using a dial indicator against the arbor. Anything more than 0.003 inches of “runout” (wobble) will cause the blade to wander and put uneven stress on the motor. In my logs, saws with high runout typically require bearing replacements every 150 runtime hours.
Selecting the Right Consumables for the Job
Not all abrasive wheels are created equal. I’ve found that using the cheapest wheels available is a false economy. They wear down faster, create more dust, and require more pressure to cut, which strains the motor. High-quality wheels with a “Type 1” or “Type 41” rating are worth the extra cost. They maintain their diameter longer and provide a cooler cut, which protects the metallurgical properties of your workpiece.
- Arbor Diameter: Standard is 1 inch; ensure the wheel matches exactly without spacers if possible.
- RPM Rating: The wheel’s max RPM must always exceed the saw’s no-load RPM.
- Storage: Keep wheels in a dry environment; moisture can degrade the resin bond, leading to wheel “explosions.”
- Wear Limit: Replace wheels once they reach the diameter of the inner flange to prevent spindle damage.
Belt Tension and Pulley Alignment
If you own a belt-driven saw, the belt is a critical maintenance item. A belt that is too tight will destroy the motor bearings, while a loose belt will slip and glaze over, losing power. I check the tension by pressing on the center of the belt; there should be about 1/4 inch of deflection. If the belt shows signs of cracking or “fraying” on the edges, replace it immediately to avoid a mid-cut failure.
Structural Alignment and Guard Safety
Maintaining the mechanical precision of the base and the safety of the spark guards is vital for both accuracy and operator protection. Over time, the fence can shift or the base can warp under heavy clamping pressure. Regular calibration ensures that 90-degree cuts stay square and that safety features operate without binding.
Squaring the Fence for Precision Cutting
A chop saw that doesn’t cut square is just a glorified scrap maker. I never trust the stamped scales on the base of a saw. Instead, I use a machinist’s square to set the fence 90 degrees to the blade. Once set, I scribe a permanent mark into the base. This allows me to quickly reset the fence after making miter cuts without having to hunt for the “sweet spot” again.
Maintaining the Lower Guard Mechanism
The retractable lower guard is often the first thing to get bent or jammed. I’ve seen many fabricators pin these guards back with a screw, which is a massive safety violation. If the guard is sticking, it’s usually because the linkage is gummed up with dust or the return spring has lost its tension. Cleaning the pivot points of the guard with a degreaser and a light drop of oil usually restores smooth operation.
Inspecting the Spark Deflector and Base Stability
The spark deflector’s job is to direct the stream of white-hot metal away from the operator and the power cord. Over hundreds of hours, the thin sheet metal of the deflector can vibrate loose or rust through. Ensure the mounting screws are tight. Additionally, I always bolt my saws down to a heavy workbench. A saw that “walks” across the table during a cut is impossible to use accurately and safely.
Electrical Component Health and Switch Longevity
The electrical system of a chop saw is often the first point of failure due to the high-vibration environment and metallic dust. Monitoring the condition of the power cord, carbon brushes, and the trigger switch can prevent mid-project breakdowns. Identifying early signs of brush wear can save the commutator from expensive damage.
Carbon Brush Inspection and Replacement
Carbon brushes are the sacrificial components that transfer electricity to the spinning armature. I check my brushes every 50 hours of use. If they are worn down to less than 1/4 inch, I replace them. If you let them wear too far, the internal spring can touch the commutator, causing irreversible scarring that requires a total motor replacement.
Monitoring Switch and Cord Integrity
The trigger switch is a magnet for fine metal dust. If the switch starts to feel “crunchy” or requires multiple pulls to start the motor, it is failing. I’ve had to replace switches on even high-end saws because the internal contacts got pitted from electrical arcing. Similarly, check the power cord where it enters the handle. The constant flexing at this point can break the internal copper strands, leading to intermittent power loss or a fire hazard.
- Brush Length: Replace at 6mm (1/4 inch) or when the wear limit line is reached.
- Commutator Condition: Should be a clean “copper” color; black soot indicates poor brush contact.
- Cord Gauge: Use at least a 12-gauge extension cord for runs over 25 feet to prevent voltage drop.
- Trigger Feel: Any sticking or delay in shut-off requires immediate switch replacement.
Identifying Thermal Protection Trips
Many modern saws include a thermal overload protector. If your saw suddenly stops, don’t keep hammering the switch. This is the tool telling you it’s too hot. I’ve found that if a saw trips its thermal protection more than twice in an hour, I am either using a dull blade or pushing the tool beyond its intended capacity. Learning to listen to the motor’s pitch can tell you more about its health than any gauge.
Comparison Tables and Ownership Metrics
Tracking the real-world costs of tool ownership helps in making better future purchases. By comparing initial costs against maintenance hours and part replacements, a clearer picture of value emerges. This data-driven approach moves beyond brand loyalty and focuses on the actual return on investment for shop machinery.
The following table reflects my personal logs for two common classes of 14-inch abrasive saws used in a fabrication environment over a three-year period.
| Metric | Entry-Level “Budget” Saw | Mid-Range Professional Saw | Industrial Grade Saw |
|---|---|---|---|
| Initial Purchase Price | $160 – $210 | $350 – $480 | $600 – $850 |
| Motor Insulation Class | Class B | Class F | Class H |
| Typical Brush Life | 40 – 60 Hours | 100 – 150 Hours | 250+ Hours |
| Vise Lead-Screw Durability | Stamped / Thin | Cast / ACME Thread | Heavy Duty ACME / Quick Release |
| 3-Year Repair Costs | $120 (Switch, Brushes, Cord) | $45 (Brushes) | $20 (Lubricants) |
| Estimated Lifespan | 300 – 500 Hours | 1,200 – 1,500 Hours | 3,000+ Hours |
| Vibration Level (Subjective) | High | Moderate | Low |
Calculating the True Cost of Ownership
When I look at my welder buying guides or power tool reliability ratings, I always look at the “cost per cut.” A budget saw might seem like a deal, but if it requires $120 in parts and three hours of my labor to keep it running for three years, the gap between it and a professional-grade saw narrows significantly. Furthermore, the “hidden cost” of a budget saw is the inaccuracy; if I have to spend 10 minutes grinding a bad cut square, that is lost profit.
Warranty Tracking and Performance Logs
Managing a tool’s history through detailed logs allows for better warranty claims and predictable maintenance intervals. Recording runtime, blade changes, and any minor hiccups creates a roadmap for the tool’s health. This systematic documentation ensures that you are never caught off guard by a tool reaching the end of its service life.
Creating a Digital Maintenance Diary
I keep a simple spreadsheet for every major tool in the shop. This isn’t just for my own sanity; it’s essential if you ever need to negotiate a warranty claim. When a manufacturer claims a motor failure was “user error,” showing them a log of regular brush changes and cleanings often changes their tune.
- Date of Purchase & Serial Number: Keep a photo of the receipt and the nameplate.
- Runtime Estimation: Log hours based on project completion.
- Consumable Usage: Track how many wheels you use per month to identify changes in motor efficiency.
- Repair Descriptions: Note what failed, when, and the cost of the replacement part.
- Alignment Checks: Record the date you last squared the fence.
Understanding Warranty Limitations
Many warranties for garage machinery maintenance exclude “wear items” like brushes, cords, and fences. However, they should cover the armature, field windings, and the main casting. Be wary of “Limited Lifetime Warranties,” which often only cover defects in materials, not wear and tear. I prefer a solid 3-year “bumper-to-bumper” warranty over a vague lifetime claim.
Tool-Buying Decision Pathways
Before you pull the trigger on a new saw, ask yourself these three questions based on your logged data: – Does my current workload exceed the 40% duty cycle of a standard saw? – Have I spent more than 50% of the tool’s original value on repairs in the last two years? – Is the lack of precision in my current tool causing significant downstream labor costs?
If the answer to any of these is “yes,” it’s time to move up a tier in quality rather than buying another entry-level replacement. Investing in tools with better power factor correction and higher insulation classes pays dividends in the long run.
Frequently Asked Questions
Why does my saw smell like it’s burning even when I’m not pushing it hard? This is often caused by a buildup of metallic dust inside the motor housing. The dust can bridge the gap between the carbon brushes and the commutator, causing small electrical arcs that singe the dust and create a burning smell. Blow out the motor with compressed air immediately. If the smell persists, your brushes may be worn out or the armature insulation is beginning to fail.
How can I tell if my abrasive wheel is “out of round”? Mount the wheel and spin it by hand (with the saw unplugged). Watch the outer edge against a fixed point on the base. If it moves up and down or side to side more than a fraction of an inch, the wheel is defective or improperly seated. Using an out-of-round wheel creates massive vibration that will destroy your spindle bearings and can lead to the wheel shattering under load.
Can I use a wood-cutting blade on my metal chop saw? Absolutely not. Metal chop saws run at much lower RPMs (typically 3,000 to 4,000) than wood miter saws, but more importantly, wood blades are not designed for the heat and resistance of metal. Attempting this can lead to the blade teeth shearing off or the motor stalling and burning out. Always use blades specifically rated for the material you are cutting.
What is the most common cause of switch failure in metal saws? Infiltration of conductive metal dust is the primary culprit. Even “sealed” switches can eventually fail as fine grit works its way into the mechanism. If your switch starts to stick or feels “mushy,” it needs to be replaced. Never bypass a switch to keep a tool running, as this removes your ability to shut the tool off quickly in an emergency.
How do I know when to replace the carbon brushes? Most manufacturers provide a “wear limit line” on the side of the brush. If the brush has worn down to this line, or if it is less than 1/4 inch long, it’s time for a change. You may also notice increased sparking visible through the motor vents or intermittent power loss as the spring loses its ability to push the brush against the commutator.
Does it matter how I store my spare abrasive wheels? Yes, it matters immensely. The resin that bonds the abrasive grains together can be weakened by moisture and extreme temperature fluctuations. Store your wheels flat on a level surface in a dry, climate-controlled area. A damp wheel is prone to “exploding” when it hits 3,800 RPM and touches cold steel.
Why does my saw trip the breaker only when I start it? This is known as “inrush current.” When the motor first starts, it can draw up to five times its running amperage for a split second. If you are on a circuit with other loads, or if you are using a long, thin extension cord, this surge will trip the breaker. Using a saw with a “soft-start” feature or upgrading to a dedicated 20-amp circuit usually solves this issue.
How often should I check the squareness of my fence? I check mine at the start of every new project or after any “incident” where a blade binds in a cut. The vibration of the saw and the pressure of the vise can cause the fence to shift over time. A quick check with a square takes 30 seconds and can save you from ruining an expensive piece of material.
What is “arbor runout” and why should I care? Arbor runout is a measurement of how much the spindle wobbles as it spins. Even a tiny amount of runout is magnified at the edge of a 14-inch blade. This causes a wider, rougher cut and puts “eccentric” loads on the bearings. If you have high runout, your bearings will fail prematurely, and your cuts will never be perfectly straight.
Can I replace the bearings myself? For most fabricators with basic hand tools, bearing replacement is a manageable task. It usually involves removing the motor housing and using a simple gear puller to slide the old bearings off the shaft. However, ensure you replace them with high-quality, “sealed” bearings (look for the 2RS suffix) to keep out the metal dust that killed the original ones.
(This article was written by one of our staff writers, David Reynolds. Visit our Meet the Team page to learn more about the author and their expertise.)