Welding Accessories Actually Worth Your Hard Cash (Review)
When I opened my first fabrication shop sixteen years ago, I made a mistake that nearly cost me the business in the first six months. I landed a contract to build twenty custom equipment racks for a local warehouse. I calculated the steel costs, added a bit for my time, and sent the invoice. By the time I finished the last rack, I realized I had actually lost four dollars an hour. I forgot to account for the grinding discs, the shielding gas, the electricity, and the wear on my machine.
Transitioning from a hobbyist to a side-hustle metalworker requires a shift in how you view every item in your shop. You are no longer just buying “cool gear.” You are investing capital into assets that must pay for themselves through increased speed or reduced waste. If a new piece of equipment doesn’t shorten your fabrication time or save you money on materials, it is a luxury, not a business investment.
In this guide, I will break down the financial logic behind workshop investments. We will look at how to calculate your true shop rate, how to track the small costs that bleed profits, and which shop upgrades actually provide a measurable return on investment.
Establishing a Professional Shop Hourly Rate
A shop hourly rate is the total amount you must charge per hour of labor to cover all expenses and generate a profit. It is the foundation of every quote you send to a client.
Many new fabricators pick a number out of thin air, often between $40 and $60 per hour, because it “feels right.” However, a professional rate is built on hard data. You must account for your fixed overhead, which includes rent, insurance, and utilities, regardless of whether you strike an arc that day. In my experience, most small shops need to target between $65 and $120 per hour to remain viable.
Mapping Fixed Workshop Overhead
Fixed overhead represents the monthly cost of keeping your shop doors open before any work begins. These are the expenses that do not change based on how many projects you complete.
To find your overhead burden, list every monthly bill related to your workspace. This includes shop rent, business insurance, software subscriptions for invoicing, and the base cost of electricity. Even if you work out of a home garage, you should assign a “rental value” to that space. This ensures your business can eventually afford to move into a dedicated commercial unit if you choose to grow.
Calculating Machine Amortization and Depreciation
Amortization is the process of spreading the cost of an expensive tool over its expected lifespan. Depreciation tracks how much value that tool loses every year as it wears out.
If you buy a high-quality TIG welder for $4,000 and expect it to last 10 years, the annual cost is $400. If you use that machine for 500 hours a year, the machine itself costs you $0.80 for every hour it is running. Ignoring this means you won’t have the cash saved up to replace the machine when it eventually fails. Always include a small “equipment replacement fee” in your hourly calculations to keep your shop modern and functional.
Example Shop Rate Allocation Table
| Expense Category | Monthly Cost (Est.) | Hourly Impact (40 hrs/wk) |
|---|---|---|
| Shop Rent/Space Value | $600 | $3.75 |
| Utilities & Power | $150 | $0.94 |
| Insurance & Licensing | $100 | $0.63 |
| Equipment Amortization | $200 | $1.25 |
| Total Fixed Overhead | $1,050 | $6.57 |
Evaluating Shop Add-ons That Drive Production Efficiency
Production efficiency is the measure of how quickly and accurately you can turn raw materials into a finished product. Tools that improve this metric are the ones most worth your money.
When you are working a side-hustle, time is your most limited resource. An accessory that saves you thirty minutes of grinding or ten minutes of setup on every job is worth more than its sticker price. I look for items that reduce “non-arc time”—the hours spent measuring, clamping, and fixing mistakes rather than actually welding.
The Financial Return of Precision Fit-up Tools
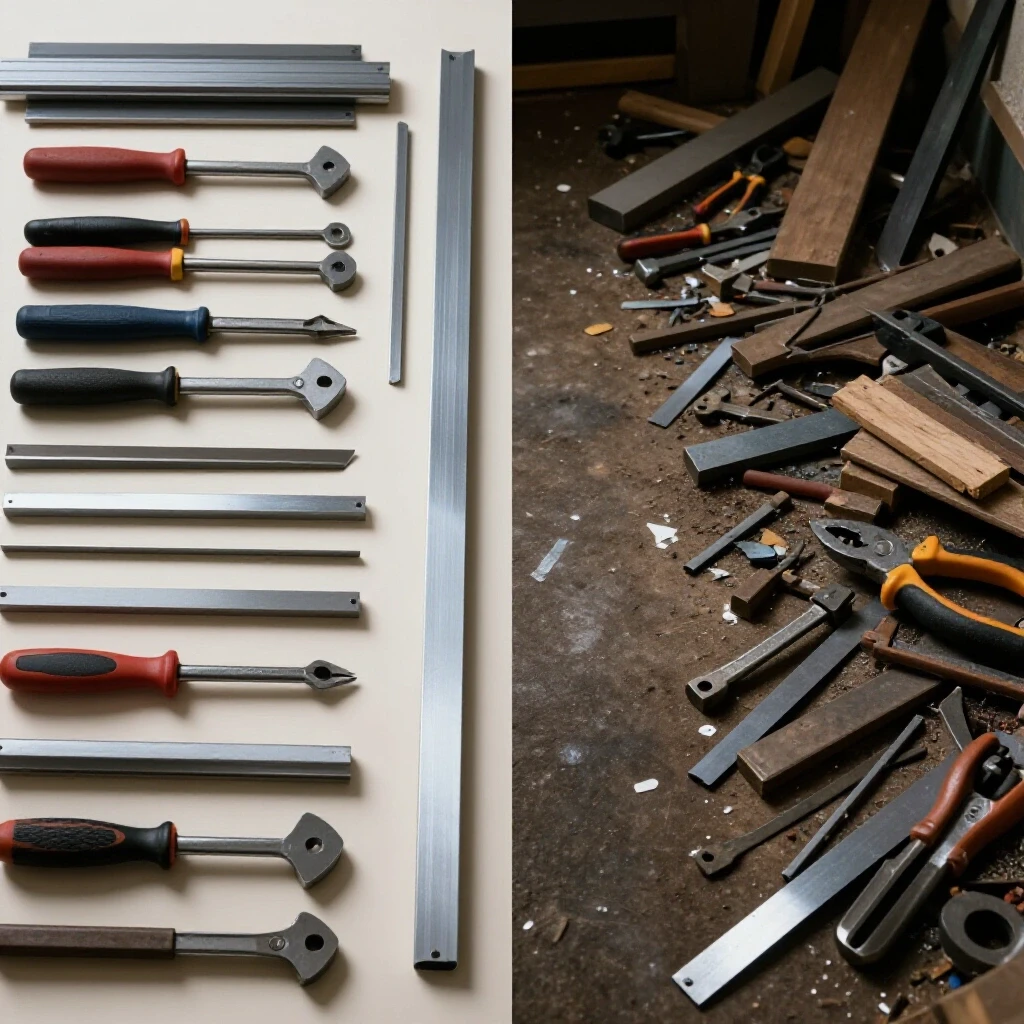
Fit-up tools are devices used to hold metal parts in the exact position needed for joining. These include magnetic squares, specialized clamps, and modular welding tables.
A common mistake is using cheap, inaccurate magnets that allow parts to pull out of square as the metal cools and shrinks. If a $50 set of high-quality locking clamps prevents a frame from warping, you save the two hours of labor it would take to cut the welds and start over. At a $75 hourly rate, that clamp just saved you $150 in lost time. Precision tools pay for themselves by eliminating rework and ensuring consistent quality for your customers.
Gas Management and Reducing Consumable Waste
Consumable waste refers to the shielding gas, welding wire, and electrodes that are used up during the fabrication process. Managing these costs is essential for maintaining high margins.
One of the best investments I ever made was switching to high-quality gas lenses for my TIG torch. While they cost more than standard collet bodies, they provide much better gas coverage. This allowed me to reduce my argon flow rate by nearly 20% while achieving cleaner welds. Over a year of steady work, the savings on gas refills paid for the lenses ten times over. Similarly, using a dedicated tungsten grinder ensures consistent arc starts, which reduces the time spent cleaning up erratic weld beads.
Accessory ROI Comparison Table
| Accessory Type | Initial Cost | Primary Benefit | Estimated Payback Period |
|---|---|---|---|
| Modular Fixture Table | $800 – $2,500 | 40% faster setup | 6 – 12 months |
| High-Quality Gas Lens | $15 – $30 | 20% gas savings | 2 – 3 weeks |
| Magnetic Ground Clamp | $30 – $60 | Prevents arc blow | 1 month |
| Tungsten Grinder | $200 – $500 | Consistent arc control | 4 – 6 months |
Building an Accurate Fabrication Job Quote
A job quote is a formal estimate provided to a client that outlines the total cost of materials, labor, and overhead for a specific project. It must be precise to protect your profit.
To build a quote that won’t leave you broke, you need a repeatable formula. Start with the actual cost of the metal. Then, apply a material markup to cover the time you spent sourcing and transporting it. Add your estimated labor hours multiplied by your shop rate. Finally, add a “consumable burden” to cover the items like gas and wire that are hard to track individually.
Consumable Burden Factors and Material Markup
A consumable burden is a percentage added to a quote to cover the “hidden” costs of welding, such as shielding gas, welding wire, and grinding discs.
I typically use a 10% to 15% burden factor. If the raw steel for a project costs $500, I add $75 to the quote specifically for consumables. This ensures I am not paying for the customer’s grinding wheels out of my own pocket. For material markup, I recommend adding 20% to 30% to the price you paid at the steel yard. This covers your “hidden” labor, such as the time spent loading the truck, fuel costs, and the risk of holding inventory.
Why Hidden Costs Bleed Small Shop Profits
Hidden costs are small, overlooked expenses that accumulate over time and eat into your net income. They are often the difference between a successful business and a failing one.
Common hidden costs include the electricity used by your air compressor, the replacement of bandsaw blades, and the anti-spatter spray you use on every MIG job. Individually, these cost pennies. Collectively, they can represent 5% of your total shop expenses. By tracking these in a simple spreadsheet, you can adjust your shop rate to ensure they are fully covered by your clients.
Quote Calculation Framework
- Raw Material Cost: Actual price of steel/aluminum.
- Material Markup: 25% of raw material cost.
- Estimated Labor: Total hours x Shop Hourly Rate.
- Consumable Burden: 15% of raw material cost.
- Subtotal: Sum of items 1 through 4.
- Profit Margin: 10% to 20% (Optional, added on top of labor).
Tracking Post-Job Profits and Cost Variance
Post-job profit analysis is the practice of comparing your original estimate to the actual costs incurred once the work is finished. This reveals where your pricing might be failing.
After every major project, I sit down with my receipts and my time log. I look for “cost variance”—the difference between what I thought I would spend and what I actually spent. If I consistently spend more on grinding discs than I quote, I know I need to increase my consumable burden factor. This feedback loop is the only way to move from “guessing” at prices to “knowing” your profitability.
Analyzing Labor Efficiency and Tool Performance
Labor efficiency is the ratio of planned work hours to actual hours worked. Tool performance measures how well your equipment helps you meet those goals.
If you quoted a job for ten hours but it took fifteen, you need to know why. Was the metal dirty, requiring extra cleaning time? Did your old saw make crooked cuts that required more fit-up time? If a specific tool is causing delays, that is your signal to upgrade. For example, replacing a manual hacksaw with a cold-cut saw might cost $500, but if it saves you four hours of cleanup per month, it pays for itself in less than two months.
Software and Tools for Better Bookkeeping
Modern digital tools can automate much of the tracking that used to require hours of paperwork. These help you stay organized and professional.
- QuickBooks or FreshBooks: Excellent for sending professional invoices and tracking business expenses for tax season.
- Excel or Google Sheets: I still use a custom spreadsheet for job estimation because it allows me to tweak my burden factors instantly.
- Toggl Track: A simple, free app for tracking exactly how much time you spend on the “arc” versus “prep” for every job.
- Inventory Trackers: Simple apps that let you log when you open a new box of welding wire so you can track your usage rates over time.
Smart Sourcing Strategies for Small Batches
Sourcing is the process of finding and purchasing the raw materials and supplies needed for your fabrication projects at the best possible price.
Small shops often pay a “convenience tax” by buying metal from retail hardware stores. To increase your margins, you must establish a relationship with a local steel service center. Even if you are only buying small amounts, many centers have “remnant” or “drops” sections where you can buy high-quality material at a fraction of the price. This lower material cost goes straight into your profit margin.
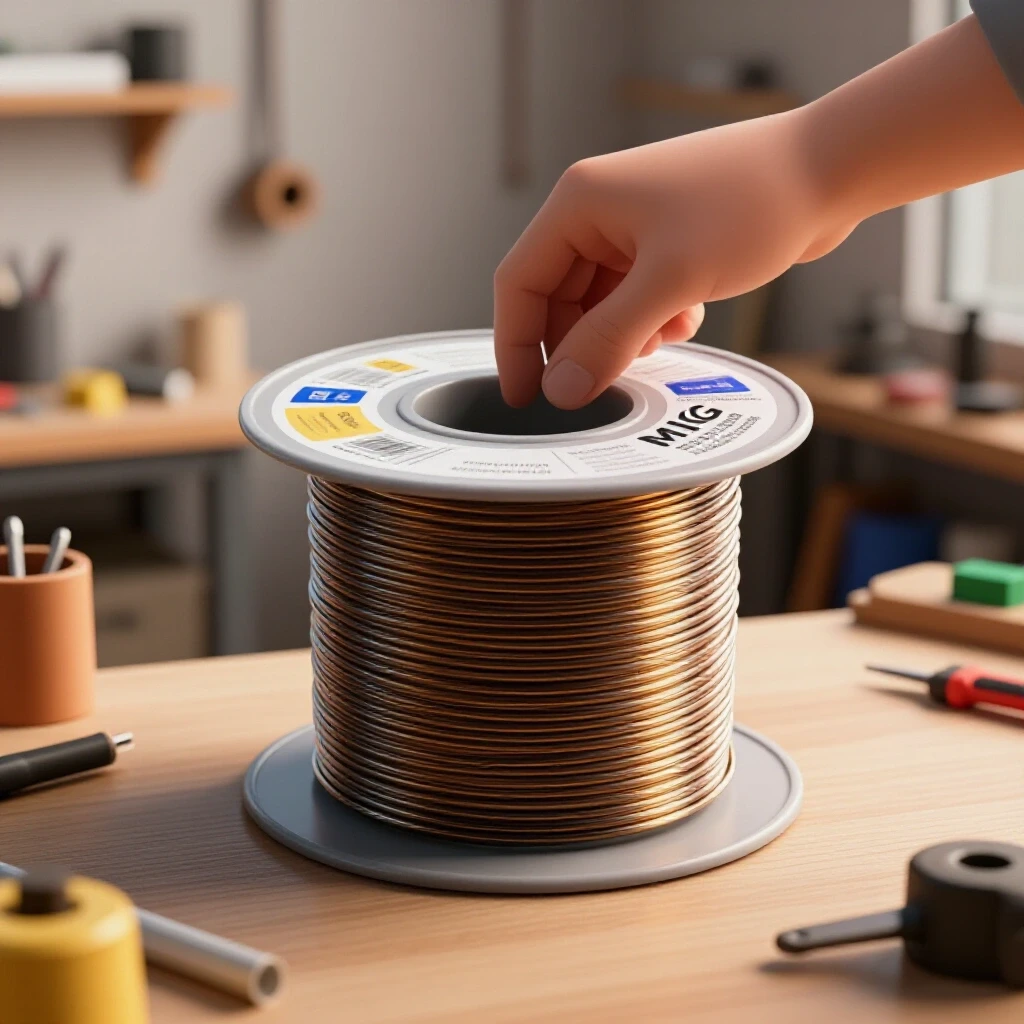
- Bulk Consumables: Buy your welding wire in 33lb or 44lb spools rather than 2lb or 10lb spools. The price per pound drops significantly.
- Gas Tank Ownership: Whenever possible, own your gas cylinders rather than leasing them. The upfront cost is higher, but you avoid monthly rental fees that never end.
- Abrasive Packs: Buy grinding and flap discs in packs of 25 or 50. Buying them individually at the store can cost $5 to $8 each, while bulk packs can bring the price down to under $2 per disc.
Summary of Key Financial Benchmarks
To keep your shop profitable, aim for these documented industry averages for small-scale fabrication:
- Average Shop Rate: $65 – $120 per hour (depending on region and specialty).
- Material Markup: 20% – 35% above cost.
- Consumable Burden: 10% – 15% of material cost.
- Net Profit Target: 15% – 20% after all expenses and your own labor are paid.
- Tool ROI Goal: Any accessory over $200 should ideally pay for itself in labor savings within 12 months.
Running a profitable shop is about more than just laying a clean bead. It is about understanding the flow of money through your workspace. By treating your accessories as investments and your time as a billable asset, you move from being a hobbyist who spends money to a professional who earns it.
Frequently Asked Questions
How do I decide if an expensive welding accessory is worth the money?
Calculate the “time saved” per job. If a $300 tool saves you 30 minutes of work and your shop rate is $75/hr, the tool saves you $37.50 every time you use it. It will pay for itself in eight uses. If you only plan to use it once a year, it is likely not worth the investment for a side business.
Should I charge for the time I spend talking to customers or picking up metal?
Yes. This is called “administrative labor” or “procurement time.” If you spend two hours driving to the steel yard, that is two hours you aren’t welding. You should either include this time in your hourly quote or cover it through your material markup percentage.
What is the most common hidden cost that small shops miss?
Electricity and shop consumables like cleaning agents or anti-spatter. Many people assume their home utility bill covers it, but a high-voltage welder and a large air compressor can significantly increase a monthly power bill. Tracking this ensures you aren’t paying for the client’s project out of your household budget.
Is it better to buy a cheap tool now or save for a professional-grade one?
For a business, it is almost always better to wait for the professional-grade tool. Cheap tools often lack the accuracy required for high-quality fabrication, leading to rework. Rework is the fastest way to lose money on a job. A professional tool with a known ROI is a safer financial bet.
How much should I markup my materials?
A standard starting point is 25%. This covers your time to source, load, and transport the metal. If the material requires significant prep work (like cleaning heavy rust or scale), you may increase the markup or add a specific “material prep” labor charge.
How do I factor in the cost of shielding gas?
The easiest way is through a “consumable burden” percentage (usually 10-15% of the material cost). However, for high-volume TIG jobs where gas usage is high, you can track your flow rate (CFH) and multiply it by the time spent welding to get a more exact cost per hour.
What should I do if a competitor is quoting much lower than me?
Do not automatically lower your price. Often, competitors who underbid are not tracking their overhead and will eventually go out of business. Focus on your quality, reliability, and the accuracy of your quotes. Clients who only care about the lowest price are often the most difficult to work with.
How often should I re-evaluate my shop hourly rate?
At least once a year, or whenever you make a major equipment purchase. Inflation affects the cost of materials and utilities, and as your skills improve, your time becomes more valuable. A yearly audit of your expenses versus your income will tell you if a rate hike is necessary.
Does a modular welding table actually provide a return on investment?
For most shops, yes. The ability to quickly clamp parts into a perfectly flat, square jig reduces setup time by up to 40%. In a professional setting, the time saved on fit-up and the elimination of warped parts usually pays for the table within the first year of steady work.
What is the “Shop Burden” and why does it matter?
Shop burden is the total cost of running your shop divided by your billable hours. It matters because if your burden is $30/hr and you only charge $40/hr, you are only “making” $10/hr for your skilled labor. Understanding this helps you set a rate that actually provides a living wage.
(This article was written by one of our staff writers, Michael Hargrove. Visit our Meet the Team page to learn more about the author and their expertise.)