How to Set Feeds and Speeds for Carbide End Mills (Tutorial)
I remember a Tuesday back in 2012 that perfectly illustrates the frustration of a machine that refuses to cooperate. I was working on a custom heavy-duty mounting plate for a hydraulic press. Every time my half-inch carbide cutter hit the material, it emitted a high-pitched scream that echoed through the entire shop. Within three minutes, the cutting edge was rounded, and the workpiece was ruined by work-hardening. I wasn’t just losing a fifty-dollar tool; I was losing time, reputation, and my own sanity.
That experience taught me that in the world of industrial fabrication, guesswork is a luxury we cannot afford. When a tool fails or a finish looks like a plowed field, it is rarely a single “gremlin” at work. Instead, it is usually a failure to balance the rotational speed of the spindle with the linear movement of the table. Mastering the relationship between these two variables is the difference between a productive afternoon and a day spent clearing broken carbide out of a scrap part.
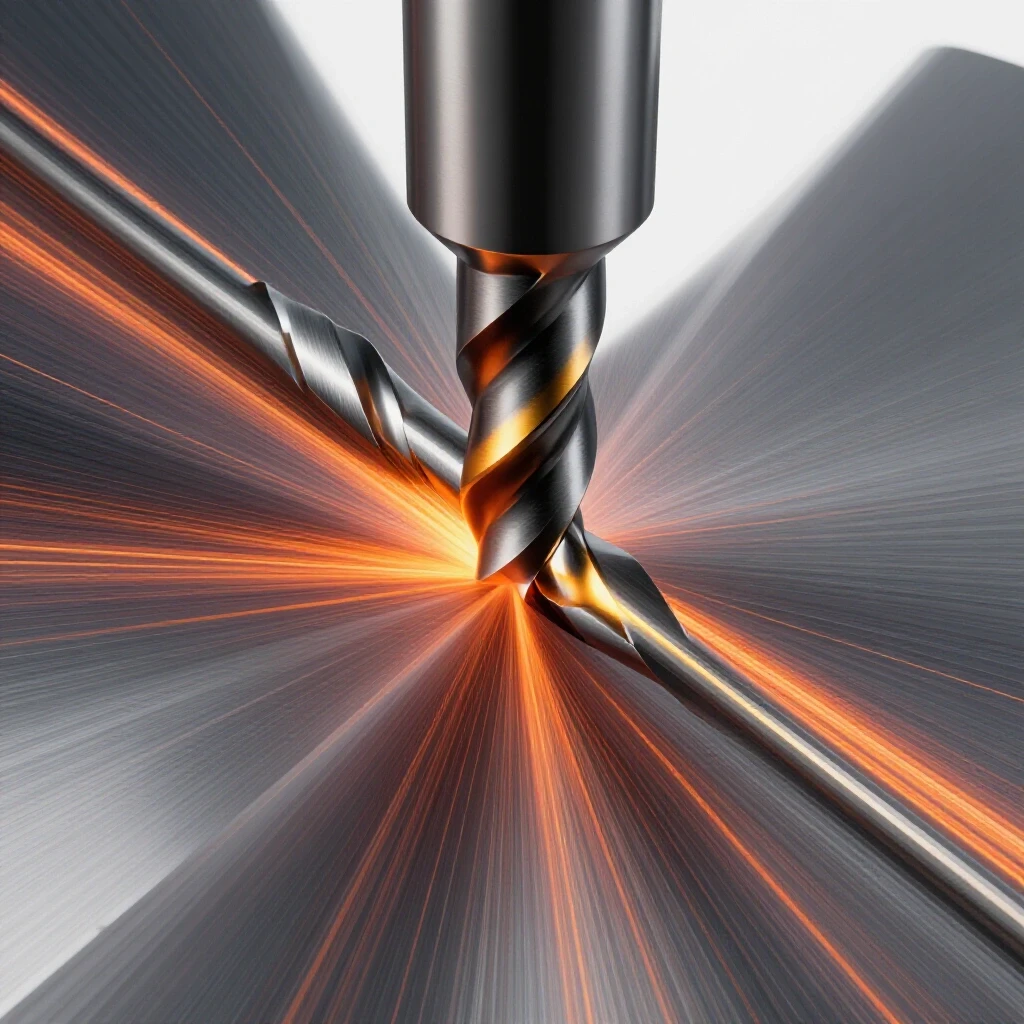
As a diagnostic specialist, I look at the milling process as a closed-loop system. The machine, the tool, and the material must work in a specific harmony. If one is out of sync, the whole system collapses. To fix this, we have to move away from “turning dials until it sounds better” and toward a systematic approach based on mechanical data and material science.
Establishing the Foundation for Rotational Velocity
Determining the correct rotational speed for a carbide tool requires understanding how the cutting edge interacts with the material at a molecular level. This process involves calculating the spindle speed based on the material’s recommended surface speed and the tool’s diameter to ensure the carbide doesn’t overheat or fracture.
Defining Surface Feet Per Minute (SFM)
Surface Feet Per Minute represents the actual speed at the outer edge of the cutting tool as it moves through the metal. It is a measurement of how much material the tool’s edge passes over in sixty seconds. Correct SFM ensures the tool stays within its thermal limits while maintaining efficiency.
When I troubleshoot a shop where tools are burning up, the SFM is usually the first culprit. If you run a tool too fast, the friction creates more heat than the carbide can dissipate. Carbide is incredibly hard, but it is also brittle. Excessive heat causes the binder in the carbide to soften, leading to rapid edge wear. Conversely, running too slow is inefficient and can lead to “rubbing” rather than cutting, which also generates heat through friction.
To find your starting point, you must consult a material hardness chart. For example, mild steel (like A36) typically handles 300 to 600 SFM with carbide, while harder stainless steels (like 304) might require you to drop down to 150 or 250 SFM. Once you have this number, the math to find your spindle speed (RPM) is straightforward:
RPM = (SFM x 3.82) / Tool Diameter
The Role of Tool Diameter in Speed Selection
The diameter of the cutter dictates how fast the spindle must turn to achieve the desired surface speed. A smaller tool has a shorter circumference, meaning it must spin much faster than a large tool to cover the same amount of linear distance on the workpiece surface.
I once saw a technician try to run a 1/8-inch end mill at the same RPM he used for a 3/4-inch cutter in the same material. He couldn’t understand why the small tool was “rubbing” and eventually snapping. Because the 1/8-inch tool was spinning so slowly, its surface speed was negligible. It wasn’t actually cutting; it was just pushing against the metal until the pressure caused a structural failure. Always remember that as the diameter decreases, the RPM must increase to maintain the same cutting energy.
Determining Linear Feed Rates and Chip Load
Once the spindle speed is set, the next step is determining how fast the workpiece moves into the tool. This involves calculating the inches per tooth, or “chip load,” which ensures each flute of the cutter is taking a meaningful bite of metal without being overloaded or under-utilized.
Understanding Inches Per Tooth (IPT)
Inches Per Tooth is the thickness of the “chip” that each individual flute of the end mill removes during a single revolution. It is the most critical metric for preventing tool breakage and ensuring the heat of the cut is carried away in the chip rather than staying in the tool.
If your chip load is too small, the tool will rub against the material, creating massive amounts of heat and work-hardening the surface. If it is too large, the physical force required to push that much metal will exceed the tool’s strength, leading to a “snap” failure. I typically look for a “blue chip” in steels, which indicates that the heat is being successfully transferred out of the part and into the waste material.
To calculate the linear feed rate (Inches Per Minute, or IPM), use this formula:
IPM = RPM x Number of Flutes x IPT
Balancing Flute Count and Material Clearance
The number of flutes on your carbide tool significantly impacts how you set your feed rate. A two-flute mill has large pockets (gullets) for chip evacuation, whereas a four-flute mill has more cutting edges but less room for the waste material to escape.
In my experience, when fabricators switch from a two-flute to a four-flute tool without adjusting their feed, they often run into trouble. If you keep the same IPM, you are essentially cutting your chip load in half. This often leads to the “rubbing” issue I mentioned earlier. On the other hand, if you maintain the same chip load, you can double your IPM, but you must ensure the machine is rigid enough to handle the increased force.
| Material Type | Recommended SFM (Carbide) | Target IPT (1/2″ Tool) |
|---|---|---|
| Aluminum (6061) | 800 – 1200 | 0.004 – 0.006 |
| Mild Steel (A36) | 300 – 600 | 0.002 – 0.004 |
| Stainless (304) | 150 – 300 | 0.001 – 0.003 |
| Tool Steel (D2) | 100 – 200 | 0.001 – 0.002 |
Diagnosing and Eliminating Tool Chatter
Chatter is a resonant vibration that occurs when the cutting forces fluctuate rapidly, causing the tool and workpiece to bounce off each other. This harmonic instability ruins surface finishes, destroys carbide edges, and can even damage the machine’s spindle bearings over time.
Identifying the Root of Harmonic Vibration
Vibration in a mill is rarely a single-source problem. It is usually a combination of the tool’s length-to-diameter ratio, the rigidity of the workholding, and the specific frequency of the spindle. When these factors align, they create a “harmonic” that amplifies the movement of the cutter.
When I walk into a shop and hear that tell-tale “singing,” I immediately check the tool stick-out. If a tool is extended too far from the holder, it acts like a tuning fork. For every bit of extra length you add, the tool becomes significantly less rigid. I always aim for the shortest possible tool for the job. If the chatter persists, I use a systematic “bracket” test: I’ll drop the RPM by 10% while keeping the feed the same, or I’ll increase the feed by 10% to “load” the tool and stabilize the vibration.
Mechanical Rigidity and Spindle Health
The physical condition of the milling machine plays a massive role in how well your calculated settings perform. Wear in the spindle bearings or excessive backlash in the table lead-screws will allow the tool to deflect, which changes the effective chip load in real-time.
I recommend a monthly check of the machine’s mechanical baselines. Use a dial indicator to check for spindle runout; if you see more than 0.0005 inches of wobble at the spindle nose, no amount of math will save your carbide tools. Similarly, check your table backlash. If your lead-screws have more than 0.002 inches of play, the table can “climb” into the cutter during a cut, causing a sudden spike in chip load that will shatter carbide instantly.
Adjusting for Depth of Cut and Material Hardness
Calculated settings are a starting point, but the real-world environment requires adjustments based on the “engagement” of the tool. The depth of the cut and the width of the cut (step-over) change the amount of stress placed on the carbide and the machine.
The Impact of Radial and Axial Engagement
Axial depth (how deep you go) and radial depth (how wide the cut is) determine the total volume of metal being removed. As these numbers increase, the force on the tool increases exponentially. This is where most “book” settings fail in a real shop.
If I am taking a deep slotting cut (where the tool is buried 100% in the material), I have to be extremely careful with chip evacuation. In these cases, I often reduce my calculated IPM by 20% to 50% to prevent the flutes from clogging. If chips get trapped and “re-cut,” the carbide will fail almost immediately. Using a smartphone’s vibration analyzer can help you see if the machine is struggling during these deep engagements, even if you can’t hear the stress yet.
Troubleshooting Work-Hardening in Tough Alloys
Materials like stainless steel or high-nickel alloys have a nasty habit of getting harder as you cut them. This is called work-hardening. It happens when the tool rubs or when the heat from a previous pass isn’t dissipated, “tempering” the surface to a higher hardness.
If you find that your tools are failing after the first few passes, you are likely not feeding fast enough to get under the “work-hardened” layer left by the previous tooth. I once diagnosed a failure in a 316 stainless part where the fabricator was being “gentle” with the tool. By slowing down the feed, he was actually making the material harder to cut. We increased the feed rate by 15%, and the tool life doubled because we were finally “biting” into the fresh, softer metal beneath the surface.
Systematic Diagnostic Checklist for Tool Failure
When a carbide mill fails, don’t just replace it and hit “start” again. Use this checklist to isolate the root cause and adjust your parameters accordingly.
- Examine the Wear Pattern: Is the edge chipped or melted? Chipping suggests too much feed or vibration. Melting suggests too much speed (RPM).
- Verify the SFM: Re-calculate your RPM based on the actual material hardness. Use an infrared heat tracker to see if the tool is exceeding 800 degrees Fahrenheit during the cut.
- Check the Chip Load: Are the chips thin and wispy or thick and chunky? Measure the thickness with a micrometer. It should match your calculated IPT.
- Inspect the Workholding: Can you move the part with a dead-blow hammer? If the part moves even 0.001 inches, you will have chatter.
- Test for Spindle Runout: Use a dial indicator to ensure the tool is spinning true. Even a tiny bit of “wobble” means one flute is doing all the work.
- Analyze the Sound: A low rumble usually means the machine is overloaded (reduce depth of cut). A high screech means harmonics (change RPM or shorten the tool).
Case Study: The Mystery of the Snapping Slotter
I was called into a fabrication shop that was struggling with a 1/2-inch carbide end mill snapping every four or five parts. They were cutting 1-inch deep slots in 4140 steel. On paper, their settings looked perfect: 400 SFM and 0.003 IPT.
When I arrived, I didn’t look at the computer; I looked at the floor. The chips were tiny and dark purple. This told me two things: they were re-cutting chips, and the heat was excessive. We checked the spindle and found 0.004 inches of backlash in the Y-axis. Every time the tool entered the cut, the table “jumped” forward, momentarily increasing the chip load from 0.003 to nearly 0.007. The carbide couldn’t handle the sudden shock.
We tightened the gibs on the machine to reduce the play to 0.001 inches and switched to a constant air-blast to clear the chips from the slot. We didn’t change the speed or the feed, but the tool life went from 5 parts to 50. The lesson? The math is only as good as the machine’s ability to hold those tolerances.
Finalizing the Setup for Maximum Productivity
Mastering these variables isn’t about memorizing a table; it’s about developing an ear and an eye for the process. When the feeds and speeds are dialed in, the machine should sound like a consistent, low-frequency hum. The chips should be uniform in shape and fly away from the cut with purpose.
If you are struggling with a specific setup, start by backing off your depth of cut. This reduces the total load and allows you to see if your RPM and IPM are correct without the risk of an immediate snap. Once the tool is cutting cleanly, you can gradually increase the depth until you reach the limits of your machine’s rigidity.
This methodical approach—calculating the baseline, checking the mechanical health of the mill, and adjusting based on physical evidence—is the only way to eliminate the “black magic” of metalworking. It turns a frustrating day of broken tools into a predictable, productive workflow.
Frequently Asked Questions
What is the most common reason for carbide tools to chip on the edges? Chipping is usually caused by excessive vibration (chatter) or a feed rate that is too high for the material’s toughness. It can also occur if the tool is extended too far from the holder, causing it to deflect and “snap” back into the material. Check your tool stick-out and ensure your IPT isn’t exceeding the manufacturer’s maximum.
How can I tell if my spindle speed is too high without ruining the tool? Watch the color of the chips and the tool itself. If the chips are coming off dark blue or black in mild steel, or if you see sparks, your SFM is likely too high. You can also use an infrared thermometer; if the tool body is rapidly climbing in temperature, you need to slow down the RPM.
Why does my machine vibrate even when I use the “correct” calculated settings? Calculated settings don’t account for the “resonant frequency” of your specific machine or setup. Every machine has a speed where it likes to vibrate. If you hit that frequency, you’ll get chatter. Try increasing or decreasing your RPM by 50-100 to move out of that harmonic “dead zone.”
Does the number of flutes really change the speed I should use? The number of flutes doesn’t change the RPM (which is based on SFM), but it drastically changes the IPM (feed rate). More flutes mean more cutting edges passing through the material per revolution, so you must increase the table speed to maintain the same chip load per tooth.
What is “chip thinning” and when should I worry about it? Chip thinning occurs when the width of your cut is less than half the diameter of the tool. Because the tool isn’t fully engaged, the actual chip produced is thinner than the calculated IPT. In these cases, you actually need to increase your feed rate to maintain the proper chip thickness and prevent rubbing.
How much backlash is “too much” for carbide milling? For most general fabrication, anything over 0.003 inches of backlash can start causing issues with carbide, especially in climb milling. If you have significant play, the tool can pull the workpiece into itself, causing a sudden spike in force that shatters the brittle carbide.
Can I use the same settings for a manual mill and a CNC? The math for RPM and IPM remains the same, but CNC machines are generally more rigid and have more consistent feed rates. On a manual mill, you have to be more conservative because “human-powered” feeding is never as consistent as a lead-screw driven by a motor, which can lead to uneven chip loads.
What should I do if my material is work-hardening? The best fix for work-hardening is to increase your feed rate (IPT) and decrease your spindle speed (RPM). You need to ensure the tool is “biting” deep enough to get past the hardened surface layer. Adding a consistent flow of coolant or air can also help keep the surface temperature below the hardening point.
Is it better to run a tool too fast or too slow? If you have to choose, slightly too slow is safer for the tool’s structural integrity, but it can lead to rubbing. Too fast will almost always result in rapid thermal failure of the carbide. Aim for the middle of the recommended SFM range and adjust based on the sound and chip color.
How does the depth of cut affect my feed and speed? As you increase the depth of cut (axial engagement), you increase the load on the tool. If you are going deeper than one times the tool’s diameter, you should generally reduce your feed rate by 10-25% to account for the increased stress and the difficulty of clearing chips from a deep hole or slot.
(This article was written by one of our staff writers, Paul Whitaker. Visit our Meet the Team page to learn more about the author and their expertise.)