Avoid These Mistakes When Buying Your First Welder (DIY Tips)
I remember the exact moment I realized my hobby was actually a failing business. It was three years into my fabrication journey. I had just finished a set of custom garden gates for a neighbor. I charged $600, thinking I’d made a killing. After sitting down with a yellow legal pad and tracking my actual spending on wire, shielding gas, grinding discs, and the electricity bill, I discovered I had earned about $4.50 an hour. I hadn’t even accounted for the wear and tear on my equipment.
For many of us in the 35-to-55 age bracket, metalworking starts as a creative outlet. We enjoy the sparks and the smell of ozone. However, the transition from making gifts for friends to taking paid commissions is a financial minefield. Most side-hustlers fail not because they lack skill, but because they lack a grasp of workshop economics. They buy equipment based on emotion rather than a return-on-investment (ROI) calculation. They price jobs based on a “gut feeling” instead of a data-backed shop rate.
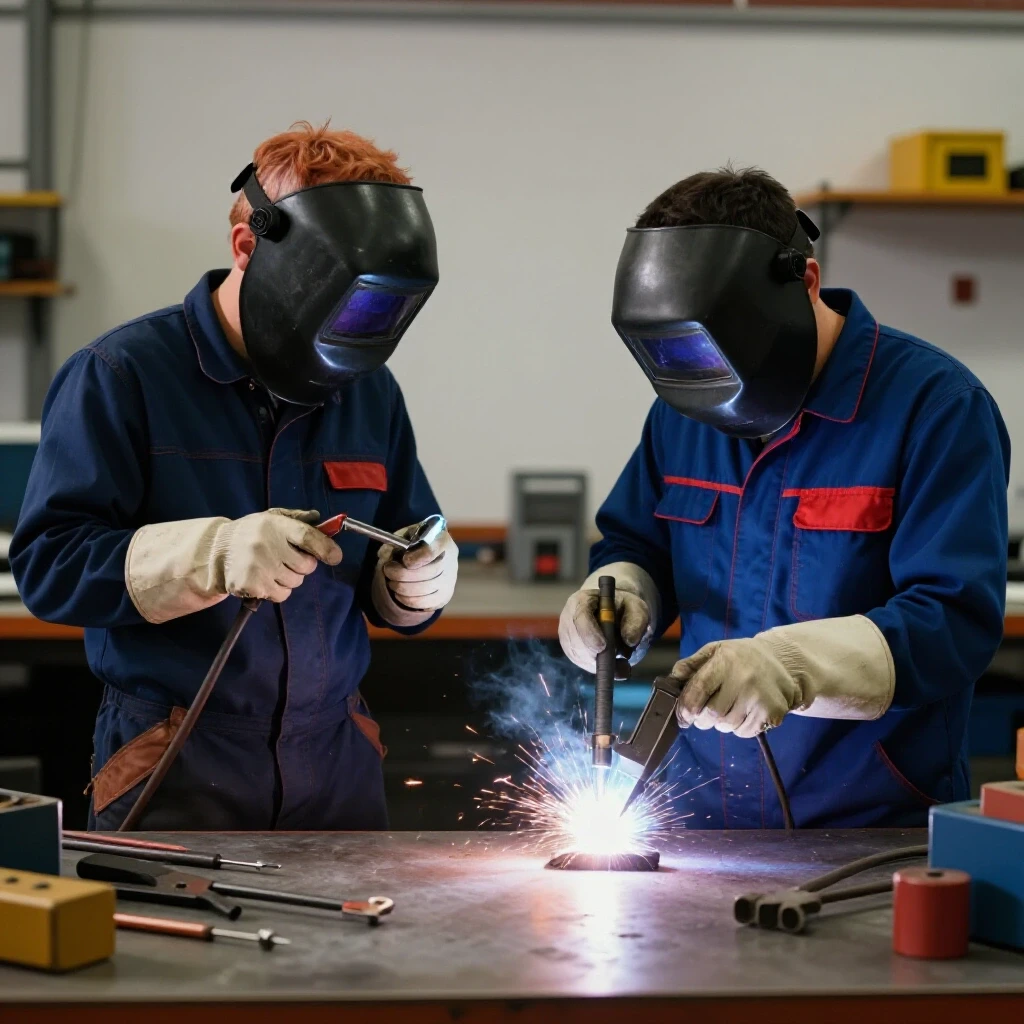
My goal is to help you move past the guesswork. Over 16 years, I have learned that a successful small shop is built on meticulous tracking and realistic expectations. We are going to look at how to select your first major equipment investments without draining your savings, how to calculate what your time is actually worth, and how to ensure every bead you lay contributes to a profitable bottom line.
Establishing a True Shop Hourly Rate
A shop hourly rate is the total amount of money your business must charge per hour of labor to cover all expenses and generate a profit. It is the foundation of every quote you send to a client. Without a calculated rate, you are simply guessing at your income.
Many new fabricators make the mistake of setting their price based on what they want to earn as a wage. If you want to make $30 an hour, you might charge $30 an hour. This is a recipe for bankruptcy. Your shop rate must include your labor, your overhead, and your profit margin. These are three distinct categories that serve different purposes in your business.
Overhead includes everything that doesn’t change regardless of whether you are welding or not. This includes shop rent (even if it is a portion of your home mortgage), insurance, utilities, and software subscriptions. To find your hourly overhead, add up these annual costs and divide them by the number of hours you realistically plan to work in the shop each year. If your overhead is $5,000 a year and you work 500 hours, your overhead burden is $10 per hour.
Profit is the money the business keeps after you have been paid for your labor. This money is used to buy new tools, fix broken ones, or save for a larger shop space. A healthy profit margin for a small fabrication shop is typically between 10% and 20%. If you ignore this, your business will never grow; it will only maintain its current state until a machine breaks.
| Component | Description | Example Value |
|---|---|---|
| Base Labor | What you pay yourself for the work | $35.00/hr |
| Shop Overhead | Utilities, rent, insurance, consumables | $15.00/hr |
| Machine Amortization | Cost of equipment spread over its life | $5.00/hr |
| Subtotal | Operating Cost | $55.00/hr |
| Profit Margin (20%) | Business growth fund | $11.00/hr |
| Total Shop Rate | What you charge the customer | $66.00/hr |
Mapping Machinery Amortization and ROI
Amortization is the process of spreading the cost of a physical asset over its useful life. Instead of viewing a new machine as a one-time $2,000 expense, you view it as a small hourly cost over the thousands of hours it will operate. This perspective helps you determine if a tool will actually pay for itself.
When you are looking at your first major equipment purchase, you must consider the payback period. This is the amount of time it takes for the machine to generate enough profit to cover its initial cost. For a side-hustle, I recommend looking for a payback period of 12 to 18 months. If a machine costs $2,000 and you expect to use it for 10 hours a week on paid jobs, it needs to contribute roughly $4 per hour toward its own cost to be paid off in a year.
One of the biggest traps is buying more power than you need. For most home-based shops, a machine that can handle 1/4-inch mild steel is the “sweet spot.” Moving up to a machine that handles 1/2-inch plate often requires expensive electrical upgrades to your garage or shop. These hidden costs can double the price of the investment and push your ROI timeline back by years.
Always check the duty cycle of a machine before buying. The duty cycle is the percentage of a ten-minute period a machine can operate at a given amperage without overheating. A 30% duty cycle at 150 amps means you can weld for three minutes and must let the machine cool for seven. If you are doing long production runs, a low duty cycle will kill your productivity and eat into your hourly profit.
- Calculate the total cost including taxes, shipping, and initial accessories.
- Estimate the number of billable hours the machine will work each month.
- Determine how much “extra” each job can pay toward the machine.
- Avoid financing equipment for a side-hustle; if the work slows down, the debt remains.
Why Hidden Consumables Bleed Small Shop Profits
Consumables are the materials used up during the fabrication process that aren’t the primary metal itself. This includes welding wire, shielding gas, grinding wheels, sandpaper, and even electricity. Because these items are small, they are often left out of job estimates, leading to “profit bleed.”
I recommend using a “Consumable Burden Factor.” This is a percentage you add to every material bill to cover the stuff you can’t easily measure. For most small shops, a 10% to 15% burden is appropriate. If you buy $100 worth of steel for a project, you should automatically add $15 to the quote to cover the gas and wire you will use to stick that steel together.
Shielding gas is one of the most expensive consumables. Many beginners start with small “disposable” or “owner” bottles. While the initial cost is lower, the cost per cubic foot of gas is much higher than a large lease cylinder. If you find yourself refilling a small bottle every two weeks, it is time to upgrade to a larger size. The time spent driving to the gas supplier is also a hidden cost that must be tracked.
Grinding and finishing supplies are another major expense. A single high-quality flap disc can cost $7, and you might use three of them on a complex project. If you don’t track these, you are essentially paying the customer to let you work on their project. Keep a log for one month of every disc, nozzle, and contact tip you use. You will likely be shocked at the total.
- Track every consumable purchase for 90 days.
- Divide that total by your total billable hours in that period.
- Add this “hourly consumable cost” to your base shop rate.
- Review your electricity bill to see the jump in usage during heavy shop months.
Building a Custom Job Quote with Accuracy
A job quote is a formal document that outlines the scope of work and the total cost to the customer. Building an accurate quote requires breaking the project down into its smallest components: material, labor hours, and overhead. Accuracy here prevents “scope creep,” where you end up doing more work than you’re paid for.
When I quote a job, I start with the “cut list.” I calculate exactly how much steel I need and then add a 10% waste factor. Steel prices fluctuate, so I never give a quote that is valid for more than 14 days. If the price of tubing jumps 20% between the quote and the start of the job, that money comes directly out of your pocket.
Labor estimation is the hardest part for most side-hustlers. We tend to be optimistic about how fast we work. A good rule of thumb is to estimate how long you think a task will take, and then multiply it by 1.5. This accounts for the time spent setting up the saw, cleaning the metal, changing gas bottles, and sweeping the floor afterward. These “non-welding” tasks are still part of the job.
Finally, always include a “Shop Supplies” line item. This is where your consumable burden lives. By making it a visible line item, you show the customer that you are professional and thorough. It also reminds you to actually charge for it.
- Material Cost: (Raw metal price + 10% waste) x 1.2 (for handling and sourcing time).
- Labor Cost: (Estimated hours x 1.5) x Shop Hourly Rate.
- Subcontracting: Any work sent out (like powder coating) + 15% markup for your time.
- Total Quote: Material + Labor + Subcontracting.
Strategic Material Sourcing for Small Shops
Material sourcing is the process of finding and purchasing the raw metals needed for your projects. For a small shop, the goal is to balance the cost of the material with the convenience of getting it. Buying from a big-box hardware store is convenient but can cost 400% more than a local steel service center.
To maximize profit, you need to establish a relationship with a local metal supplier. Even if you are only buying a few sticks of tubing at a time, being a “regular” can get you access to the “drops” bin. Drops are off-cuts from larger industrial orders that the supplier sells at a significant discount. For small side-hustle projects, these drops can often provide all the material you need at a fraction of the cost.
Another strategy is bulk purchasing. If you find yourself using 1-inch square tubing for almost every project, buy it by the “lift” or in 20-foot lengths rather than pre-cut pieces. The price per foot drops significantly when you buy in volume. However, only do this for materials you know you will use within three to six months. Tying up your cash in a pile of steel that sits in the corner for a year is a poor use of capital.
Don’t forget the cost of transportation. If you have to drive an hour each way to the steel yard, you have spent two hours of your time and $20 in fuel. If your shop rate is $60, that trip just cost the business $140. Sometimes paying a $50 delivery fee is the more profitable choice.
- Find three local suppliers and compare their “walk-in” pricing.
- Always ask about the “remnant” or “drops” section.
- Plan your material runs to minimize trips.
- Charge customers a “material handling fee” to cover your time spent sourcing.
Analyzing Post-Job Profits: The Reality Check
Post-job reconciliation is the process of comparing your initial estimate to the actual costs incurred after the work is finished. This is the most important step for improving your financial efficiency. It tells you where you were right and, more importantly, where you were wrong.
After every project, I sit down with my receipts and my time log. I look at three numbers: Actual Labor Hours vs. Estimated Labor Hours, Actual Material Cost vs. Estimated Material Cost, and Total Profit. If I estimated 10 hours and it took 15, I need to figure out why. Was the metal dirtier than expected? Did a tool break? Or am I just slower at that specific task than I thought?
This data allows you to adjust your future quotes. If you consistently underestimate the time it takes to grind welds flat, you can increase your labor multiplier for finishing work. If you find that you’re spending more on gas than your 10% burden covers, you can raise that percentage. Without this feedback loop, you are likely to repeat the same expensive mistakes on every job.
Keep a simple spreadsheet or a dedicated notebook for this. Over time, you will develop a “database” of projects. When a customer asks for a quote on a coffee table, you can look back at the last three tables you built to see exactly what they cost you in time and materials. This moves your business from “guessing” to “knowing.”
- Total all material receipts, including gas and consumables.
- Review your time logs for every minute spent on the project.
- Subtract all costs from the final payment received.
- Calculate your actual hourly wage for that specific job.
Managing the Transition from Hobbyist to Professional
Moving from a hobby to a side-hustle requires a shift in mindset. You are no longer just a person with a welder; you are a business owner who happens to weld. This means prioritizing the “boring” tasks like bookkeeping and cost tracking as much as the fabrication itself.
One of the biggest hurdles is the “friend and family” discount. When you are starting out, people you know will expect lower prices. Be careful here. If you don’t charge enough to cover your overhead and profit, you are essentially subsidizing their projects with your own money. It is okay to offer a small discount on labor, but never lose money on a job just because you know the person.
As your shop grows, resist the urge to buy every new gadget. Every tool purchase should be a response to a specific need that will increase your efficiency or allow you to take on higher-paying work. A $500 specialized clamp might seem expensive, but if it saves you 30 minutes of setup on every job, it will pay for itself in a month.
Finally, keep your shop clean and organized. Efficiency is the key to profitability in a small space. If you spend 20 minutes looking for your tape measure or a specific wrench, you have just lost $20 of billable time. A professional shop looks and operates like one, regardless of whether it is in a dedicated building or a one-car garage.
- Set up a separate bank account for your shop income and expenses.
- Use simple accounting software to track your cash flow.
- Be honest with yourself about your “hidden” costs.
- Focus on quality over quantity; one profitable job is better than three losing ones.
Frequently Asked Questions
What is the best input voltage for a first shop welder? For a side-hustle, a machine that can run on both 110v and 220v (dual voltage) is the most versatile. 110v allows you to do small repairs at a customer’s location using a standard outlet. However, 220v is necessary for thicker materials and provides a much more stable arc, which leads to better weld quality and less grinding time.
How do I handle customers who think my shop rate is too high? Explain your value. Most customers don’t realize the cost of consumables, insurance, and specialized equipment. If they still push back, they are likely not your ideal client. It is better to lose a job than to work for a rate that doesn’t cover your costs.
Should I charge by the hour or by the project? For most fabrication work, a “flat-fee” project price is better for both you and the customer. It gives the customer a fixed cost and allows you to earn more as you become more efficient. However, always base that flat fee on your calculated hourly shop rate.
What is a realistic profit margin for a part-time shop? Aim for a 15% to 20% profit margin on top of your hourly labor rate. This ensures the business has the capital to grow and can weather unexpected expenses like tool repairs or material price spikes.
How much should I mark up my materials? A standard markup is 20% to 30%. This covers the time you spend ordering, picking up, and storing the metal. It also helps cover the cost of small “shop supplies” like cleaning solvents and rags.
Do I really need to track my electricity usage? While a single weld doesn’t use much power, a weekend of heavy fabrication can noticeably increase your utility bill. For a side-hustle, it is usually enough to add a small “utility fee” (e.g., $2-$5 per job) or include it in your overall shop overhead calculation.
How do I know when it’s time to upgrade my equipment? Upgrade when your current tool becomes a bottleneck. If you are spending hours grinding because your machine doesn’t produce clean welds, or if you are turning down jobs because your machine can’t handle the thickness, the upgrade will likely pay for itself quickly.
Is shielding gas really better than flux-core wire for a business? In most cases, yes. While gas-shielded welding (MIG) has a higher initial cost for the bottle and regulator, it produces much cleaner welds with almost no slag. This significantly reduces your “post-weld” labor time, making you more profitable in the long run.
How can I accurately estimate labor for a project I’ve never done before? Break the project into its smallest steps: cutting, prepping, tacking, welding, and finishing. Estimate each step individually. If you are still unsure, add a 25% “buffer” to your labor estimate to cover the learning curve.
What is the most common financial mistake new shop owners make? Underestimating the “non-welding” time. People forget to charge for the time spent talking to the customer, drawing the design, buying the metal, and cleaning the shop. All of these hours must be covered by your billable shop rate.
How do I calculate the depreciation of a used machine? If you bought a used machine for $500 and expect it to last three years, divide $500 by 36 months. That is roughly $14 a month. If you work 20 hours a month, the depreciation cost is $0.70 per hour.
Should I include my shop rent if my shop is in my home garage? Yes. Even if you don’t pay “rent” to a landlord, that space has value. You are paying for the taxes, heating, and maintenance of that square footage. Including a portion of your housing costs in your shop overhead ensures you are building a sustainable business model.
(This article was written by one of our staff writers, Michael Hargrove. Visit our Meet the Team page to learn more about the author and their expertise.)